Home > Manage SigningHub Admin Configurations > Manage Connectors > Edit a Connector

Edit a Connector

To edit an existing connector:
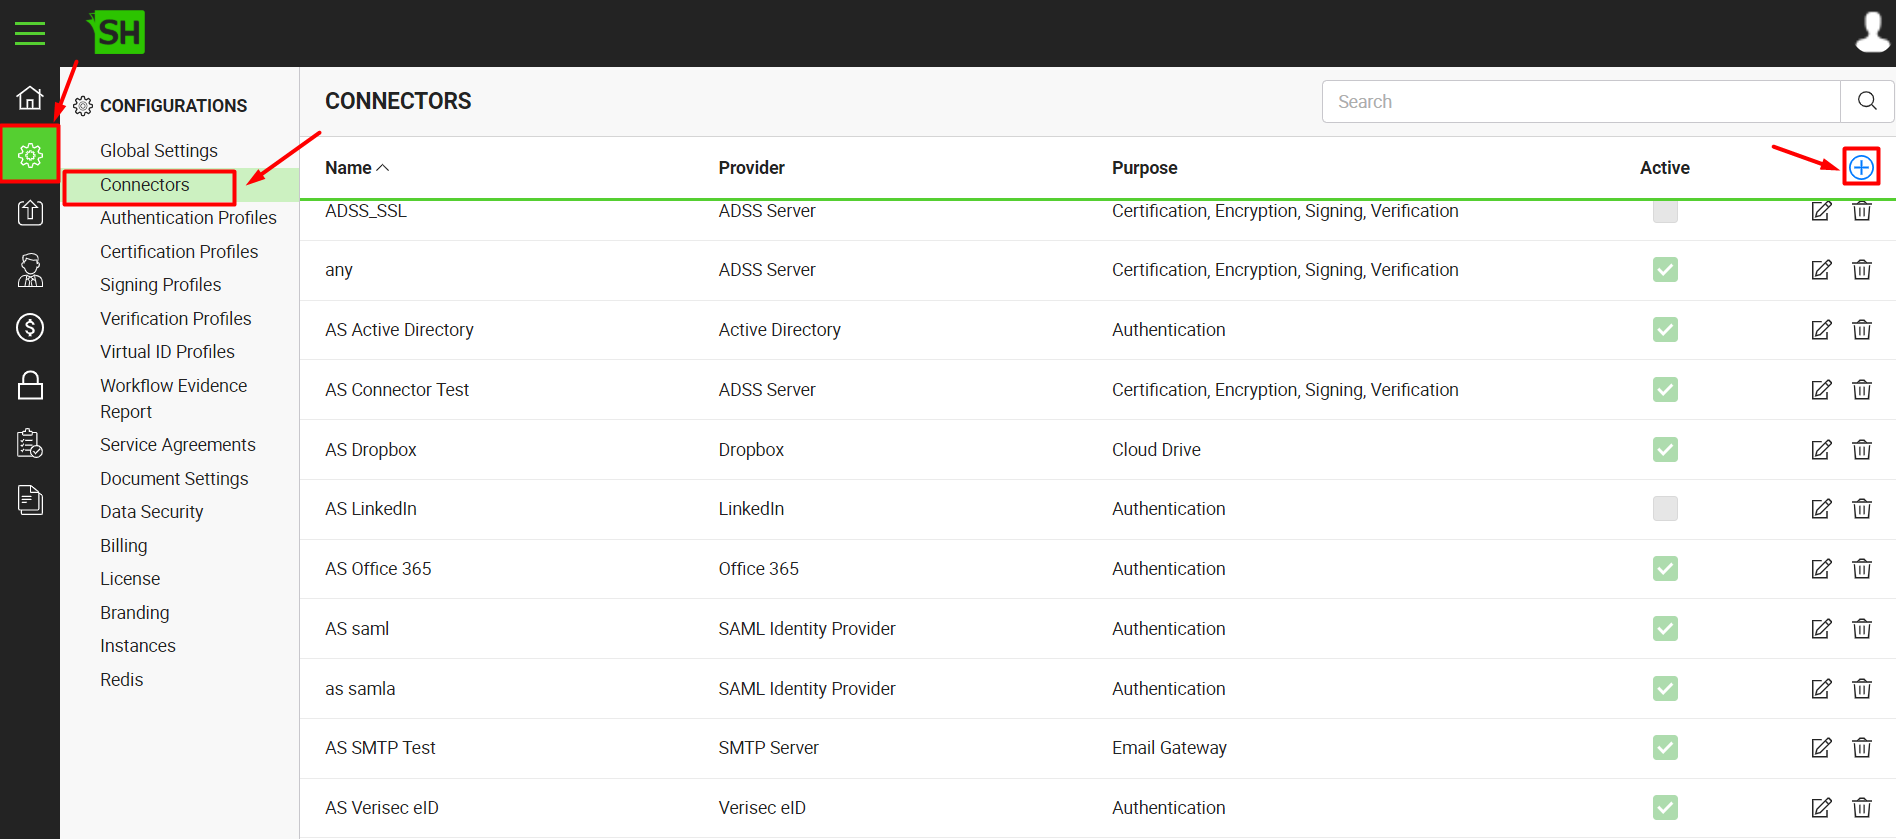
  1. Click the "Configurations" option from the left menu.
  2. Click the "Connectors" option.
  3. Click  adjacent to the connector (to edit) from the main grid. 


  4. The "Edit Connector" dialog will appear, displaying the fields according to the connector type in editable mode. For details regarding each connector's fields, see the respective connector's help page. Edit the required content.
  5. Click the "Save" button.
  6. Click the "Publish Changes" button from the top right corner, to make these configurations effective on the front-end (SigningHub Desktop Web).


See also
Create a LinkedIn Connector
Create a Google Connector
Create a OneDrive Connector
Create an ADSS Server Connector
Create a Clickatell Connector
Create a Twilio Connector
Create a Worldpay Connector
Create a Stripe Connector
Create an SMTP Server Connector
Create an Active Directory Connector
Create a Dropbox Connector
Create a Salesforce Connector
Create a SAML IDP Connector
Create a Google Drive Connector
Create a HubSpot Connector
Create an Office 365 Connector
Create an ADFS Connector
Create a Maxmind GeoIP Connector
Create a Firebase Connector
Create a Freja Mobile Connector
Create a Freja eID Connector
Create an Azure Blob Connector
Create an Azure Active Directory Connector
Create a Bank ID Connector
Create a Captcha Connector
Create an SMS Connector
Create an itsme Connector
Create a T1C Connector
Configure File Scanning Connector
Delete a Connector
Search a Connector