Word Document Signing
- Introduction
- How it works?
- Configure a Signing Profile in ADSS
- Configure a Verification Profile in ADSS
- Configure a Connector in SigningHub Admin
- Configure a Signing Profile in SigningHub Admin
- Configure a Verification Profile in SigningHub Admin
- Add Signing Profile and Verification Profile to a Service Plan
- SigningHub API Configurations
- Signing via SigningHub API
- Signing via SigningHub Web
SigningHub allows its users to sign Word documents (having the .docx format) containing a signature line. The documents are allowed to retain their original format and are not converted to .pdf. This requires configuration of a signing profile, and a verification profile in ADSS. Configuration of a connector, a signing profile, a verification profile, and a service plan in SigningHub Admin. Once the configurations have been made, create a workflow with a Word document, and share the workflow. After sharing the workflow, sign the document via either SigningHub API or SigningHub Web.
XAdES-X-L (XAdES-X with Long-term Validation Data)
XAdES-X-L, short for "XAdES-X with Long-term Validation Data," is an advanced electronic signature format supported by SigningHub. This signature format aligns with ETSI standards, specifically tailored to meet European requirements for qualified electronic signatures. XAdES-X-L extends the capabilities of XAdES-X signatures by incorporating Long-term Validation Data. This ensures the long-term integrity and availability of validation data associated with the signature.
- Configure a signing profile as a prerequisite, in ADSS.
- Configure a verification profile, in ADSS.
- Configure a connector, in SigningHub Admin.
- Configure a signing profile, in SigningHub Admin.
- Configure a verification profile, in SigningHub Admin.
- Add the signing profile and verification profile to the service plan.
- Create a workflow with a Word document, and share the workflow.
- Once you're shared the workflow, sign the document via either SigningHub API or SigningHub Web.
Configure a Singing Profile in ADSS
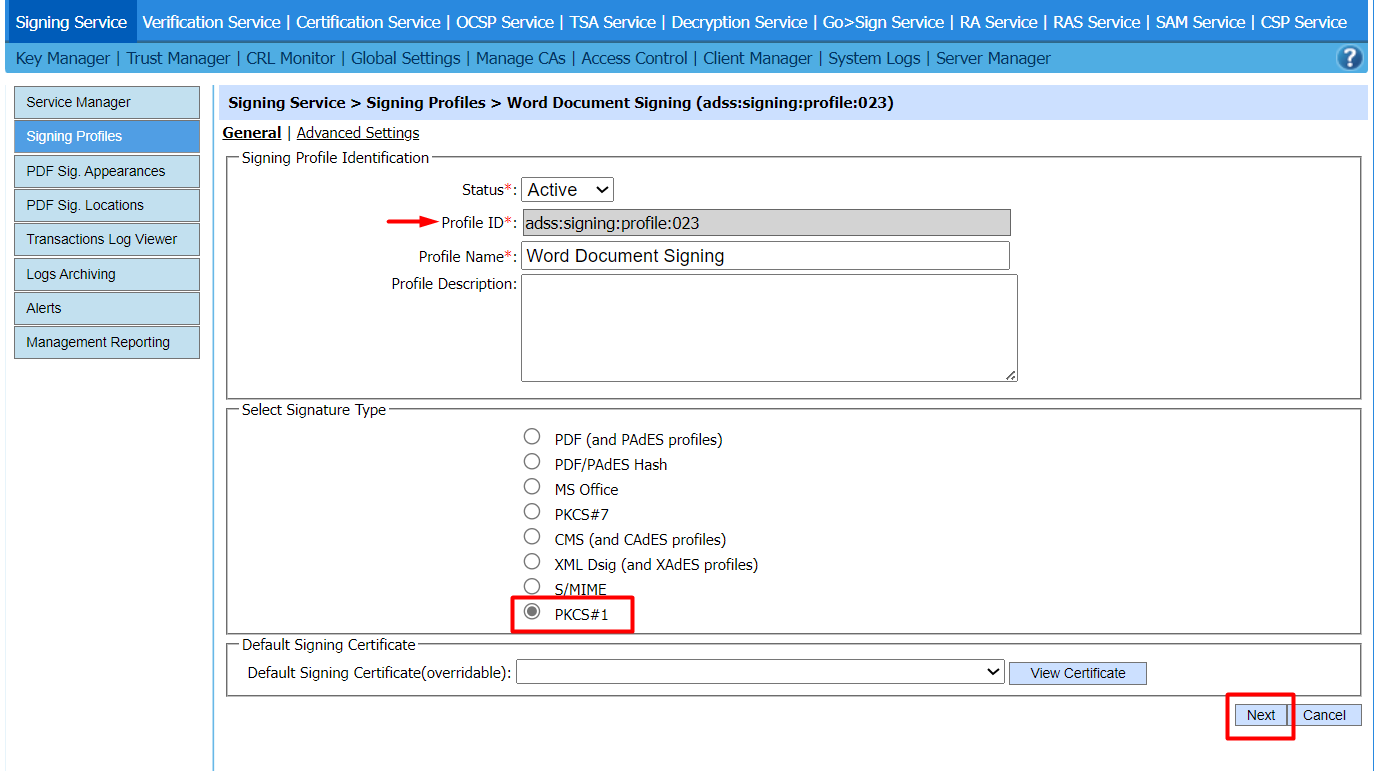
For word document signing a signing profile is configured in ADSS Signing Service.
To configure signing profile for signing a Word document, follow these steps:
- In the "Select Signature Type" section, check "PKCS#1" and copy the Profile ID because it would be used in SigningHub Admin. Then click the "Next" button.
- In the "Advanced Settings" tab, enable the "Hash Signing Settings", and click the "Save" button.

Configure a Verification Profile in ADSS
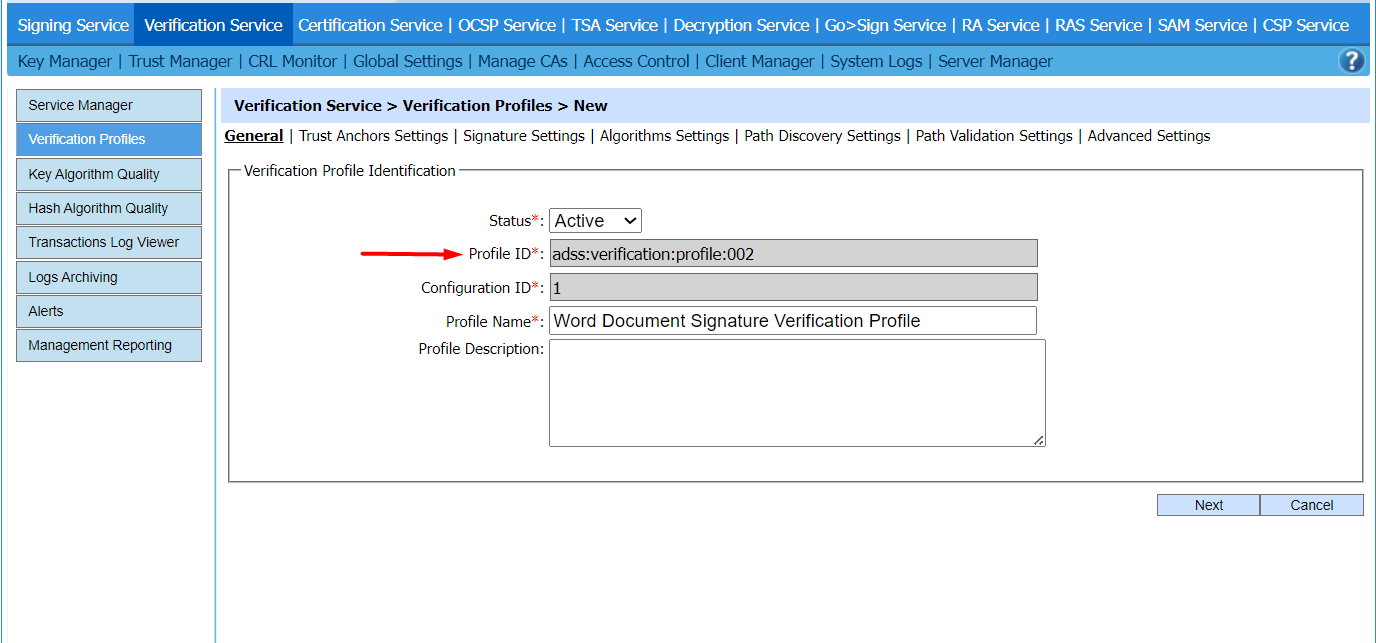
For signature verification, a verification profile is configured in ADSS Verification Service.
To configure a verification profile, follow these steps:
- Copy the Profile ID because it would be used in SigningHub Admin.
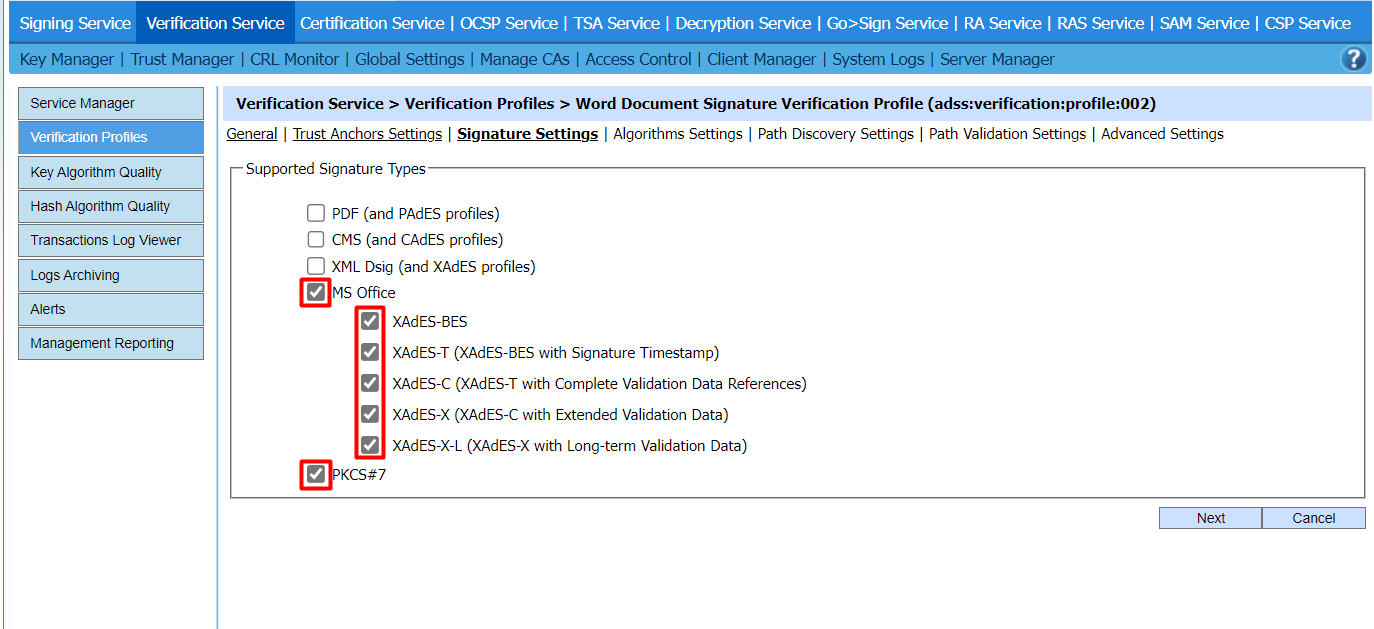
- SigningHub creates the PKCS#1 signature for using signing service. In the "Signature Settings" tab, make the following changes:
Configure a Connector in SigningHub Admin
To see in detail, how to create an ADSS Server Connector in SigningHub, click here.
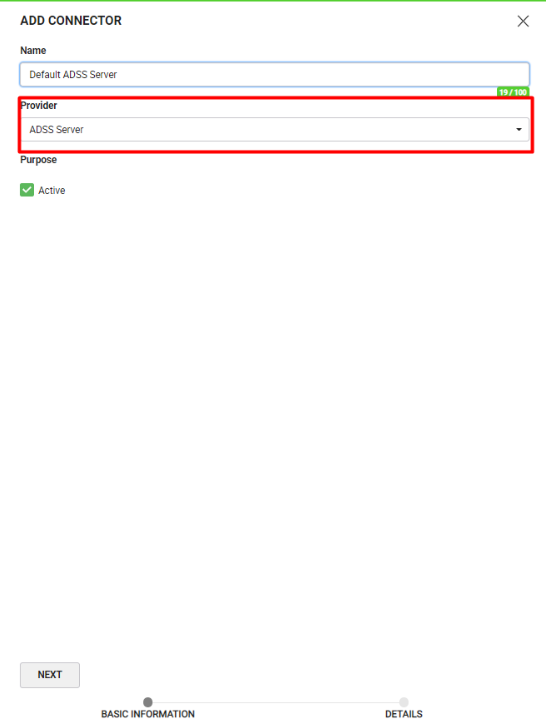
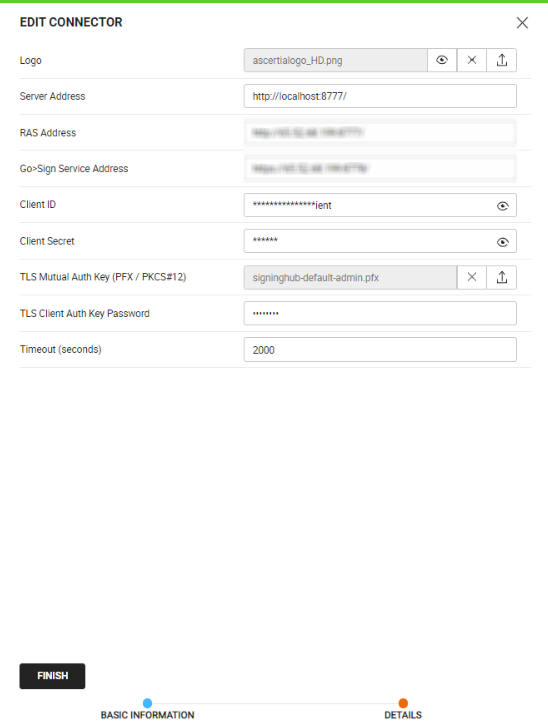
Make the following configurations to a connector in SigningHub Admin:
- In the "Basic Information" section, choose "ADSS Server" as the "Provider".
- In the "Details" section, fill in the required fields.
Configure a Signing Profile in SigningHub Admin
To see in detail, how to create a signing profile in SigningHub, click here.
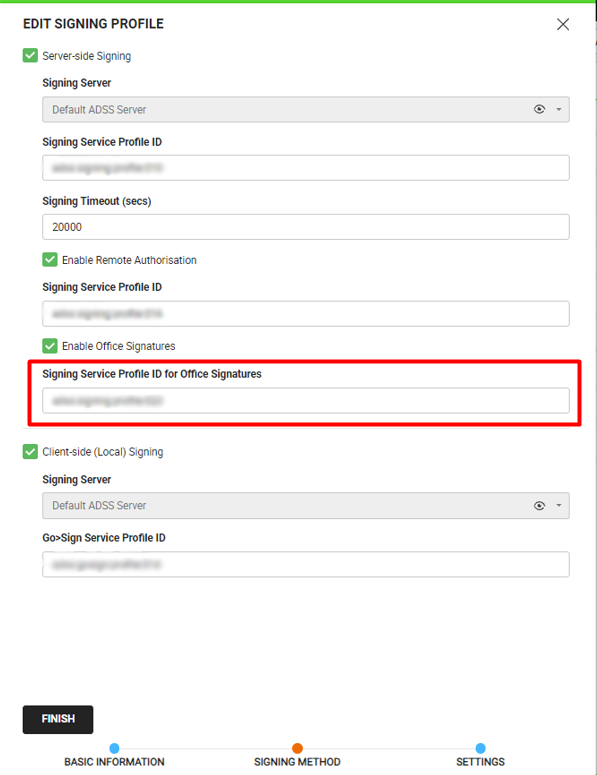
Make the following configurations to a signing profile in SigningHub Admin:
- Paste the earlier copied Profile ID, while creating a Signing Profile in the ADSS, in the highlighted field below:
|
|
|

Configure a Verification Profile in SigningHub Admin
To see in detail, how to create a verification profile in SigningHub, click here.
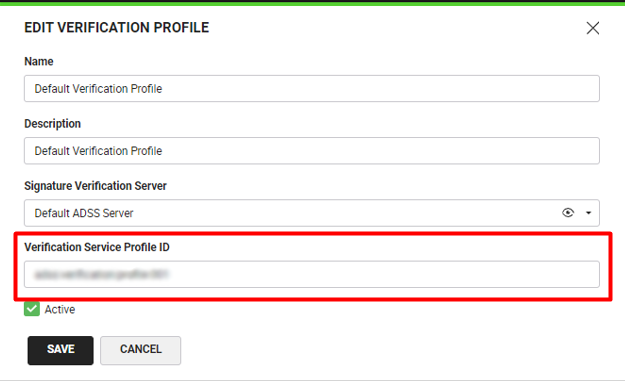
Make the following configurations to a verification profile in SigningHub Admin:
- Paste the earlier copied Profile ID, while creating a Verification Profile in the ADSS, in the highlighted field below:
Add Signing Profile and Verification Profile to a Service Plan
To see in detail, how to create a service plan in SigningHub, click here.
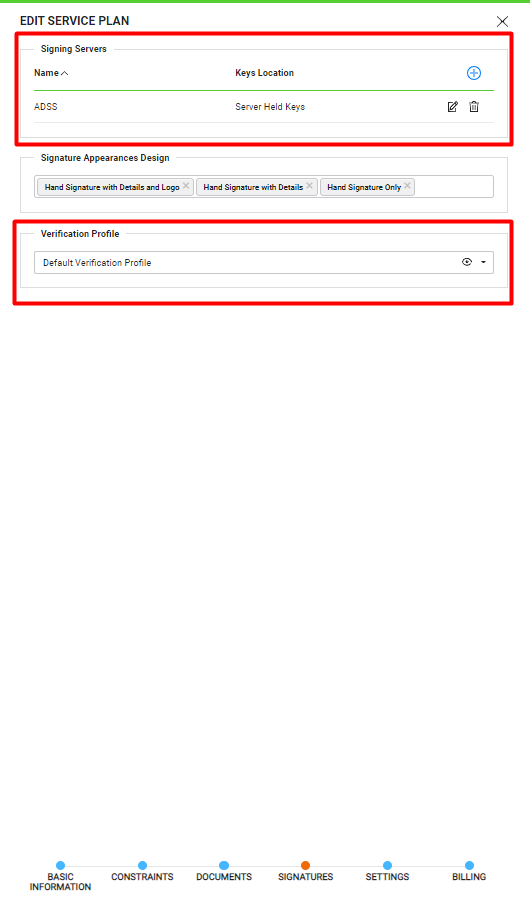
Make the following configurations to a service plan in SigningHub Admin:
- Select and add the earlier configured Signing Profile and Verification Profile, in a service plan in SigningHub Admin, as shown below:
Make the following configurations to SigningHub API:
- Get the authentication token of a user using SigningHub API.
https://manuals.ascertia.com/SigningHub/8.6/Api/#tag/Authentication
- Add a document package from SigningHub API.
- Upload document via stream/base with document extension .docx. Set the "x-convert-document" to false.
|
|
|
- Share the workflow.
To sign the document via SigningHub API:
- Sign the workflow.
- In case of bulk signing, use the below API.
To sign the document via SigningHub Web, follow the below-mentioned steps:
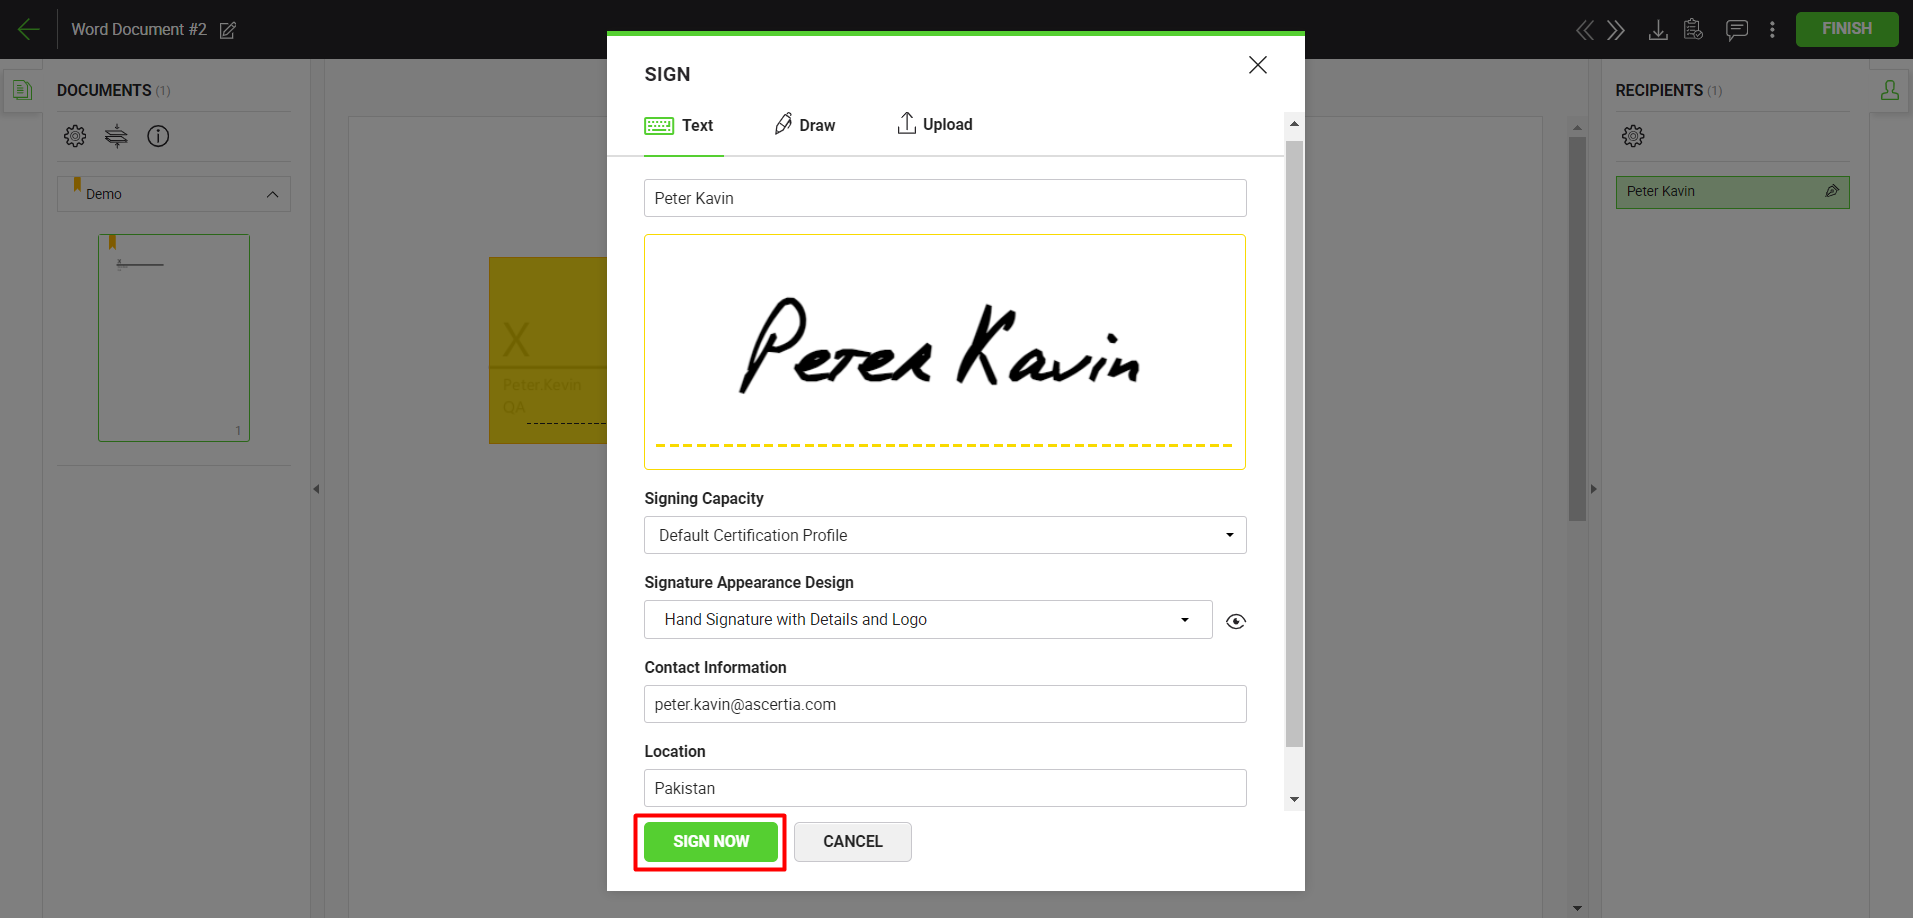
- Open SigningHub Web and open the Word document through the document listing. Click on the signature field and then click "SIGN NOW".
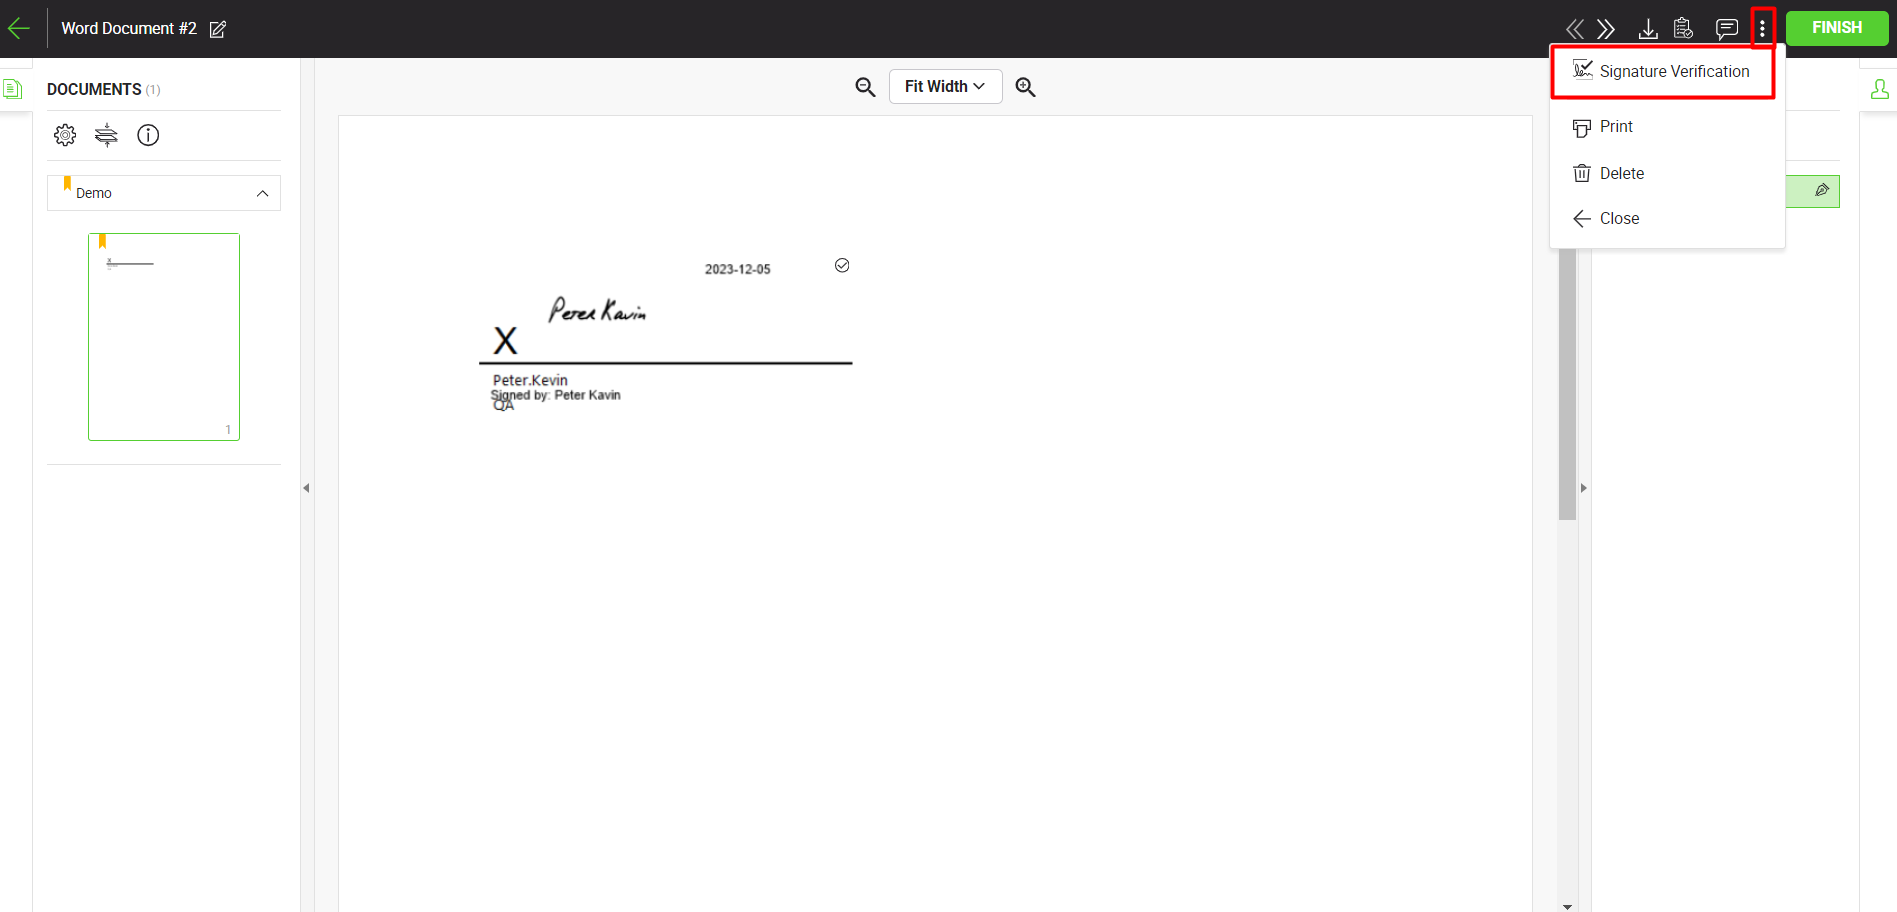
- After signing the document, click the three dots menu
 and select "Signature Verification".
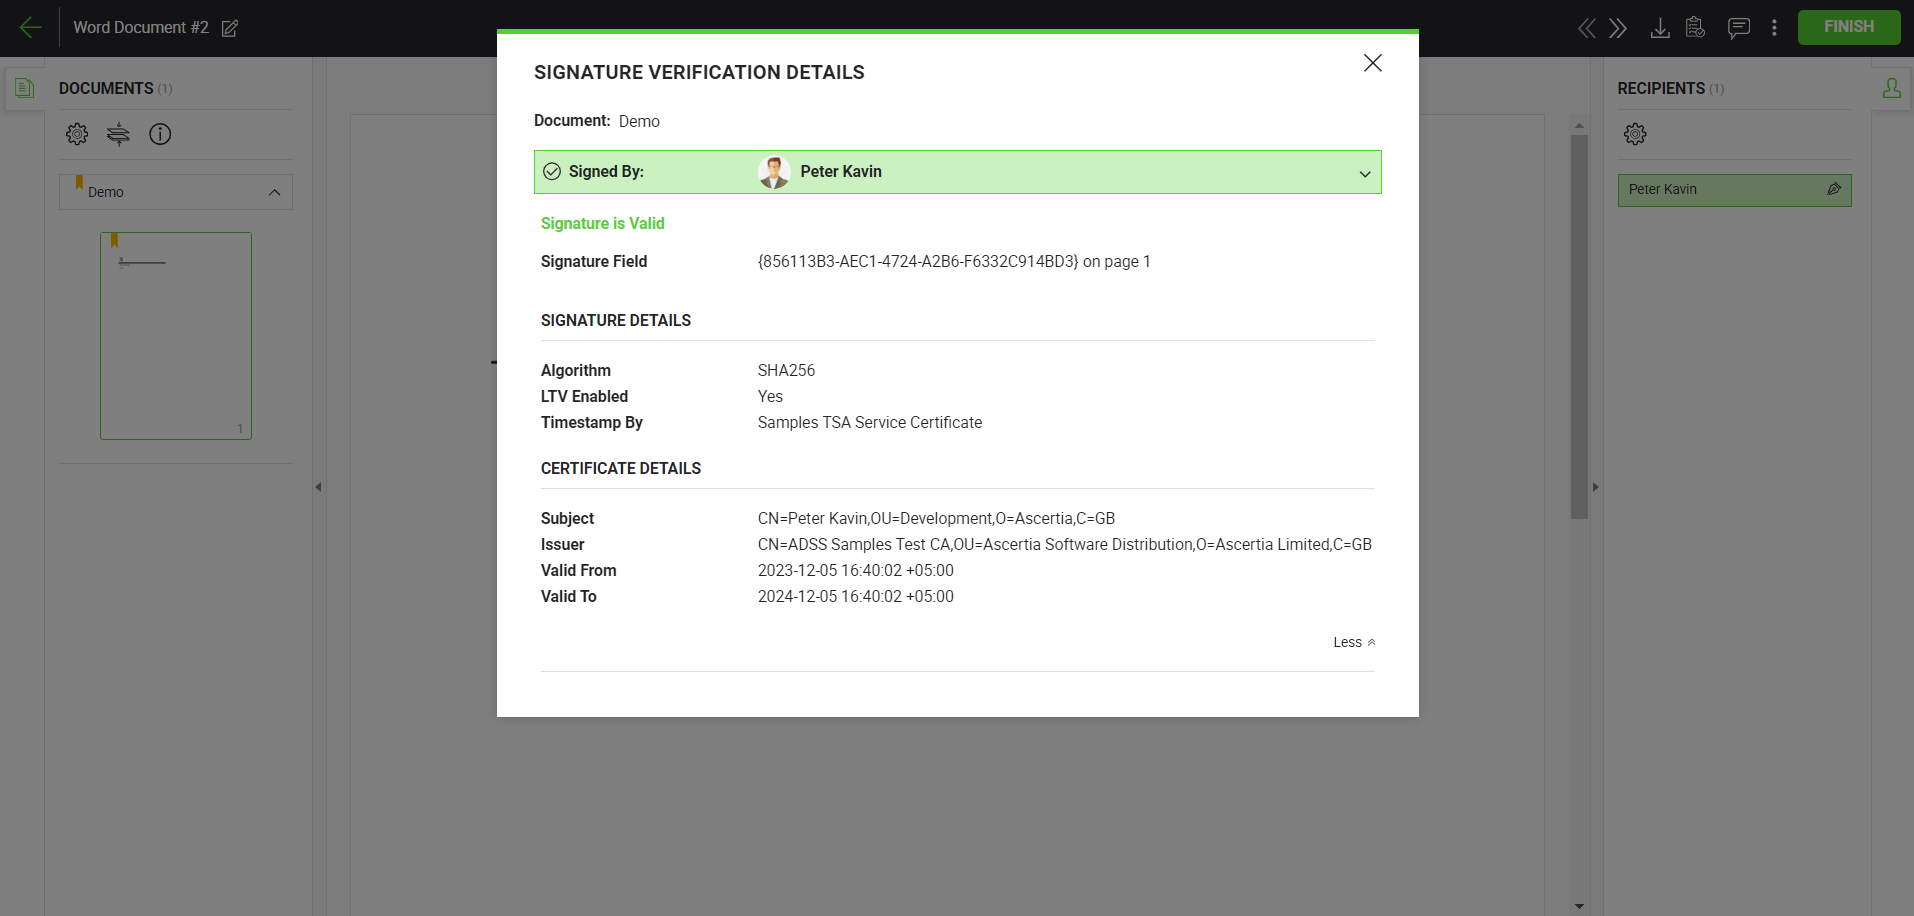
- View "Signature Verification" details.
|
|
|
See Also
- XML Signing
- Electronic Seal Signing
- eID Easy Signing
- CSC Signing
- Remote Authorisation Signing (RAS)
- Signing using Policy OID
- Local Side Signing using T1C Server
- Local Side Signing using ADSS Server
- Signing Based on National ID Validation
- Signing via Signature Pad
- Signing Behaviour w.r.t Signature Appearance
- OTP Authentication