Signing using Policy OID
- Introduction
- How it works?
- Place the Policy Document in SigningHub Directory
- Modify the Web.config file in SigningHub Directory
- Place the Policy Document in ADSS Server Directory
- Modify the policy.properties file in ADSS Server Directory
- Configure a Go>Sign Profile in ADSS
- Configure a Connector in SigningHub Admin
- Configure a Signing Profile in SigningHub Admin
- Add Signing Profile to a Service Plan
- Add Signing Server to a User Role in SigningHub Web
- Signing via SigningHub Web
SigningHub supports all kinds of server side and local side signing using the Policy OID. When a user signs a document using SigningHub, the system applies a signature policy OID to ensure that the signature adheres to the predefined rules. This includes requirements such as cryptographic algorithms, key lengths, time-stamping, and other security measures specified by the policy. For recipients of signed documents, the signature policy OID serves as a reference point during verification. It allows them to confirm that the signature meets the necessary standards for validity and compliance. For this usecase, we are going to perform local side signing with ADSS using Policy OID.
- Place the Policy Document, in SigningHub Directory.
- Modify the Web.config file, in SigningHub directory.
- Place the Policy Document, in ADSS Server Directory.
- Modify the policy.properties file, in ADSS Server directory.
- Configure a Go>Sign signing profile as a prerequisite, in ADSS.
- Configure a connector, in SigningHub Admin.
- Configure a signing profile, in SigningHub Admin.
- Add the signing profile to the service plan.
- Add signing server to your enterprise user role.
- Sign the document via SigningHub Web.
Place the Policy Document in SigningHub Directory
The policy document PDF needs to be placed, in the SigningHub deployment directory, at the following path:
Path: [SigningHub Deployment Directory]\default\signaturepolicydocuments
Modify the Web.config file in SigningHub Directory
To apply the policy OID while signing, the Web.config file needs to be modified, in the SigningHub Directory.
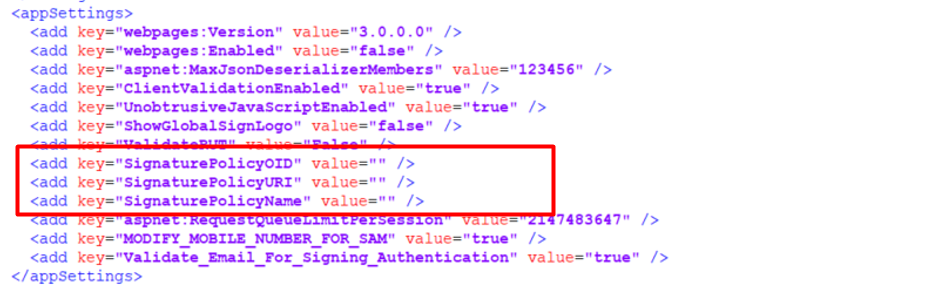
Make the following modifications to the web.config file:
- Provide the values of the "SignaturePolicyOID", "SignaturePolicyURI", "SignaturePolicyName" tags. Then save the changes and close the "Web.config" file. The "SignaturePolicyName" should be the same as the name of the policy document placed in the SigningHub deployment directory.
Place the Policy Document in ADSS Server Directory
The policy document PDF needs to be placed in the ADSS deployment directory, as the ADSS Server is being used for verification, at the following path:
Path: [ADSS Deployment Directory]\service\policy
Modify the policy.properties file in ADSS Server Directory
To apply the policy OID while signing, the policy.properties file needs to be modified in the ADSS Server Directory.
Make the following modifications to the policy.properties file:
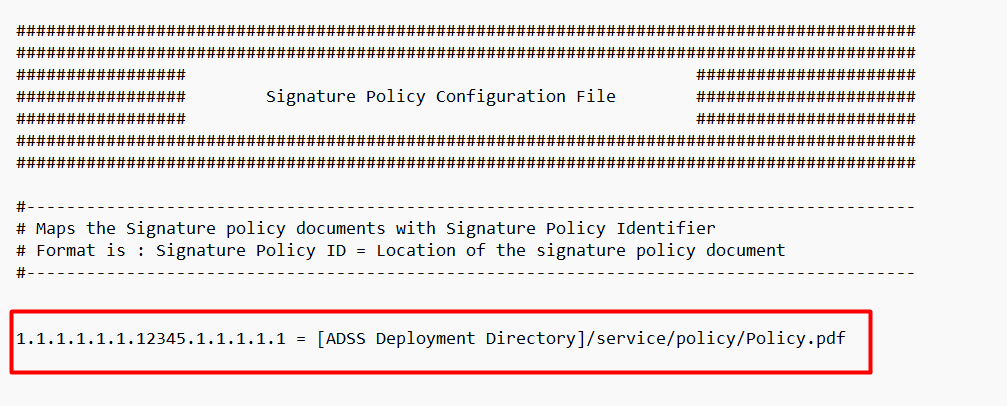
- Add the "Policy IDs" and their "Directory Paths" in the policy.properties file. Then save the changes and close the "policy.properties" file.
Add this information using the mentioned format ( Signature Policy ID = Location of the Signature Policy Document). A sample of the format has been highlighted below:
Configure a Go>Sign Profile in ADSS
For local signing, a Go>Sign profile is configured in Go>Sign Service. (In case of server side, a signing profile will need to be configured)
Make the following configurations to a Go>Sign profile:
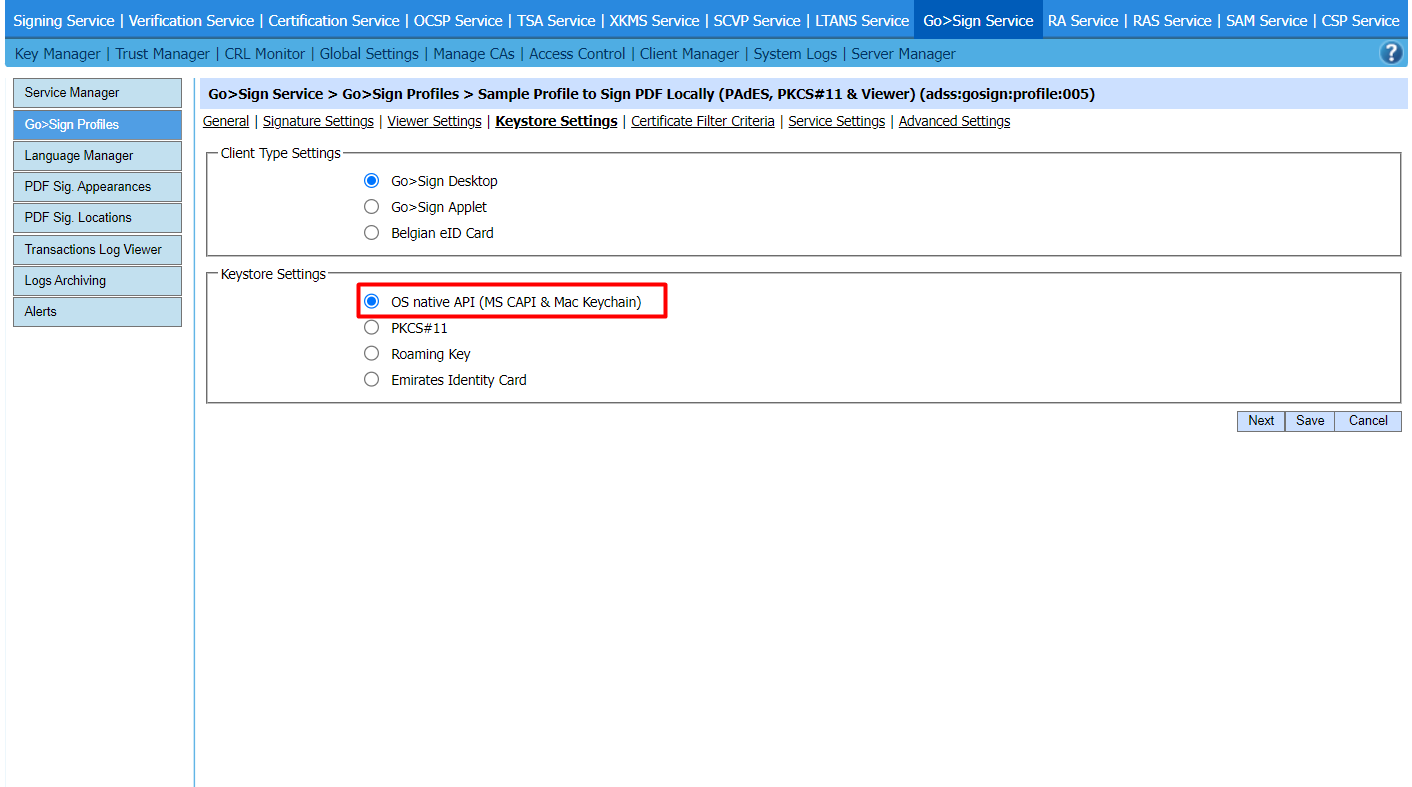
- From the "General" section, copy the Go>Sign Profile ID because it would be used in SigningHub Admin.
- In the "Keystore Settings" section, check the "OS native API (MS CAPI & Mac Keychain)" option, as we want to use the certificates installed on your local machine.
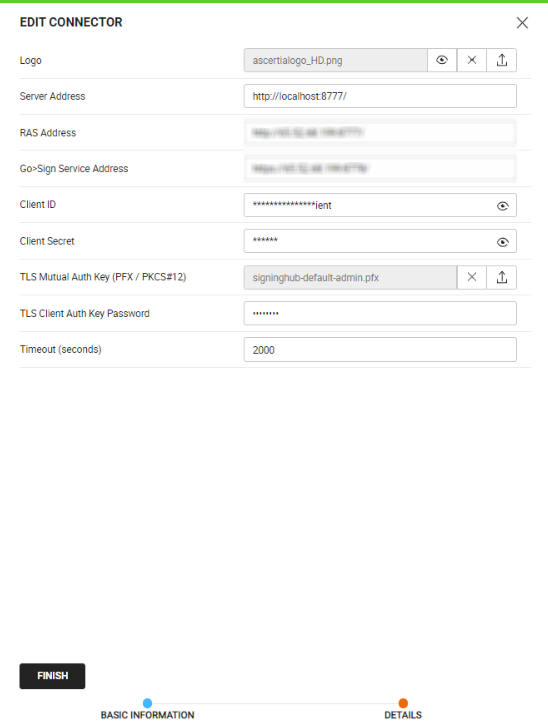
Configure a Connector in SigningHub Admin
To see in detail, how to create an ADSS Server Connector in SigningHub, click here.
Make the following configurations to a connector in SigningHub Admin:
- In the "Basic Information" section, choose "ADSS Server" as the "Provider".
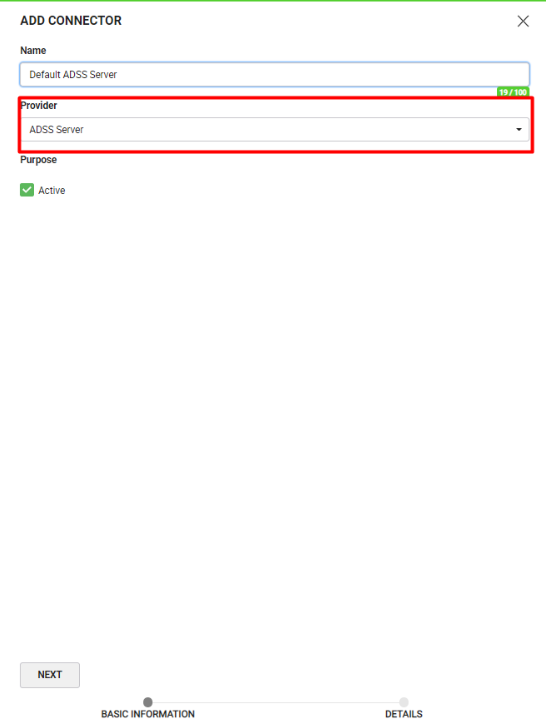
- In the "Details" section, fill in the required fields.
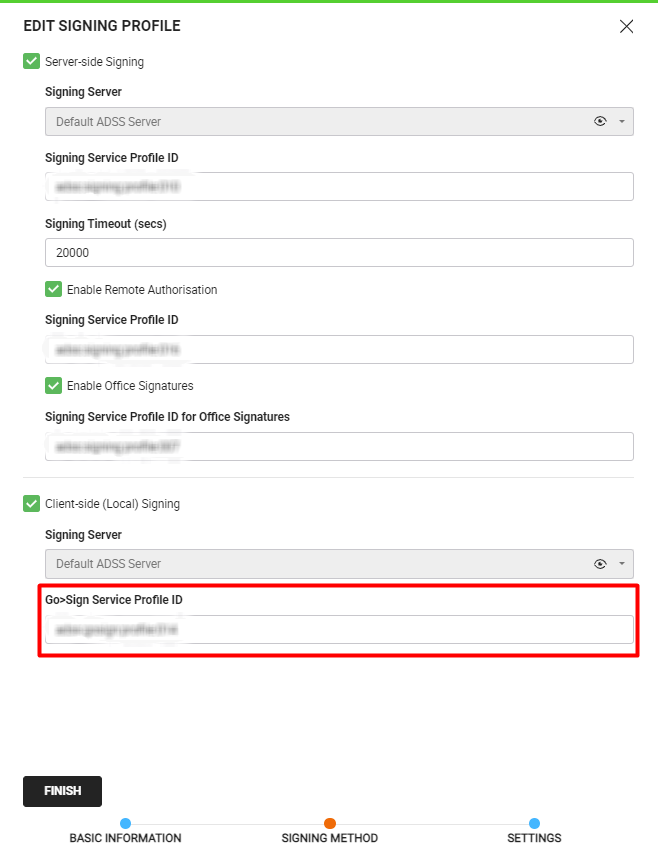
Configure a Signing Profile in SigningHub Admin
To see in detail, how to create a signing profile in SigningHub, click here.
Make the following configurations to a signing profile in SigningHub Admin:
- Paste the earlier copied Go>Sign Profile ID, while creating a Go>Sign Profile in the ADSS, in the highlighted field below:
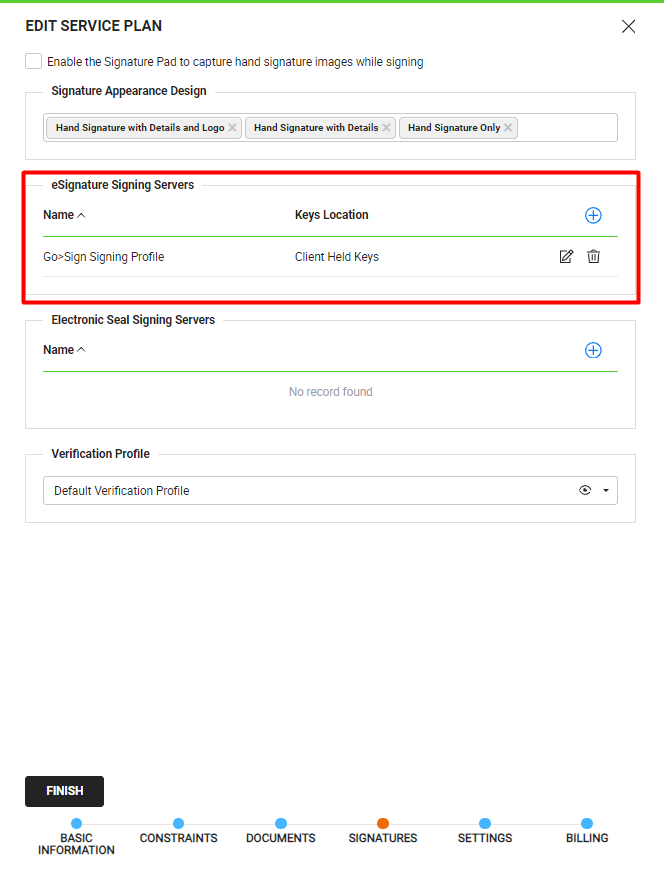
Add Signing Profile to a Service Plan
To see in detail, how to create a service plan in SigningHub, click here.
Make the following configurations to a service plan in SigningHub Admin:
- Select and add the earlier configured Signing Profile, in a service plan in SigningHub Admin, as shown below:
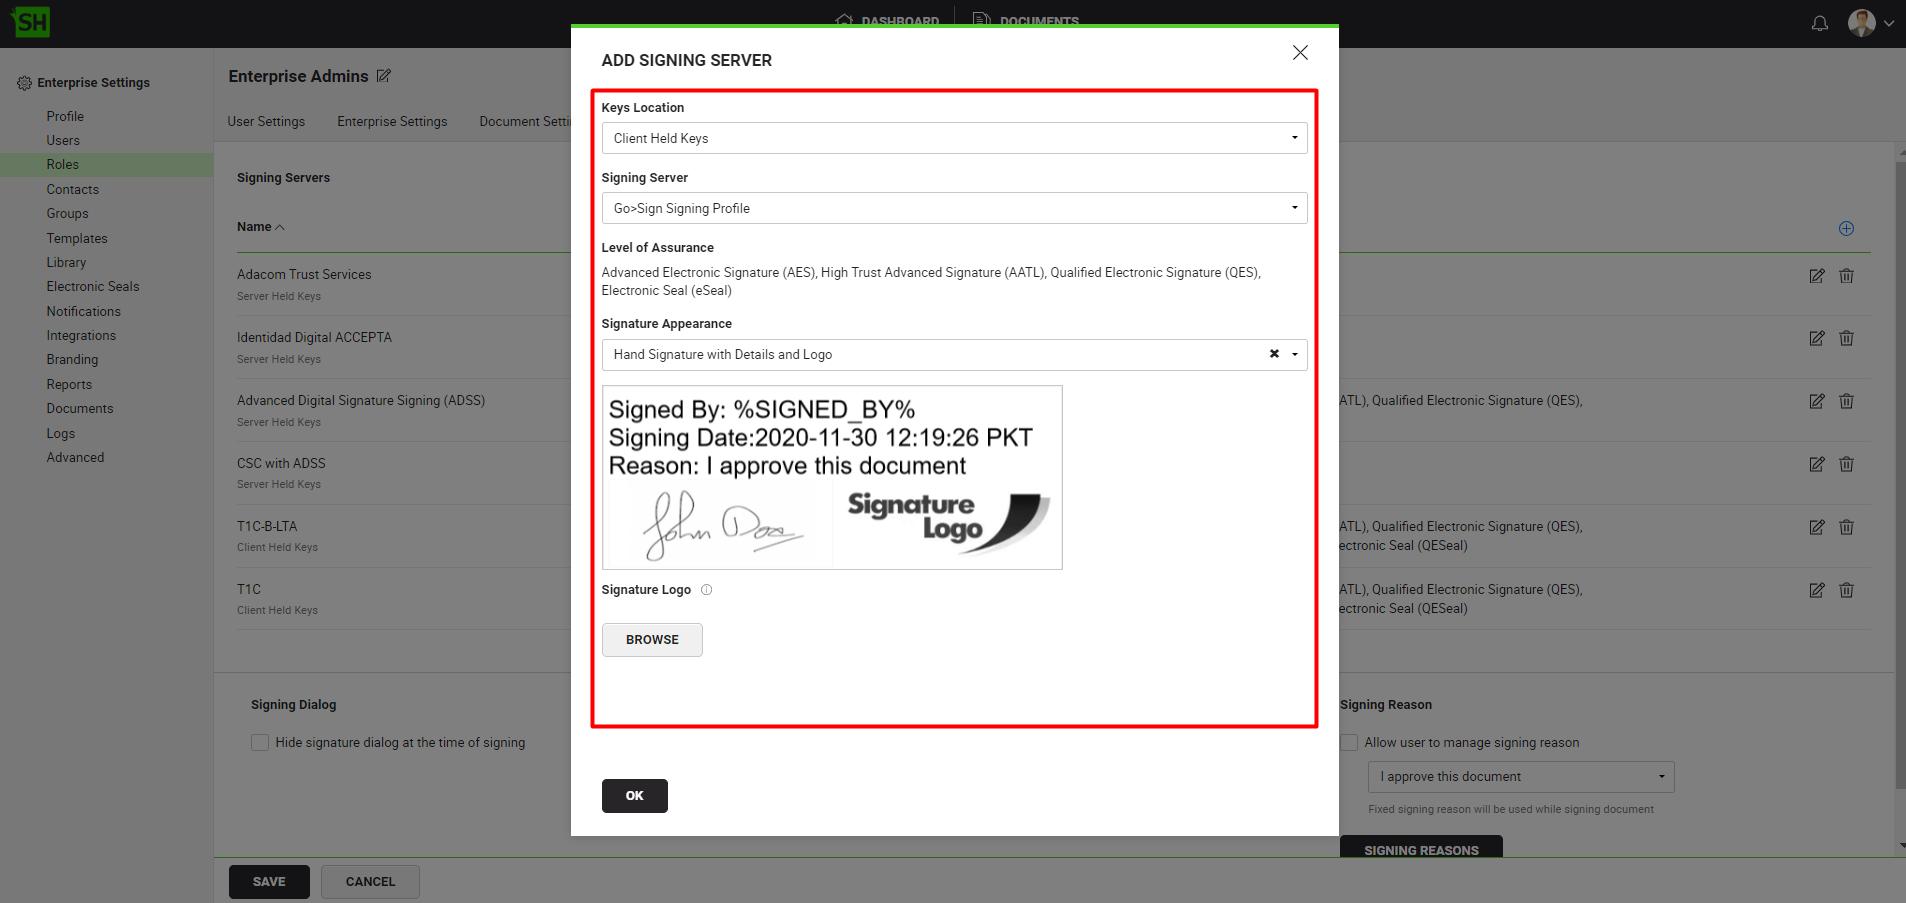
Add Signing Server to a User Role in SigningHub Web
To see in detail, how to manage enterprise user roles in SigningHub, click here.
Make the following configurations to a user role in SigningHub Web:
- Against your user role, in the "Signature Settings" tab, add the signing server.
To sign the document via SigningHub Web, follow the below-mentioned steps:
- Open SigningHub Web and open a document having a signature field that you want to sign.
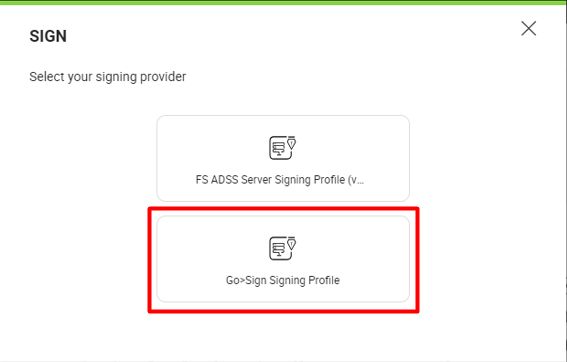
- Click on the signature field and select the Go>Sign Signing Server.
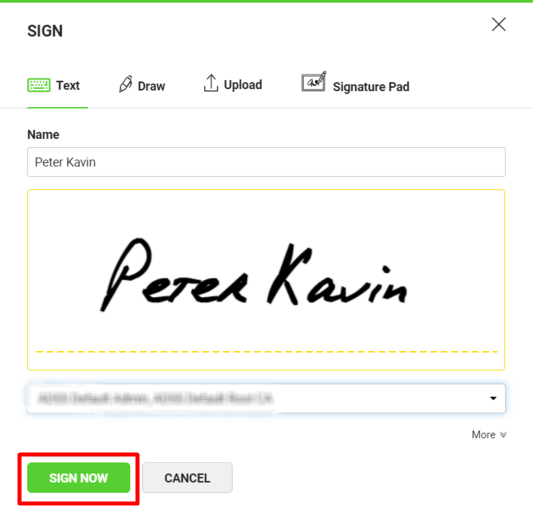
- Then click on the signature field and then click "SIGN NOW".
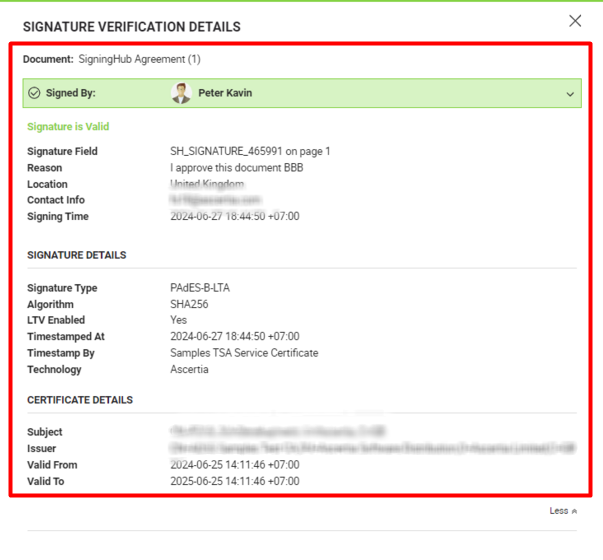
- After signing the document, click the three dots menu
 and select "Signature Verification" to view the"Signature Verification" details.
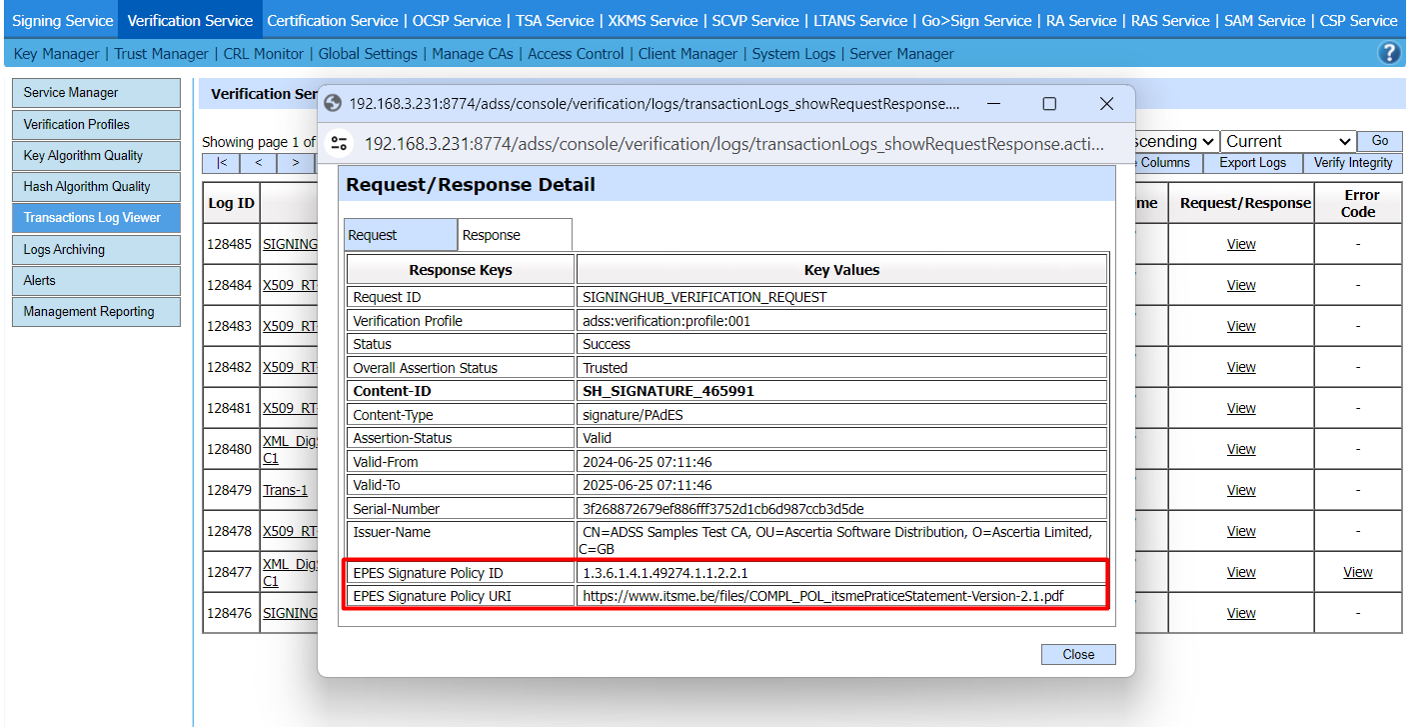
- The signatures can also be verified through the ADSS verification service's transaction logs which will reflect the "Signature Policy ID" and the "Signature Policy URI".
|
|
|

See Also
- XML Signing
- Word Document Signing
- Electronic Seal Signing
- eID Easy Signing
- CSC Signing
- Remote Authorisation Signing (RAS)
- Local Side Signing using T1C Server
- Local Side Signing using ADSS Server
- Signing Based on National ID Validation
- Signing via Signature Pad
- Signing Behaviour w.r.t Signature Appearance
- OTP Authentication