Local Side Signing using T1C Server
- Introduction
- How it works?
- Configure a Connector in SigningHub Admin
- Configure a Signing Profile in SigningHub Admin
- Add Signing Profile to a Service Plan in SigningHub Admin
- Add Signing Server to a User Role in SigningHub Web
- Signing using T1C Server
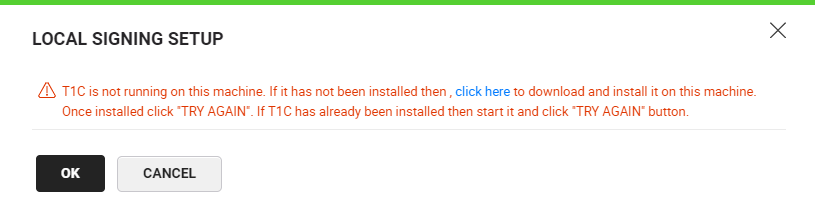
SigningHub supports performing local side signing with Trust1Connector (T1C). For this, SigningHub needs to be registered with the T1C platform and a T1C connector needs to be created in SigningHub to allow SigningHub to connect with the T1C app. The T1C app has to be installed on your local machine and the related HSM is attached to it while signing. Also, you should have full rights on the Trust1Connector service running on your machine. SigningHub will prompt you if any of the above-mentioned prerequisite is missing.
T1C provides a solution to read the hardware tokens with minimum footprint and installations. It can interact with the hardware tokens by using javascript APIs which are implemented in SigningHub for local signing. TC1 can be used as an alternative to the Go>Sign Desktop for local signing. SigningHub supports the T1C SDK v3.7.3.
- Configure a connector, in SigningHub Admin.
- Configure a signing profile, in SigningHub Admin.
- Add the signing profile to the service plan.
- Add the signing server to your enterprise user role.
- Sign the document via SigningHub Web.
Configure a Connector in SigningHub Admin
To see in detail, how to create a T1C Connector in SigningHub, click here.
Make the following configurations to a connector in SigningHub Admin:
- In the "Basic Information" section, choose "T1C" as the "Provider".
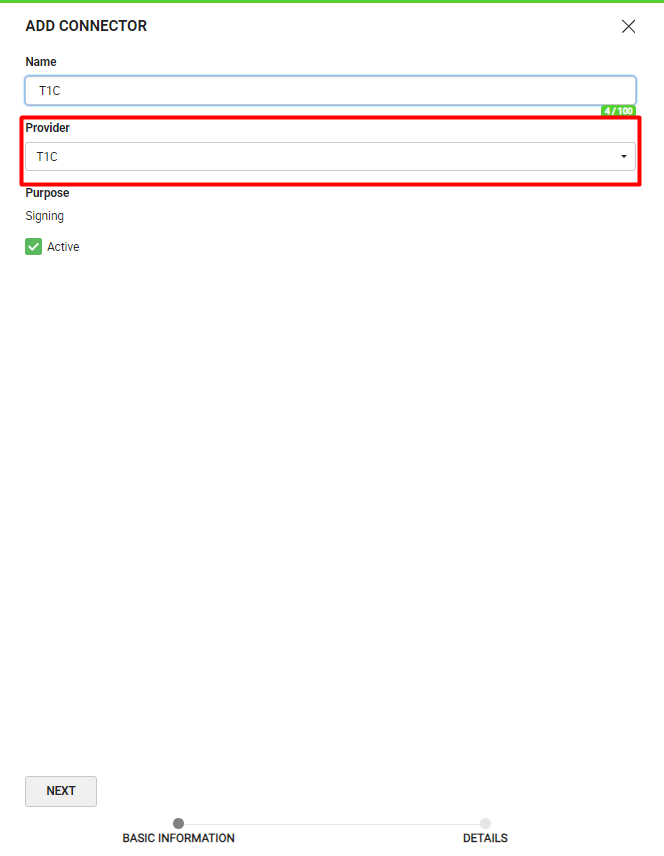
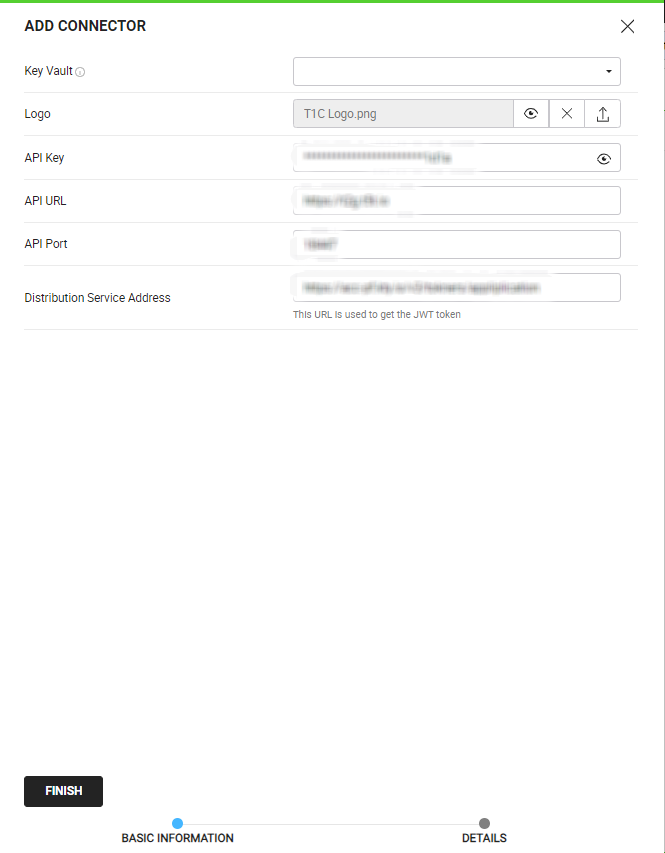
- In the "Details" section, fill in the required fields.
Configure a Signing Profile in SigningHub Admin
To see in detail, how to create a signing profile in SigningHub, click here.
Make the following configurations to a signing profile in SigningHub Admin:
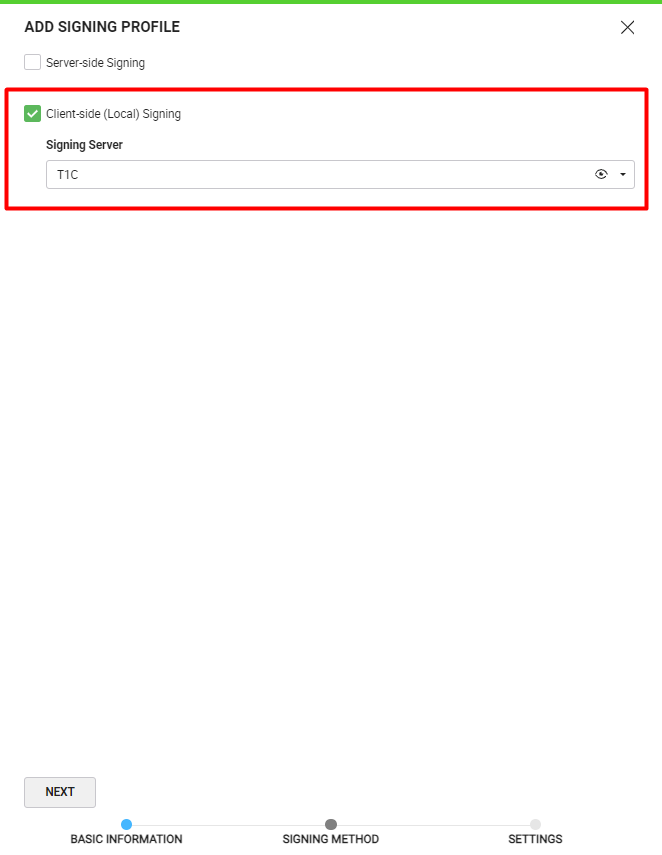
- Select the T1C Connector created earlier, in the highlighted field below:
Add Signing Profile to a Service Plan in SigningHub Admin
To see in detail, how to create a service plan in SigningHub, click here.
Make the following configurations to a service plan in SigningHub Admin:
- In the "Signature" section of the service plan, select and add the earlier configured signing profile, as shown below:
Add Signing Server to a User Role in SigningHub Web
To see in detail, how to manage enterprise user roles in SigningHub, click here.
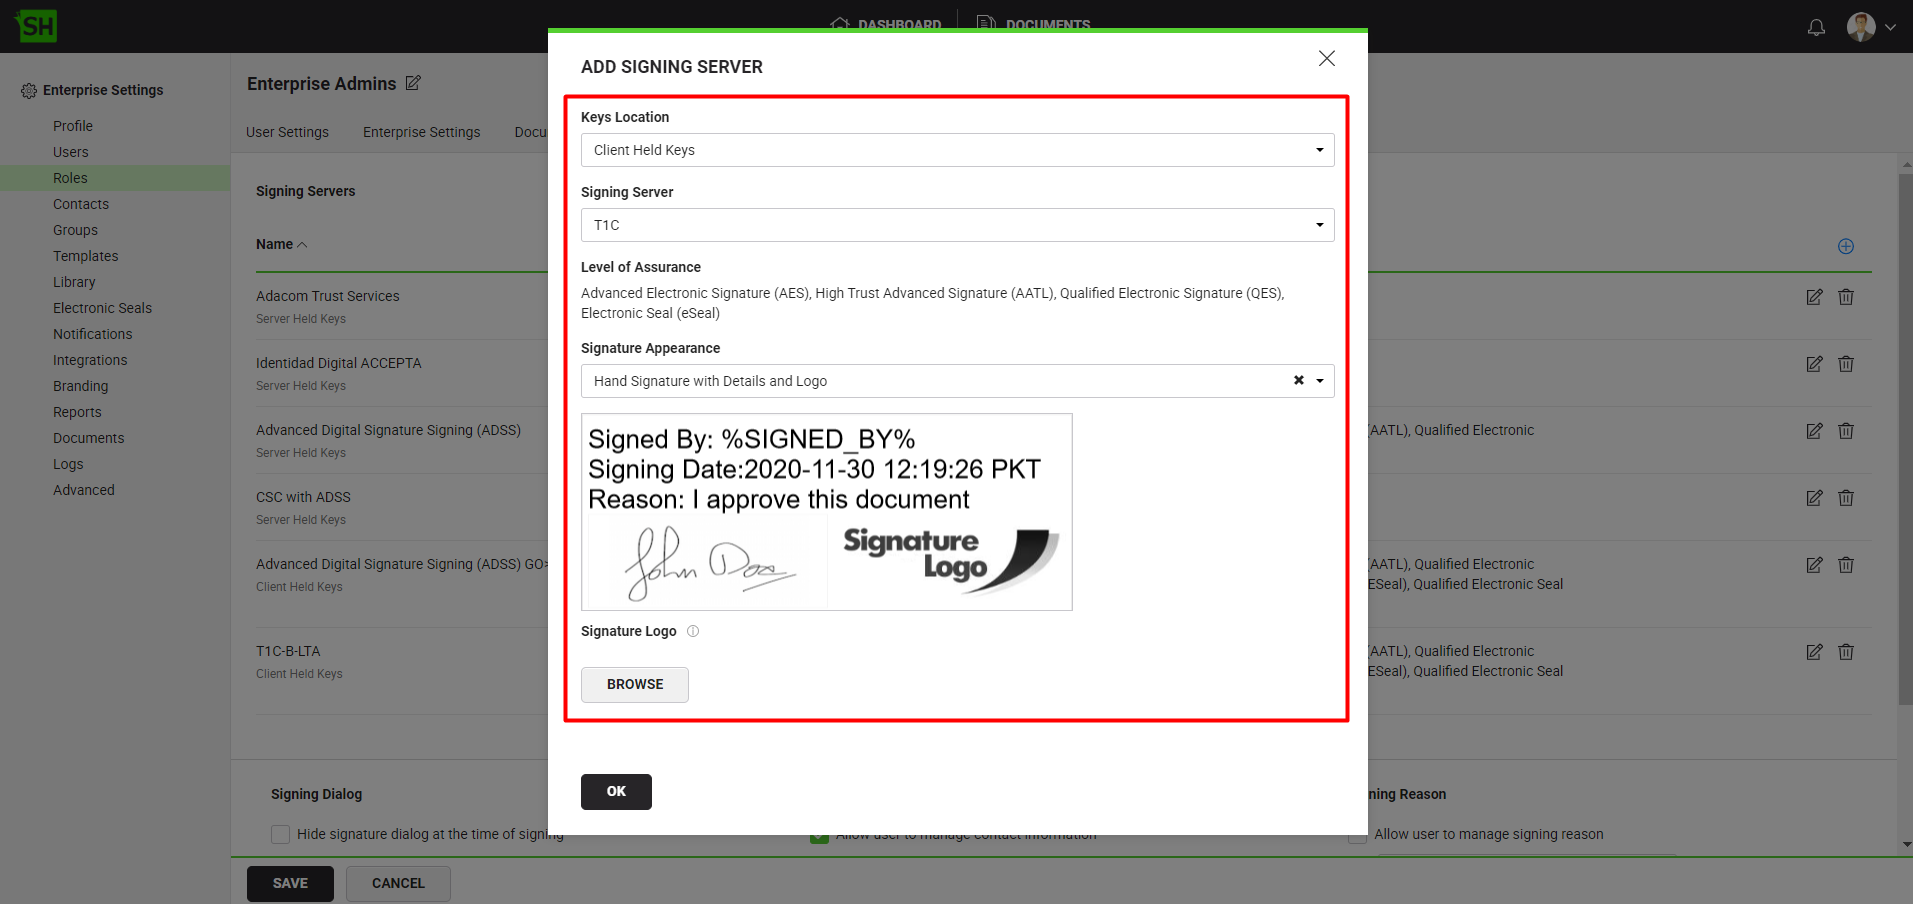
Make the following configurations to a user role in SigningHub Web:
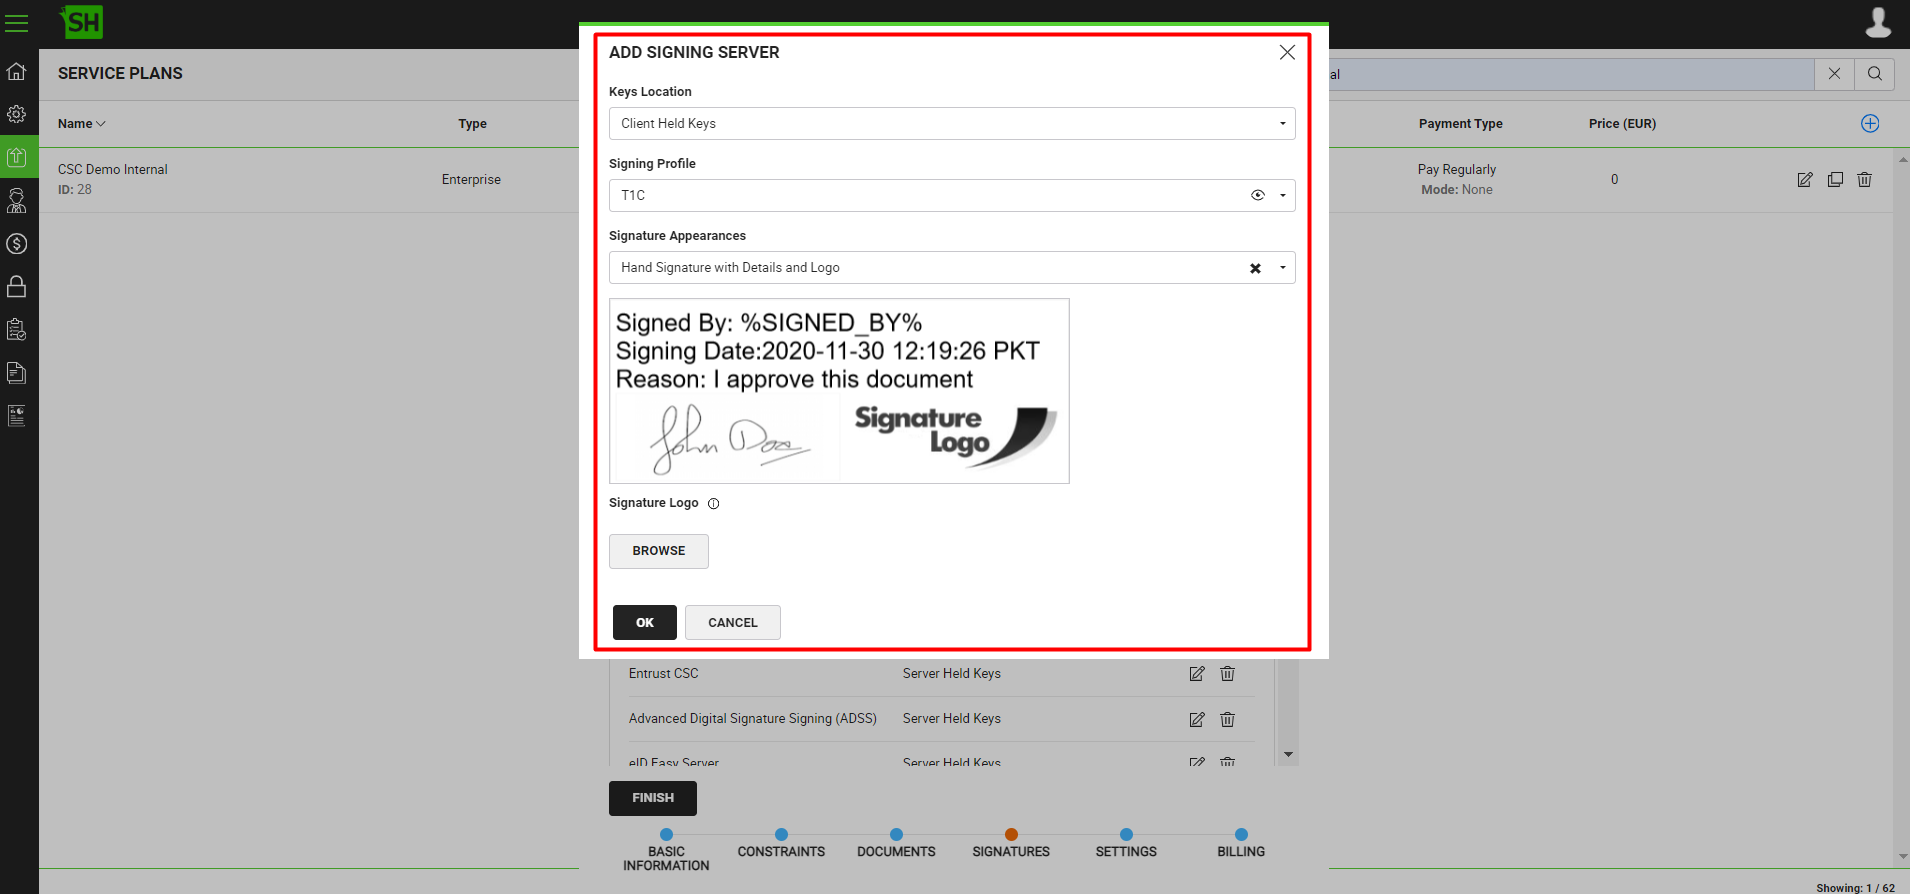
- Against your user role, in the "Signature Settings" tab, add the signing server.
To perform T1C signatures, follow the below-mentioned steps:
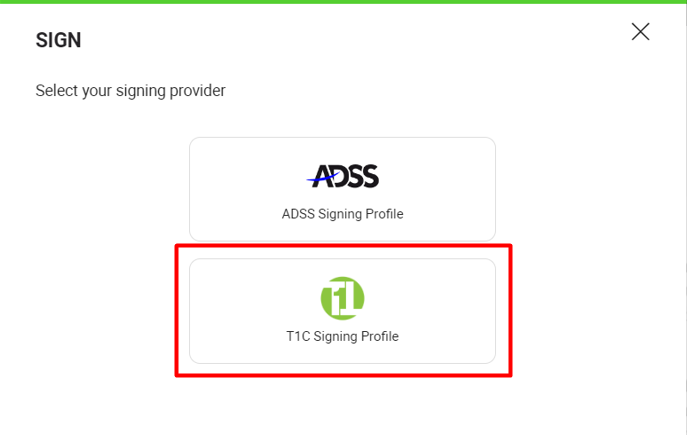
- From the document listing, open a the document having a Signature field that you want to sign.
- Click on the signature field, select the T1C Signing Server.
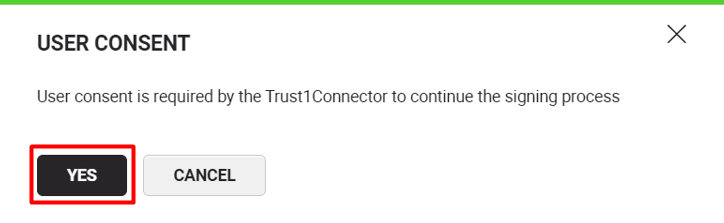
- Upon selecting the T1C Signing Server, the user consent dialog will appear. It will appear once for each user session. Click on the "Yes" button to proceed.
- Click on the "SIGN NOW" button.
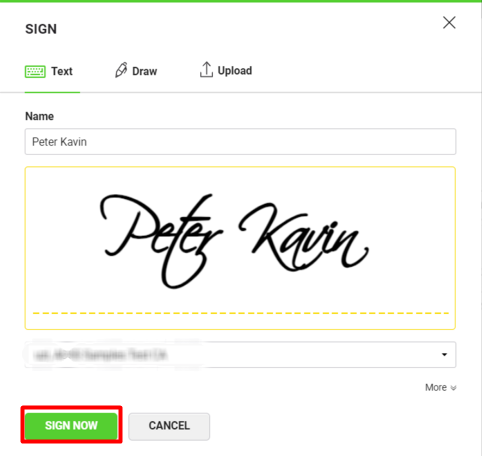
- The system will prompt the user to input the token PIN to authorise the signing process.

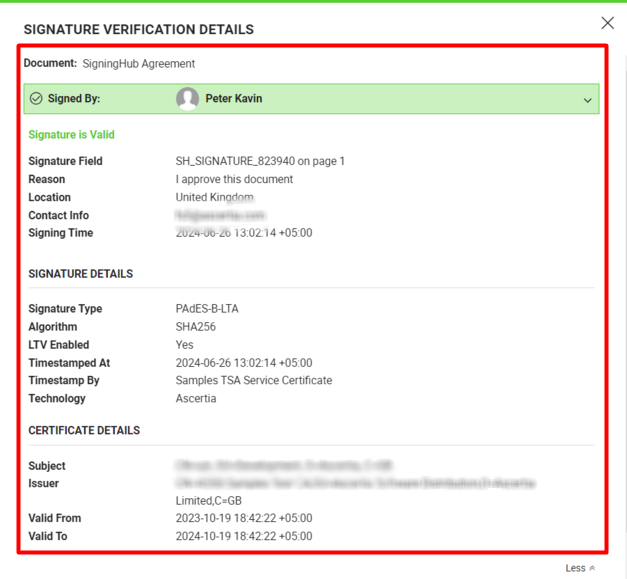
- After signing the document, click the three dots menu
 and select "Signature Verification".
|
|
|

See Also
- XML Signing
- Word Document Signing
- Electronic Seal Signing
- eID Easy Signing
- CSC Signing
- Remote Authorisation Signing (RAS)
- Signing using Policy OID
- Local Side Signing using ADSS Server
- Signing Based on National ID Validation
- Signing via Signature Pad
- Signing Behaviour w.r.t Signature Appearance
- OTP Authentication