Generate Client ID and Client Secret
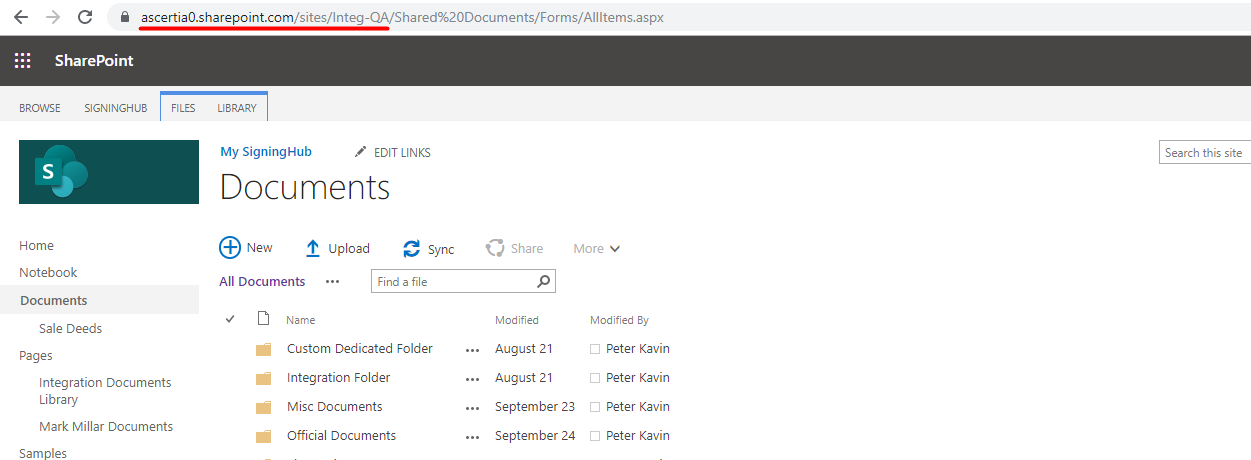
- Open your site collection and click Home/ Documents.
- Copy your SharePoint site collection URL (as underlined in the following image) and append "/_layouts/15/appregnew.aspx" to it, i.e.:
https://ascertia0.sharepoint.com/sites/Integ-QA/_layouts/15/appregnew.aspx
- Browse the above URL (i.e. https://ascertia0.sharepoint.com/sites/Integ-QA/_layouts/15/appregnew.aspx) and fill-in the form as explained below.
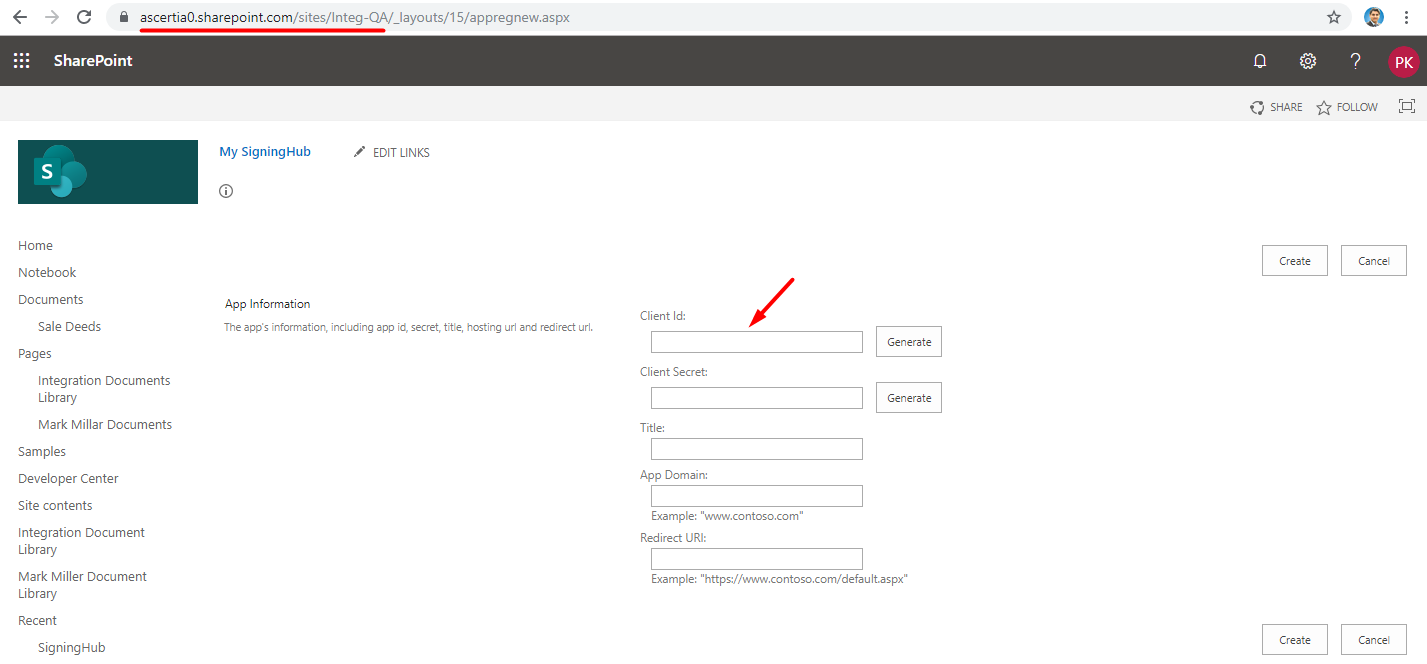
- To fill-in the forms:
- Click the Generate buttons to create exclusive Client ID and Client Secret for your Auto-Pull configurations.
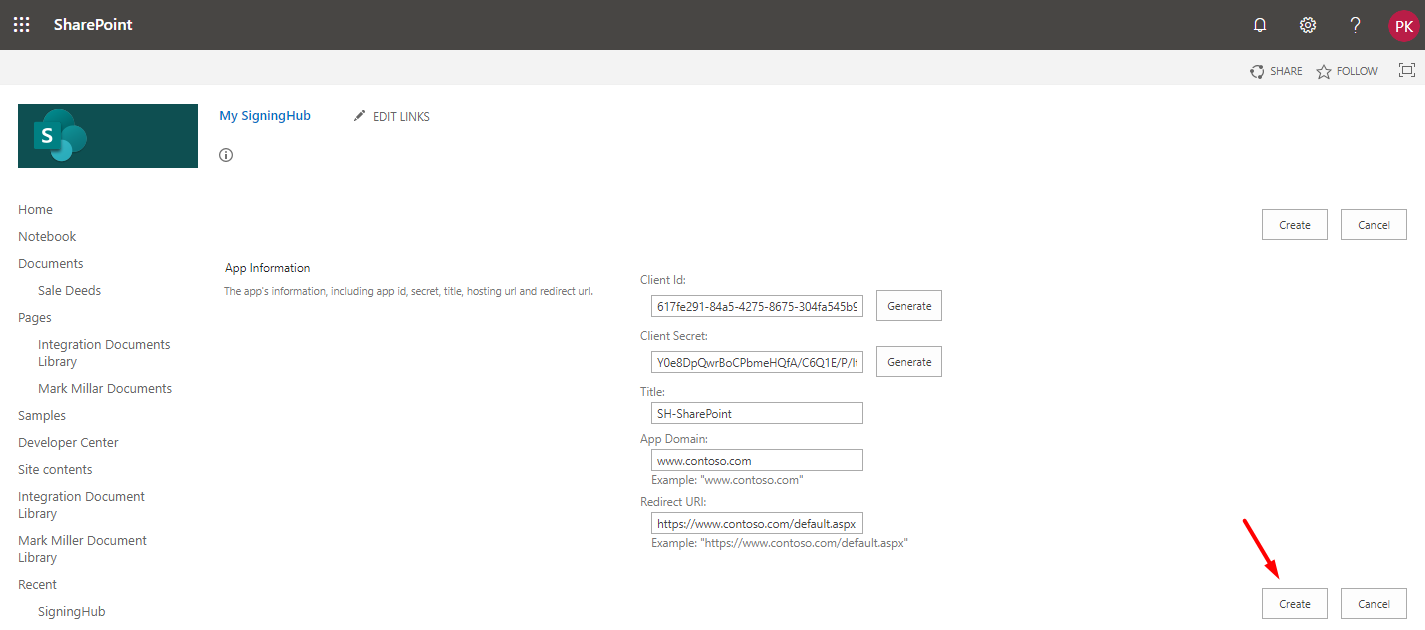
- Specify any Title for this configuration, i.e. SH-SharePoint.
- Now specify the App Domain and Redirect URI according to your deployment. If you dont have App Domain and Redirect URI, fill-in the fields with the exemplary values as quoted below these fields. Click Create.
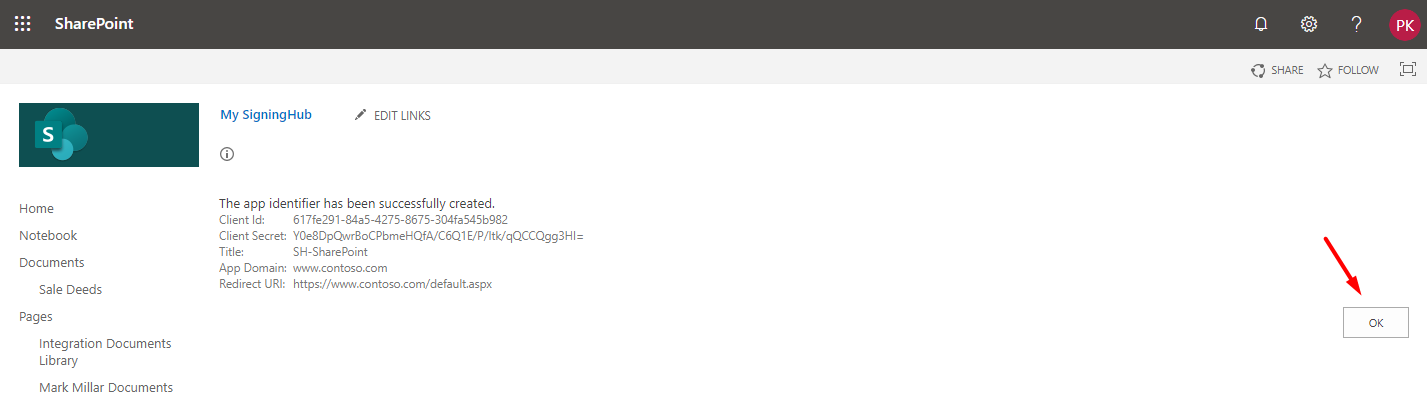
- Copy the Client ID and Client Secret values and click OK.
Register Client ID and Client Secret
- Open your site collection and click Home/ Documents.
-
Copy your SharePoint site collection URL (as underlined in the following image) and append "/_layouts/15/appinv.aspx" to it, i.e.:https://ascertia0.sharepoint.com/sites/Integ-QA/_layouts/15/appinv.aspx
-
Browse the above URL (i.e. https://ascertia0.sharepoint.com/sites/Integ-QA/_layouts/15/appinv.aspx) and register the client ID and client secret as explained below.
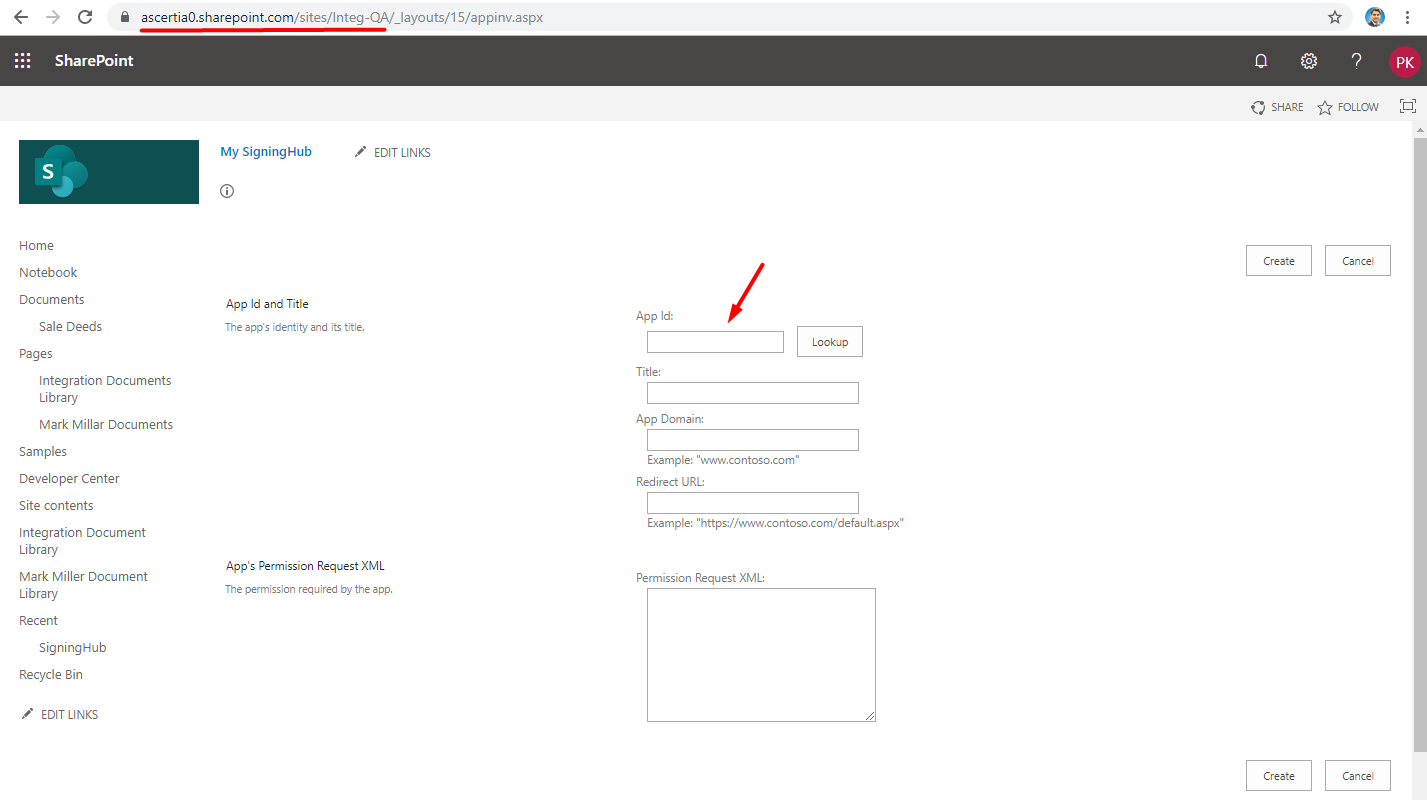
- Specify the client ID generated above in the App ID field and click Lookup.
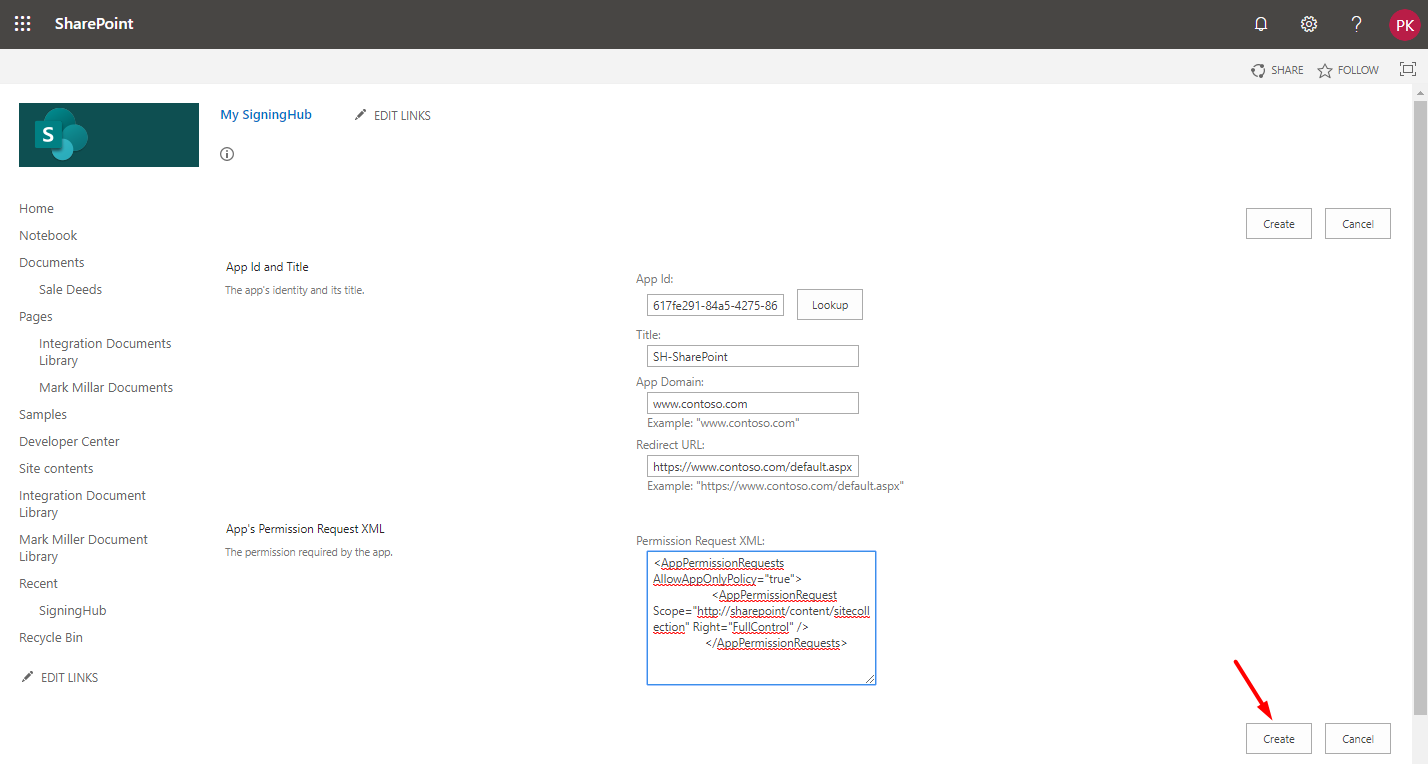
- The data in the Title, App Domain, and Redirect URI fields will be auto filled-in as per the supplied values above.
- Specify the following code in the App's Permission Request XML field. Click Create.
<AppPermissionRequestsAllowAppOnlyPolicy="true"><AppPermissionRequestScope="http://sharepoint/content/sitecollection"Right="FullControl"/></AppPermissionRequests>
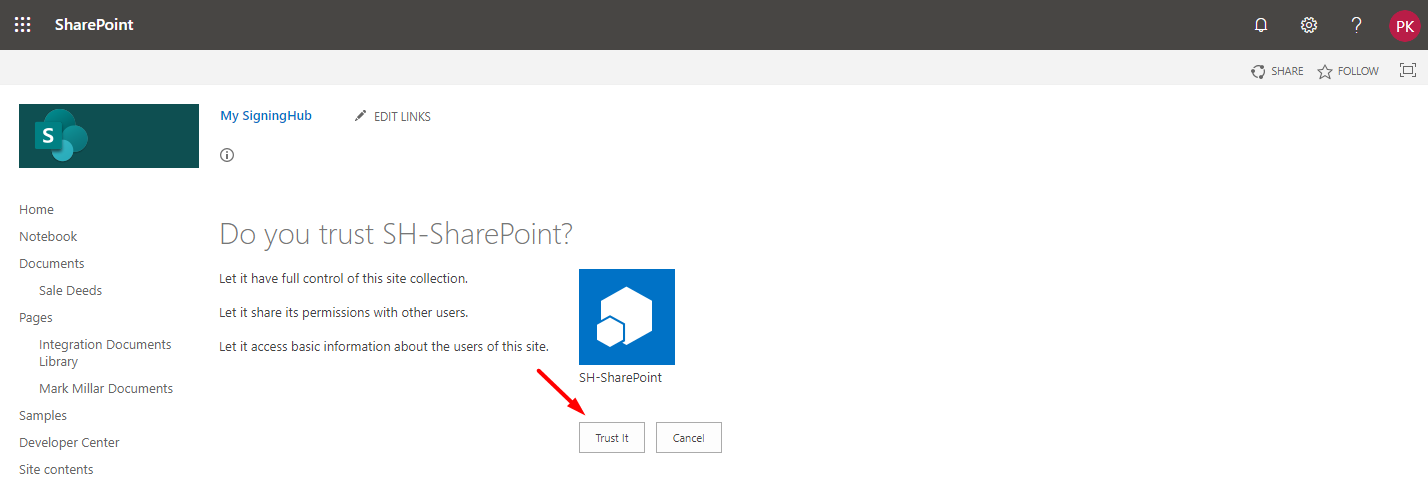
- Click Trust It.
The Client ID and Client Secret values are ready to be used in the Auto-Pull Documents configuration, see details.