When you are looking to use the "Office 365" authentication to configure the SigningHub Account Settings, you need to register your app in Azure Active Directory. Upon successful registration, a unique Application ID is generated in Azure that will be used in the Account Settings. Lets jump straight as how to obtain this identity.
- Sign in to your Azure Account through the Azure portal.
-
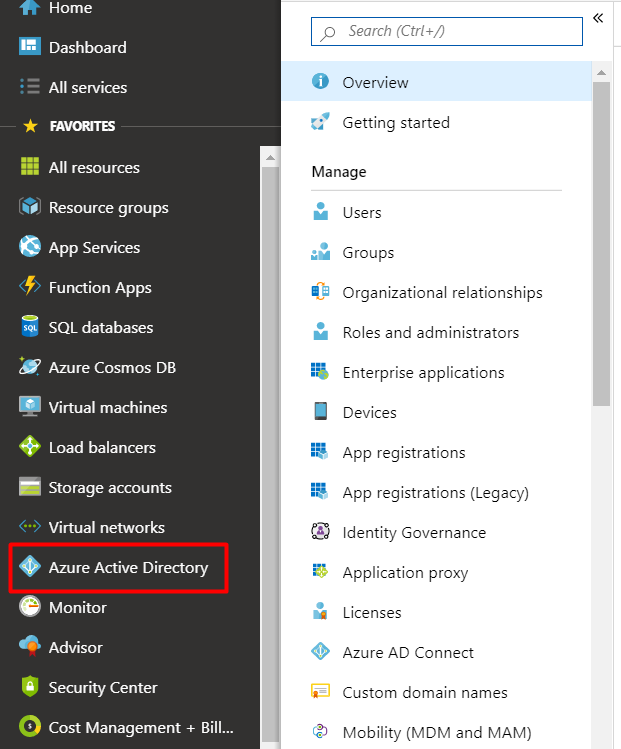
Click the "Azure Active Directory" option.
-
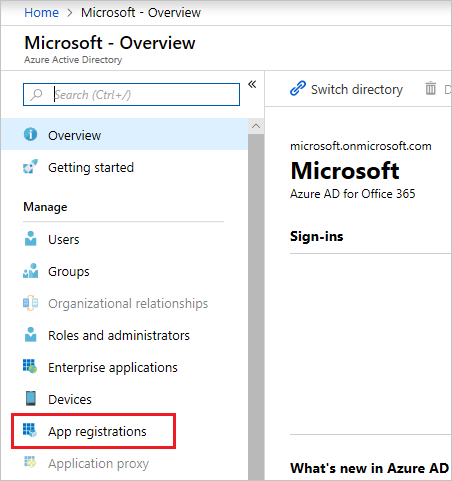
Click the "App registrations" option from the left menu.
-
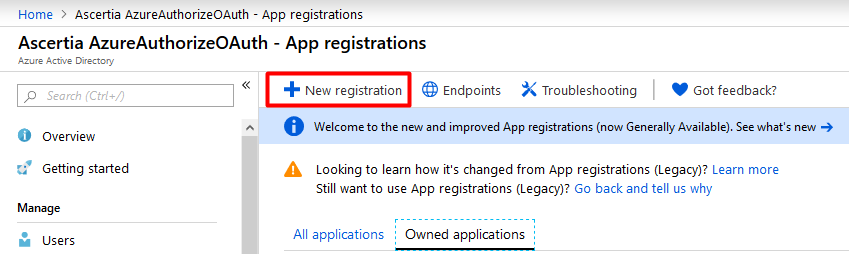
Click the "New registration" option.
-
Provide a name for your application and click the "Register" button.
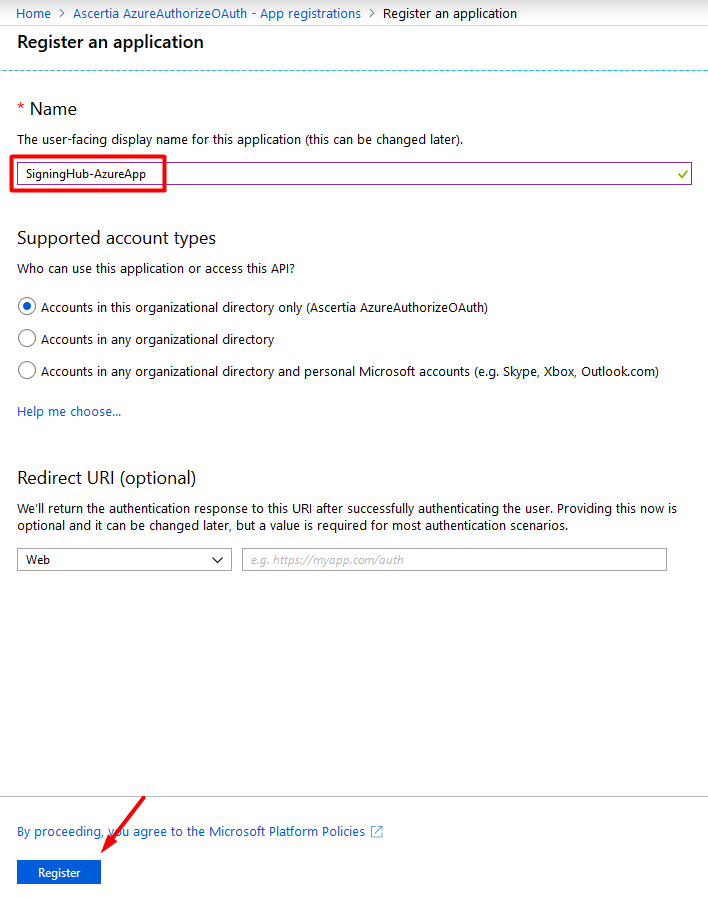
You've created your Azure application.
Application ID and Reply URI Configurations
Use the following steps to configure them:
- Click your newly created application from the "App registrations" screen.
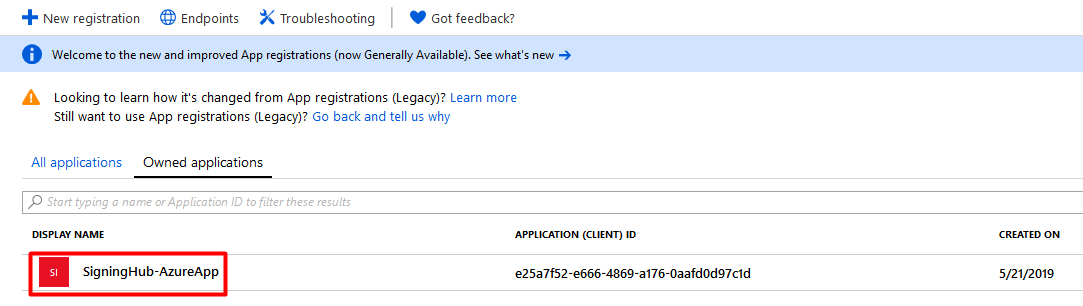
-
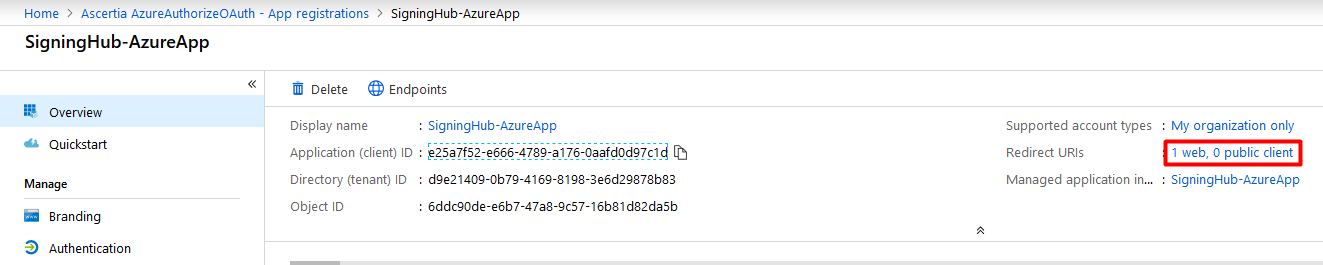
Copy your "Application ID" and paste it the SigningHub Account Settings.

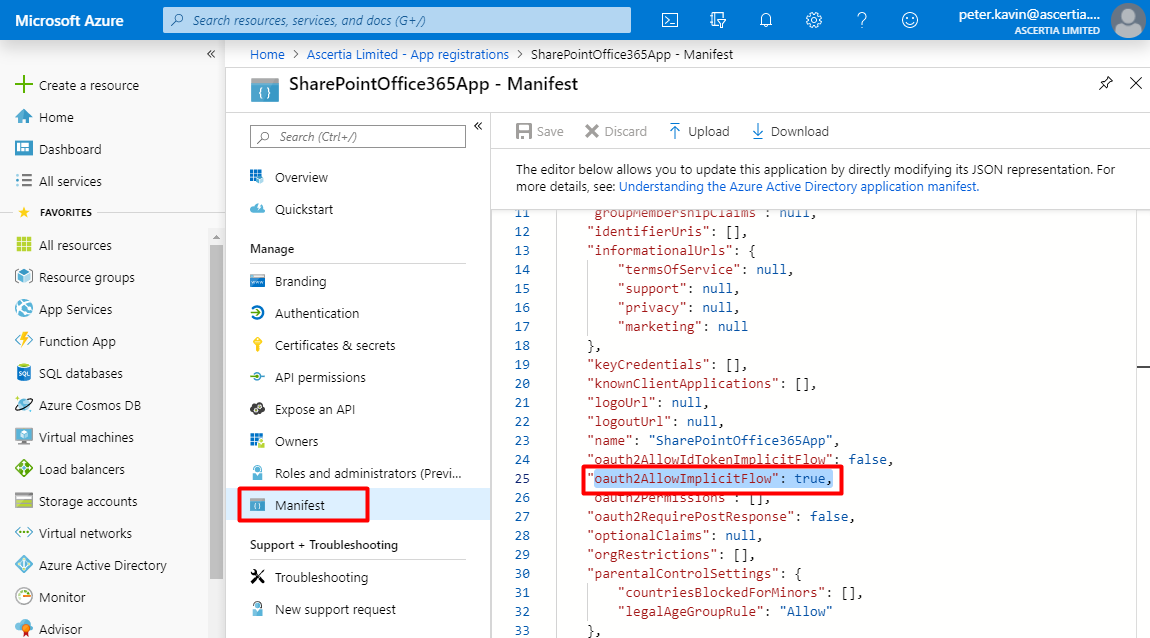
- Click the "Manifest" option and make sure the "oauth2AllowImplicitFlow" tag is "TRUE" over there.
- Click the value of the "Redirect URIs" field.
- Now set the SharePoint reply/ callback URL according to your site collection. Make sure the set URL is correct otherwise you may face configurations issues related to the app integration with SigningHub, see the below description for details as how to create a Reply/ Callback URLs.
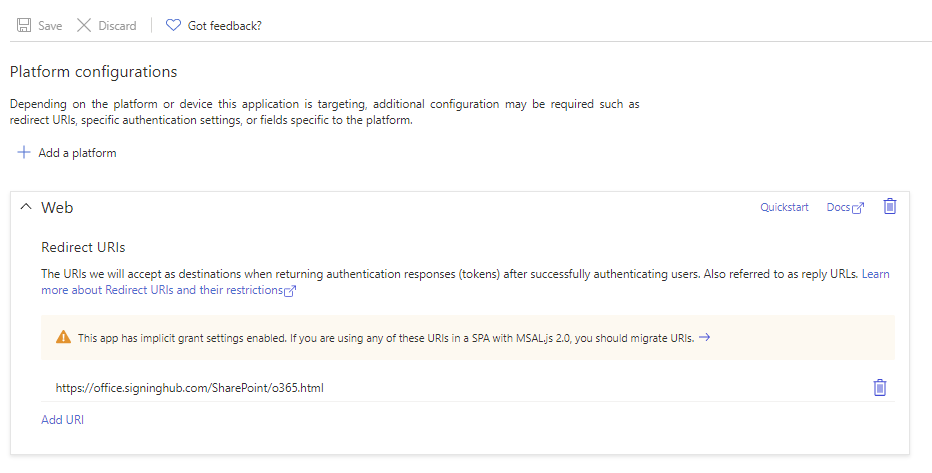
- Also set the SigningHub for SharePoint Proxy URL where the proxy instance has been deployed i.e. https://office.signinghub.com/SharePoint/o365.html
The use of "Office 365" authentication in SigningHub for SharePoint also requires some back end configurations at the SigningHub Admin end, i.e.:
- The "Office 365" connector should be created, and
- A public authentication profile against the "Office 365" connector should be created.