You can also quickly sign your documents from your SharePoint account, without going through the "Status" and "Recipients Adding" screens. This option is useful when you are the only
document signer and no one else needs to sign it. SigningHub uses the "Only-me" variant of workflow to process such documents.
Sign a document
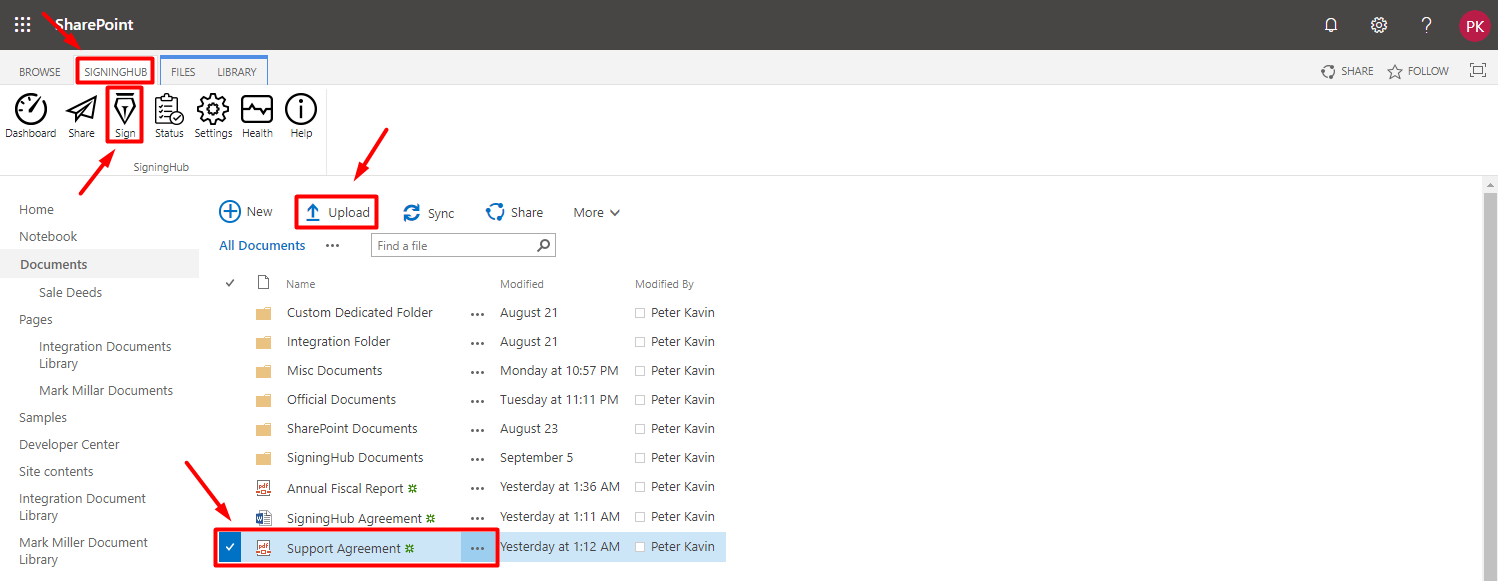
- Browse the SharePoint site link (as provided by your SharePoint admin) and log into your SharePoint account.
- Click the document library (i.e. default document library, or your custom document library, or a document set) whose document(s) are required to sign.

- Click the "Upload" button to upload new document(s) (to sign) and select them, or select the document(s) (to sign) from your existing documents list. Click here for the supported document types.
- Based on your opted SharePoint View, click the "SigningHub" tab and select the "Sign" option.
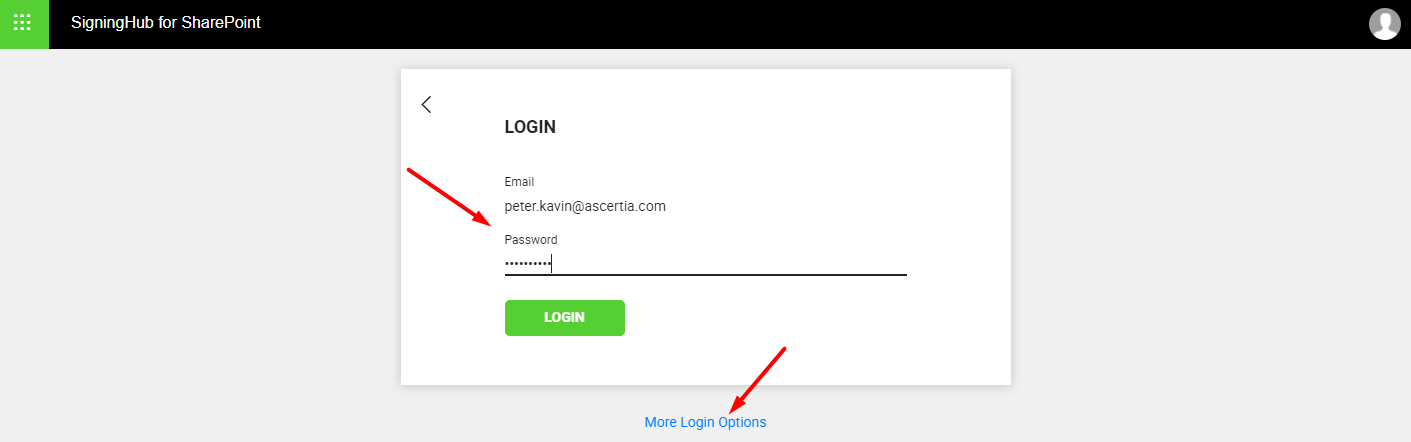
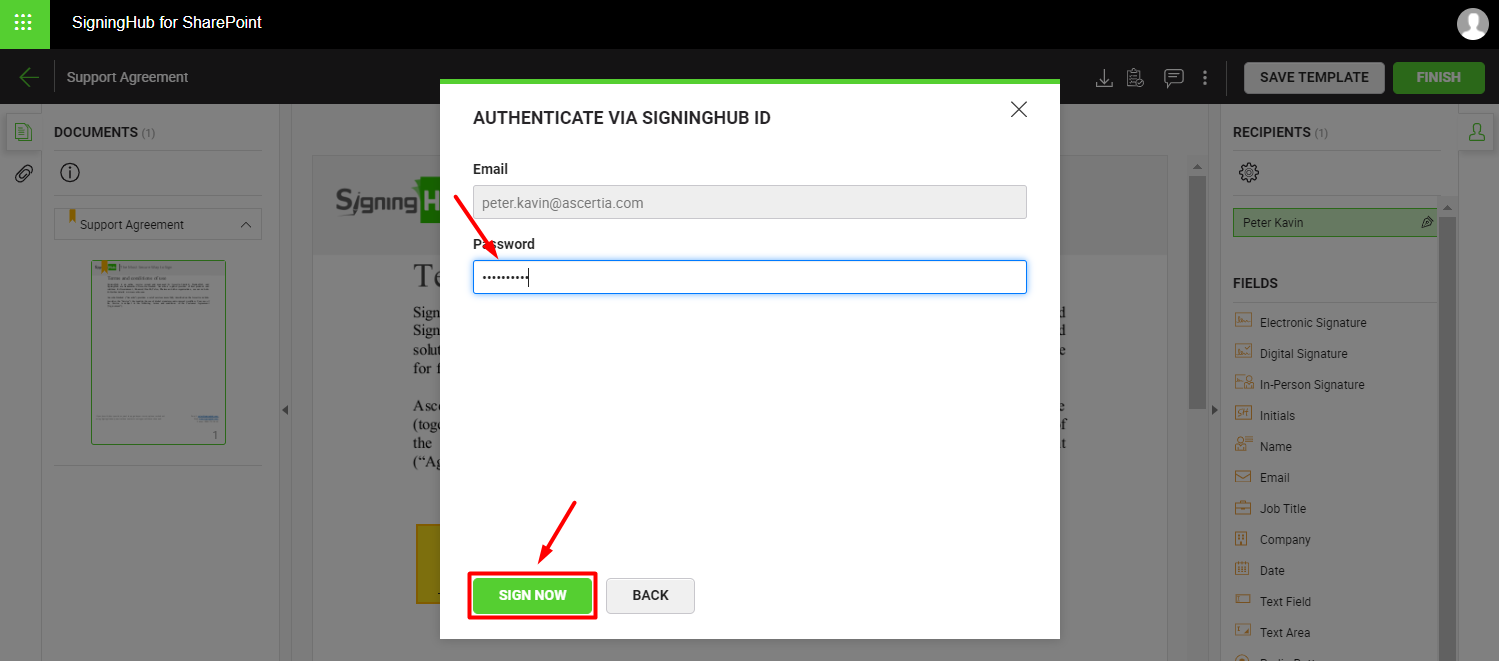
- The authentication screen of SigningHub will appear within SharePoint, specify your credentials to authenticate yourself. There are multiple authentication ways in SigningHub, click the "More Login Options" link to use the advanced login options, see details.
SigningHub for SharePoint also supports multi-factor authentication (i.e. login credentials and OTP), if it is configured in the roles settings of your SigningHub enterprise account, see details.
You can also skip the SigningHub authentication screen by turning on the "Allow recipients to access the documents without login when using email link or integrated application" checkbox from your SigningHub Enterprise account, see details.
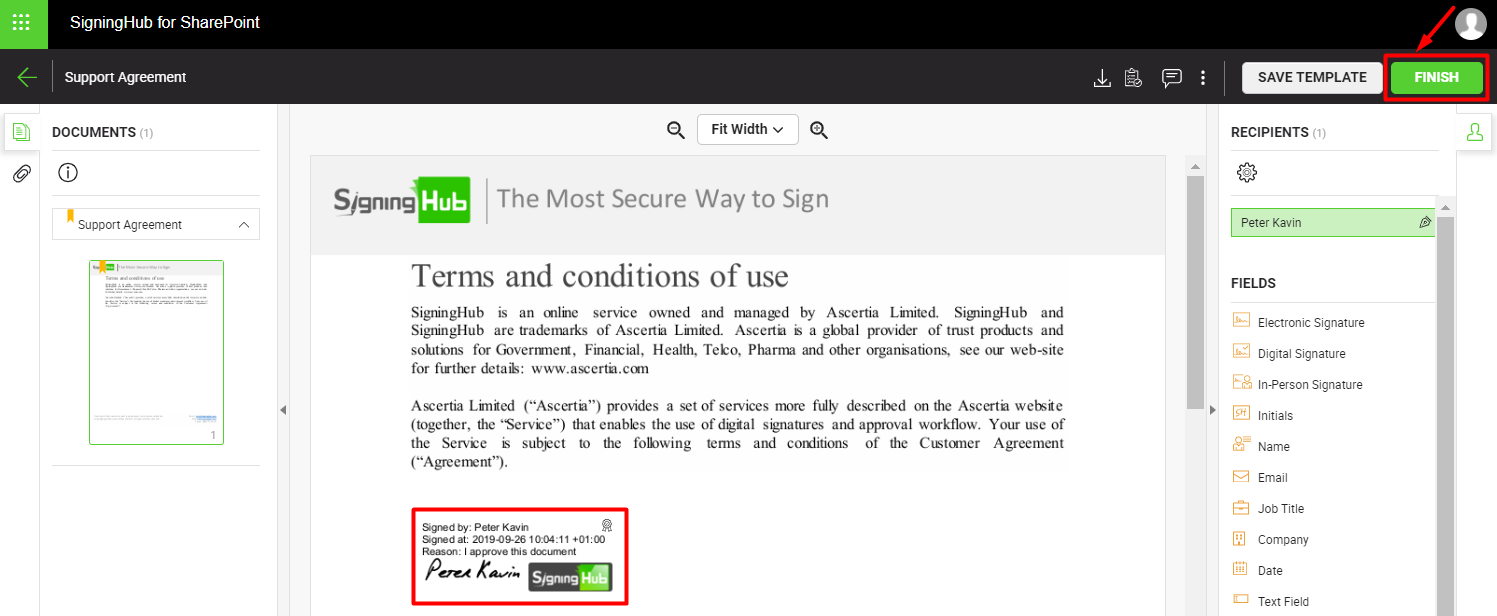
- After successful authentication, the selected document will be opened inside SigningHub in preparation mode. Add a Digital Signature or an Electronic Signature field as required, see details how.
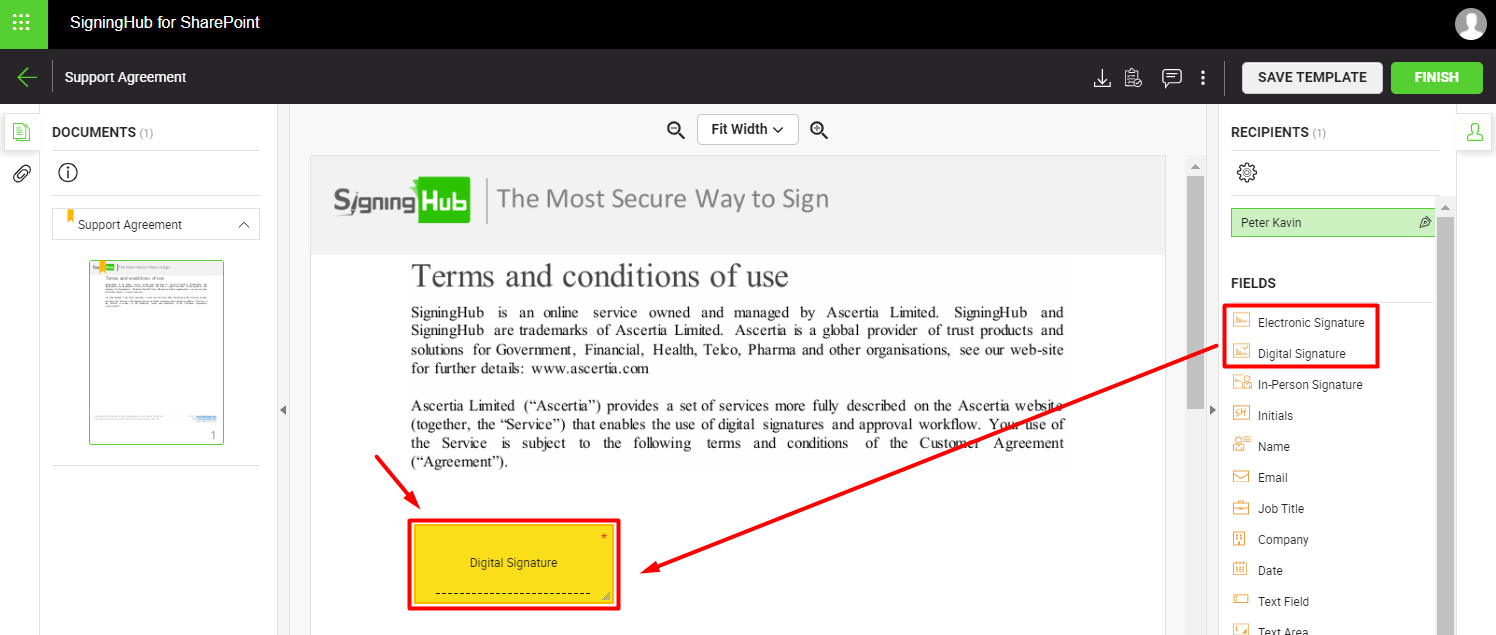
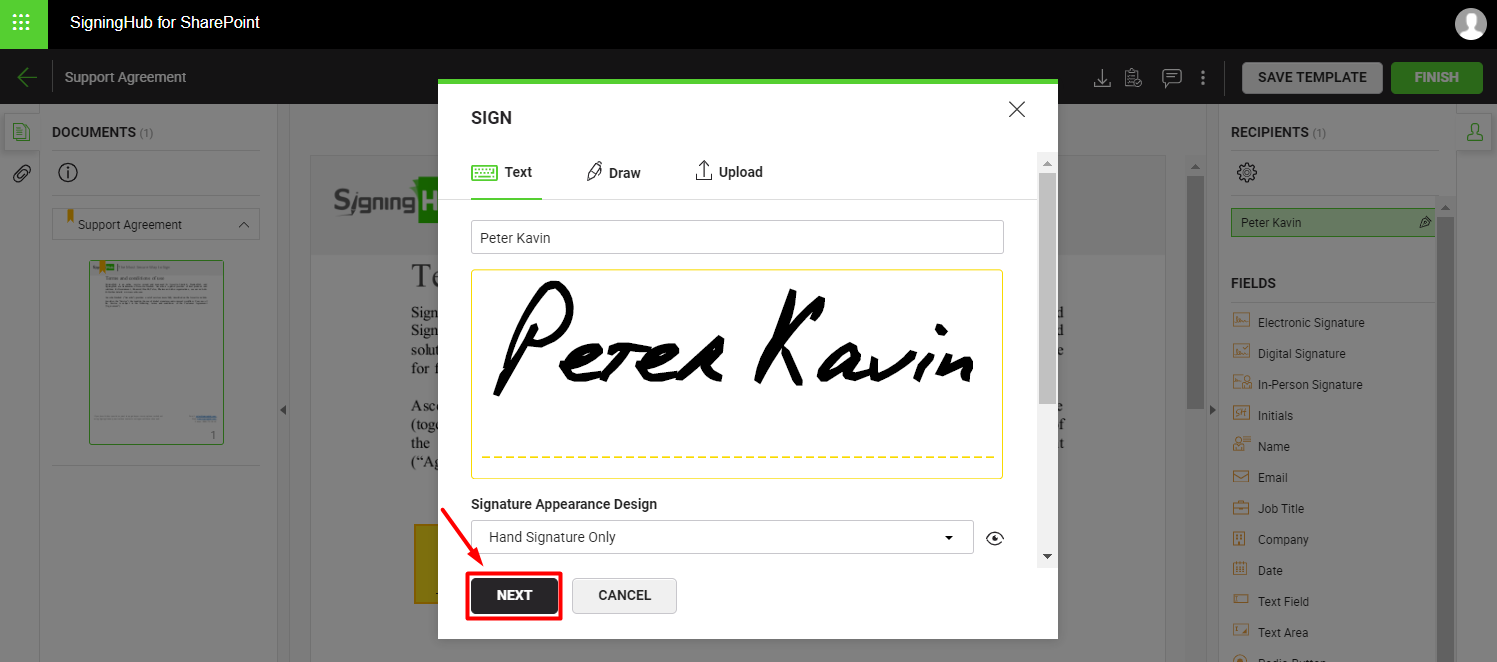
- Click the signature field to sign your document. See details how a digital signature is applied, or how an electronic signature is applied on a document.
- Click the "Finish" button to conclude your signing activity.
- A confirmation screen will be displayed, showing the file(s) name(s), package ID, performed action, and document status.
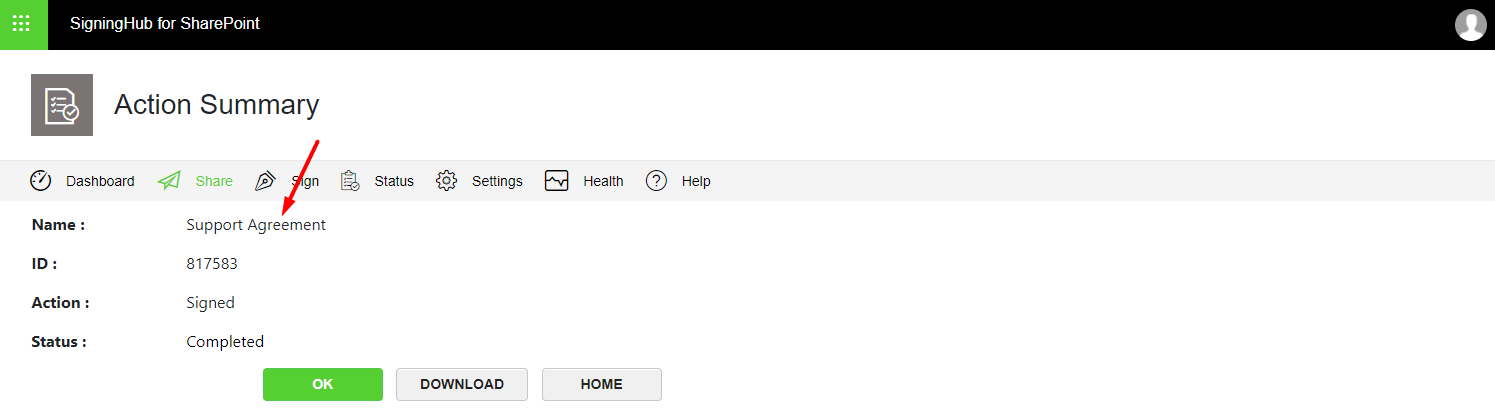
From here you may:
- Click the "OK" button to move to the originating screen (i.e. the screen from where you started the document signing activity).
- Click the "Download" button to download this signed package at your configured location.
- Click the "Home" button to move to your SharePoint Home screen.
1. You must have the SH-CHECKSTATUS and SH-SIGN permissions in the add-in and required SharePoint permissions to sign a document.
2. SigningHub for SharePoint also supports multi-factor authentication (i.e. login credentials and SMS OTP), if it is configured in the user role of your SigningHub enterprise account, see details.
3. The name of your custom document library or document set should contain only those special characters that are supported by SharePoint, i.e. !@$^. SigningHub will not allow sharing documents from a document library or document set that may contain any special character other than the supported ones.
4. If you do not want to view the SigningHub login screen for each document transaction, you may turn it off from your SigningHub Enterprise Settings/ Accessibility Preferences, see details.