Step 3 - Configure the External DVCA in the Trust Manager
After adding the DVCA Server as an External CA and creating the Inspection System client, the next step is to configure and trust the required CVCA and DVCA certificates in the Trust Manager. Depending on the deployment requirements, these certificates can be added under either the Domestic or Foreign section.
This step is essential because the Trust Manager acts as the foundation for all trust validation and certificate operations within the Inspection System Service. By importing and trusting the CVCA and DVCA certificates, the system can establish a valid trust chain, which is required for issuing, validating, and managing Inspection System certificates.
While adding these certificates, the system automatically identifies and assigns their roles (such as CVCA or DVCA) and ensures proper linkage between them. It also validates that DVCA certificates are issued by a trusted CVCA, maintaining the integrity of the trust hierarchy.
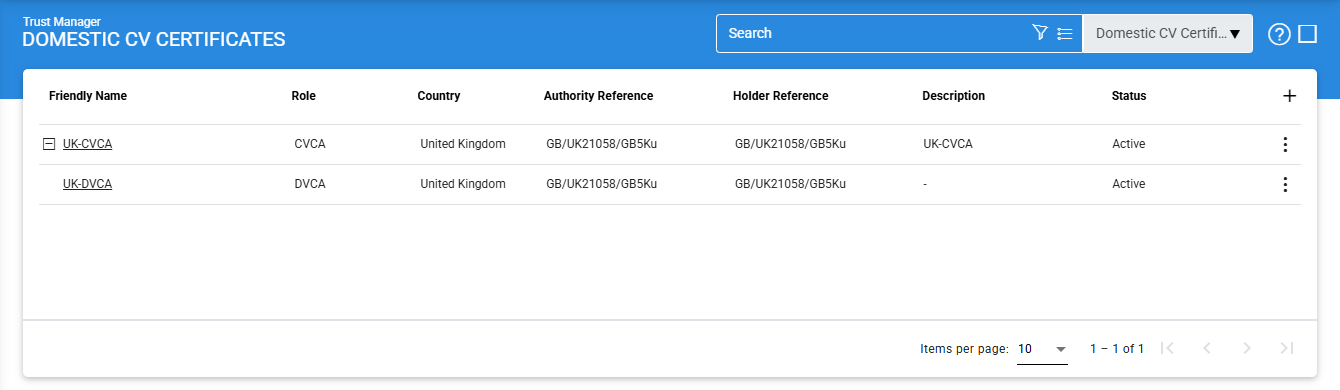
Navigate to Trust Manager 🡪 Domestic CV Certificates, it displays the following screen:
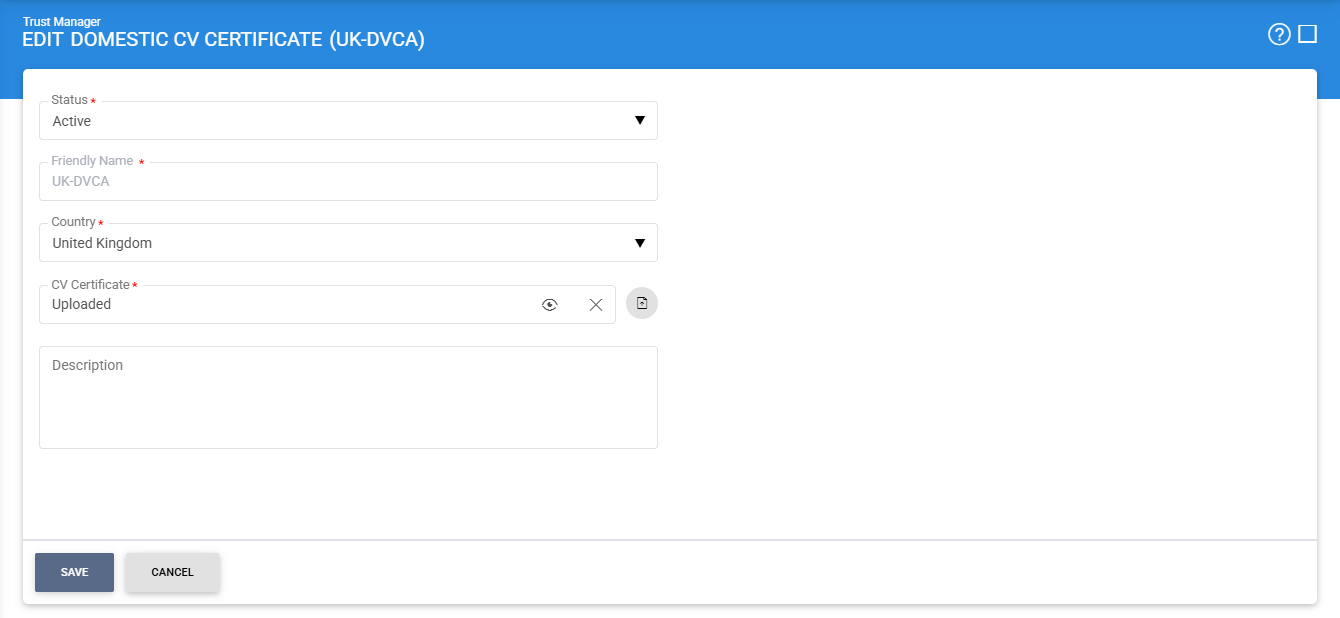
To add a new CV/DV certificate, click on the '+' icon, it displays the following screen:
Once the CVCA and DVCA certificates are successfully configured in the Trust Manager, the system is ready for the next step, which involves creating CVCA/DVCA keys and certificates required for Inspection System operations.
For more details regarding the configuration of CVDA/DVCA certificates in the Trust Manager, refer to the link here.
See also
Step 1 - Configure DVCA as an External CA
Step 2 - Create Client Manager for Inspection Systems
Step 3 - Configure the External DVCA in the Trust Manager
Step 4 - Create Inspection System Certificate via Key Manager
Step 5 - Using the Service Manager
Step 6 - Creating the Inspection System Profile
Step 7 - Registering Business Application