In person signatures are similar to the initials, but they are done on behalf of someone else. In-person signatures can be carried out by freehand drawing, text-filling or image upload (the same way a signature is added).
When you receive a document with in-person fields assigned to you, then you need to fill in all such fields before signing. This is to witness that document was signed in the presence of configured persons or on behalf of all of them. Similarly, a meeting host can also provide device control to the (in-person) signers, and get their signatures in his/her presence. Once you are done with in-person signatures, you can sign the document.
Add your in-person signatures
- Open the pending document.
- Click the "Start" pointer (highlighted in screenshot) to begin adding your in-person signatures. The cursor will start blinking in the first in-person field in yellow-orange color.
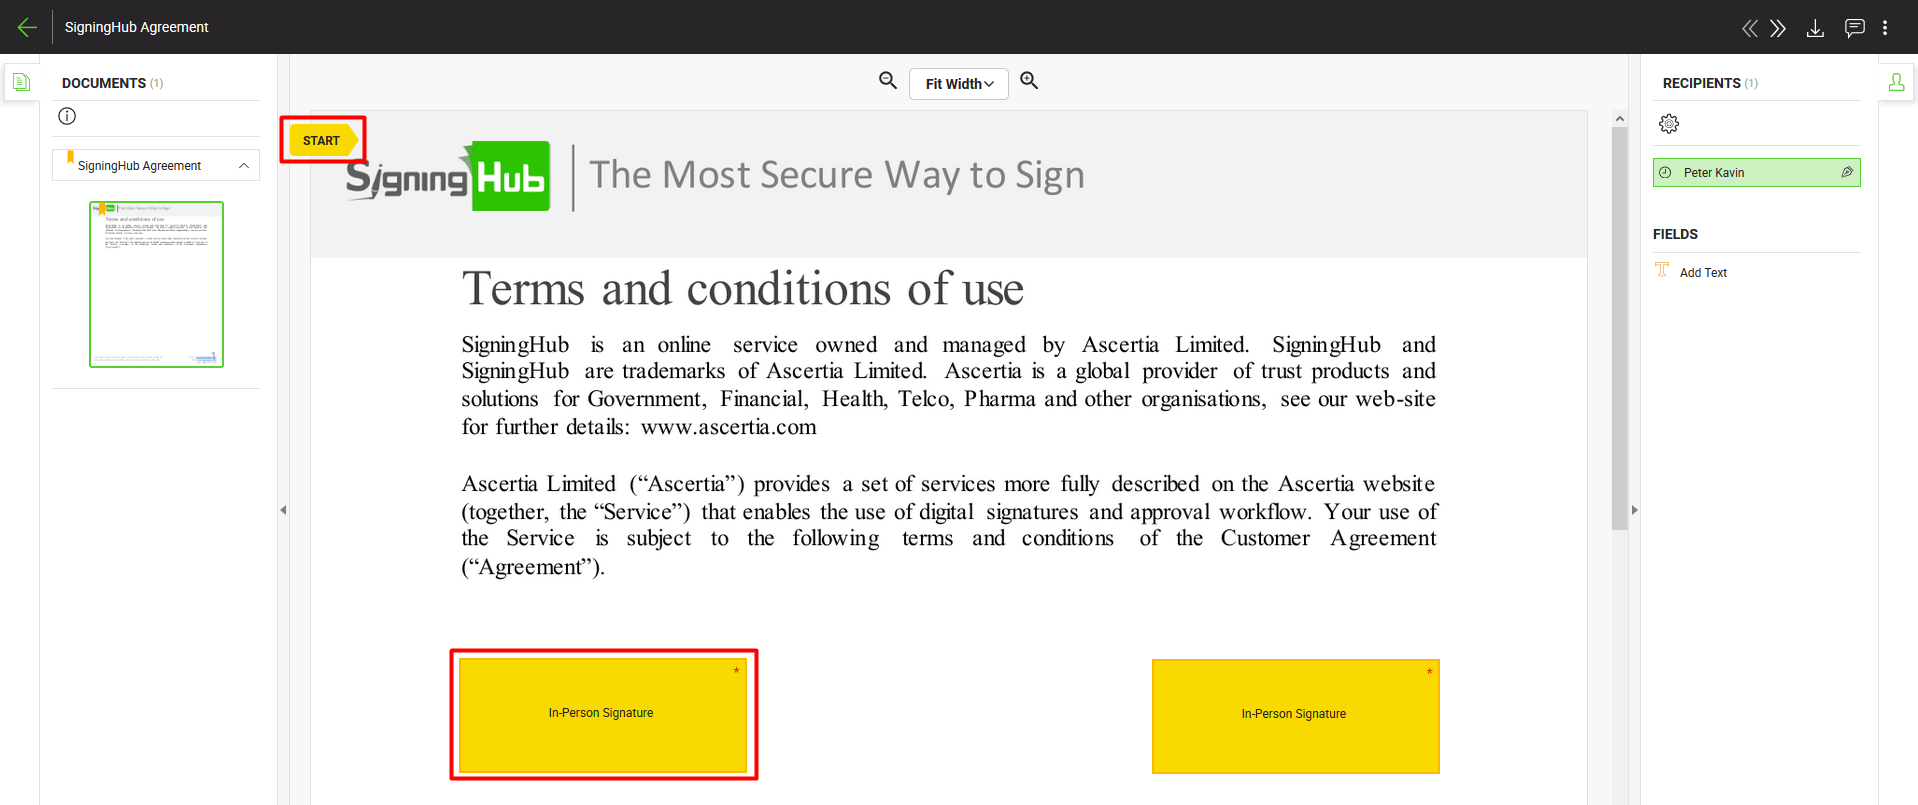
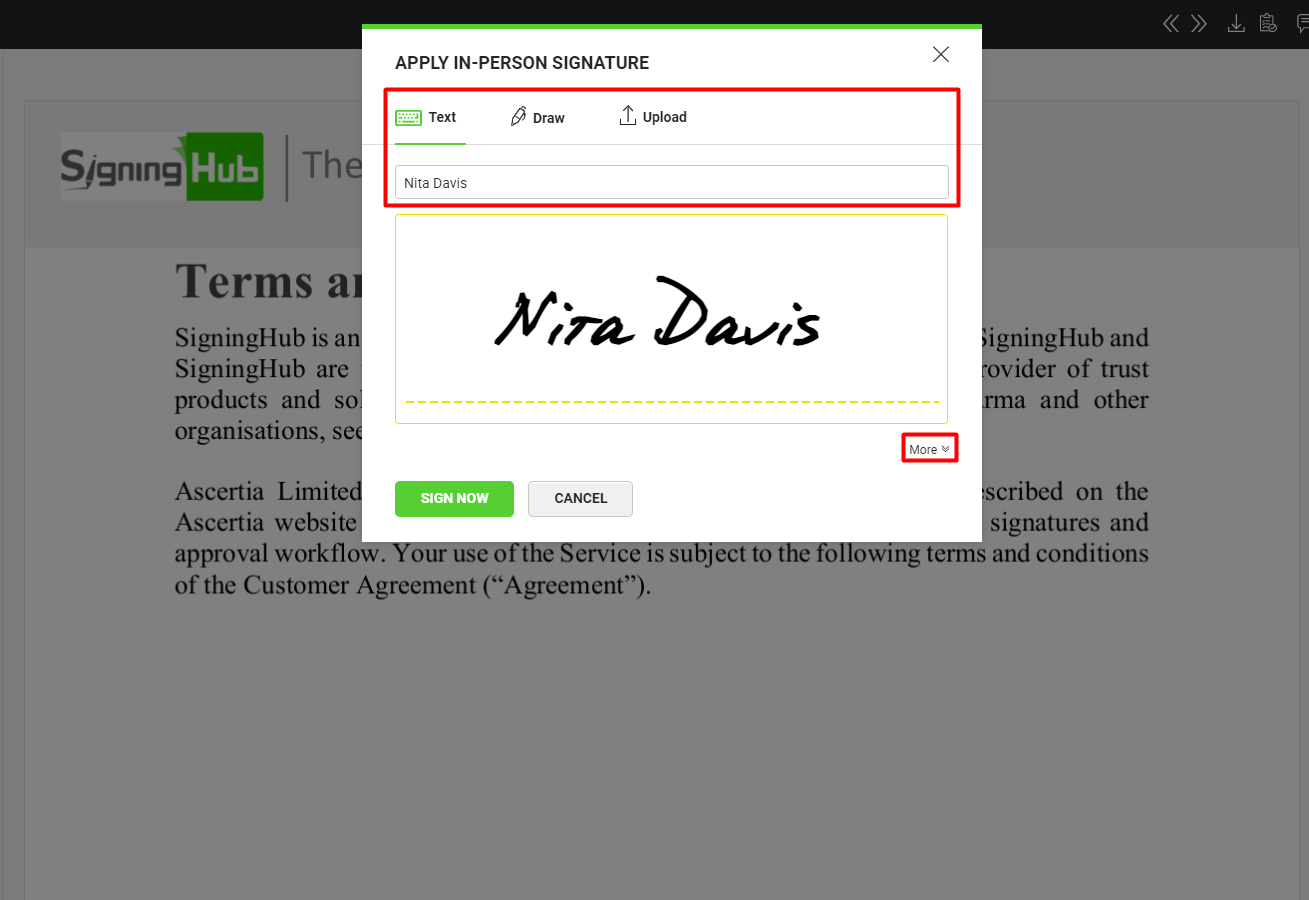
- Click the in-person field. A dialog window will appear, here select the in-person type (i.e., Text, Draw, Upload or Signature Pad) to sign the field accordingly. In case of uploading a signature image, the white color in the image background will be auto converted to transparent. For more details on performing initials using a Signature Pad, see here.
If your textual signature is prefilled-in with your fixed name, it is probably because the signature text editing is restricted in your enterprise role.
To edit your signature text:
Use your Personal Settings> Hand Signature Method for Web Browsers> Text-based Signatures, if you are using a web browser for signing. Or use your Personal Settings> Hand Signature Method for Mobile Apps> Text-based Signatures, if you are using a mobile app for signing.
|

|
- Signature Pad can only be used to perform in-person hand signatures, only on Desktop Web.
- When signing via signature pad, the "Remember the captured signature for use throughout this document" option is not available for in-person signing.
|
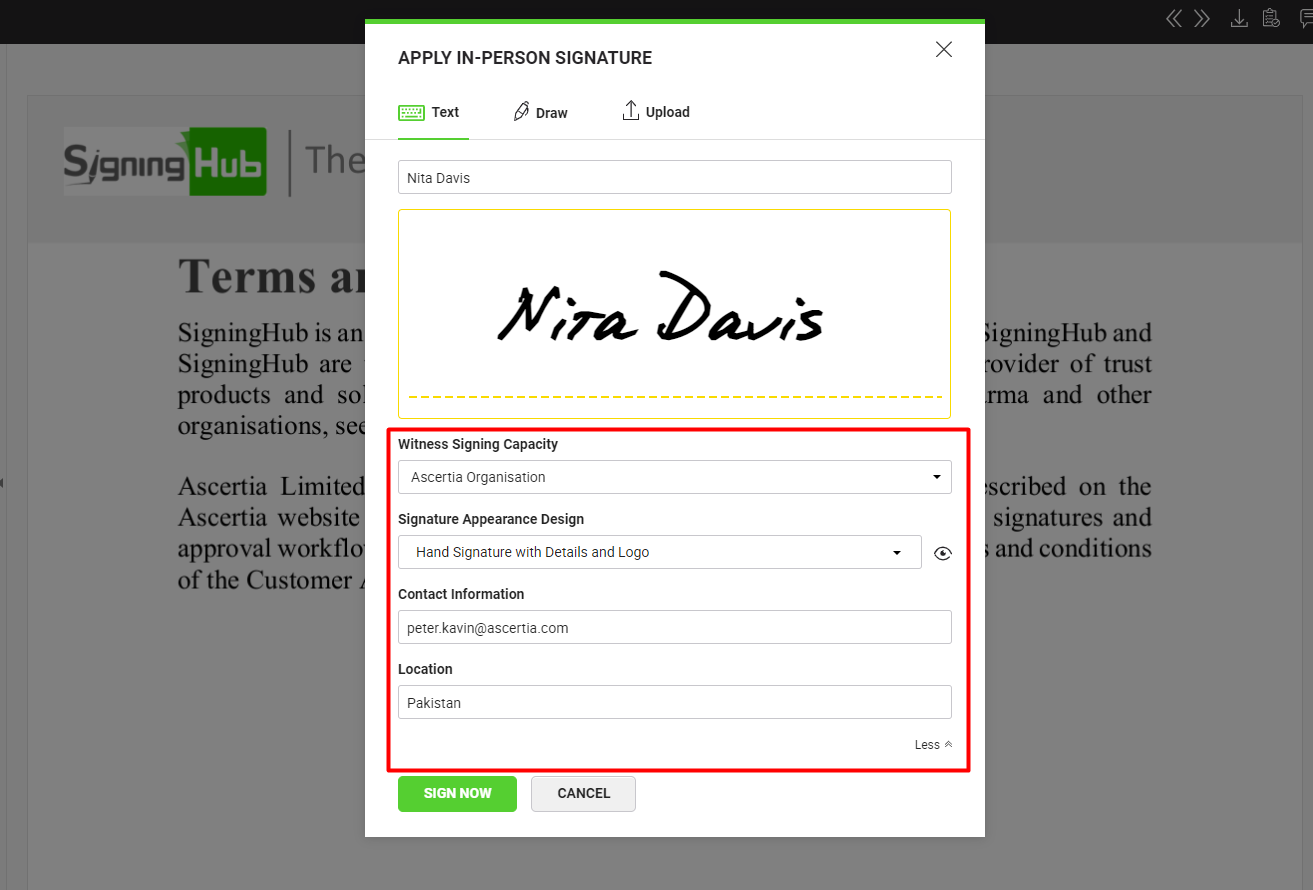
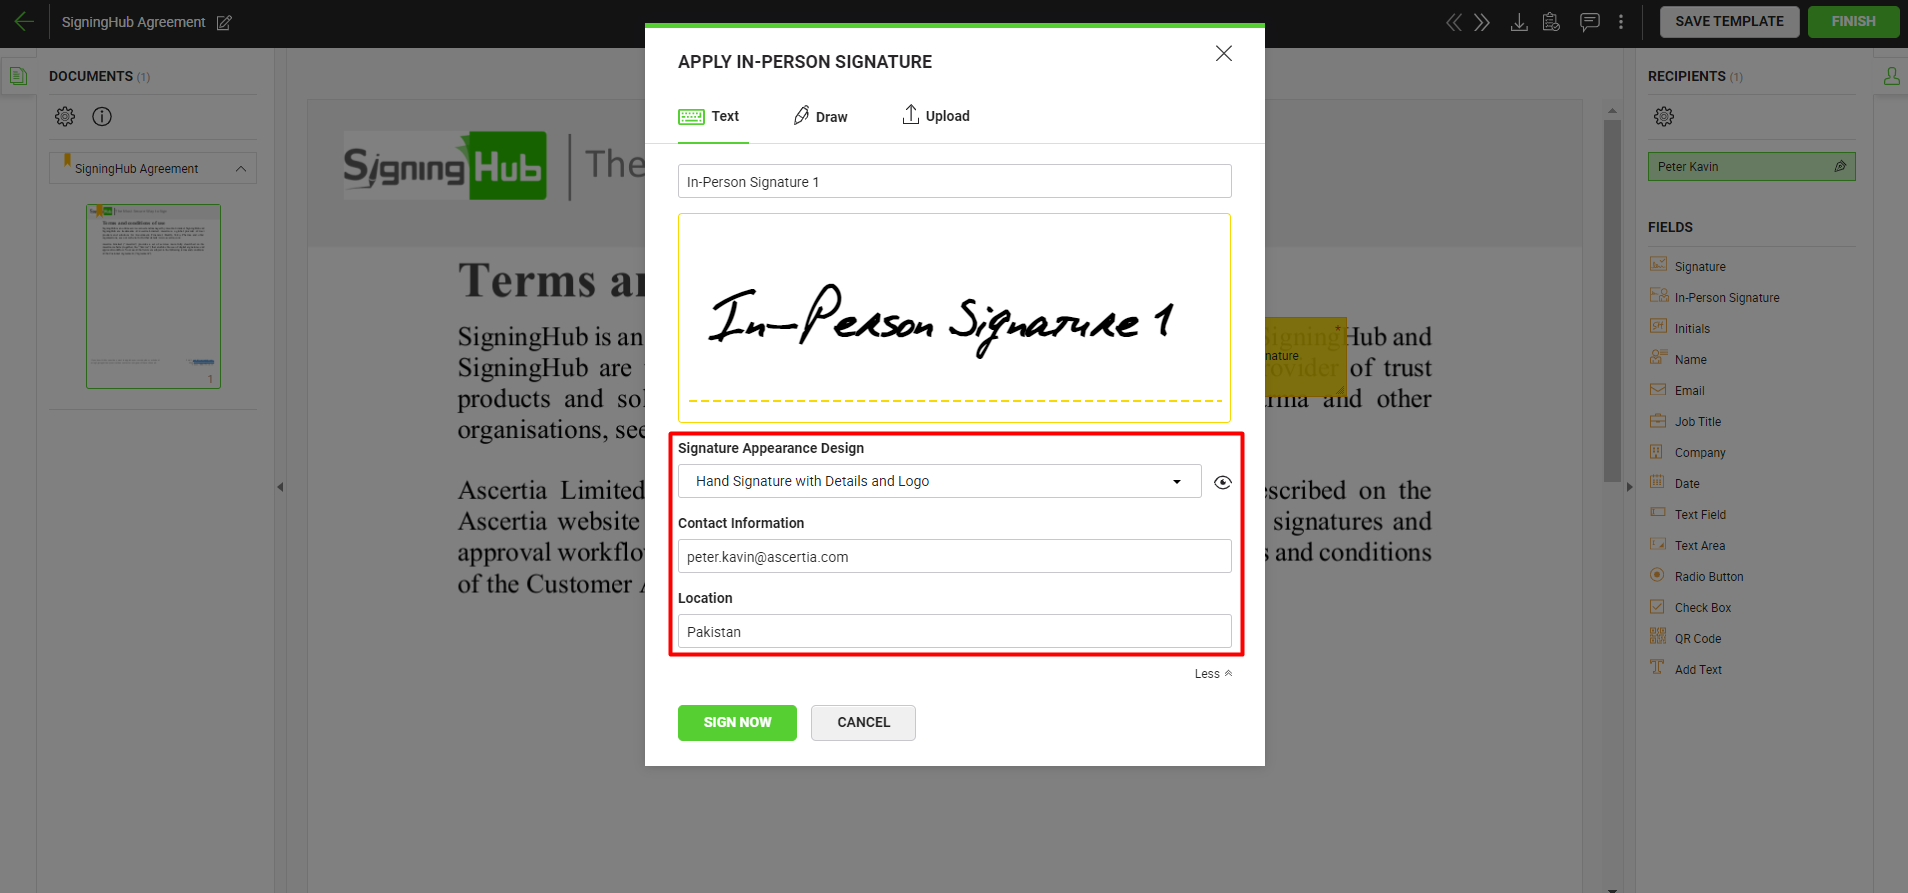
- Click the "More" option to select a signing capacity, signature appearance design, contact information and location. The signing capacities for the In-Person signature field will match with the configured "Level of Assurance" for the field, by the document owner.
|

|
- Signature appearance defined against signing server will be used if it is restricted from enterprise roles signature settings to use specific appearance for the selected Signing Server. Otherwise, system uses the "Signature Appearance" that is configured as default in your Personal Signature Appearance which will be used while perform in-person signing.
|
In case of an invisible in-person signature, there will be no appearance preferences on the "Apply In-Person Signature" dialog.
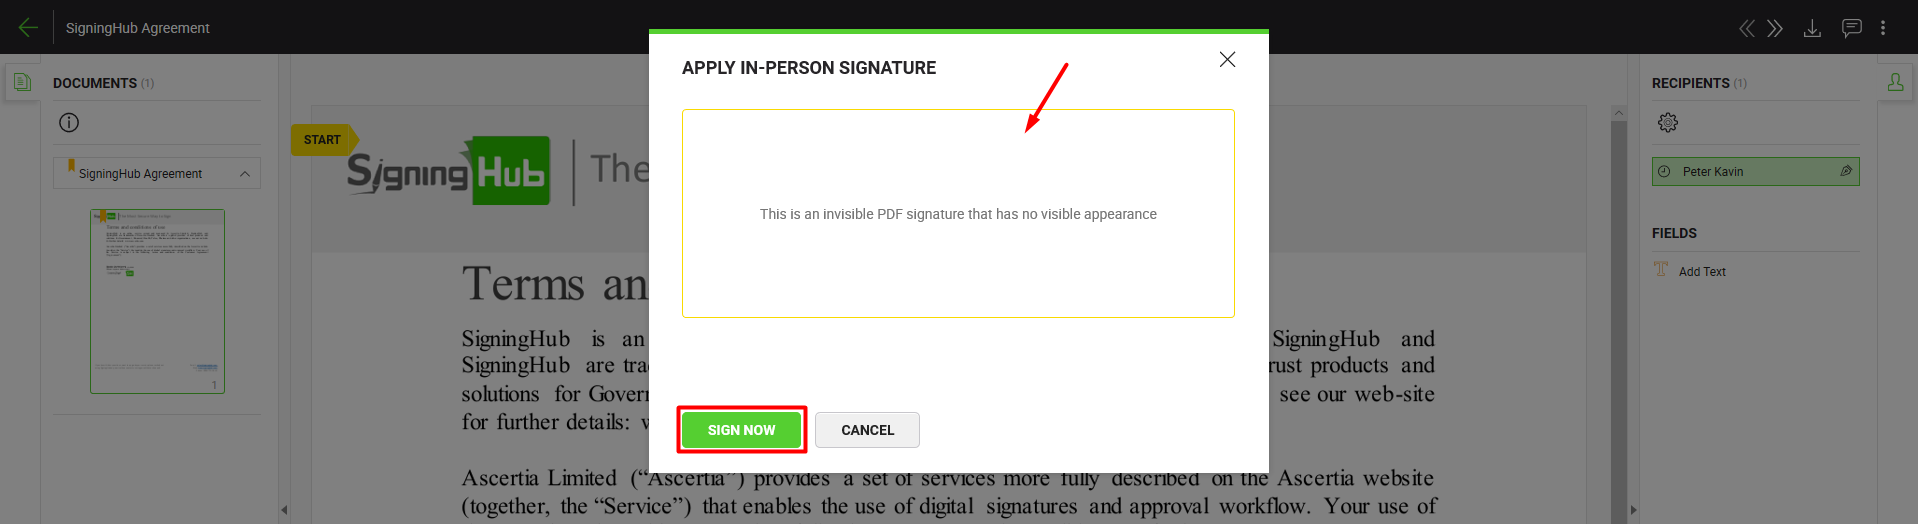
- Click the "Sign Now" button.
The specified in-person will be displayed on the same area of the document.
- Click the highlighted "Next" pointer to move to the next configured in-person field for you (if any).
- Repeat steps 3 to 5 till the yellow highlighted "Next" caption takes you to your actual signature field. The system will not let you sign the document, unless you sign all your in-person fields. Also, you cannot sign the in-person fields which have been assigned to someone else.
|

|
- If "Document Signing Authentication" is configured for the In-person recipient, then system will initiate OTP process at the time of signing the In-Person signature.
- An invisible signature doesn't have any visible appearance on a document. However, it entails all other verifiable characteristics of e-signing i.e., Time Stamping, Certificate Chain, Certificate Status, etc.
- All the in-person fields assigned to you are mandatory to be signed, so you cannot leave any in-person field blank in the document.
- Fill in the fields accordingly and click the "Next" button to move to the next field for data entry. Continue till you reach the last field assigned to you. SigningHub will display the total and traversed counts of your assigned fields accordingly.
- Font color will not be applicable in Signature Appearance while perform signature on any PDF/A document with "CMYK" color space in order to ensure PDF/A compliance.
- You cannot perform in-person signature without adding an attachment if a mandatory attachment field has been assigned to the in person signer.
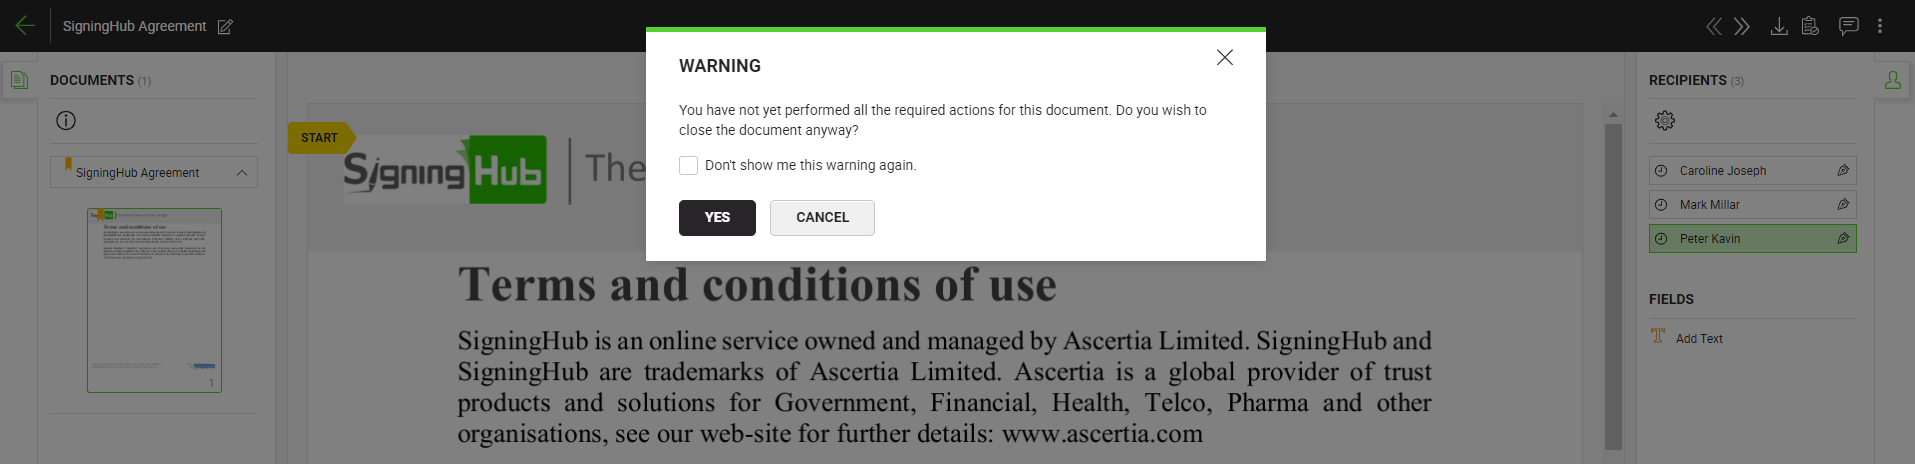
- If the recipient tries to close the document package without performing all of their required actions, a warning will be displayed, as shown in the figure below:
- In case of Simple Electronic Signature (SES), an enterprise user will only be able to use Signature Appearance Design, if the "Allow users to use the signature appearance for Simple Electronic Signatures" check box is enabled in the Configure Signature Appearance, against the user's role.
- In case of Simple Electronic Signature (SES), for an individual user, the Signature Appearance Design drop down is available but by default, no signature appearance is selected. In order to use the signature appearance the user can select any allowed signature appearance from the drop down.
- In the "Apply In-Person Signature" dialog, the user's default location will be shown, as configured in the user's personal settings. In case of an unregistered user:
- if the auto-detect location checkbox is checked, and the GeoIP connector has been configured, the system will pick the location and time zone using the GeoIP connector.
- If either the auto-detect location checkbox is unchecked, the GeoIP connector has not been configured, or the GeoIP connector is faulty or not functional, the system will use the location and time zone of the document owner.
- Based on the type of users, the following mentioned signature appearances will be available:
- In case of an enterprise user, all the signature appearances allowed in the user role.
- In case of an individual user, all the signature appearances allowed in the user's service plan.
- In case of an unregistered user:
- If the document owner is an enterprise user, all the signature appearances allowed in the document owner's user role.
- If the document owner is an individual user, all the signature appearances allowed in the document owner's service plan.
- In case of Simple Electronic Signature (SES) signature stamp, against the "Signed by" attribute:
- the system will show the name of the user as configured in user's profile in their personal settings.
- in case of an unregistered user, the system will show the name of the unregistered user as saved in the document owner's contacts.
- In case of Electronic Seal (eSeal), the user will now be able to select the allowed signature appearance design, signing capacity, contact information and location.
- The following OTP preference will be followed while signing, in case of configuration of field-level OTP, Document Signing OTP Authentication, and Secondary Authentication against the Signing Server:
|
Field-level OTP is configured
|
Document Signing OTP Authentication OTP is configured
|
Secondary Authentication against the Signing Server is configured
|
OTP preference
|
|
No
|
No
|
No
|
-
|
|
Yes
|
Yes
|
Yes
|
Field-level OTP
|
|
Yes
|
No
|
No
|
Field-level OTP
|
|
Yes
|
Yes
|
No
|
Field-level OTP
|
|
Yes
|
No
|
Yes
|
Field-level OTP
|
|
No
|
Yes
|
No
|
Document Signing OTP Authentication
|
|
No
|
Yes
|
Yes
|
Document Signing OTP Authentication
|
|
No
|
No
|
Yes
|
Secondary Authentication against the Signing Server
|
|
See Also