Create a Proxy Server Connector
SigningHub supports configuring proxy settings for all external connectors, services, and other service-based traffic. This feature ensures that all outbound traffic is routed through specified proxy servers, providing enhanced control and security for organizations. With the introduction of these proxy settings, administrators can configure network traffic rules. This ensures that all external communications, including push notifications and SMS notifications, follow the designated proxy paths, improving network monitoring, compliance, and security.
This new functionality is essential for businesses that need to enforce strict network policies and ensure that no external service communication bypasses organizational controls.
Create a Proxy Server connector
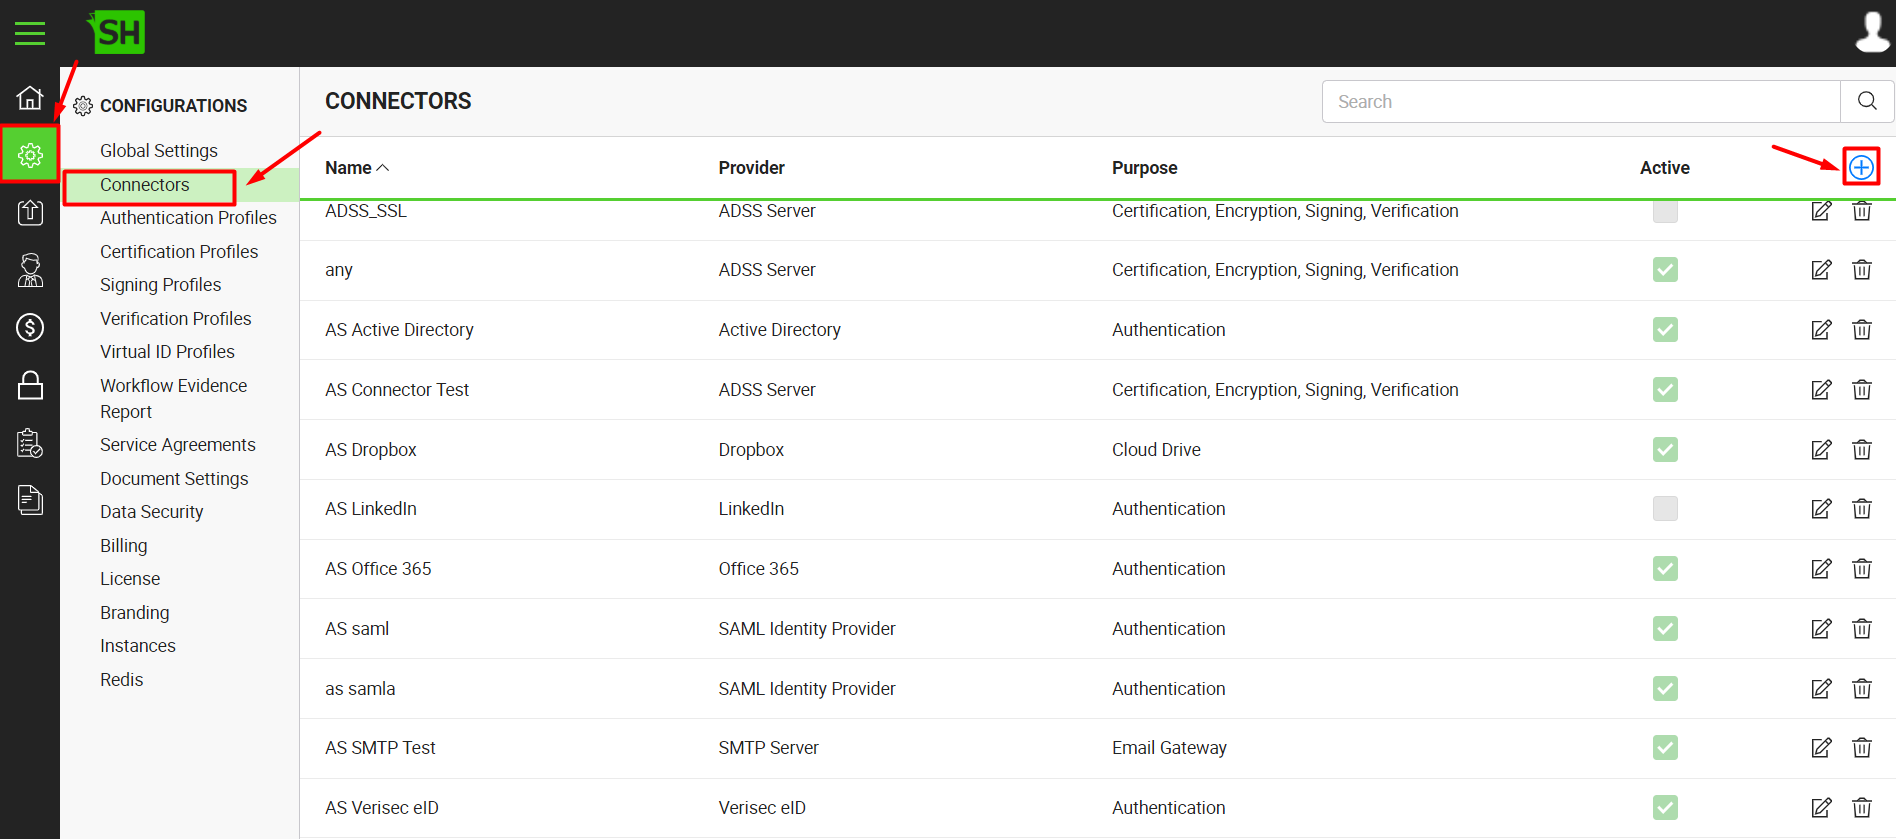
- Click the "Configurations" option from the left menu.
- Click the "Connectors" option. The "Connectors" screen will appear.
- Click
 from the grid header.
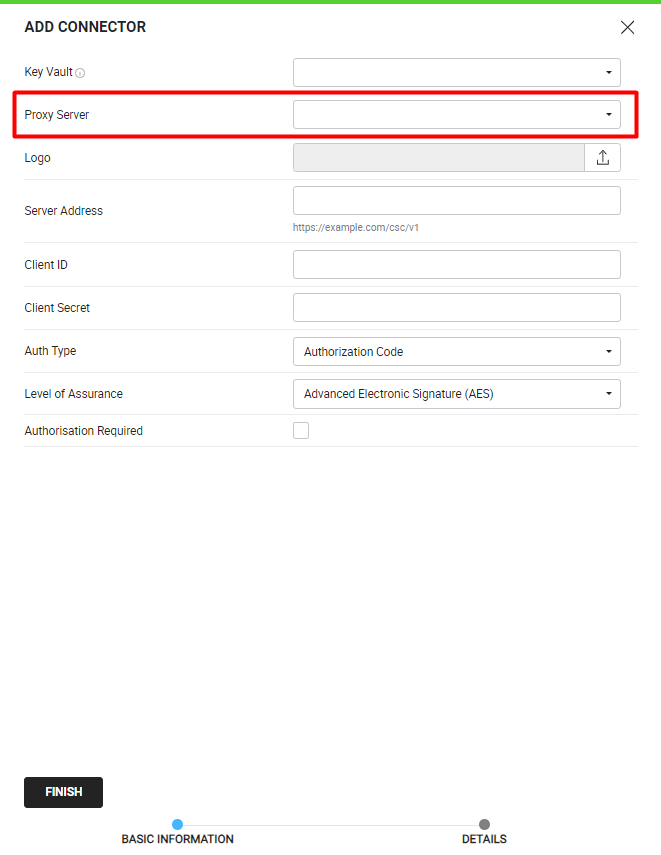
- A dialog will appear to add the connector details. The connector dialog is comprised of two sections, i.e. Basic Information and Details.
The following table describes the fields on the "Basic Information" section of this dialog.
|
Basic Information |
|
|
Fields |
Description |
|
Name |
Specify a unique name for this connector, i.e. Proxy Server Connector. This connector will be used within other connectors, where you want these proxy configurations to be applied. |
|
Provider |
Select the provider for this connector, i.e. "Proxy Server". |
|
Purpose |
This field will display the purpose of the selected provider above, i.e. the purpose of "Proxy Server" is "Anonymity, Security, and Caching". |
|
Active |
Tick this check box to make this connector active. Inactive connectors cannot be configured in the other connectors. |
Specify the basic information and click the "Next" button to provide the respective connector details. The following table describes the fields on the "Details" section of this dialog.
|
Details |
|
|
Fields |
Description |
|
Logo |
Select an appropriate image in the jpeg, jpg, gif or png format for the connector's logo that will be displayed, while viewing the selected Proxy Server's information within another connector. |
|
Proxy Address |
The required address of the proxy server through which all connector traffic will be routed. |
|
User Name |
An optional field to specify the username for proxy authentication, if required. |
|
Password |
An optional field to provide the password for proxy authentication, if required. |
- Click the "Finish" button. A new connector will be saved and displayed in the list.
|
|
|
See Also
- Create a LinkedIn Connector
- Create a Google Connector
- Create a OneDrive Connector
- Create an ADSS Server Connector
- Create a Clickatell Connector
- Create a Twilio Connector
- Create a Worldpay Connector
- Create a Stripe Connector
- Create a Signature Pad Connector
- Create an SMTP Server Connector
- Create an Active Directory Connector
- Create a Dropbox Connector
- Create a Salesforce Connector
- Create a SAML IdP Connector
- Create a Google Drive Connector
- Create a HashiCorp Connector
- Create a HubSpot Connector
- Create an Office 365 Connector
- Create an ADFS Connector
- Create a Maxmind GeoIP Connector
- Create a Firebase Connector
- Create a Freja Mobile Connector
- Create a Freja eID Connector
- Create an eID Easy Connector
- Create an Azure Blob Connector
- Create an Azure Active Directory Connector
- Create a Bank ID Connector
- Create a Captcha Connector
- Create an SMS Connector
- Create an itsme Connector
- Create a T1C Connector
- Create an SSL Commerz Connector
- Create a File Scanning Connector
- Create a CSC Connector
- Create a CSC Electronic Seal Connector
- Create an OAuth2.0 Connector
- Create an OIDC Connector
- Edit a Connector
- Delete a Connector
- Search a Connector


