SigningHub understands the end-users' privacy, and has been striving hard to enforce it through different security certifications, see details. Since the evolution of data privacy, it was getting imperative to explicitly show the "Terms of Service" and "Privacy Policy" pages to the cloud based customers and seek their formal consent on them.
SigningHub therefore allows the configuration of customised service agreements that contain the "Terms of Service" and "Privacy Policy" pages for your deployment. The links of "Terms of Service" and "Privacy Policy" pages will be shown across SigningHub Desktop Web and SigningHub Mobile Web, i.e. Cookies bar, Application footer, and Registration page. However, if you want to show them on the Login screen as well, then you will have to configure it under Global Settings, see details. They are a part of GDPR compliance, and are used to ensure user agreement on these policies.
Based on the business requirements, you can manage (Add, Edit, and Delete) different service agreements, however only the Active one will be shown to your end users.
Add a Service agreement
SigningHub therefore allows the configuration of customised service agreements that contain the "Terms of Service" and "Privacy Policy" pages for your deployment. The links of "Terms of Service" and "Privacy Policy" pages will be shown across SigningHub Desktop Web and SigningHub Mobile Web, i.e. Cookies bar, Application footer, and Registration page. However, if you want to show them on the Login screen as well, then you will have to configure it under Global Settings, see details. They are a part of GDPR compliance, and are used to ensure user agreement on these policies.
Based on the business requirements, you can manage (Add, Edit, and Delete) different service agreements, however only the Active one will be shown to your end users.
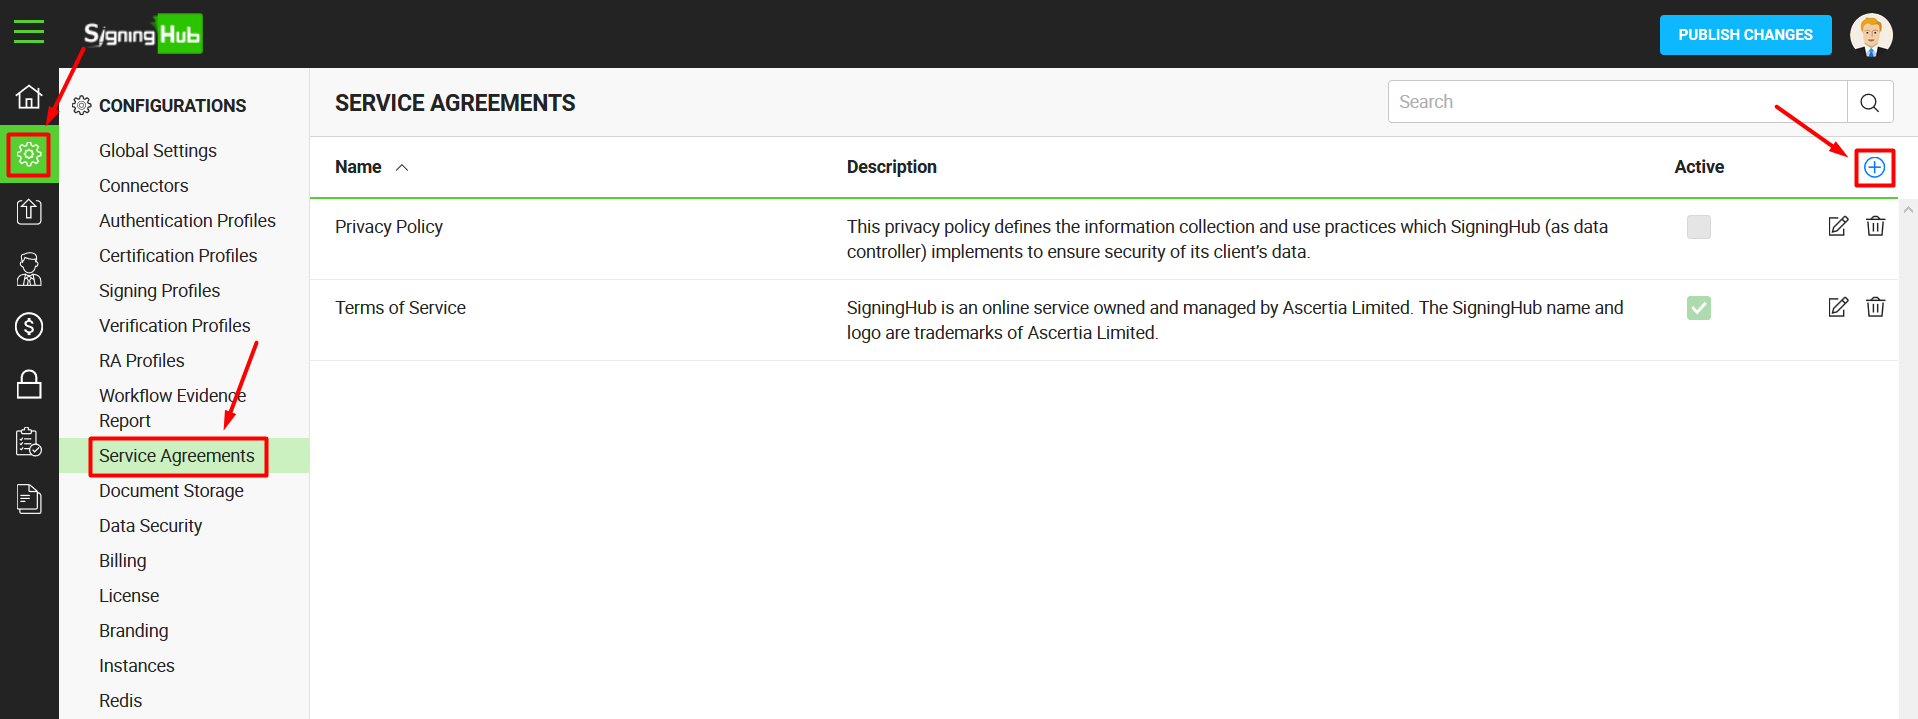
- Click the "Configurations" option from the left menu.
- Click the "Service Agreements" option.
- Click
 from the grid header.
-
A dialog will appear to configure the details. A service agreement is comprised of two tabs, i.e. Terms of Service and Privacy Policy. Specify the details accordingly and customize the text of these policies as required. You can also use the source code option
 to add the HTML code for their design.
 - Click the "Save" button. A new service agreement will be saved and displayed in the list. See the below table for fields description.
- Click the "Publish Changes" button from the top right corner, to make these configurations effective on the front-end (SigningHub Desktop Web and SigningHub Mobile Web).
- Repeat the steps 1-5 to configure other service agreements.
| Service Agreement | |
| Fields | Description |
| Name |
Specify name for this service agreement, i.e. My Service Agreement. This name will be used for identification purpose only. |
| Description | Specify any description related to this service agreement for your record. |
| Terms of Service tab | Click this tab to specify the content of the "Terms of Service" page. Format the text as required by using the builtin rich-text editor.
|
| Privacy Policy tab | Click this tab to specify the content of the "Privacy Policy" page. Format the text as required by using the builtin rich-text editor. |
| Active | Tick this check box to mark the content of this service agreement as active. Only the active content will be displayed across SigningHub Desktop Web and SigningHub Mobile Web under the "Terms of Service" and "Privacy Policy" links. Please note, only one service agreement can be marked as active. Inactive service agreements will not be displayed to the end-users.
|
Edit a Service agreement
- Click the "Configurations" option from the left menu.
- Click the "Service Agreements" option.
- The Service Agreement screen will appear listing all the previously added service agreements. Click
 adjacent to the service agreement (to edit) from the main grid.

- The "Edit Service Agreement" dialog will appear showing the existing content in editable mode. Update the content of "Terms of Service" and "Privacy Policy" as required and click the "Save" button.
- Click the "Publish Changes" button from the top right corner, to make these configurations effective on the front-end (SigningHub Desktop Web and SigningHub Mobile Web).
Delete a Service agreement
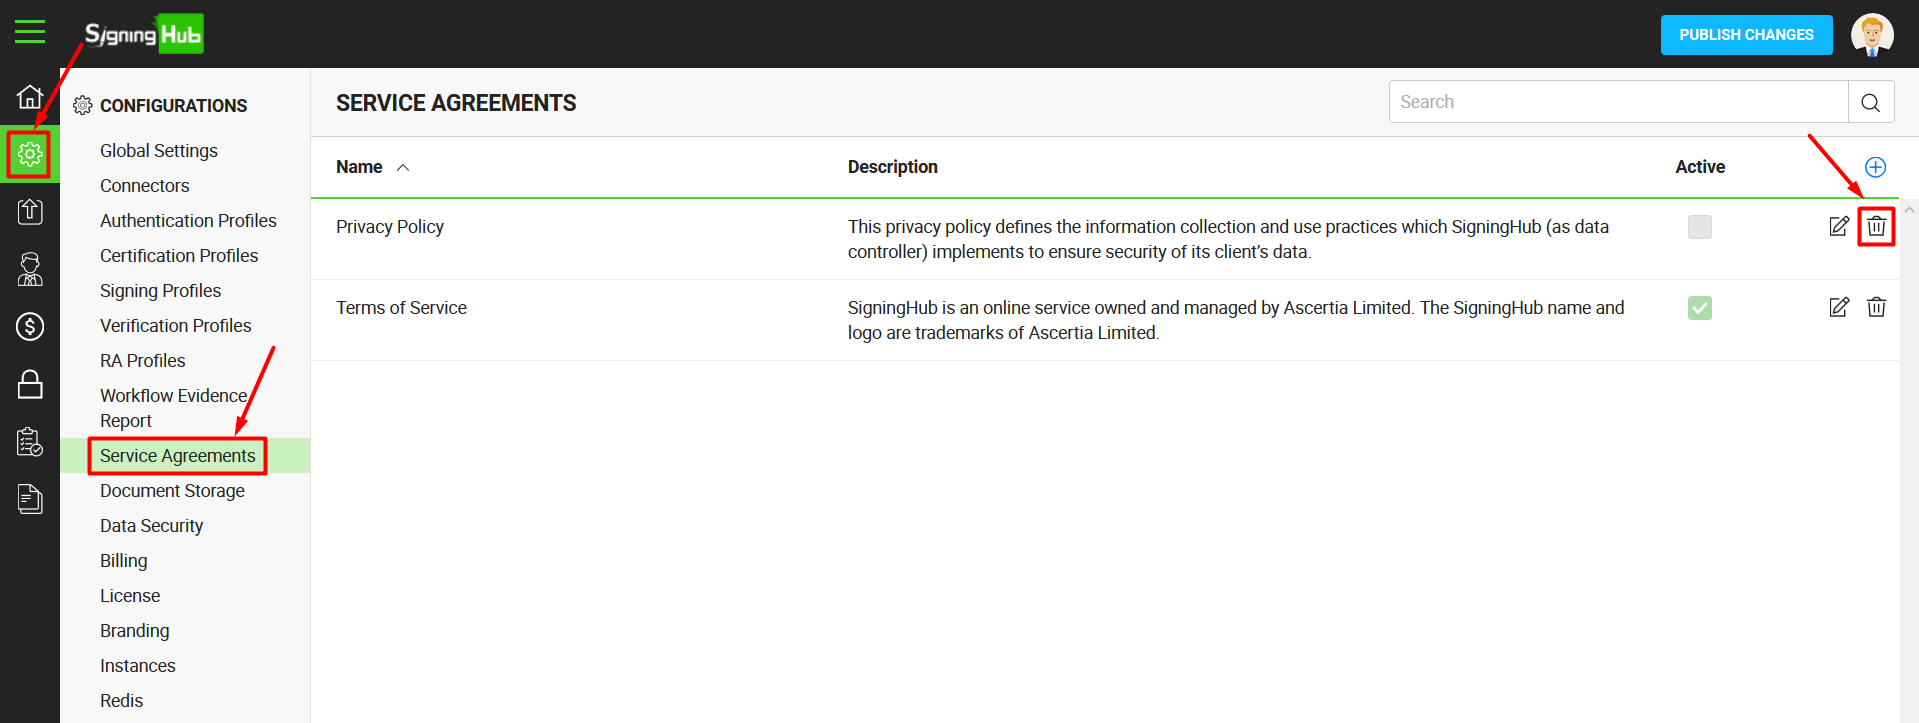
- Click the "Configurations" option from the left menu.
- Click the "Service Agreements" option.
- The Service Agreement screen will appear listing all the previously added service agreements. Click
 adjacent to the service agreement (to delete) from the main grid.
- A confirmation dialog will appear, click Yes.