Create an itsme Connector
The itsme connector allows SigningHub to connect with itsme to authenticate users both at the time of login and at the time of signing. By using this connector, the SigningHub users can authenticate themselves and can also sign by using their (same) itsme credentials. For this, SigningHub needs to be registered with the itsme platform.
Create an itsme connector
- Click the "Configurations" option from the left menu.
- Click the "Connectors" option.
The "Connectors" screen will appear. - Click
 from the grid header.
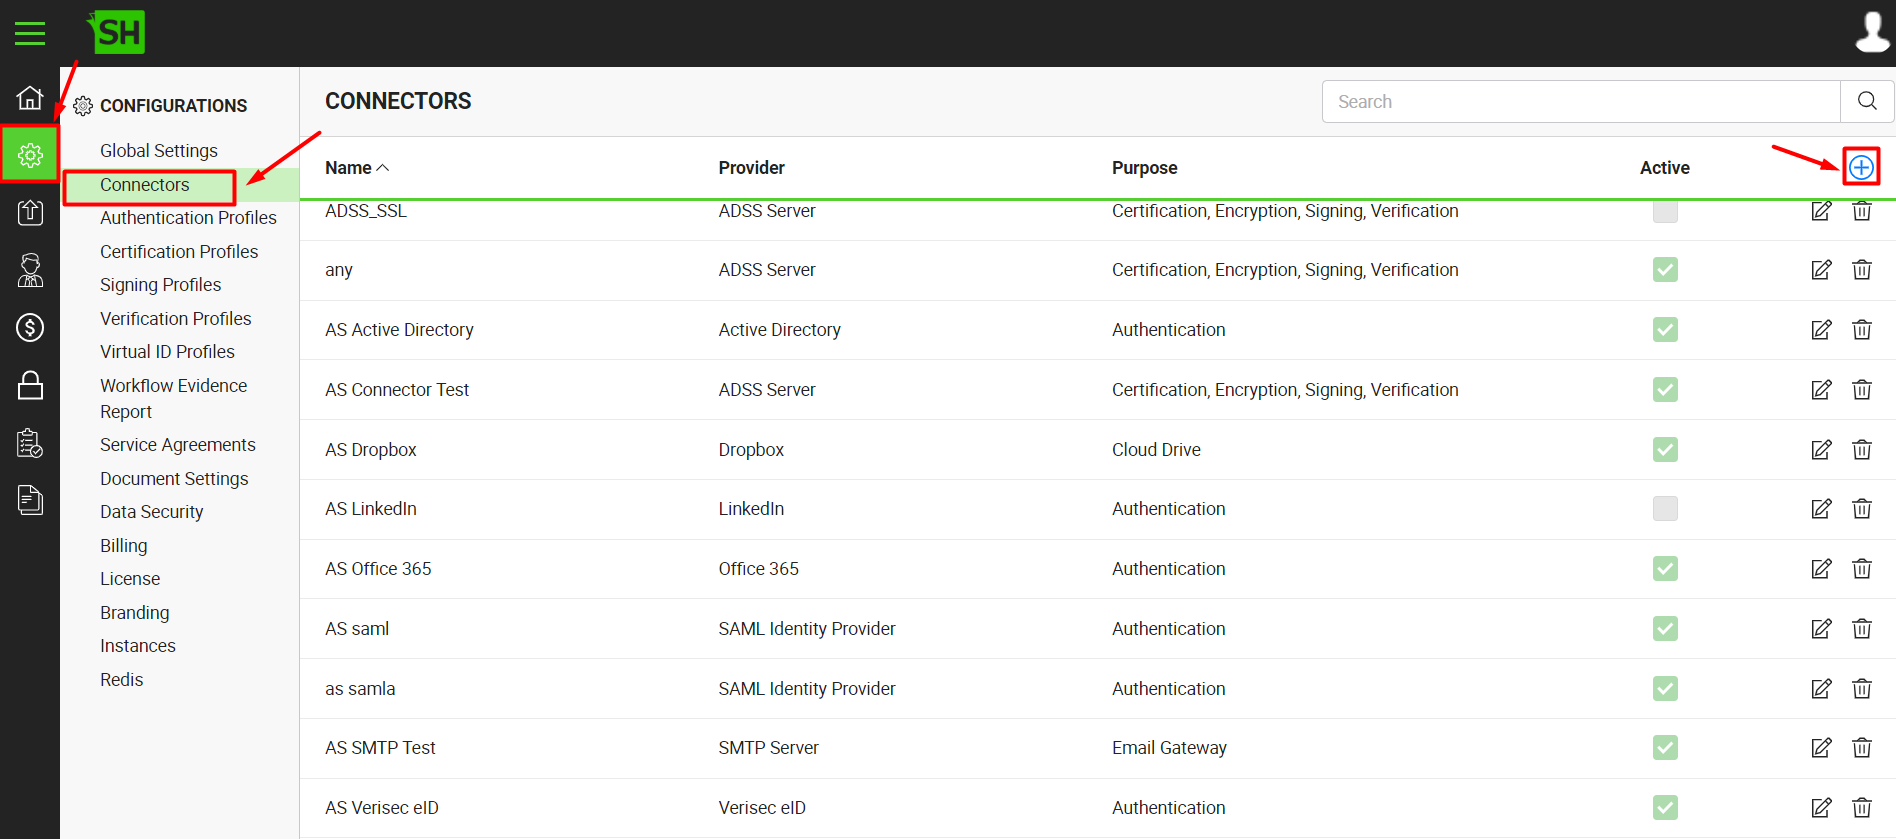
- A dialog will appear to add the connector details. The connector dialog is comprised of two screens, i.e. Basic Information and Details. Specify the basic information and click the "Next" button to provide the respective connector details.
- Click the "Finish" button. A new connector will be saved and displayed in the list. See the below table for fields description.
|
itsme Connector |
|
|
Fields |
Description |
|
Name |
Specify a unique name for this connector, i.e. itsme Authentication. This connector will be used in the configuration of Authentication Profiles. |
|
Provider |
Select the provider for this connector, i.e. "itsme". |
|
Purpose |
This field will display the purpose of the selected provider above, i.e. the purpose of "itsme" is "Authentication". |
|
Logo |
Select an appropriate image in the jpeg, jpg, gif or png format for the connector's logo that will be displayed on the login screen. |
|
Token |
Specify the unique token that is provided by itsme upon registration, i.e.: |
|
Endpoint URL |
Specify the itsme server URL |
|
Active |
Tick this check box to make this connector active. Inactive connectors cannot be configured in the Authentication Profiles. |
See Also
- Create a LinkedIn Connector
- Create a Google Connector
- Create a OneDrive Connector
- Create an ADSS Server Connector
- Create a Clickatell Connector
- Create a Twilio Connector
- Create a Worldpay Connector
- Create a Stripe Connector
- Create an SMTP Server Connector
- Create an Active Directory Connector
- Create a Dropbox Connector
- Create a Salesforce Connector
- Create a SAML IdP Connector
- Create a Google Drive Connector
- Create a HubSpot Connector
- Create an Office 365 Connector
- Create an ADFS Connector
- Create a Maxmind GeoIP Connector
- Create a Firebase Connector
- Create a Freja Mobile Connector
- Create a Freja eID Connector
- Create an Azure Blob Connector
- Create an Azure Active Directory Connector
- Create a Bank ID Connector
- Create a Captcha Connector
- Create an SMS Connector
- Create a T1C Connector
- Create a File Scanning Connector
- Create a CSC Connector
- Create an OAuth2.0 Connector
- Create an OIDC Connector
- Edit a Connector
- Delete a Connector
- Search a Connector