When using an on-premises deployment of SharePoint, SigningHub gives you an exciting option to install the SigningHub for SharePoint add-in on your app catalog site and deploy it on other site collections from there. In this way multiple site collections within the same SharePoint deployment can use the same configurations of SigningHub for SharePoint (as installed on app catalog site) instead of installing the add-in on each site collection separately. In other words a single SigningHub integration will be used for different site collections.
A SharePoint Admin may use an existing app catalog site or create a custom app catalog site in their on-premises SharePoint environment to install SigningHub for SharePoint on it.The process of installing the add-in on the app catalog site is the same as explained for other site collections. After successful installation, the add-in deployment is configured for other site collections.
Install SigningHub for SharePoint on your app catalog site
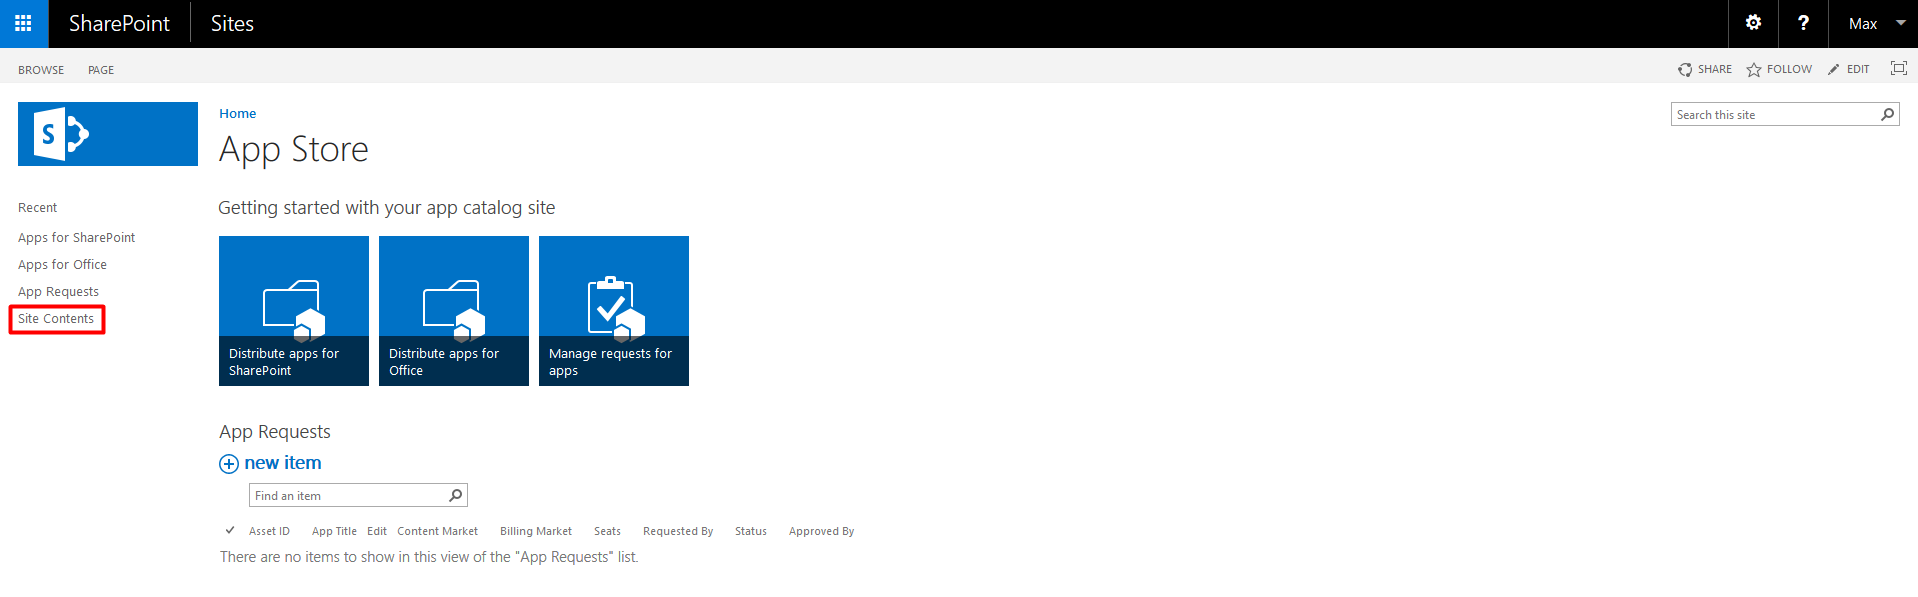
- Open your on-premises SharePoint app catalog site URL and login with the Admin credentials.
- Click the "Site Contents" option from the left panel.
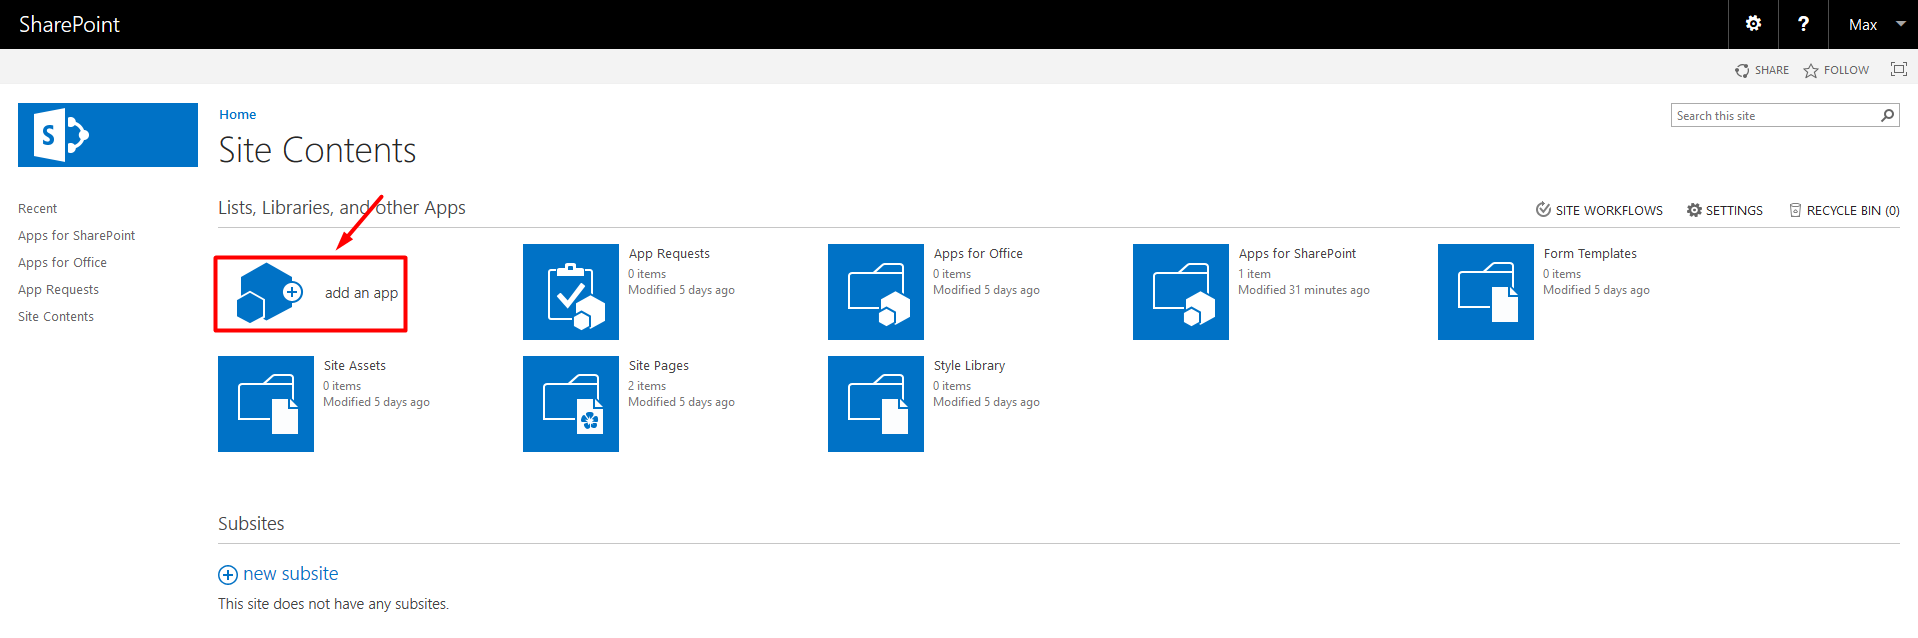
- Click the "add an app" option.
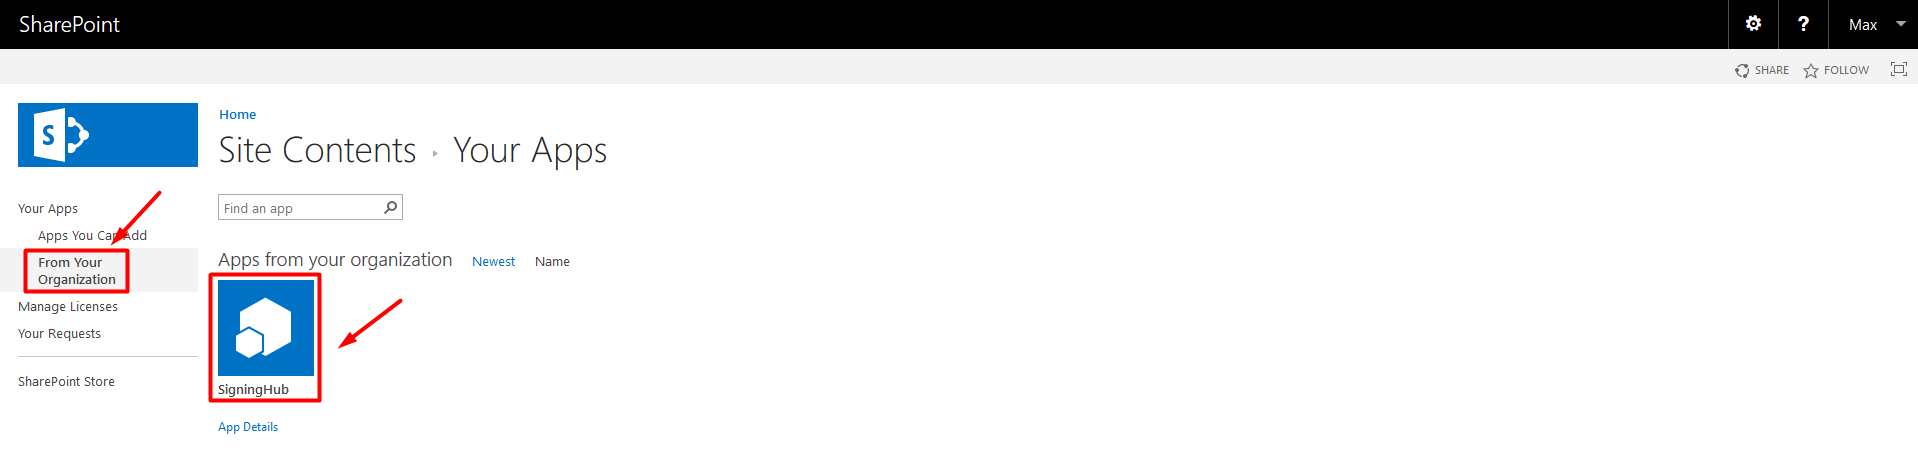
- From the next appearing screen, click the "From Your Organization" option and then click SigningHub.
Or
You may also install the SigningHub add-in through SharePoint Store. For details, see step 6 of this link.
- A confirmation dialog will appear, click the "Trust it" button.
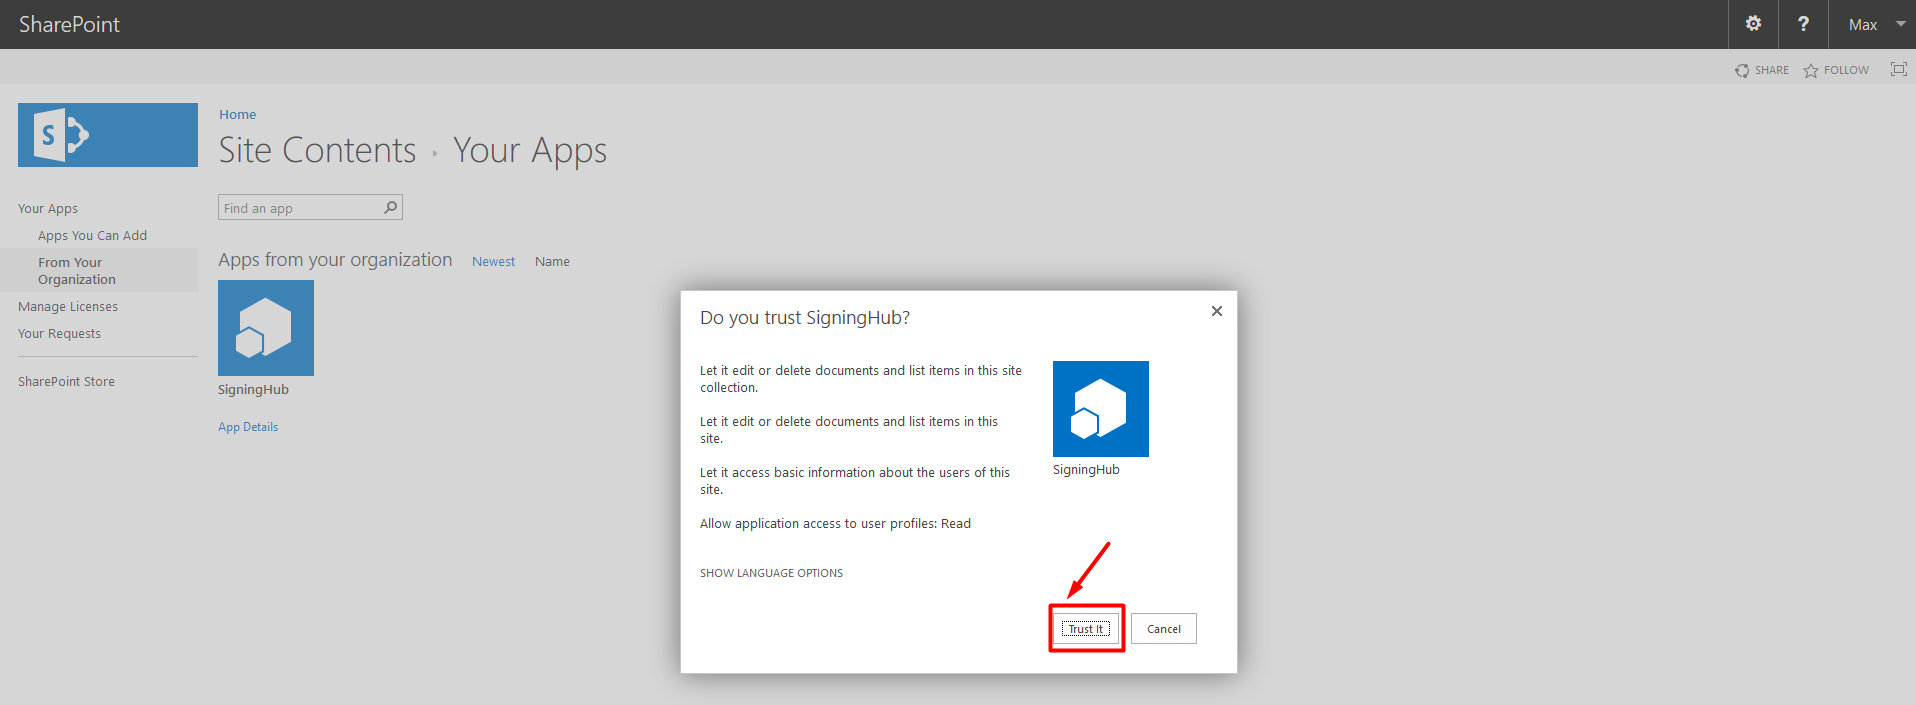
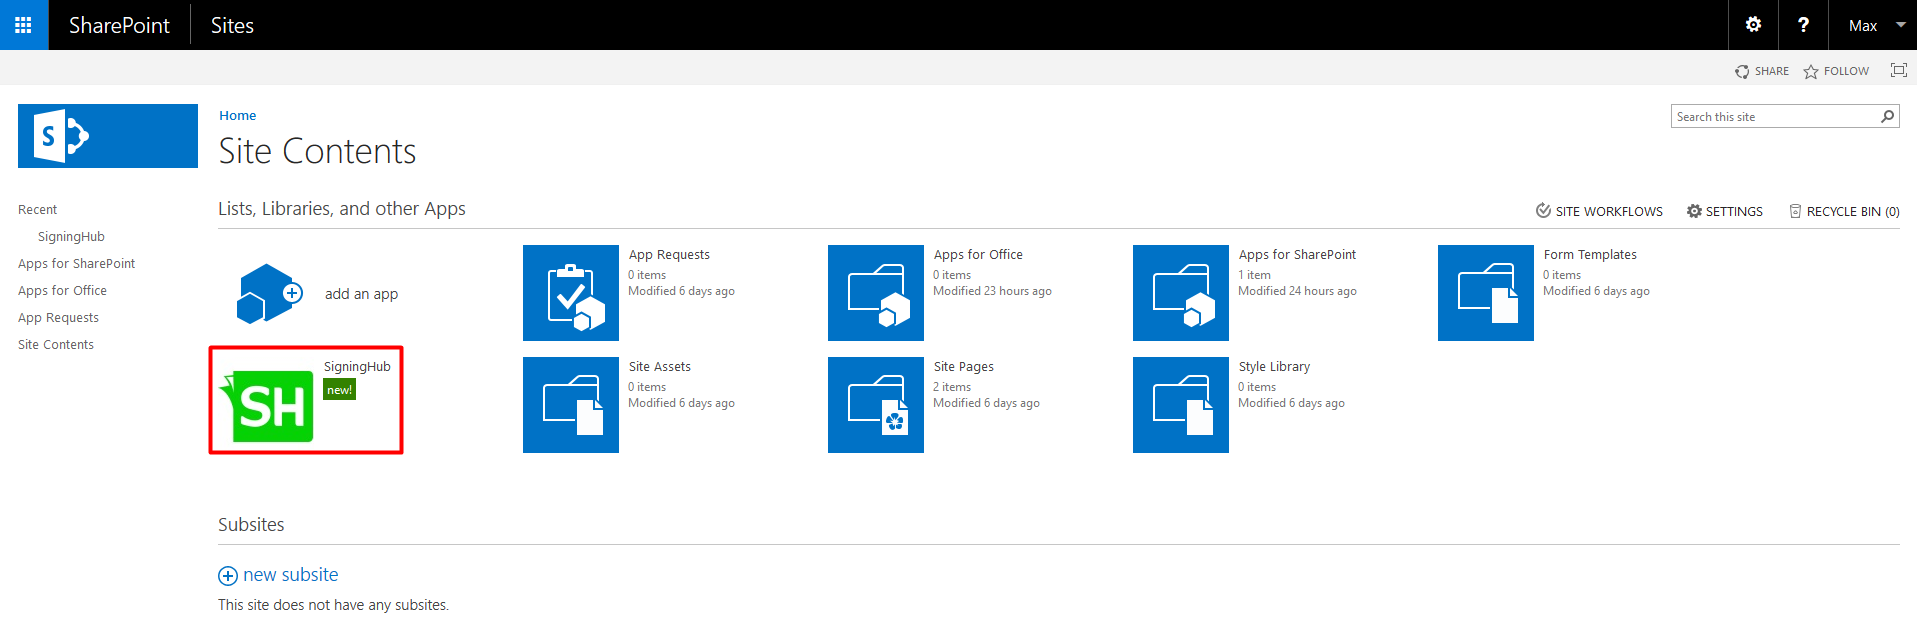
- SigningHub for SharePoint will be installed in your SharePoint account and displayed on the app catalog "Site Contents" screen.
App Deployment Configurations
Before proceeding to SigningHub for SharePoint deployment you need to assign the permission levels to your SharePoint groups, and ensure that SharePoint cross domain apps call is enabled in your on-premises environment. For this, enter the following commands in the PowerShell:
Add-PSSnapin Microsoft.SharePoint.PowerShell
$farm = Get-SPFarm
$farm.Properties["CustomAppRedirect"] = $true
$farm.Update()
Once the above mentioned commands are entered in the PowerShell, follow these steps:
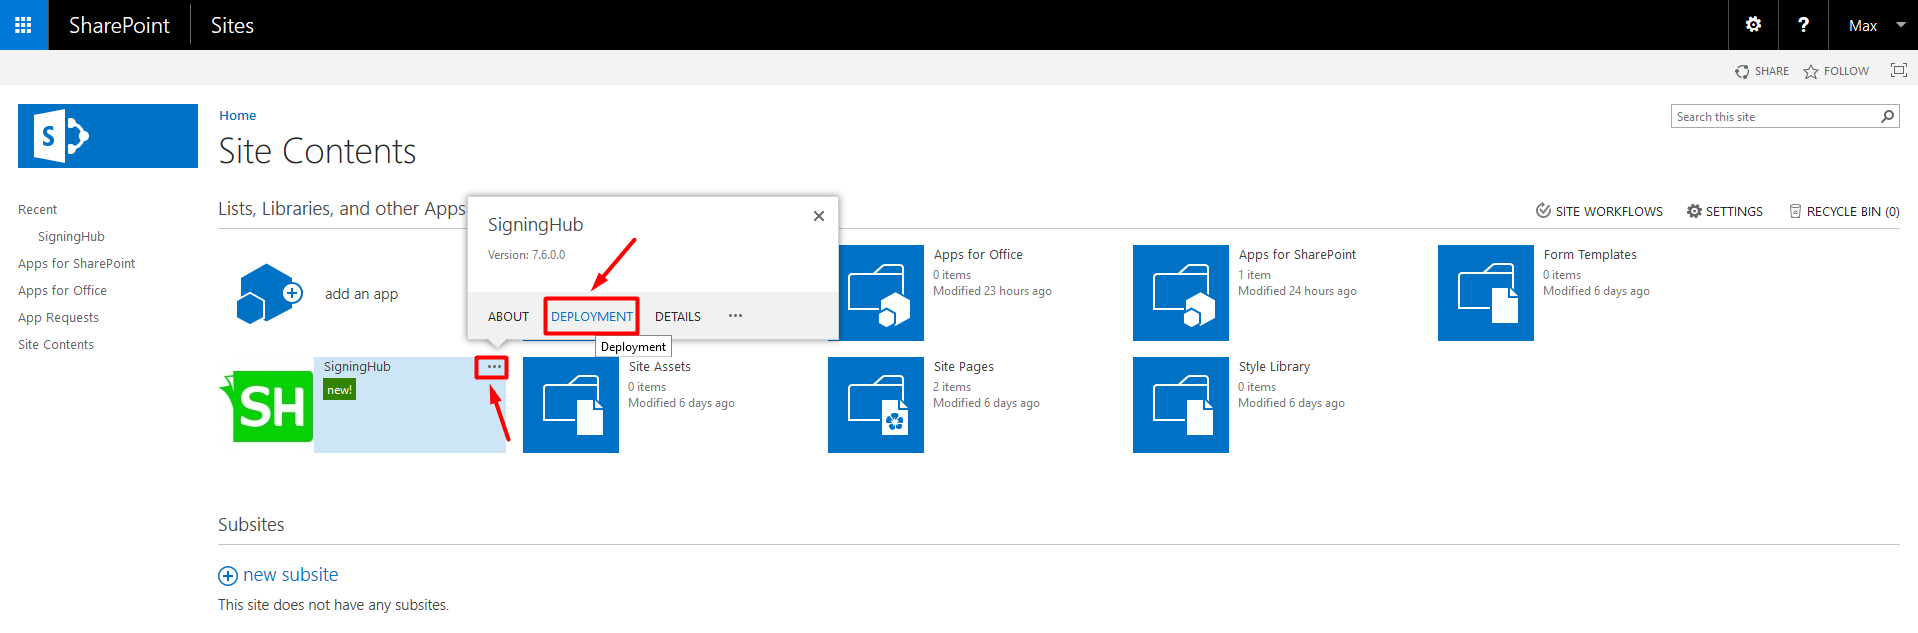
- From the app catalog "Site Contents" screen, take cursor on the installed SigningHub add-in and click ... and then click "Deployment".
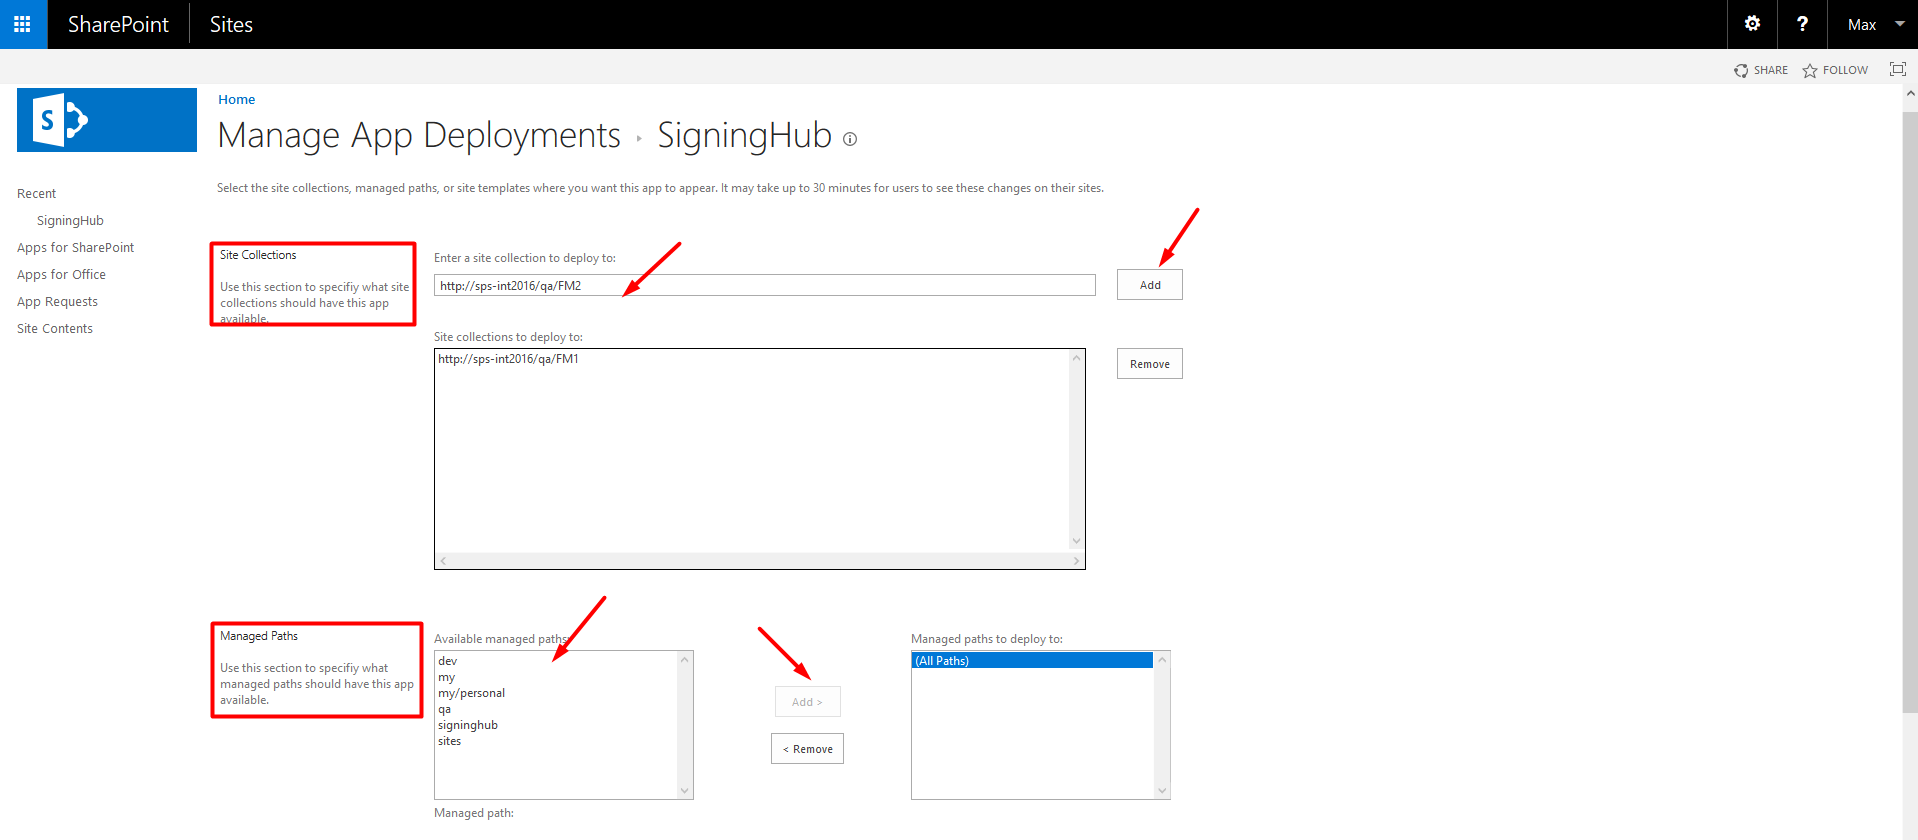
- The "Manage App Deployments" screen will appear:
- From the "Site Collections" area, add your site collections (within the same SharePoint deployment) one by one on which SigningHub for SharePoint is required.
- From the "Managed Paths" area, select the path(s) on which SigningHub for SharePoint should be available. The add-in will not be available beyond the selected path(s).
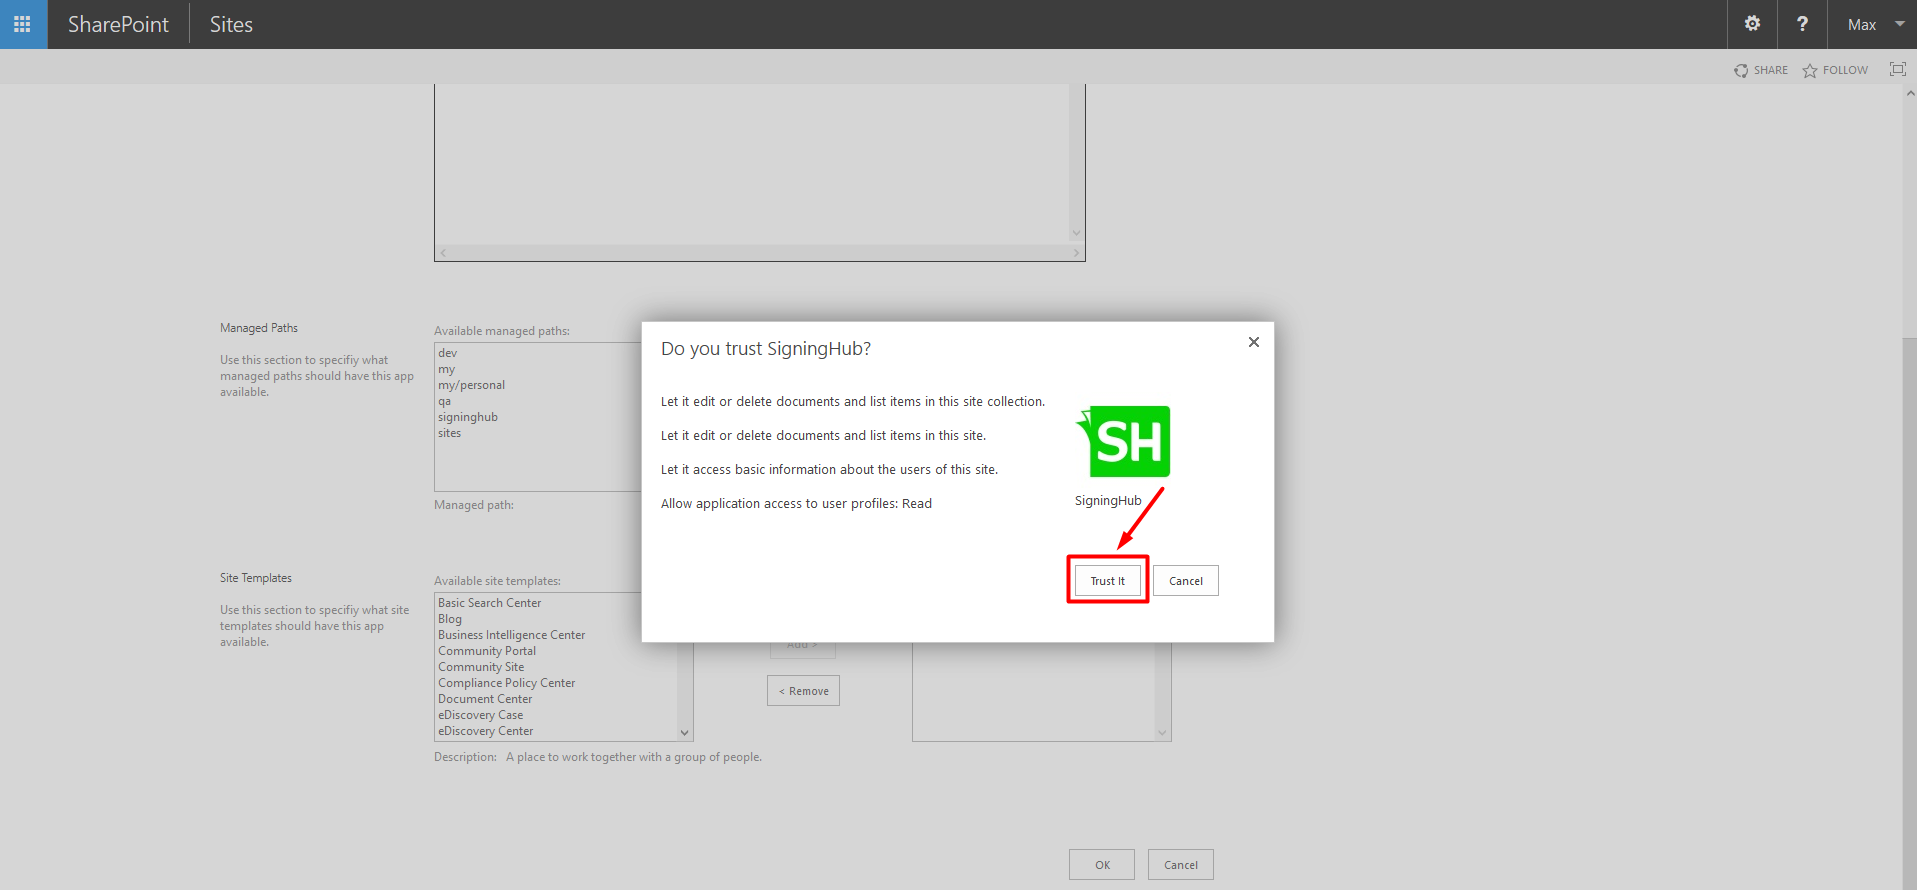
- From the "Site Templates" area, select the template(s) for which SigningHub for SharePoint should be available. The add-in will not be available beyond the selected template(s). Click OK.

- A confirmation dialog will appear, click the "Trust it" button.
1. The operator installing SigningHub for SharePoint, should have the SharePoint Admin rights (i.e. Tenant Administrator) on the catalog site where the add-in is being installed.
2. Once the above installation is done, proceed to configure your SigningHub Account Settings, see details.3. The SigningHub for SharePoint add-in deployment on the app catalog site is only applicable to the on-premises SigningHub environments.