Load-Balanced Installation
Follow these instructions to install SigningHub Enterprise with a load-balanced configuration.
Launch the installer by right-clicking the file name [SigningHub Installation Directory]/setup/install.bat and select Run as administrator.
Follow the installation wizard as described previously until the Installation Type screen is shown:
Click the Next button to show the License Agreement:
Click the I Agree button to proceed.
The following screen to prompt for database details is displayed: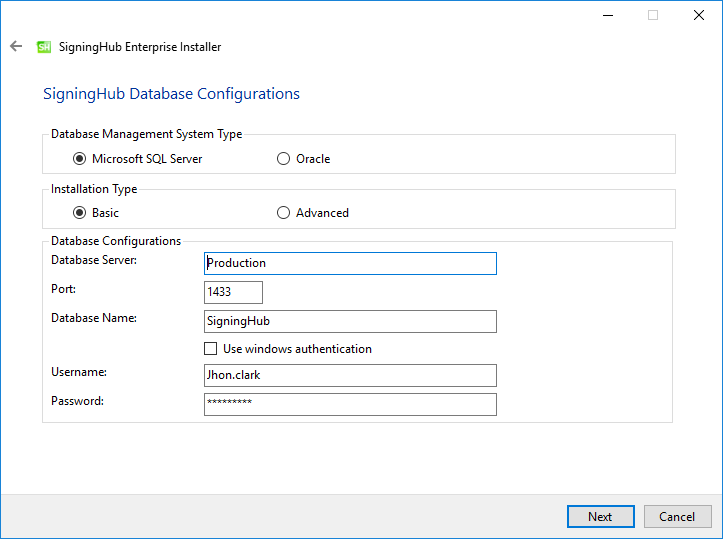
The information displayed above is an example and you should configure the relevant settings for your own environment.
|
|
|

Click the Next button to select specific modules:
Select the appropriate modules to install the required features.
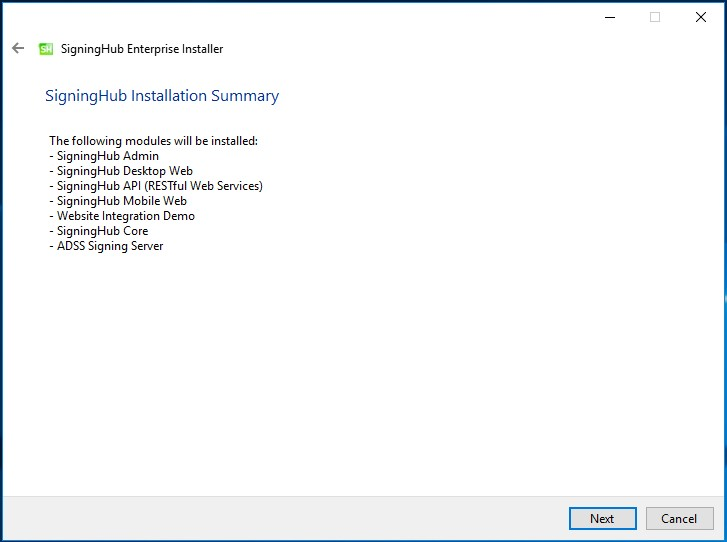
Click the Next button to show the summary and complete the installation:

This screen shows the installation summary by listing the different product modules that will be installed.
If you think any listed item is incorrect then use the Back button (arrow towards the top-left of the dialogue box) to correct your choices before proceeding ahead.
Click the Next button to continue with the installation.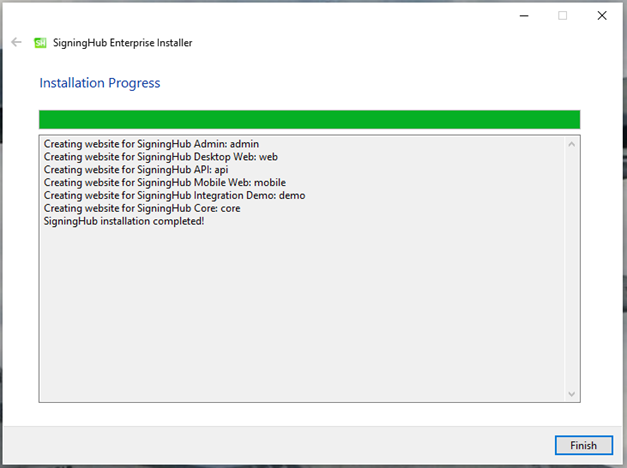
Click the Finish button to complete the installation process.
|
|
The site IDs of deployed IIS websites should be the same across all the instances in a load balanced environment to run SigningHub Enterprise properly.
<sessionState mode="SQLServer" allowCustomSqlDatabase="true" sqlConnectionString="AdocsEntities" cookieName="SH_ID" timeout="60" compressionEnabled="true"> </sessionState> With: <sessionState mode="InProc" timeout="60" cookieName="SH_ID" cookieSameSite="None" />
Also note that if someone wants to change email templates in case of a Load Balanced environment, then email templates will have to be replaced manually across all instances. |
