Go>Sign Desktop Certificates
This section explains how to create Go>Sign Desktop certificate requests in the Web RA application.
Following are a few things to remember with respect to SDNs, SANs and RDNs:
- When a user creates a new certificate request, the SDNs and SANs will be rendered as configured in the certification profile and its values will be auto-filled from the certificate details.
- A user will not be able to change the values of the RDNs if an operator has configured them in the certificate details.
- An operator will see the rendered values in a disabled form.
- If there is an RDN that is added in certification profile but has not been configured in the user's certificate details, it will be shown as editable in the request form and the user can update its value.
- If no RDN is configured in the user certificate details then the request will be generated.
- In case of an error, the user will not be allowed to move to the next step.
Second Factor Authentication
If second-factor authentication is enabled for certificate requests, the configured authentication mechanism operates accordingly. When the user clicks Generate, an authentication window appears. After the selected method is successfully verified, the certificate is generated.
The authentication mechanism can be one of the following:
- SMS OTP Authentication
- Email OTP Authentication
- Email & SMS Authentication
- SAML Authentication
- Active Directory Authentication
- Azure Active Directory Authentication
- OIDC Authentication
Request Notes
If an operator has added a customized Request Note to certificate requests for a specific enterprise, it will appear in all types of certificates requests -- issued, rekey, revoked, renewed and reissued. The Request Notes appear only on the screens against which the operator has customised them.
An operator can configure Request Notes from the Enterprise Request Notes section in the Admin portal.
Following are the steps to create a token certificate request for Go>Sign Desktop profile.
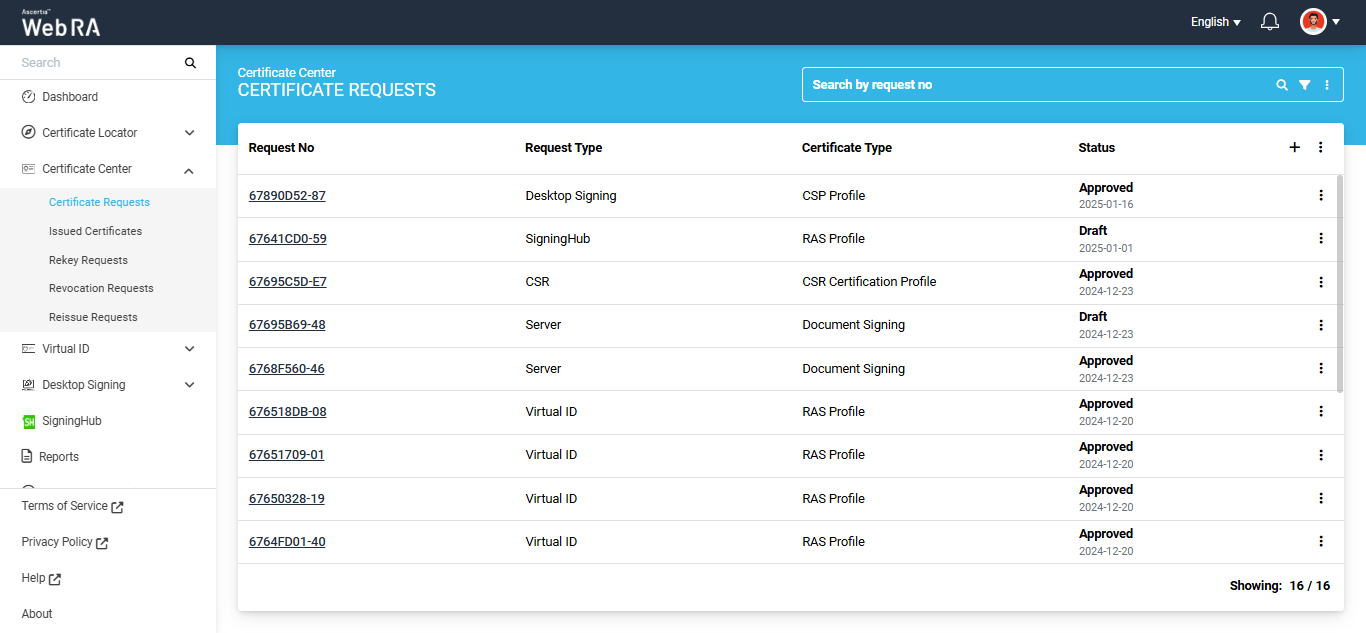
Expand Certificate Center > Certificate Requests to navigate to the Certificate Requests listing screen.
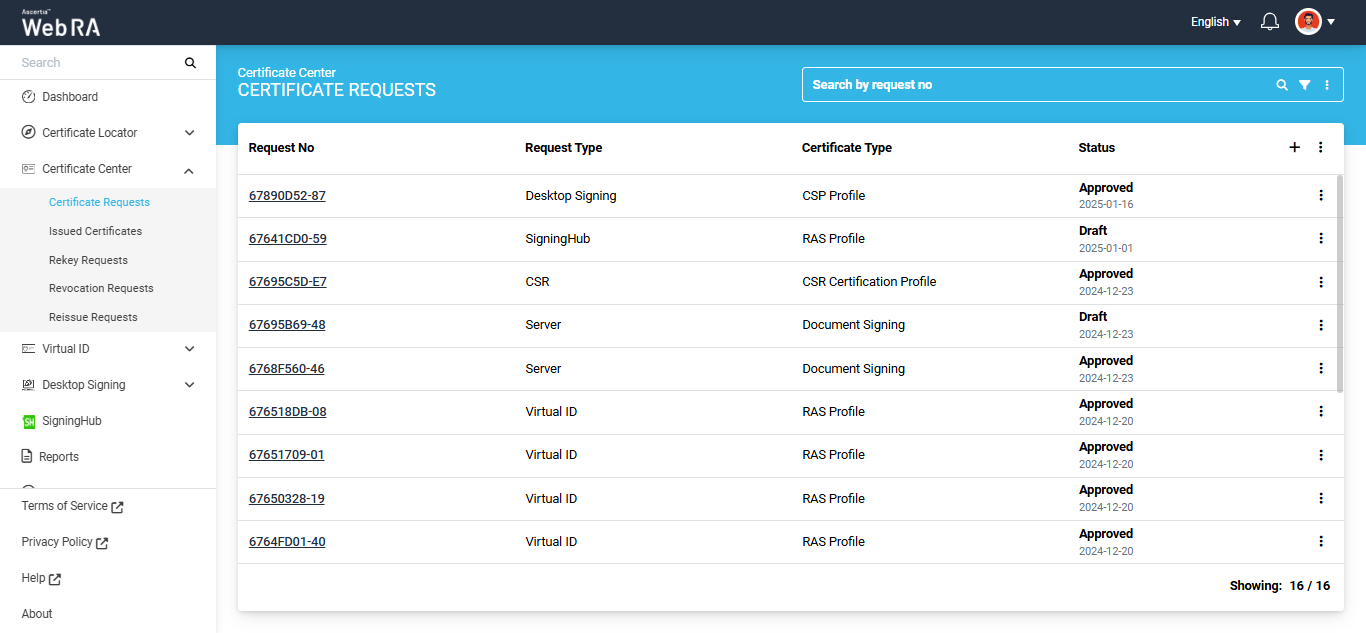
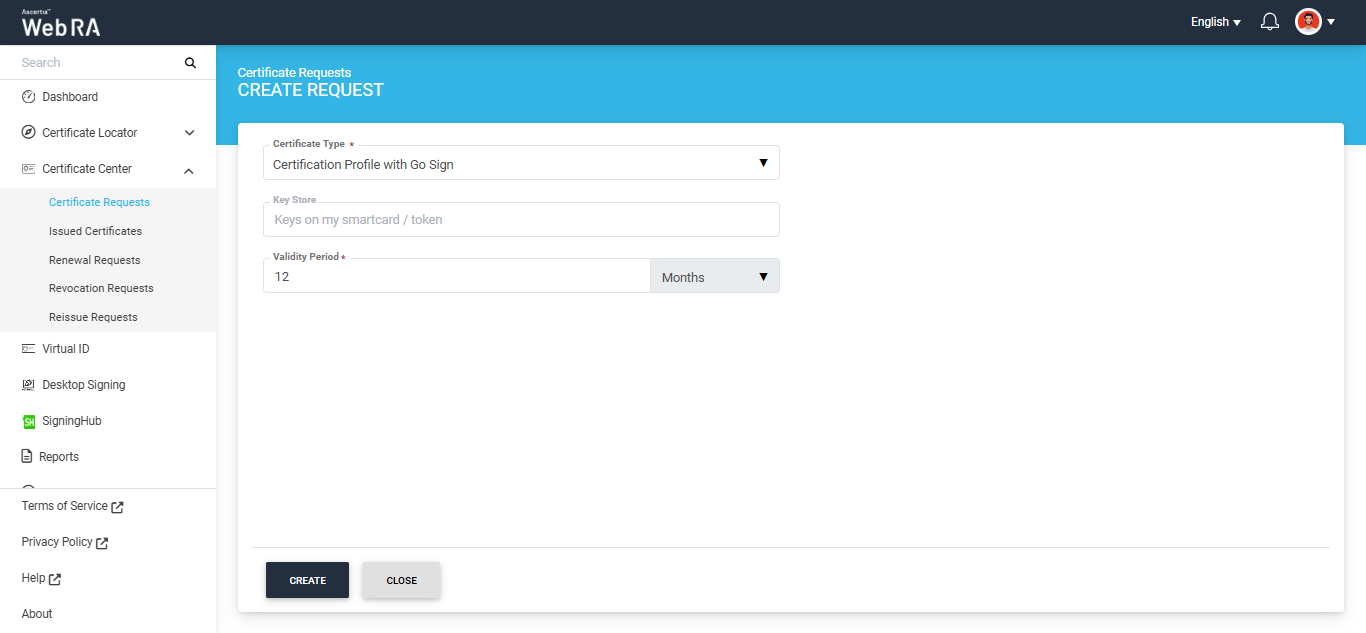
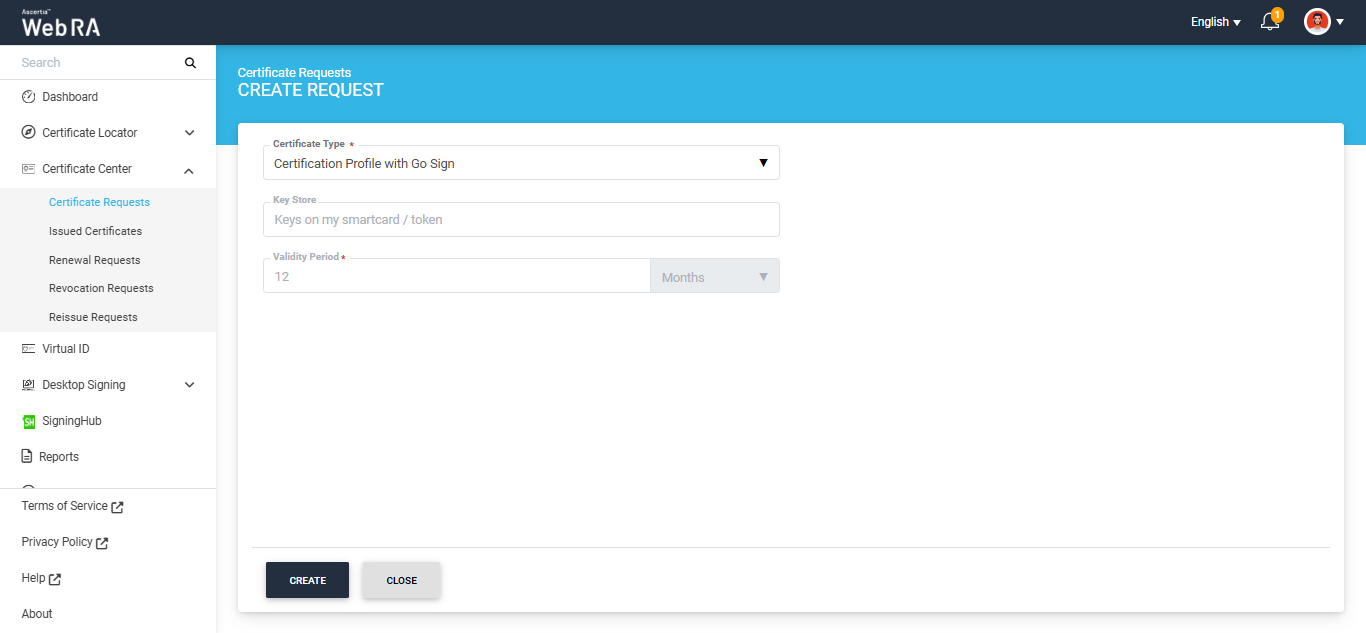
Click the + button to create a new certificate request. The system will display the create request screen.
On this screen, select the ‘Certificate Type’ from the dropdown, and click ‘Create’.
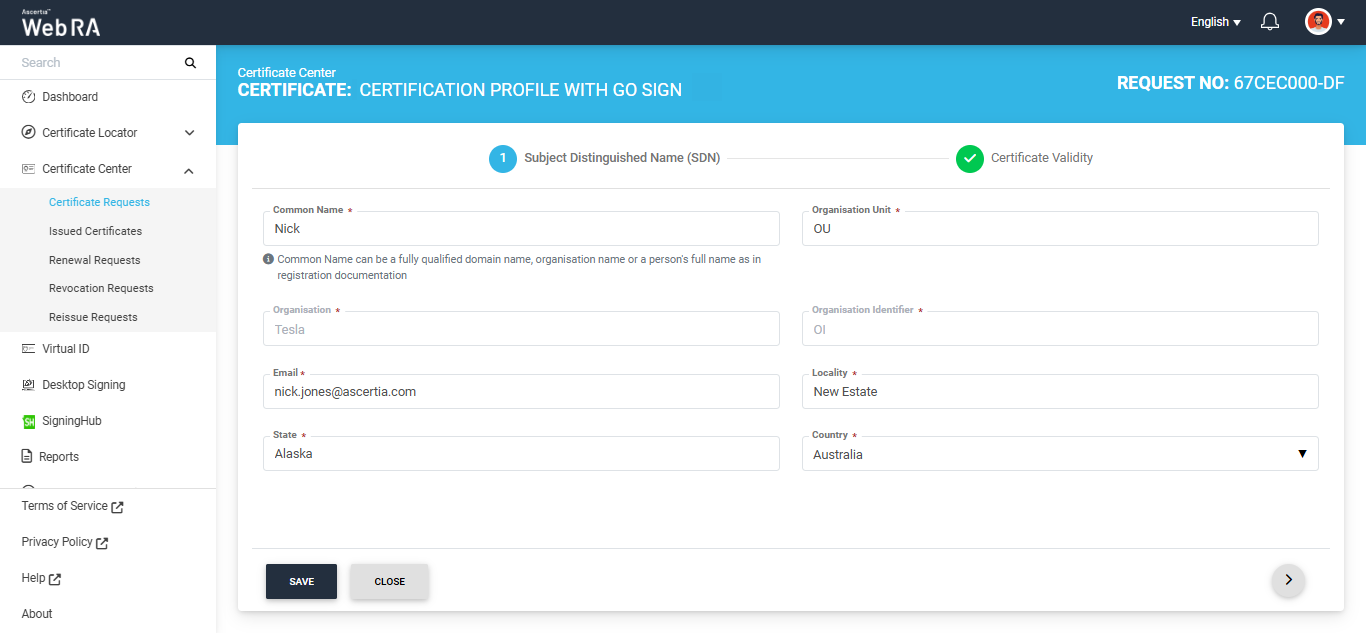
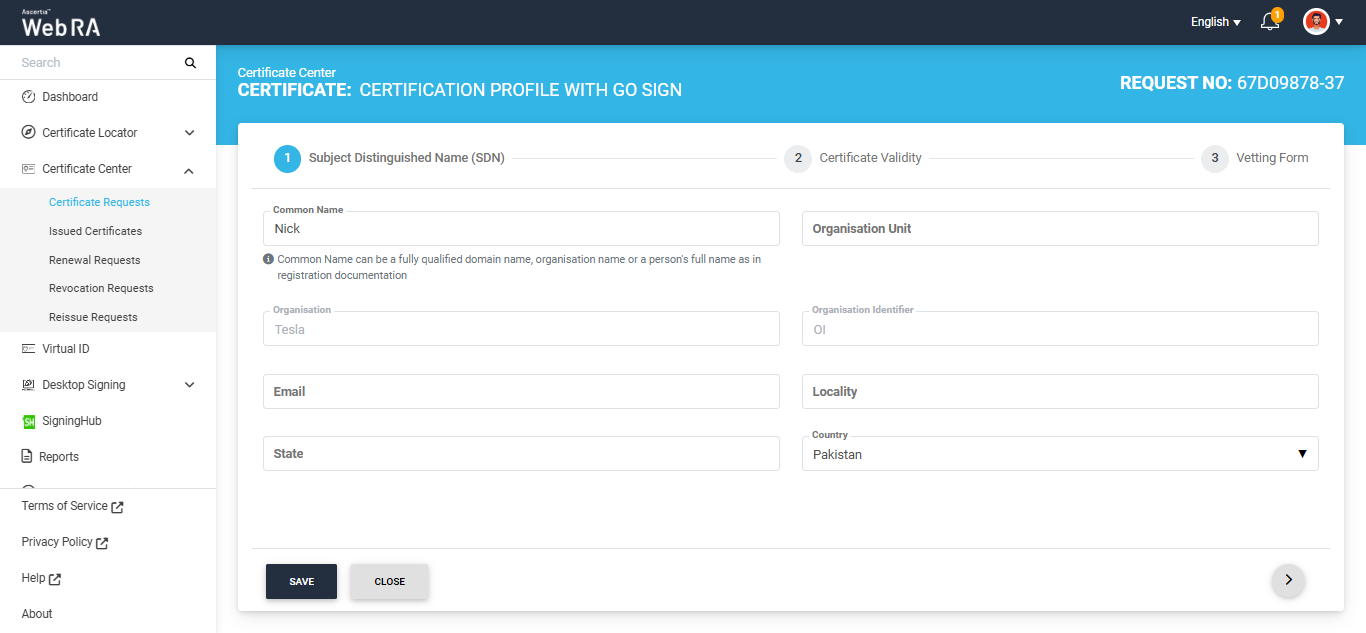
The Subject Distinguished Name (SDN) screen will appear. Here, enter the required details in the respective fields, then click Next.
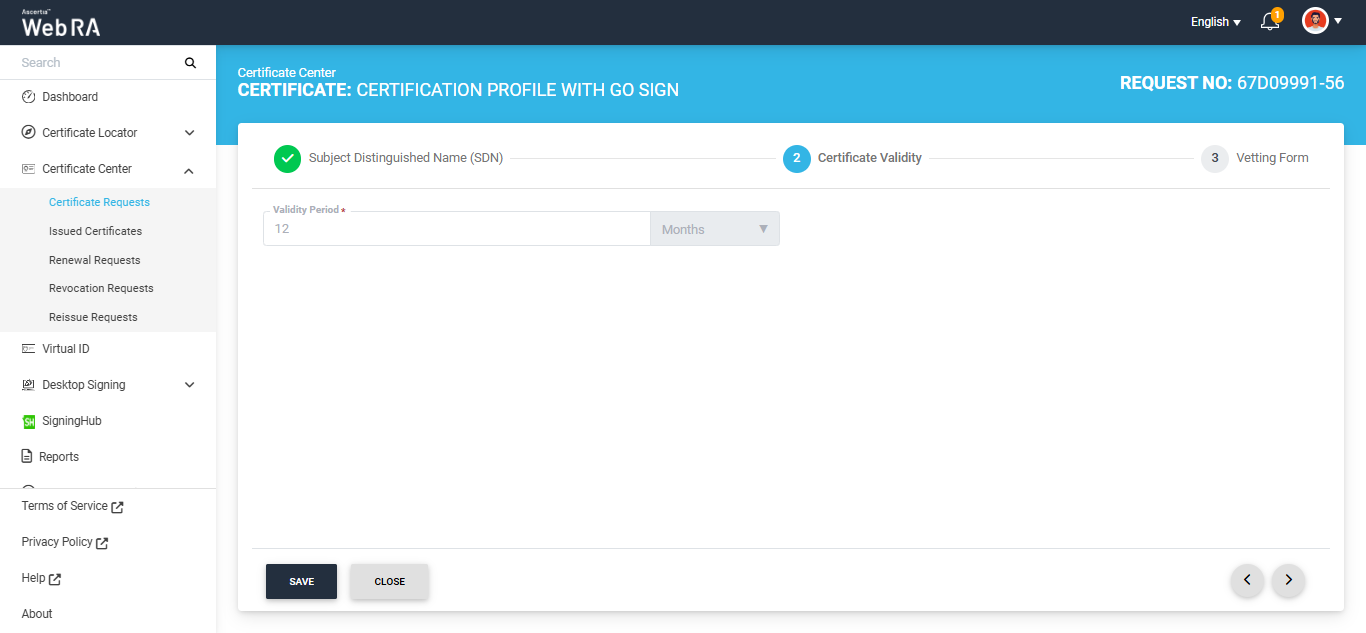
The 'Certificate Validity' screen will appear. Enter the required validity period and click ‘Generate’.

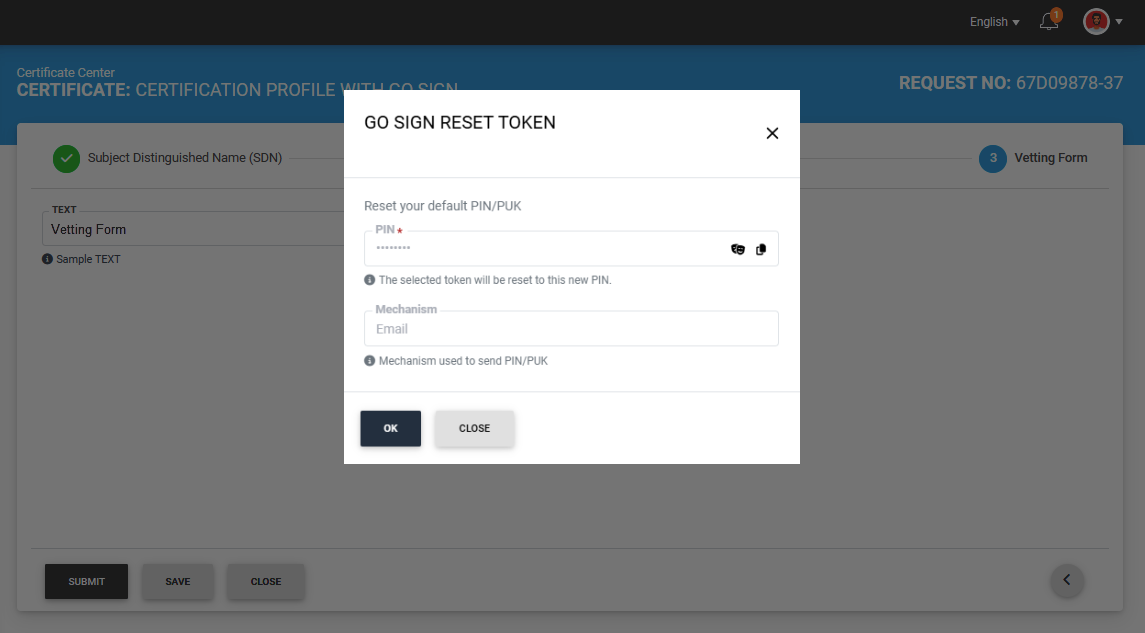
Once you click generate, a dialog titled ‘Go Sign Reset Token’ will appear. This dialog will display the auto-generated value of PIN in disabled form. The user can view and save the value from the respective icons.
The ‘Mechanism’ box will appear as disabled. It will display the platform where the new value of PIN will be shared.
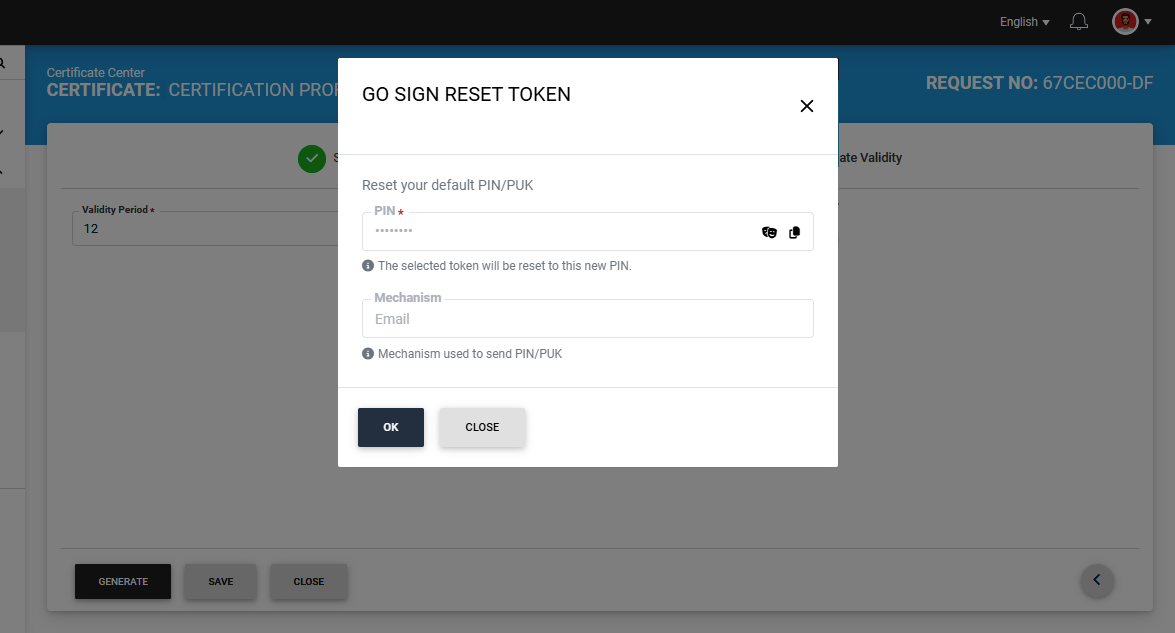
Note: The dialog for resetting PIN or PUK values will only appear if the reset PIN/PUK setting is enabled in the certification profile. If the operator has enabled the setting to reset both PIN and PUK values, both PIN and PUK sections will appear in the 'Go Sign Reset Token' dialog. However, if the setting is enabled for only PIN or PUK, the sections in the dialog will appear accordingly.
The mechanism for sharing the new values of PIN or PUK is selected during the creation of the certification profile. The setting for mechanism can be changed from certification profile.
Click ‘Ok’ to proceed.
The system will generate the CSR, create the certificate and share the value of PIN with the user via email.
Note: Make sure that the PIN/PUK character length configured in the Enterprise > Policies section matches the length set in the 'PIN/PUK Quality' settings of the "SafeNet Authentication Client" utility. If the values do not match, the system will not reset the PIN value.
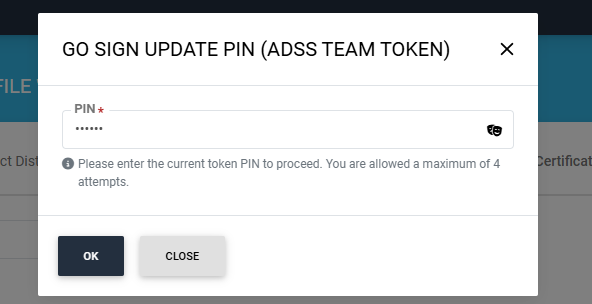
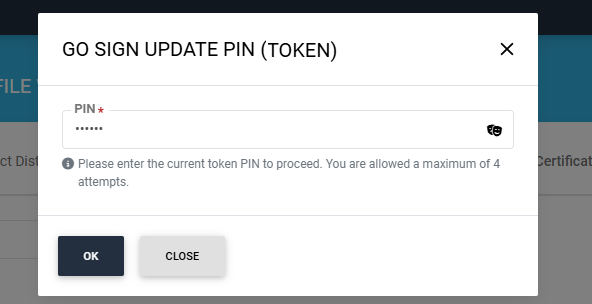
Note: If the token password previously generated by the ADSS Web RA system has been changed through the 'SafeNet Authentication Client', the system will display the 'Go Sign Update PIN' dialog when you attempt to generate a new certificate request from the same token.
You will be required to enter the updated token PIN to proceed.
Note: Each token is assigned to a single user. If a token is used to create a certificate request for a user it is not assigned to, the system will display an error stating that the token does not belong to the user.
Following are the steps to create a token certificate request for Go>Sign Desktop profile with Vetting enabled.
Expand Certificate Center > Certificate Requests to navigate to the Certificate Requests listing screen.
Click the + button to create a new certificate request. The system will display the create request screen.
On this screen, select the ‘Certificate Type’ from the dropdown, and click ‘Create’.
The Subject Distinguished Name (SDN) screen will appear. Here, enter the required details in the respective fields, then click Next.
The 'Certificate Validity' screen will appear. Enter the required validity period and click ‘Next’.
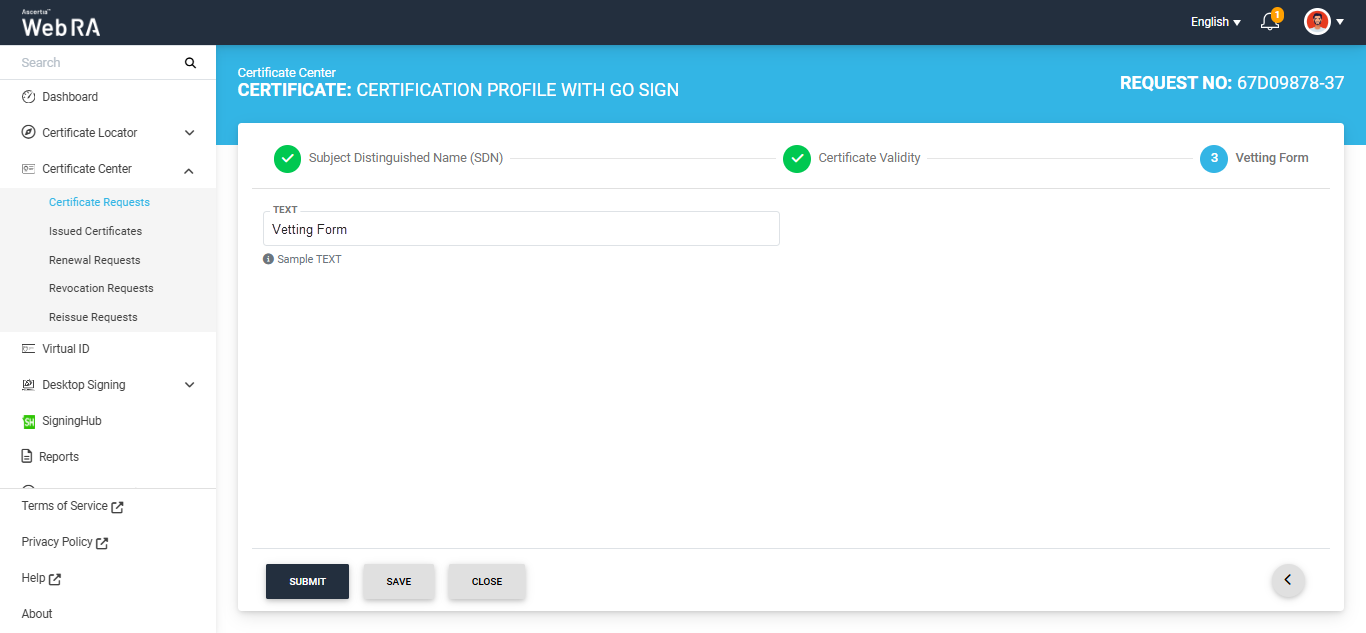
The 'Vetting Form' screen will appear. Add the required details in this screen and click 'Submit'.
Once you click submit, a dialog titled ‘Go Sign Reset Token’ will appear. This dialog will display the auto-generated value of PIN in disabled form. The user can view and save the value from the respective icons.
The ‘Mechanism’ box will appear as disabled. It will display the platform where the new values of PIN will be shared.
Note: The dialog for resetting PIN or PUK values will only appear if the reset PIN/PUK setting is enabled in the certification profile. If the operator has enabled the setting to reset both PIN and PUK values, both PIN and PUK sections will appear in the 'Go Sign Reset Token' dialog. However, if the setting is enabled for only PIN or PUK, the sections in the dialog will appear accordingly.
The mechanism for sharing the new values of PIN or PUK is selected during the creation of the certification profile. The setting for mechanism can be changed from certification profile.
Click ‘Ok’ to proceed.
The system will generate the CSR, and submit the request to be approved by the administrator.
Note: Make sure that the PIN/PUK character length configured in the Enterprise > Policies section matches the length set in the 'PIN/PUK Quality' settings of the "SafeNet Authentication Client" utility. If the values do not match, the system will not reset the PIN value.
Note: If the token password previously generated by the ADSS Web RA system has been changed through the 'SafeNet Authentication Client', the system will display the 'Go Sign Update PIN' dialog when you attempt to generate a new certificate request from the same token.
You will be required to enter the updated token PIN to proceed.
Note: Each token is linked to one specific user. The system does not allow a certificate to be created for any user who is not linked to that token.