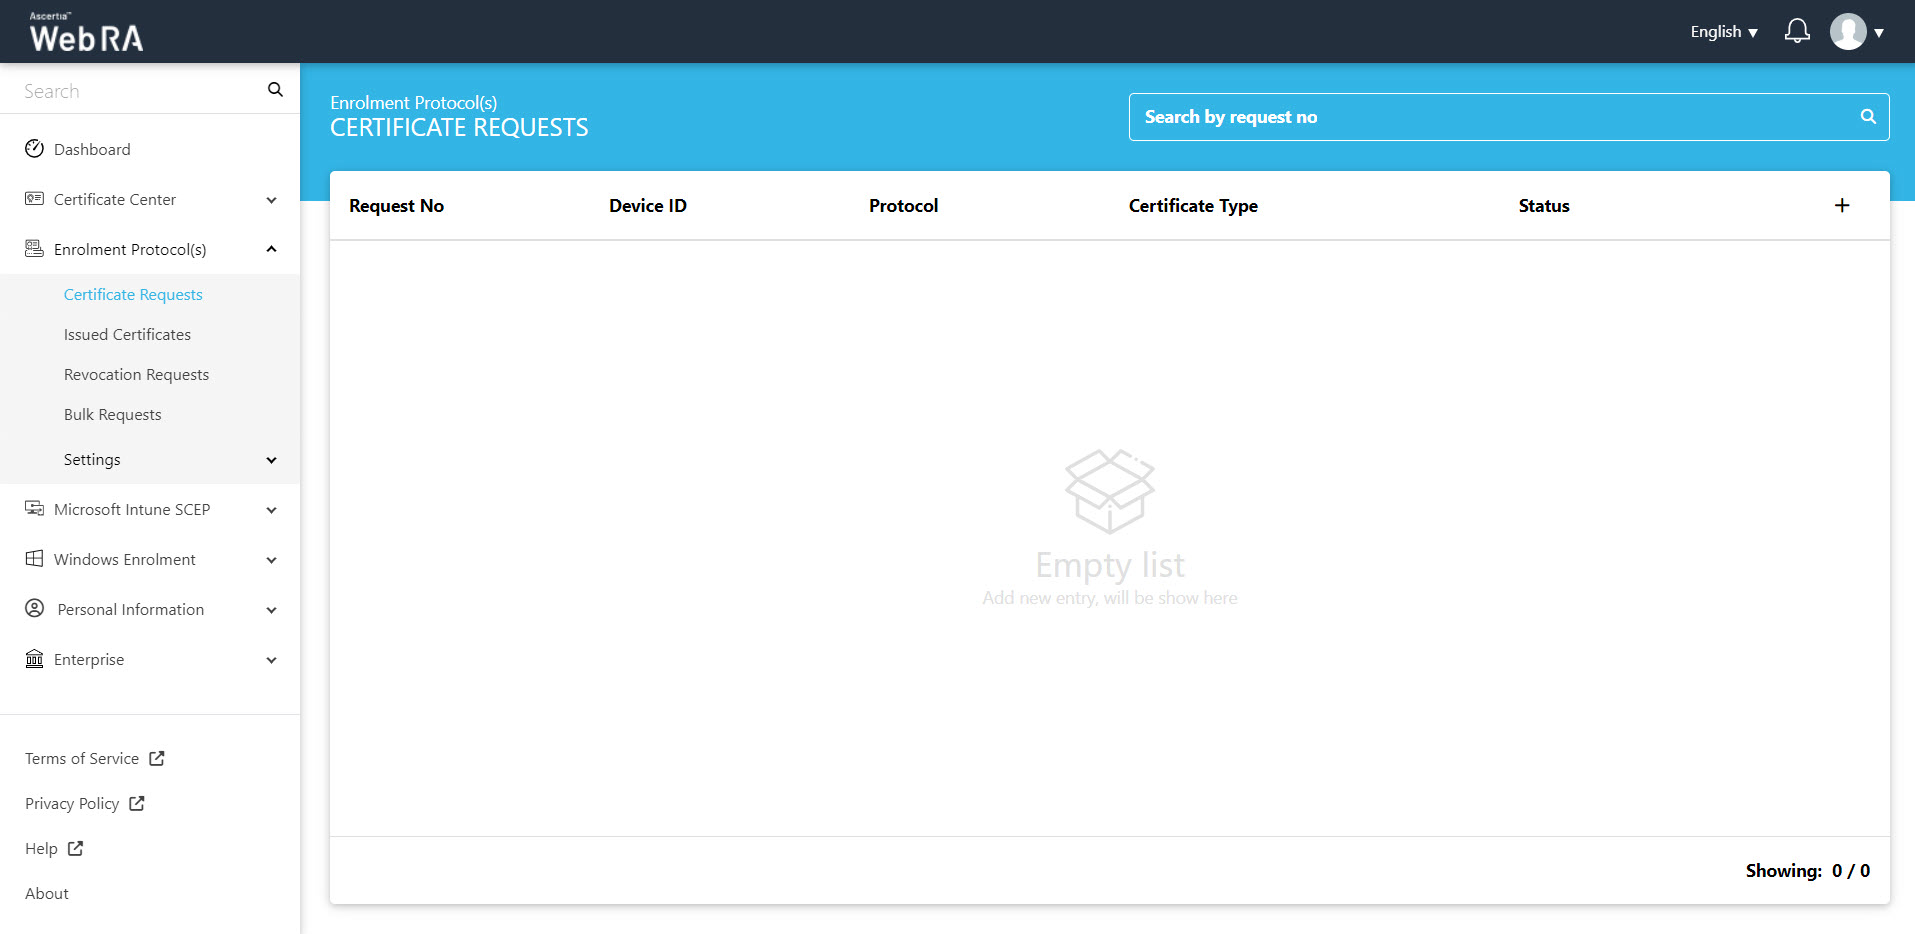
Certificate Requests
This section lists down all the certificate requests pertaining to device enrolment.
ADSS Web RA Server supports the following devices to generate certificates. The following will describe how to create a certificate for each device type:
- Certificate Request for SCEP
- Certificate Request for ACME
- Certificate Request for ACME with Custom DNs
- Certificate Request for EST
- Certificate Request for CMP
Create a Certificate Request for SCEP
Once you have set-up device enrolment, follow these steps to create a certificate request:
- You can create a certificate request, using
 icon on top right.
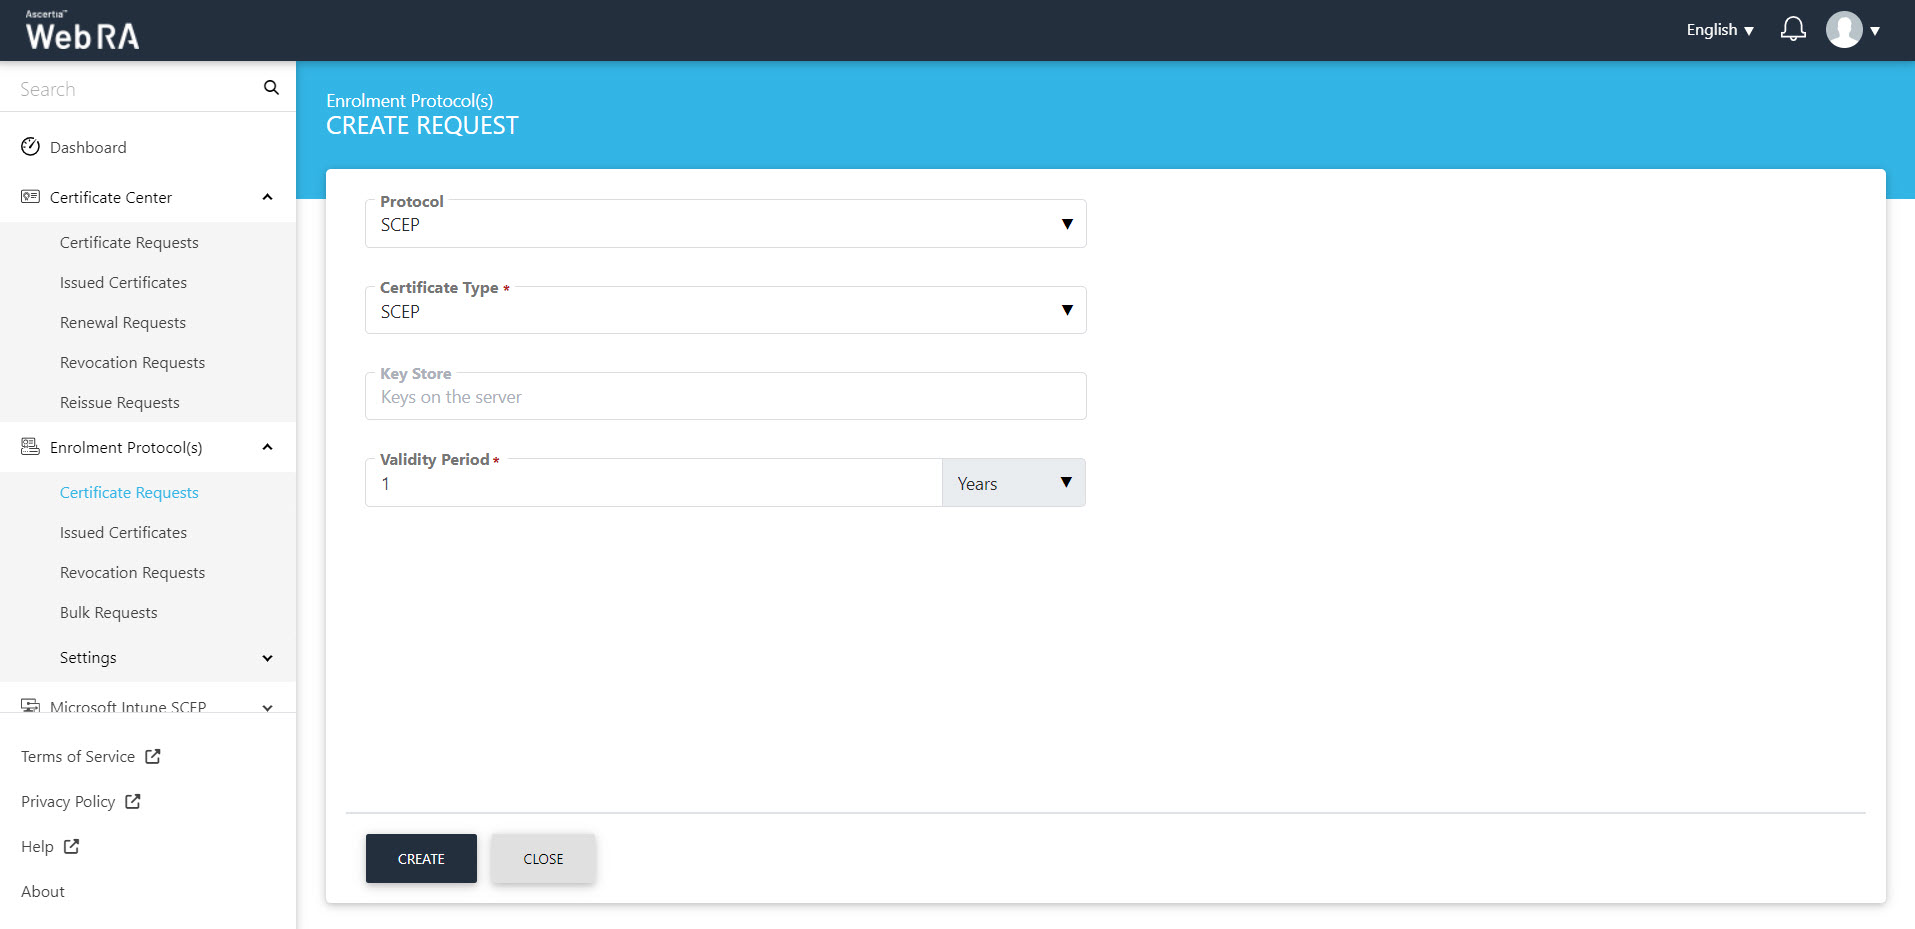
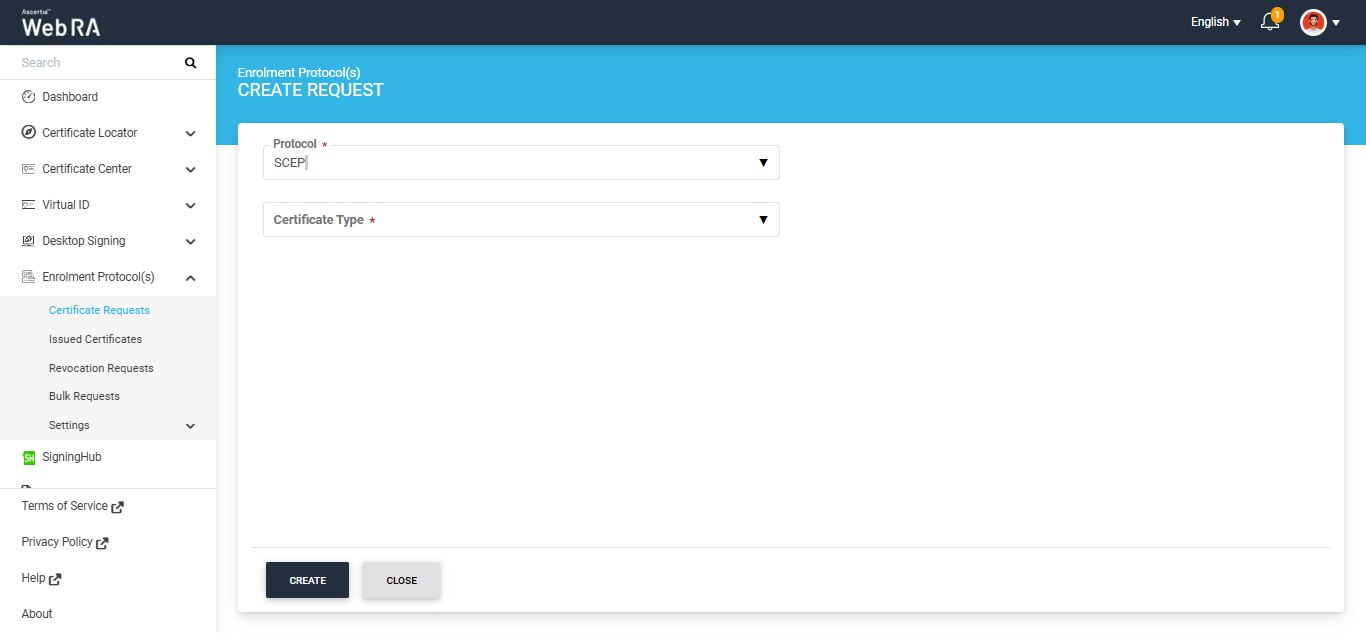
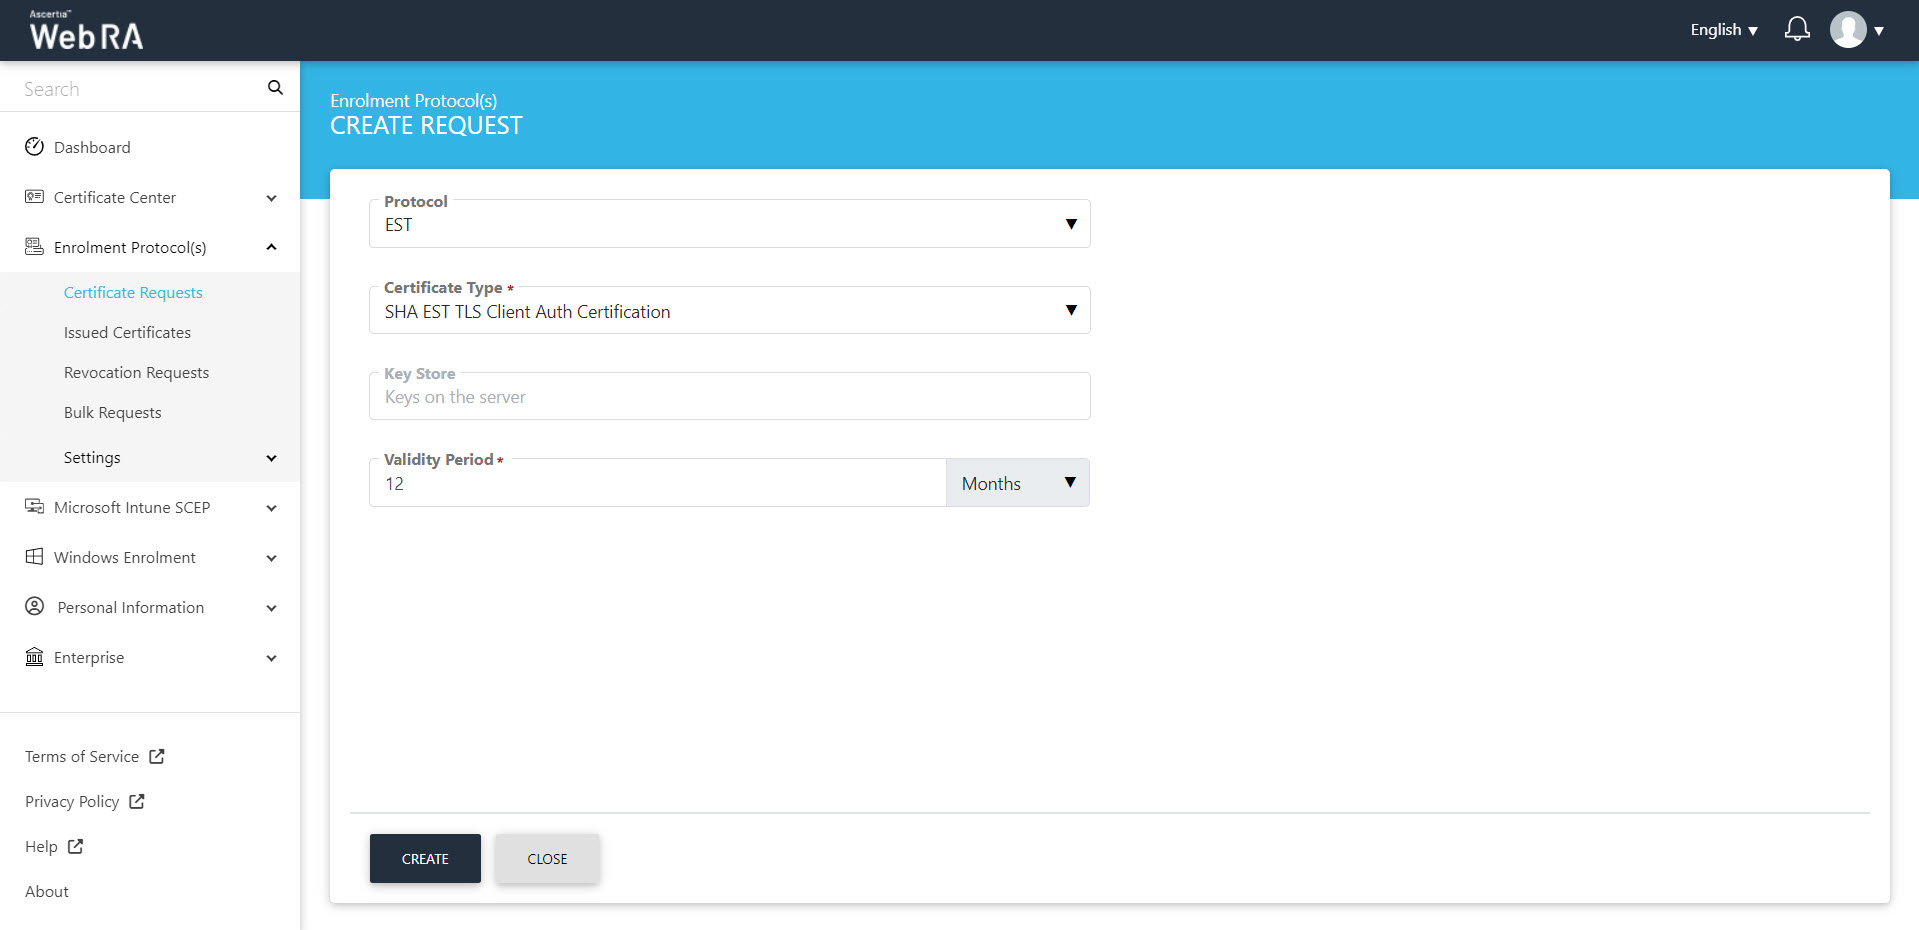
- An operator will be required to select a protocol and a certificate type. Once you select the relevant profile from the certificate type drop down, the Key Store will appear auto-filled and disabled. Select a Validity Period and click Create.
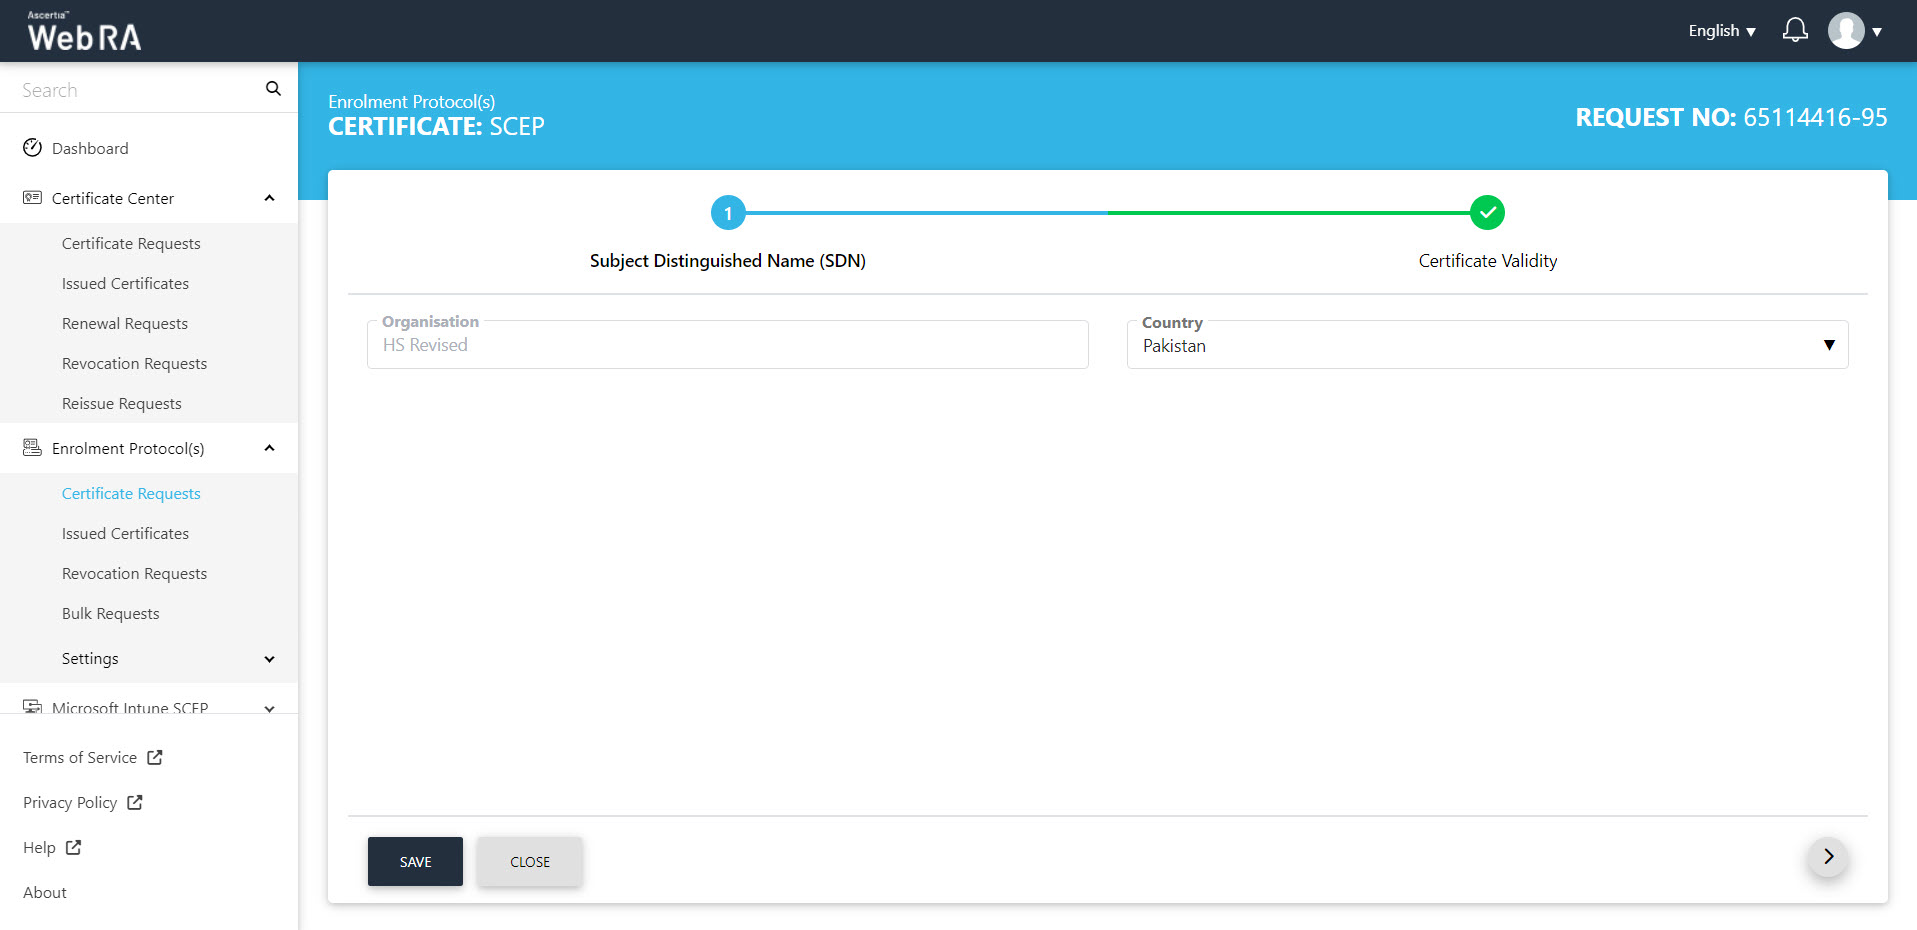
- The Subject Distinguished Name (SDN) screen will be displayed. Select the Country and click next.
- Select the Validity Period from the Certificate Validity screen.
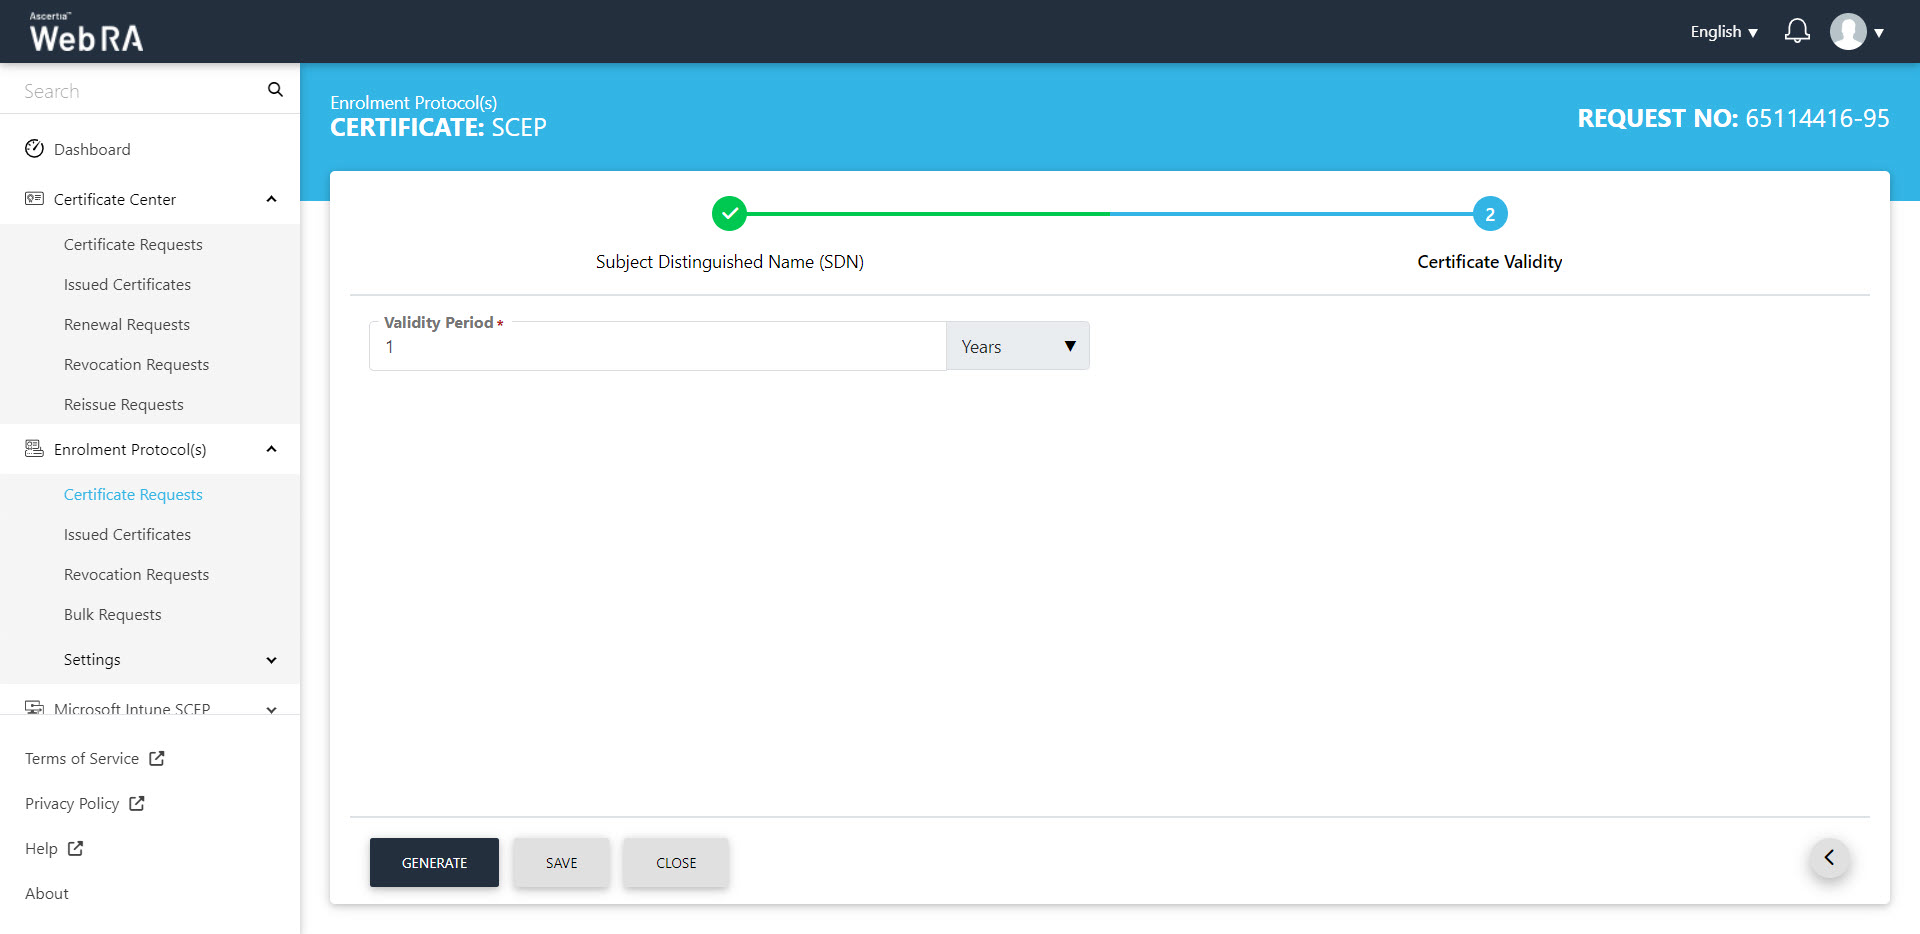
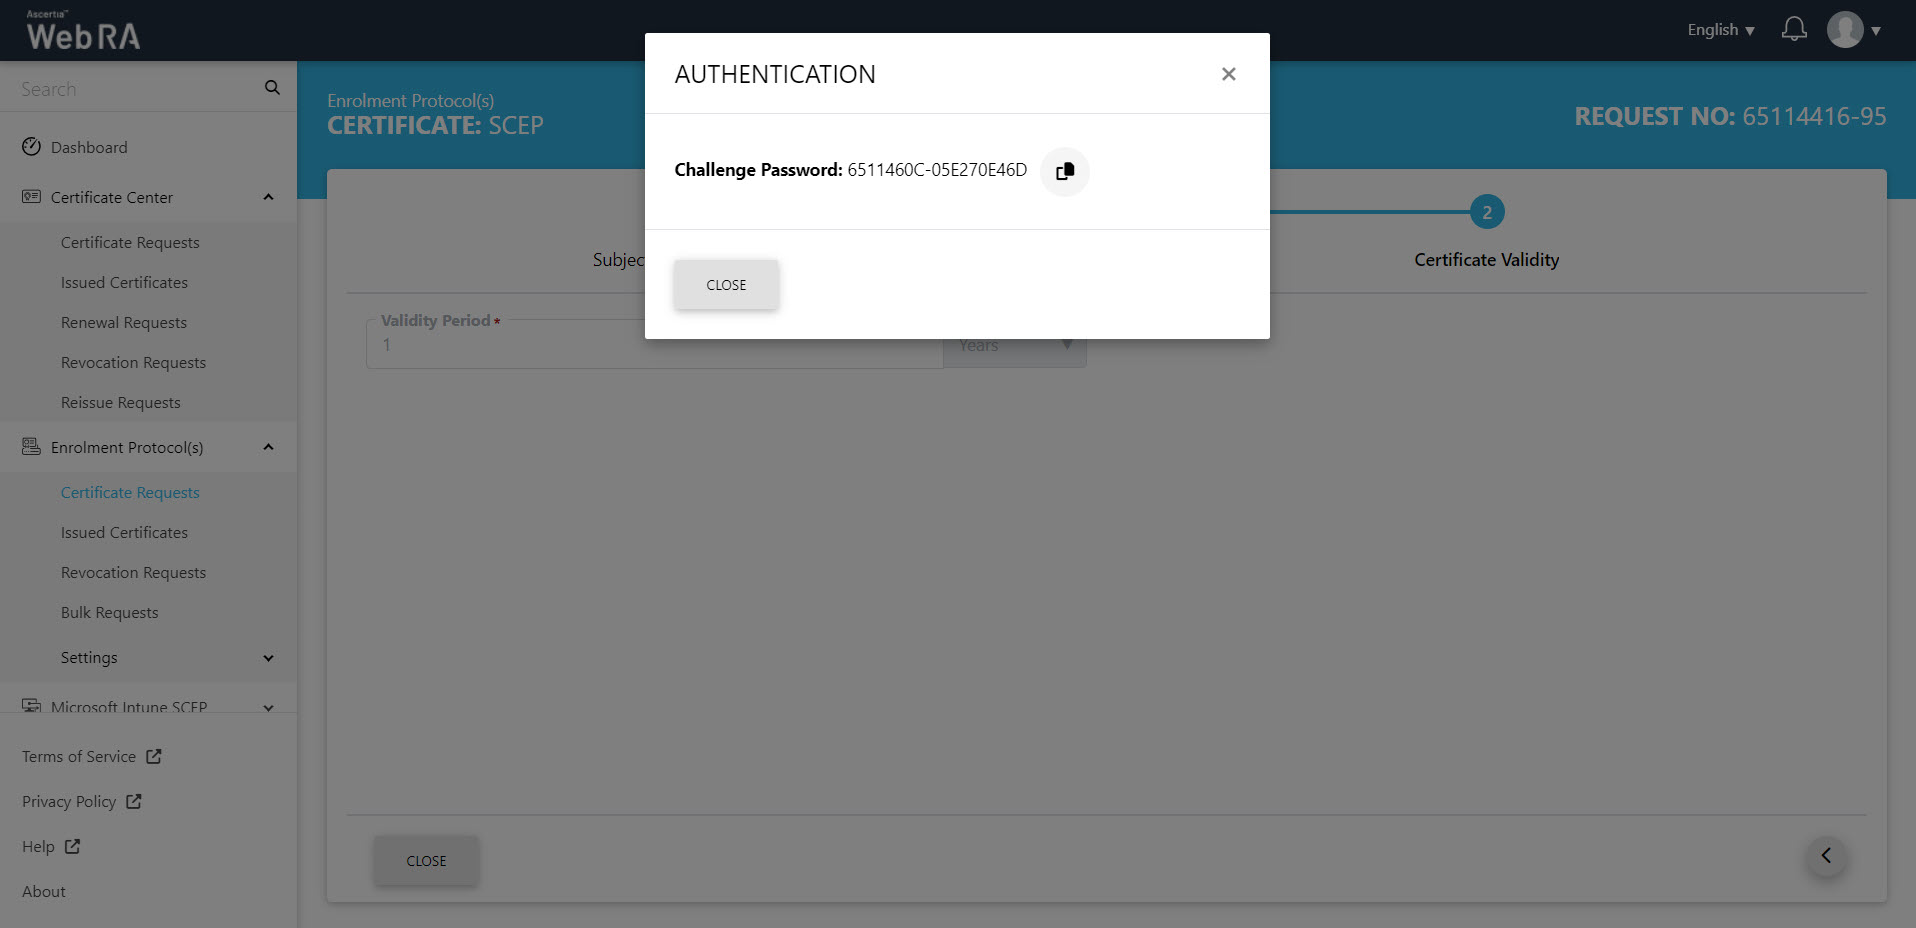
- Click the "Generate" button.
- A challenge password will be generated for request authentication. You can also copy the password.
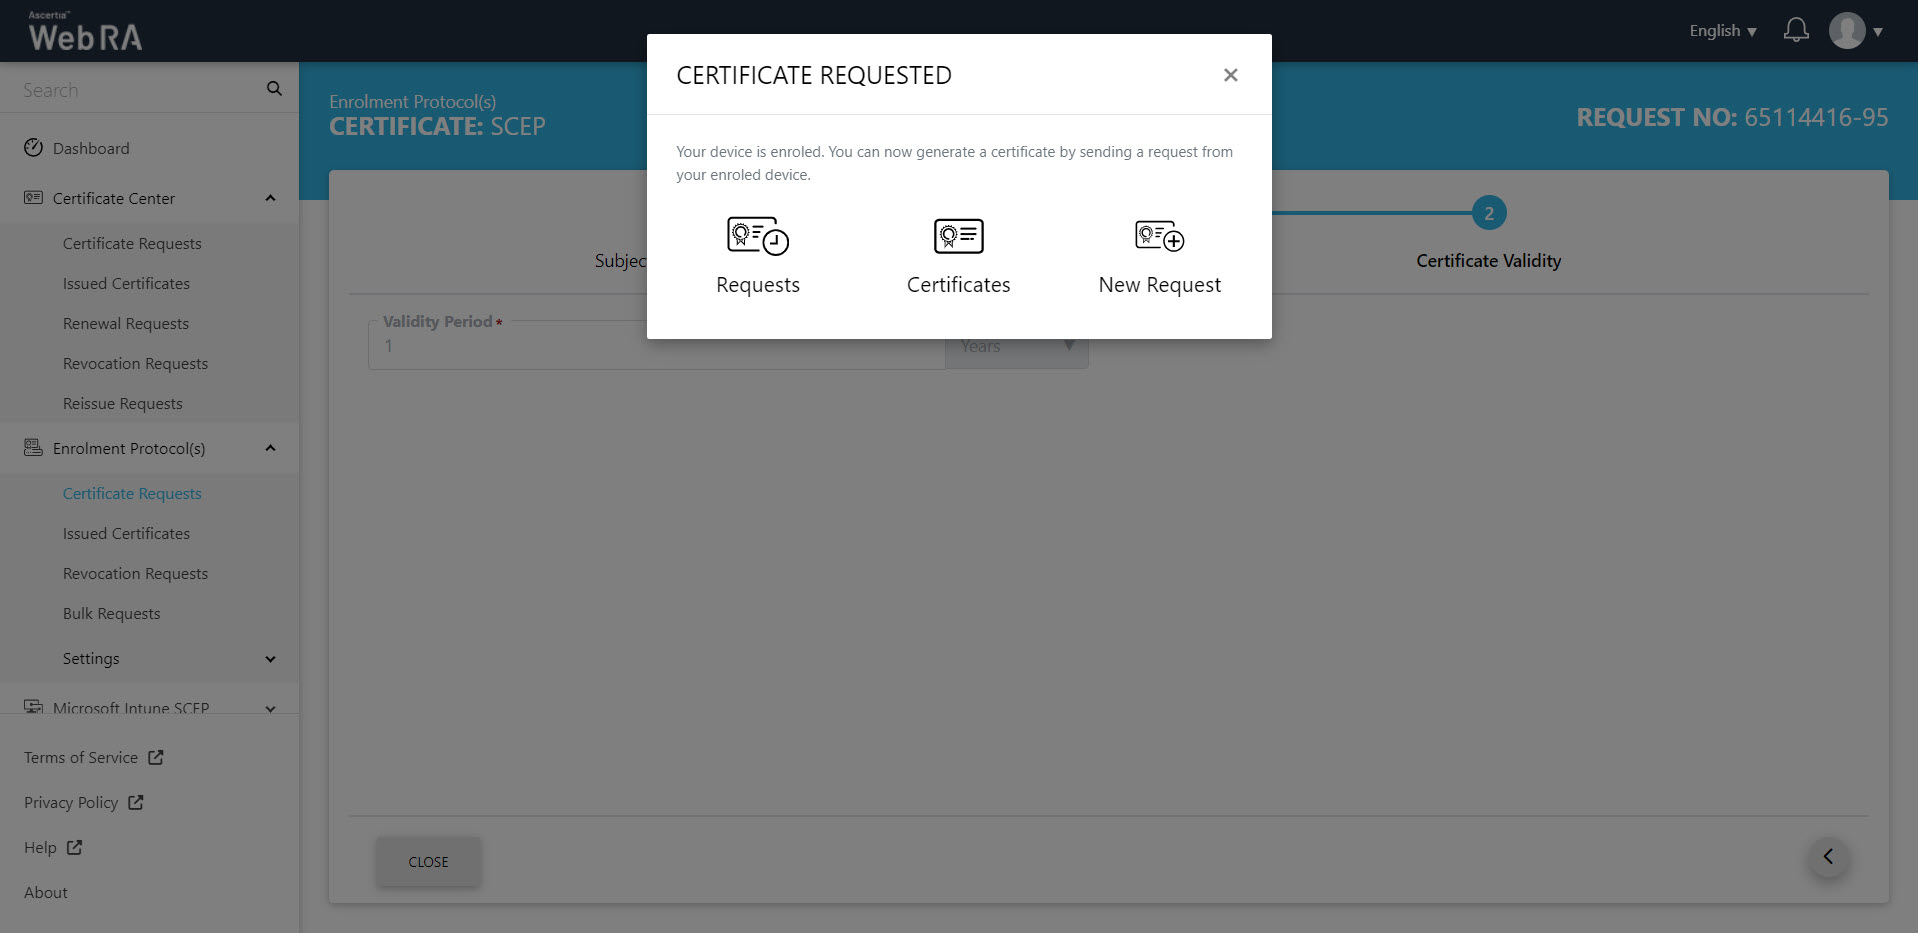
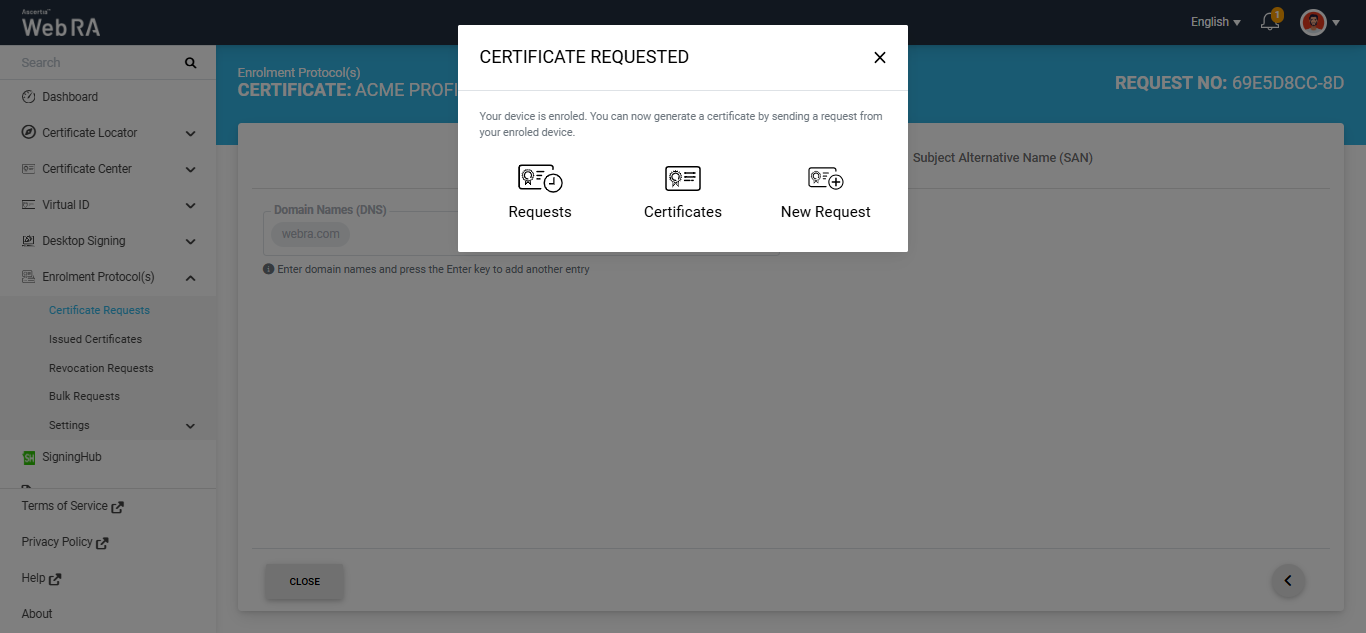
- The device enrolment confirmation message will appear.
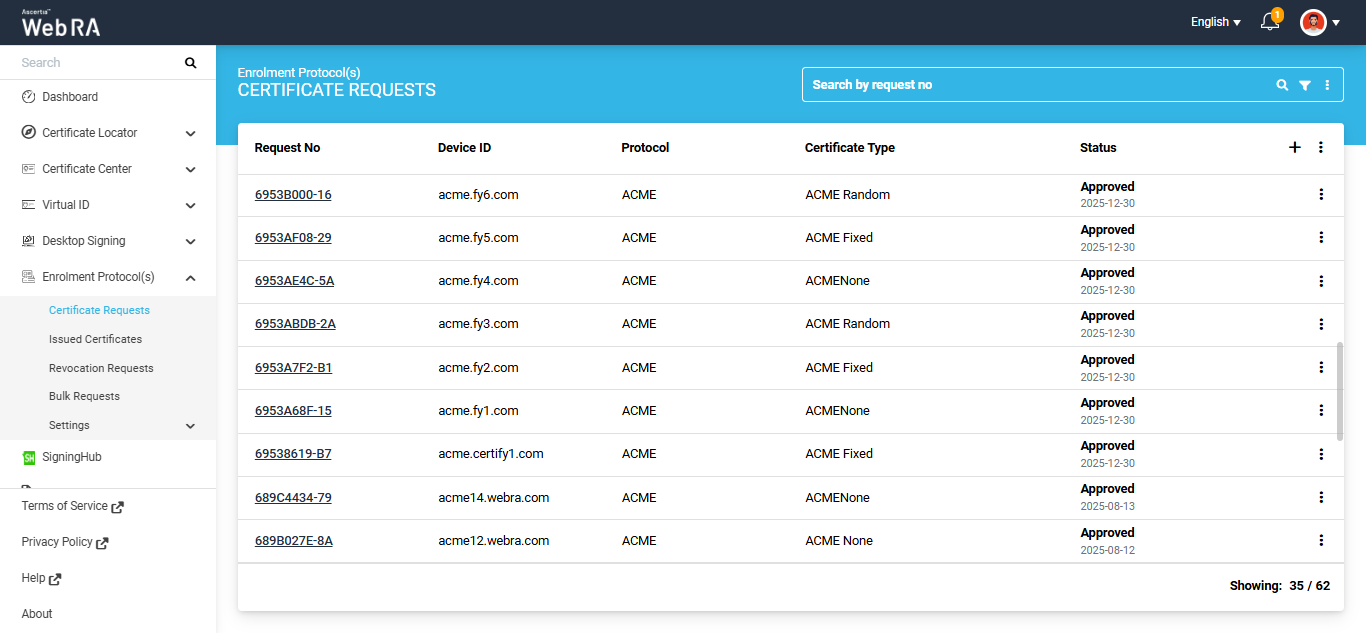
Once you have your enrolled device, all the certificate requests related to the devices user will be listed here.
CAA Record Verification
If domain name is included in the SAN and CAA Record Verification is enabled in the Enterprise Domain Settings, the SCEP protocol will perform the domain ownership verification. If the verification is successful, the certificate will be issued and will appear in the Issued Certificates listing. The logs will be recorded in the Personal Information > Activity section.
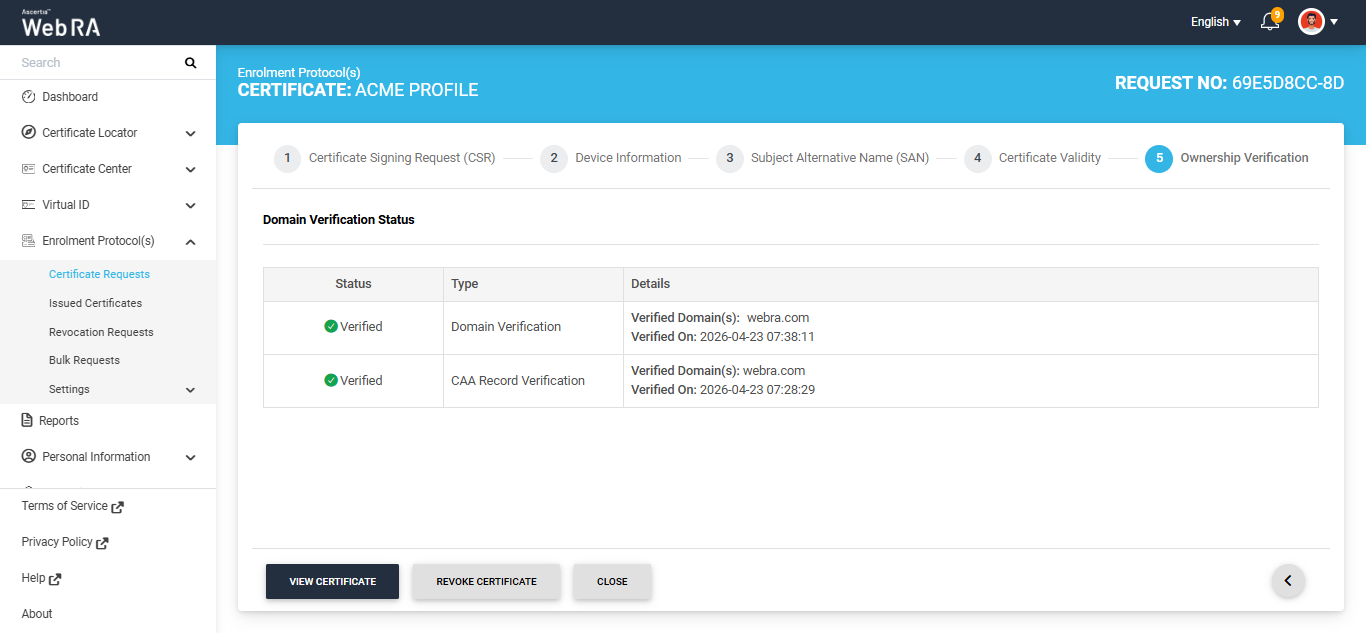
To check the domain verification status, navigate to Enrolment Protocol(s) > Issued Certificates, and select the Request No. of your certificate to view its details. Then, navigate to the Ownership Verification tab to view the Domain Verification Status.
Request Notes
If an operator has added customized request notes in certificate requests pertaining to a specific enterprise, they will appear in all types of certificates requests i.e. issued, rekey, revoked, renewed and reissued certificate requests. The request notes will appear on the steppers only against which the operator has customised them.
An operator can configure it from the Enterprise Request Notes section in the admin portal.
The steps to create device requests for SCEP and CMP are the same. But in case of ACME and EST, there will be slight changes in the second and third stepper as displayed and explained below:
Create an ACME Certificate Request
ACME certificates are generated based on the External Account Binding (EAB) type selected in the Certification Profile. The available EAB types include None, Random, and Fixed. The steps for generating an ACME certificate based on each EAB type are explained in the sections below.
Issue a Certificate with External Account Binding (EAB) Type: None
For the 'None' binding type, the certificate is generated directly from the ACME Client. After the certifiate is generated, the system displays it in the 'Issued Certificates' listing.
Issue a Certificate with External Account Binding (EAB) Type: Fixed
Expand Enrolment Protocol(s) > Certificate Requests from the user portal.
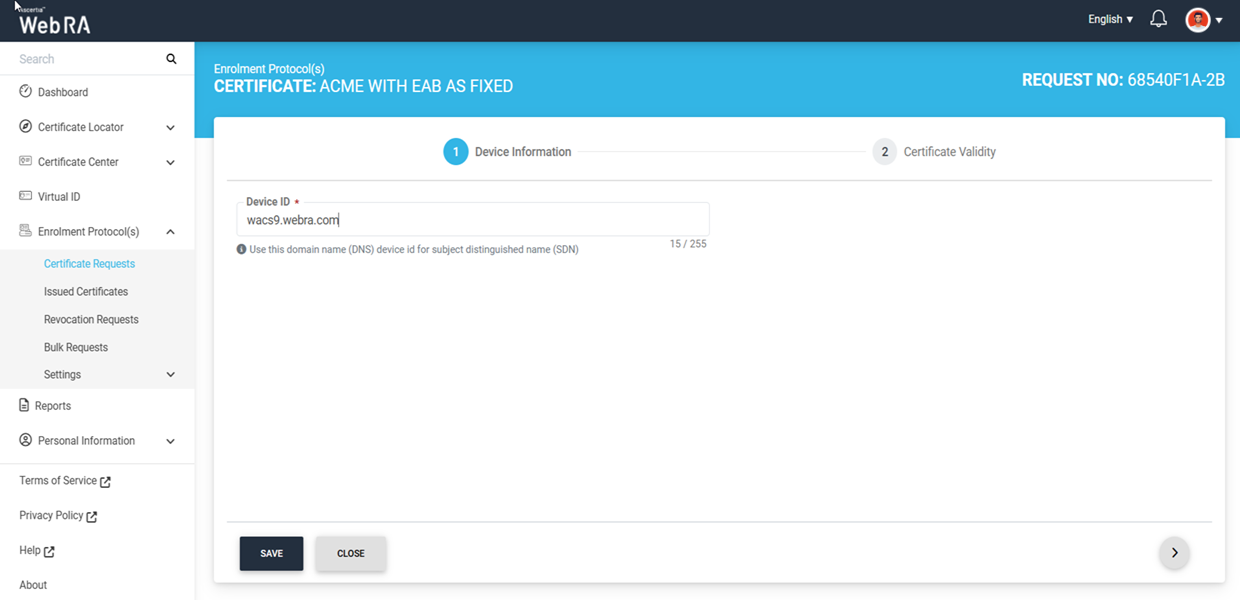
Create a certificate request for the certificate type that has the external account binding (EAB) configured to “Fixed”.

Then, in the ‘Device Information’ screen, enter your DNS name in the “Device ID” field and generate the certificate request.
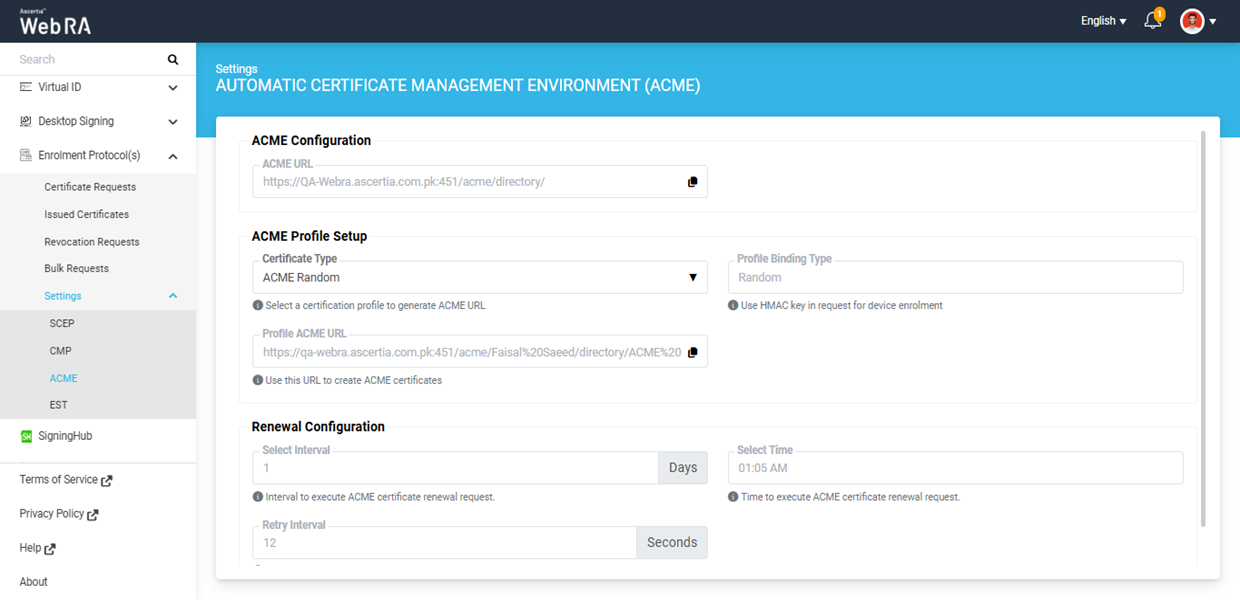
After creating the certificate request, go to the ACME Settings section by clicking the ‘Settings’ tab under “Enrolment Protocols” dropdown in the user portal.
Here, click on the ‘Certificate Type’ dropdown and select the certification profile which has the external account binding (EAB) configured to “Fixed”.
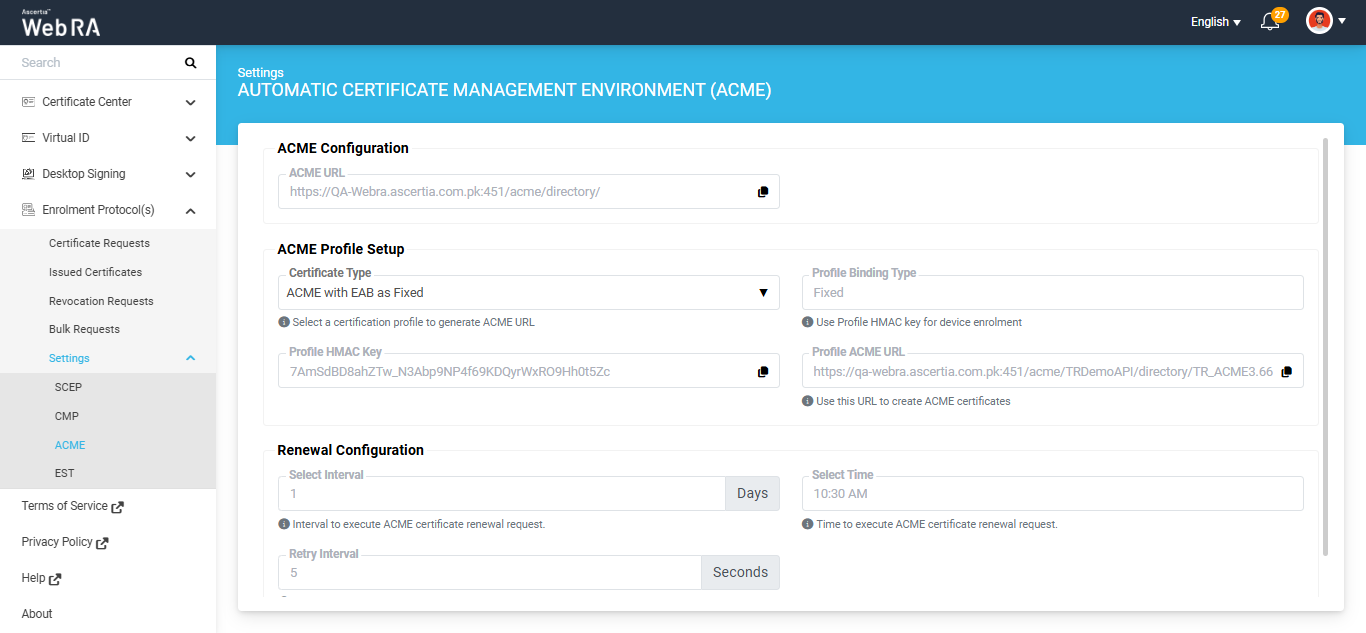
Copy the 'Profile ACME URL' from this screen to use it when generating the certificate from the ACME Client.
Issue a Certificate with External Account Binding (EAB) Type: Random
Create a certificate request from the user portal for the certificate type that uses EAB in Random mode.
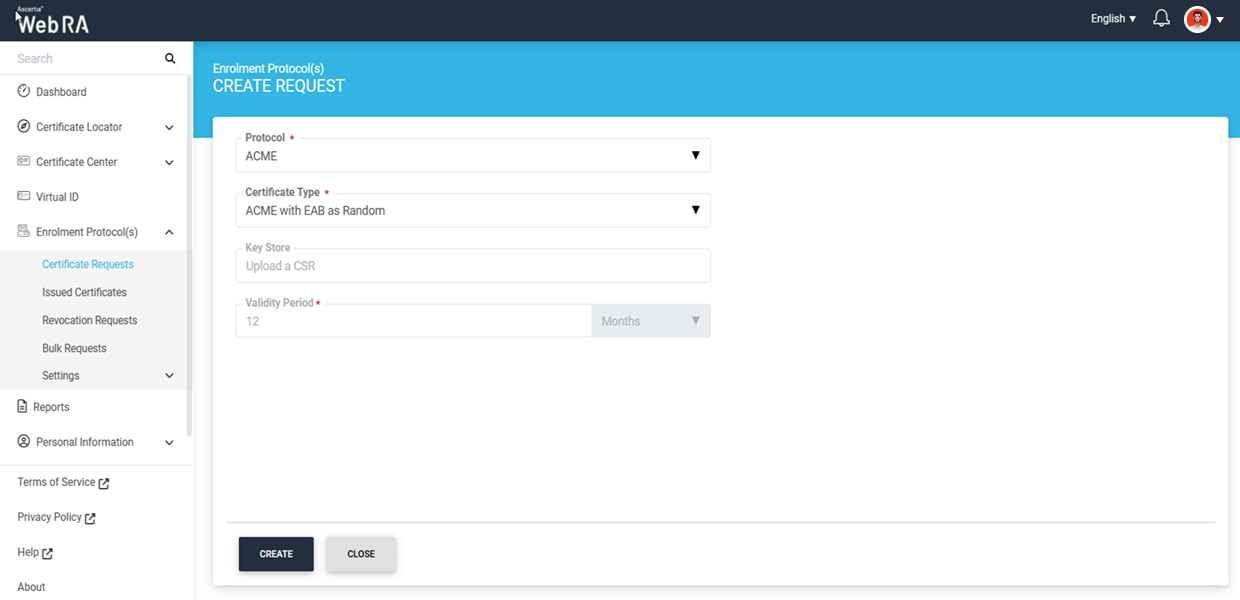
Then, on the Device Information screen, enter your DNS in the Device ID field and generate the certificate request.

When you generate a certificate request with External Account Binding (EAB) set to Random, an ‘Authentication’ dialog appears at the end of the request process. This dialog displays the authentication details, i.e., the Key ID and Key (HMAC).
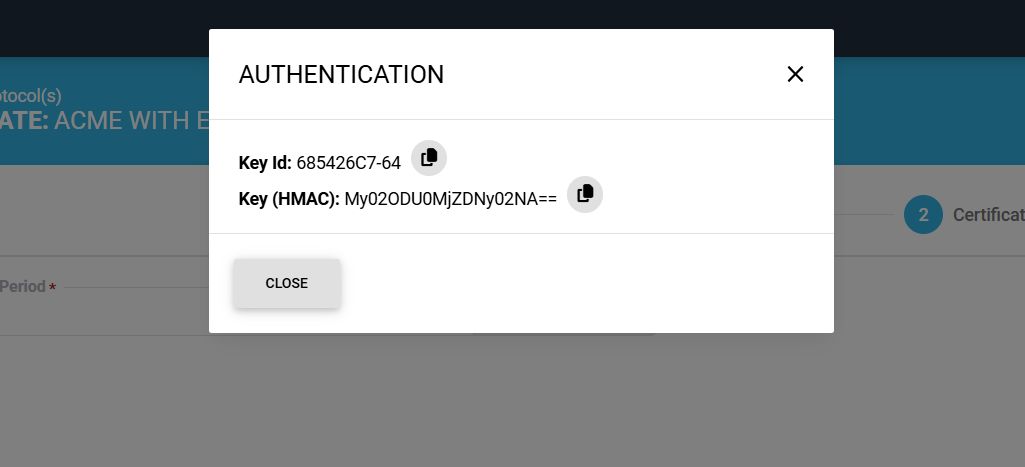
You can copy the Key ID and Key (HMAC) values for creating the ACME account in the ACME client or copy them later if needed.
After generating the requests, go to ACME Settings under Enrolment Protocols in the user portal. From the settings screen, copy the Profile ACME URL to use it when generating the certificate from the ACME Client
Create ACME Certificate Request with Custom DNs
To create an ACME certificate request with custom DNs, expand Enrolment Protocol(s) > Certificate Requests from the left tree menu.
To generate a new request, click the  icon present at the top right corner of the table header. The system will display the Create Request screen.
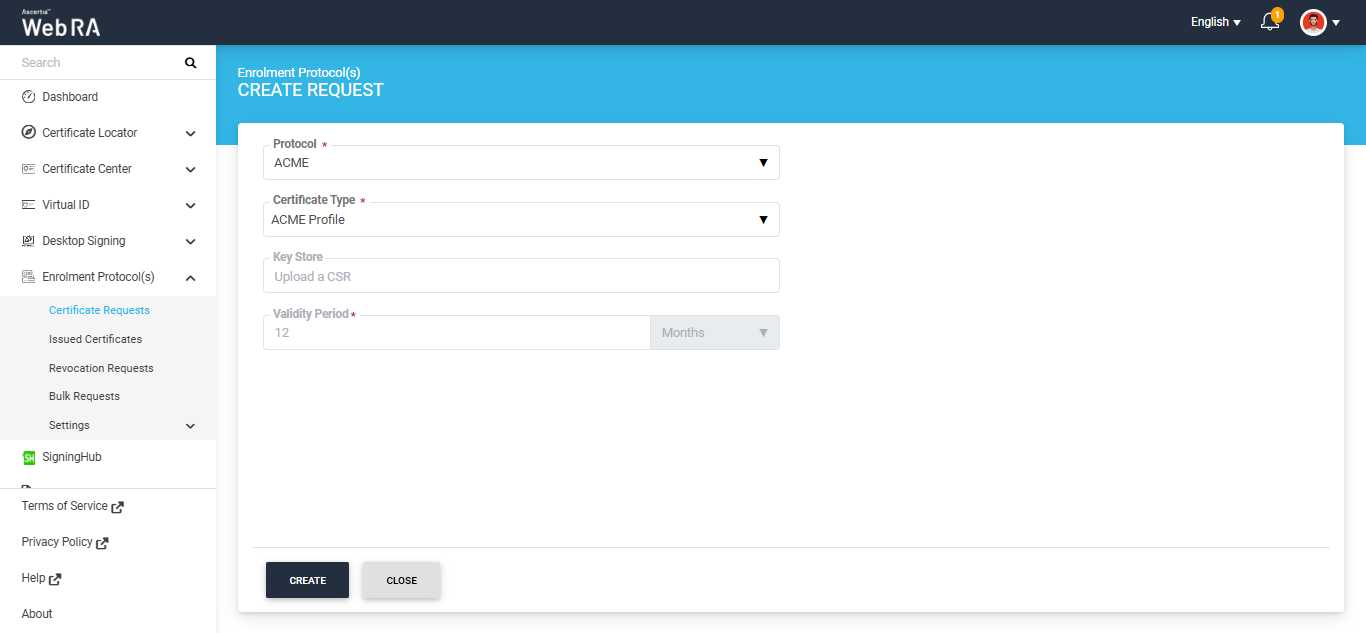
On this screen, select ‘ACME’ protocol from the protocol dropdown and the required certification profile from the ‘Certificate Type’ dropdown. Then, click the ‘Create’ button.
The system will display the Device Information screen. Enter the details in the subject distinguished name (SDN) fields appearing on the screen.
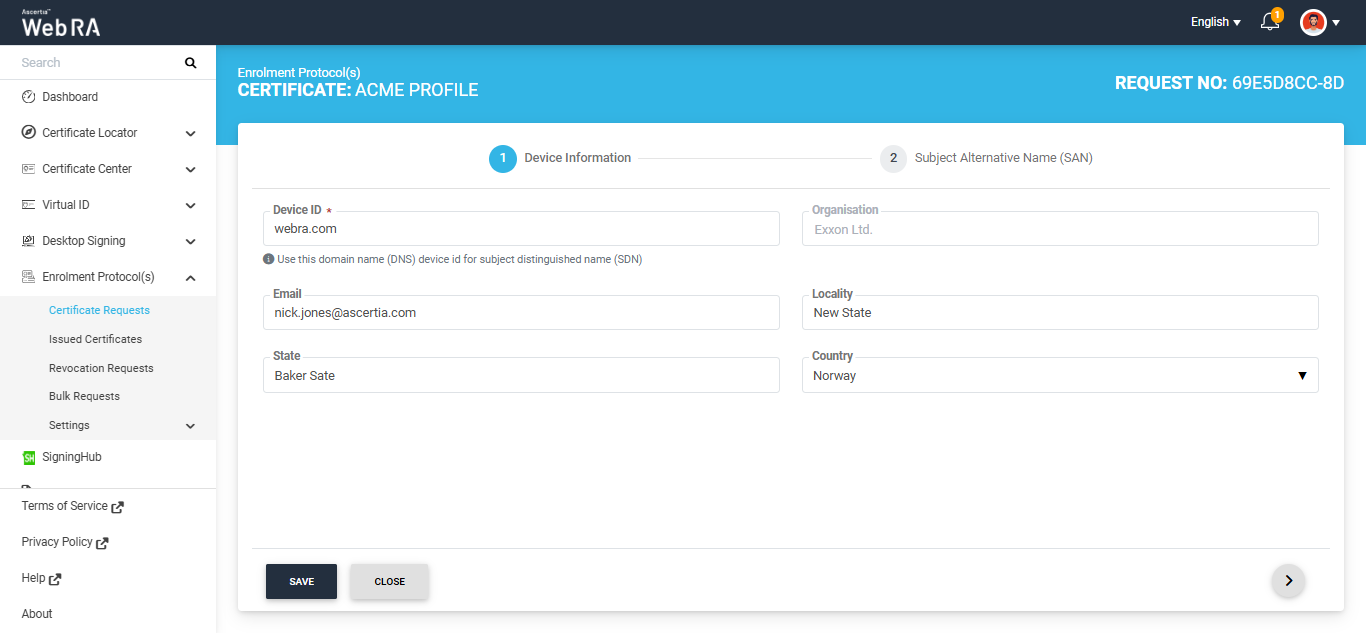
After entering the information, click the next ‘>’ button to proceed to the Subject Alternative Name (SAN) tab. Enter the required information in the fields appearing on this screen and click ‘Generate’ to create the certificate request.
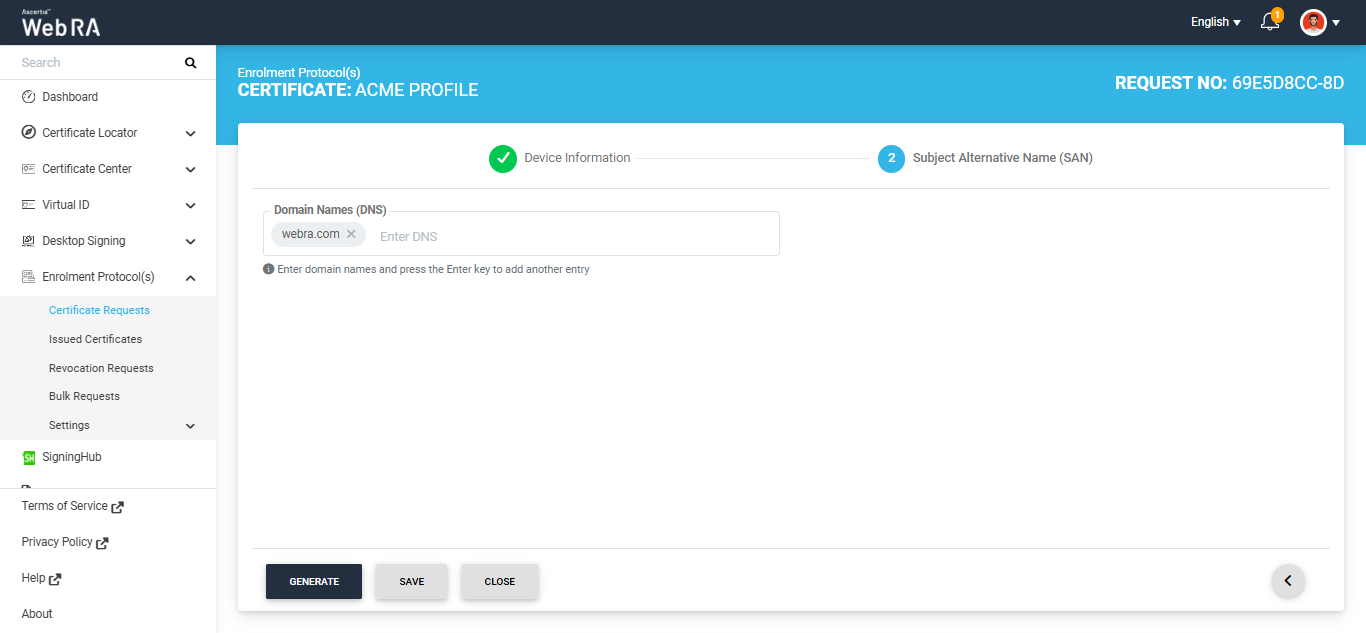
Enter the required information in the fields appearing on this screen and click ‘Generate’ to create the certificate request.
CAA Record Verification
If CAA Record Verification is enabled in the Enterprise Domain Settings, the ACME protocol will perform the domain ownership verification. If the verification is successful, the certificate will be issued and will appear in the Issued Certificates listing. The logs will be recorded in the Personal Information > Activity section.
To check the domain verification status, navigate to Enrolment Protocol(s) > Issued Certificates, and select the Request No. of your certificate to view its details.
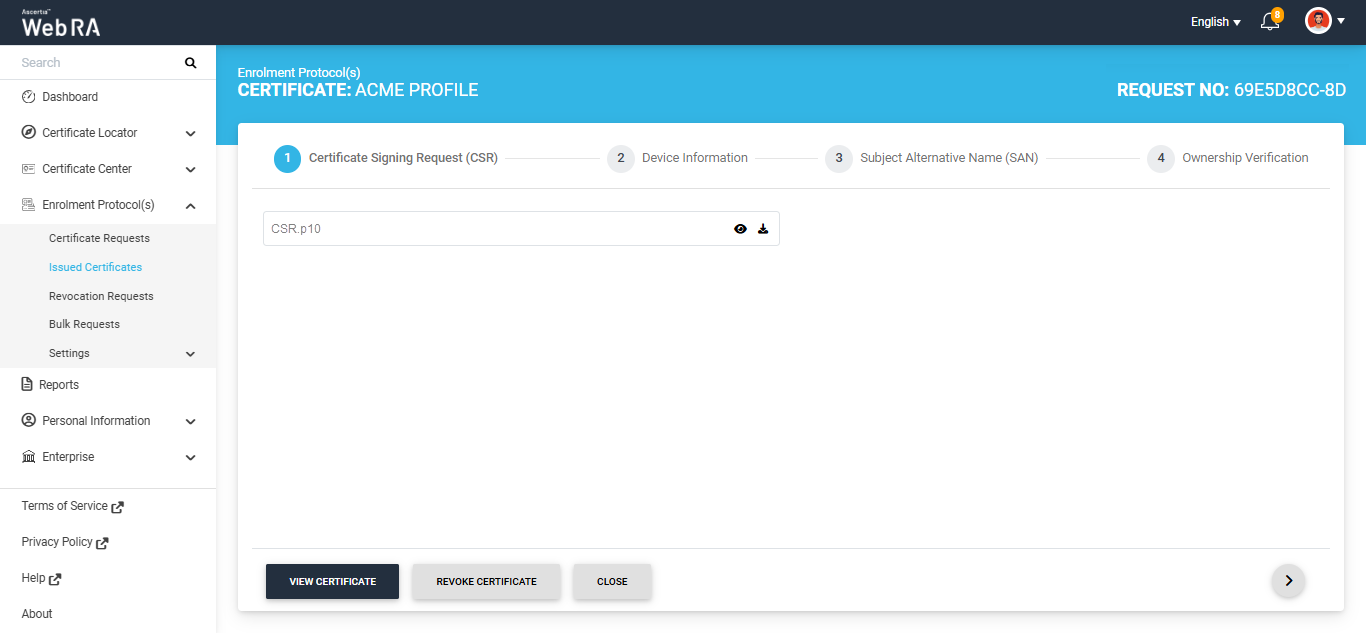
Then, navigate to the Ownership Verification tab to view the Domain Verification Status.
Open MPIC Validation
If Open MPIC validation is enabled in the Certification Profile, the ACME protocol will perform domain ownership verification. After successful verification, the certificate will be issued and will appear in the Issued Certificates listing.
To check the domain verification status, navigate to Enrolment Protocol(s) > Issued Certificates, and select the Request No. of your certificate to view its details.
Then, navigate to the Ownership Verification tab to view the Domain Verification Status.
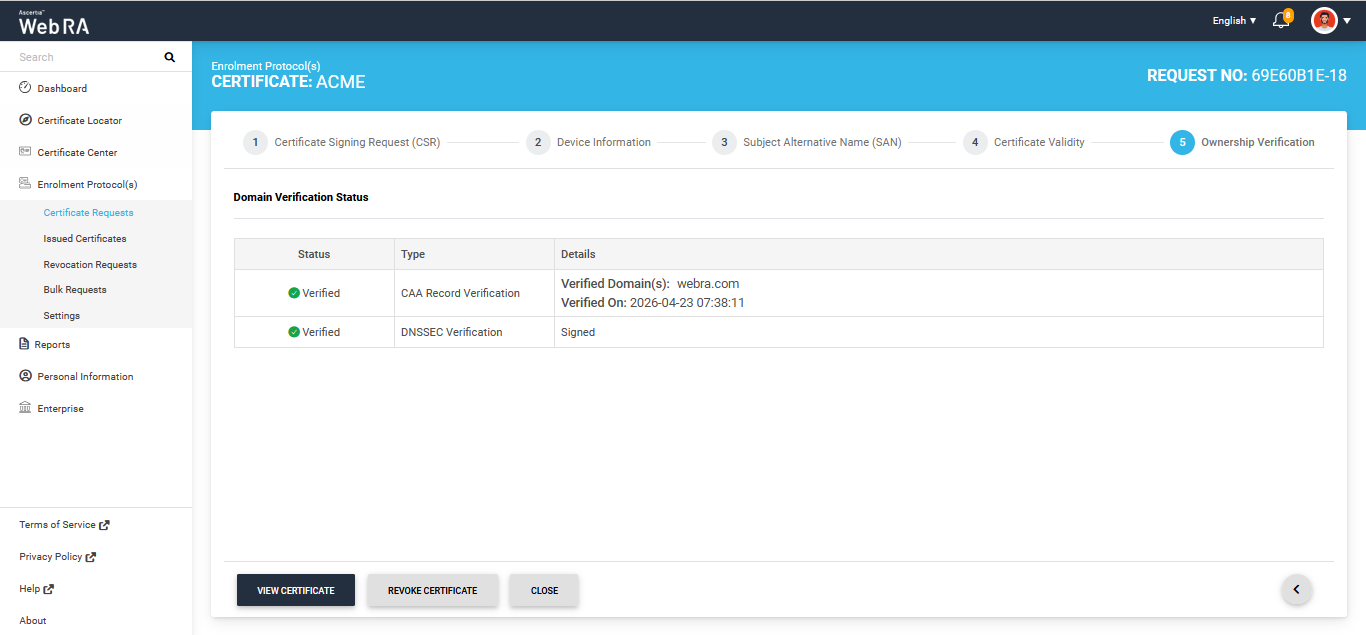
DNSSEC Verification
An additional check for DNSSEC verification has been enabled for all certificate types in Web RA. This feature is automatically enabled in the system and adds a DNSSEC check for domain validation and Certificate Authority Authorisation (CAA) verification during certificate request creation.
If DNSSEC is enabled and correctly configured for the domain, the system validates the domain’s DNSSEC signature during certificate request processing. If the signature is valid and the domain verification is successful, the certificate request is processed successfully and the system displays a ‘Verified’ status for DNSSEC verification.
You can check the DNSSEC verification status by either opening the generated certificate from the Enrolment Protocol(s) > Certificate Requests listing or navigate to the Enrolment Protocol(s) > Issued Certificates listing. The status will be appear under 'Ownership Verification' tab.
If DNSSEC is not enabled for the domain, DNSSEC verification is not performed and certificate generation will proceed without it.
However, if DNSSEC is enabled but the verification fails, the system displays an error on the screen.
Renew ACME Certificate
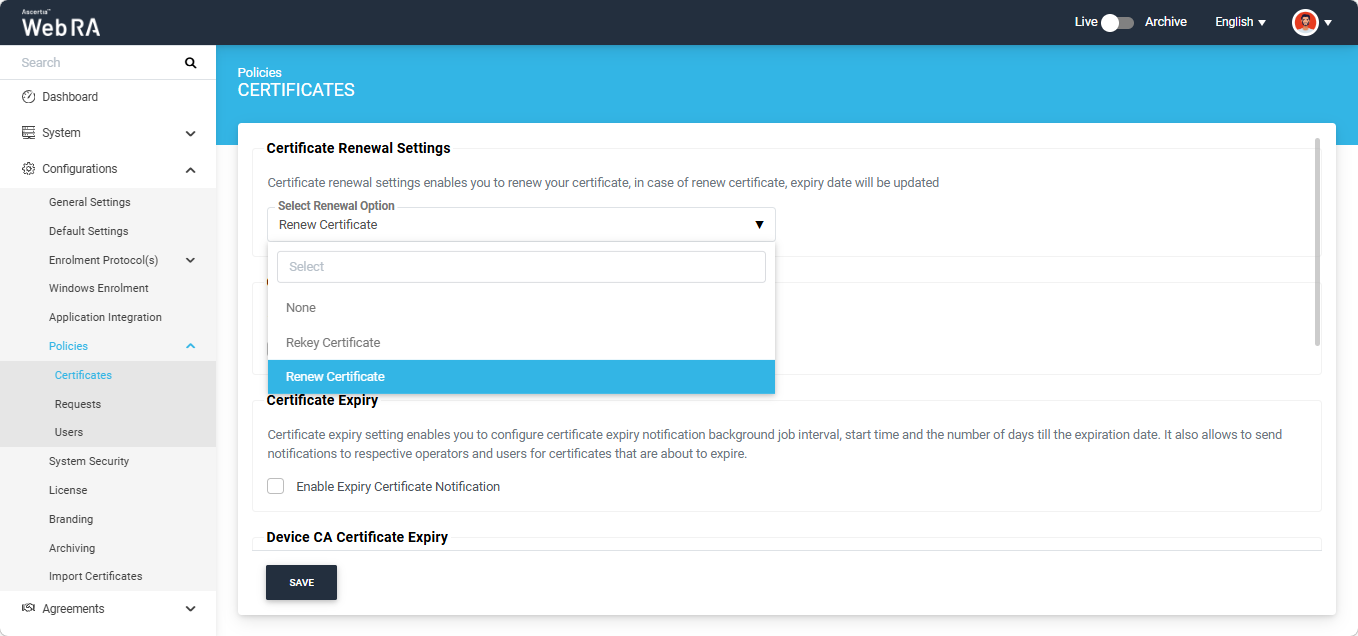
To renew an ACME certificate, first enable the ‘Renew Certificate’ policy from the Admin portal.
To do this, navigate to Configurations > Policies > Certificates, select ‘Renew Certificate’ option from the ‘Select Renewal Option’ dropdown, and click ‘Save’.
Then, open the ACME Client and select the certificate you want to renew under the ‘Managed Certificates’ tab.

Navigate to the Certificate > Advanced > Signing & Security tab and enable the ‘Use the same Private Key for renewals’ checkbox under the ‘Private Key’ section.
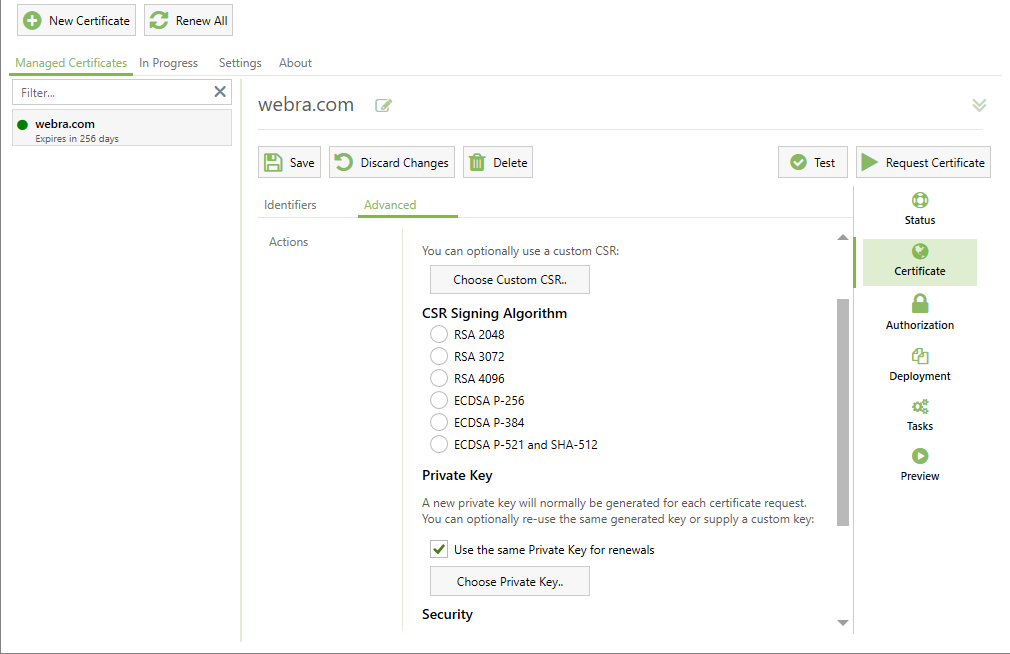
After enabling the checkbox, click the ‘Request Certificate’ button to renew the ACME certificate.
Rekey ACME Certificate
To rekey an ACME certificate, first enable the ‘Rekey Certificate’ policy from the Admin portal.
To do this, navigate to Configurations > Policies > Certificates, select ‘Rekey Certificate’ option from the ‘Select Renewal Option’ dropdown, and click ‘Save’.

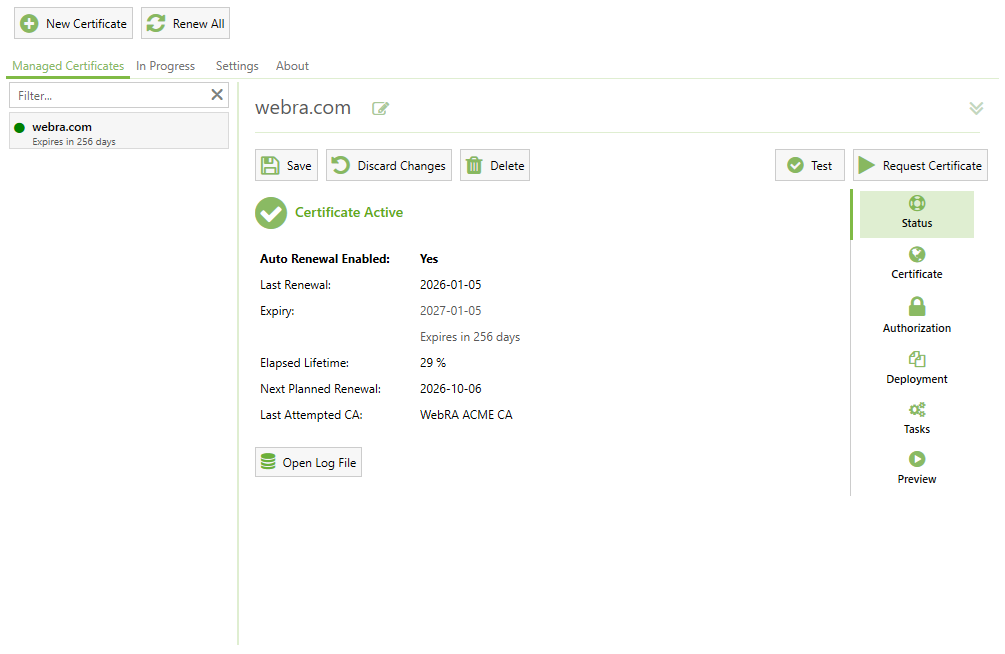
Then, open the ACME Client and select the certificate you want to rekey under the ‘Managed Certificates’ tab. After that, click the ‘Request Certificate’ button to rekey the certificate.
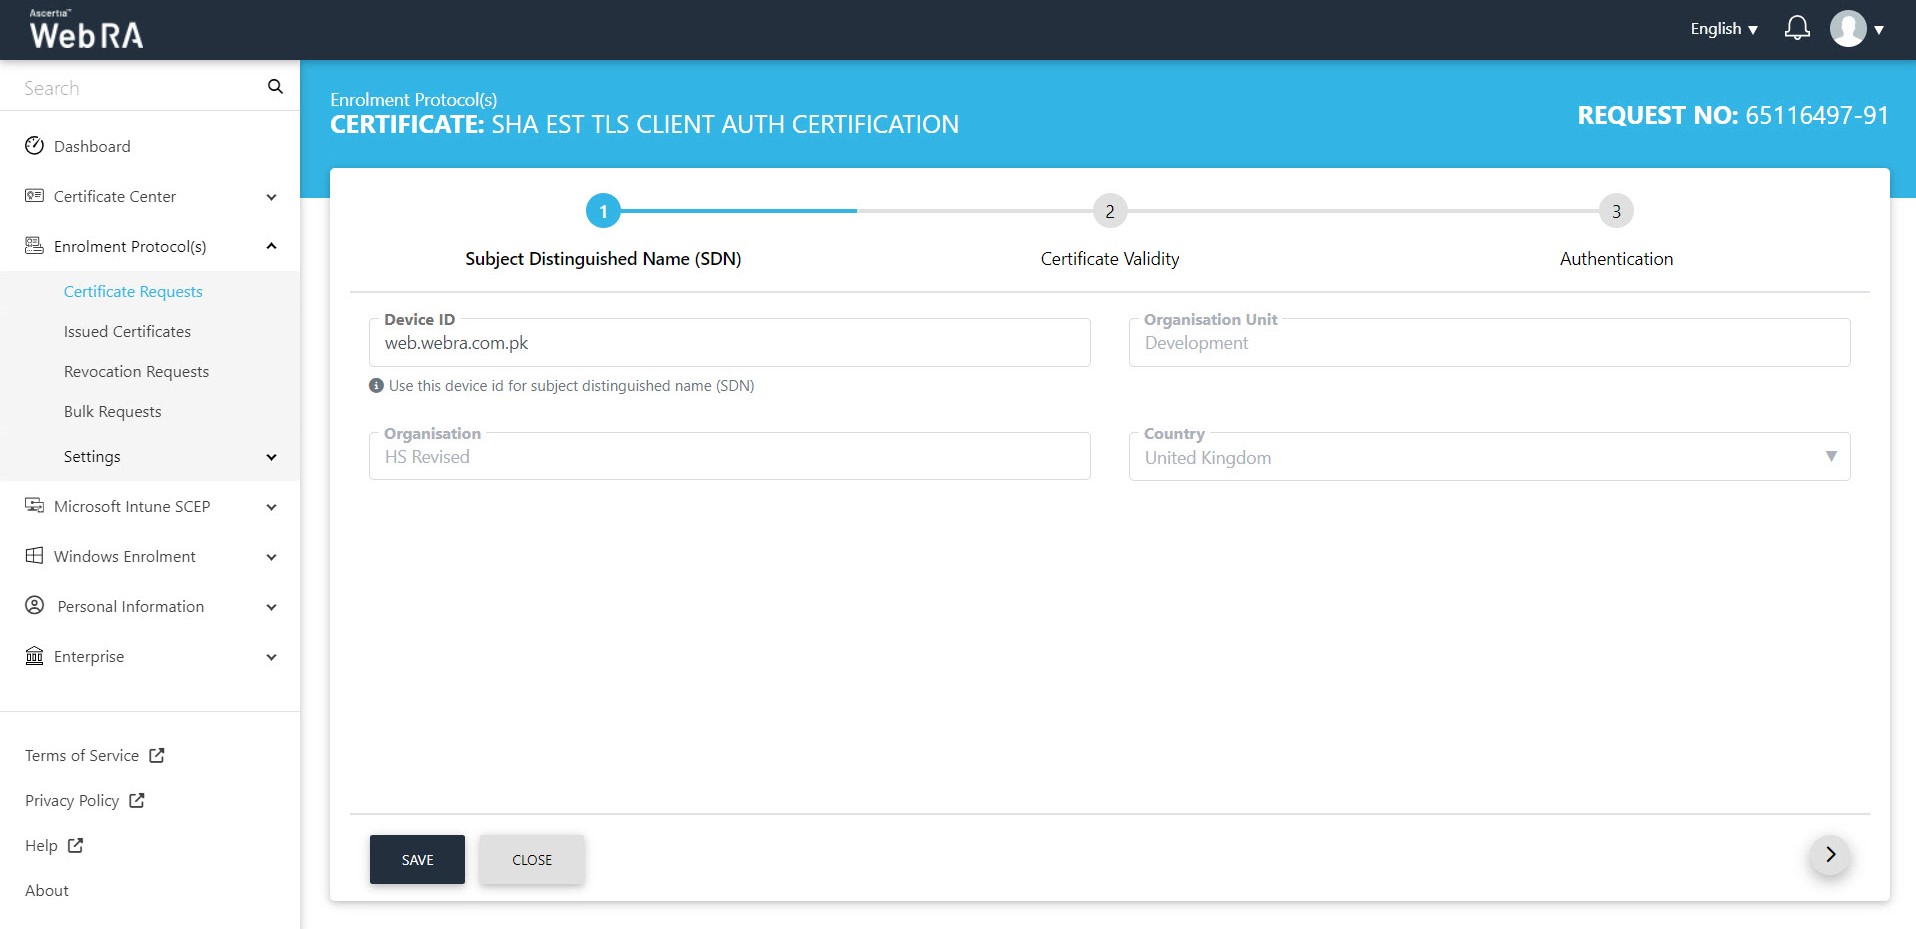
Create a Certificate Request for EST
- To create a certificate request, click icon on top right. Select the Protocol and the Certificate Type. The key store and validity period will appear in a disabled form. Click "Create".
- The Subject Distinguished Name (SDN) screen will appear. Enter your Device ID and click next.
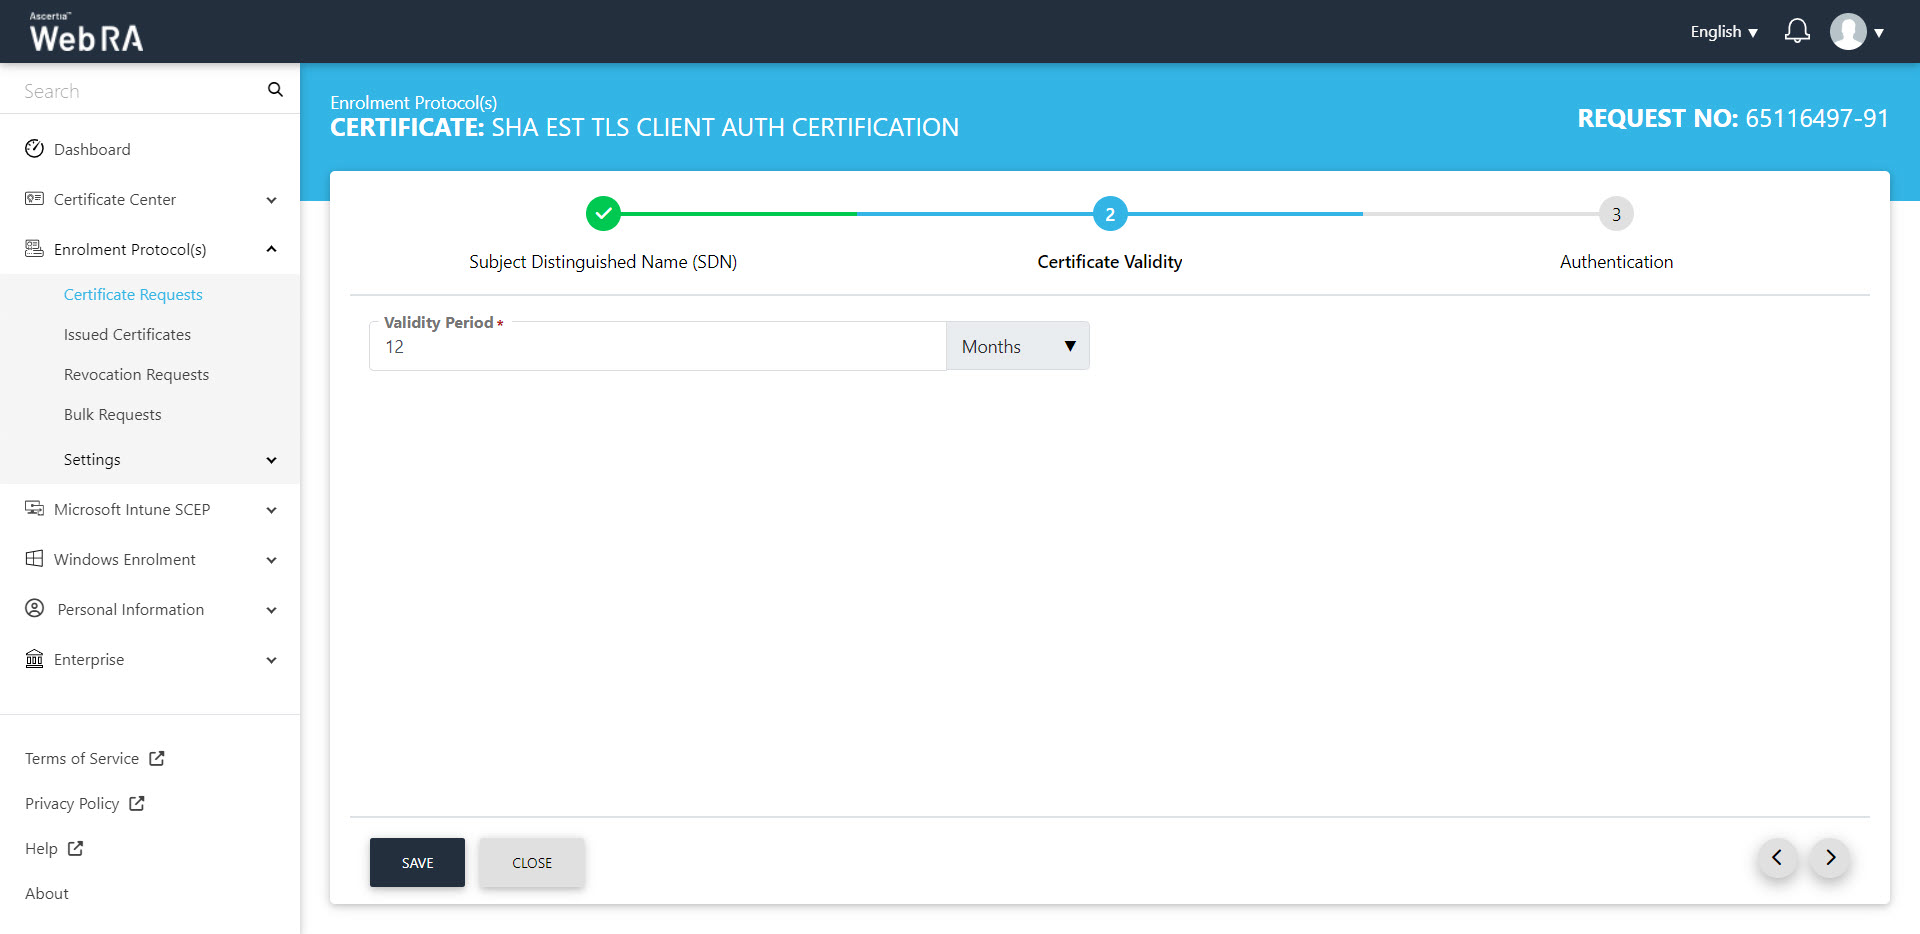
- On the Certificate Validity screen, enter your validity period and click next to proceed.
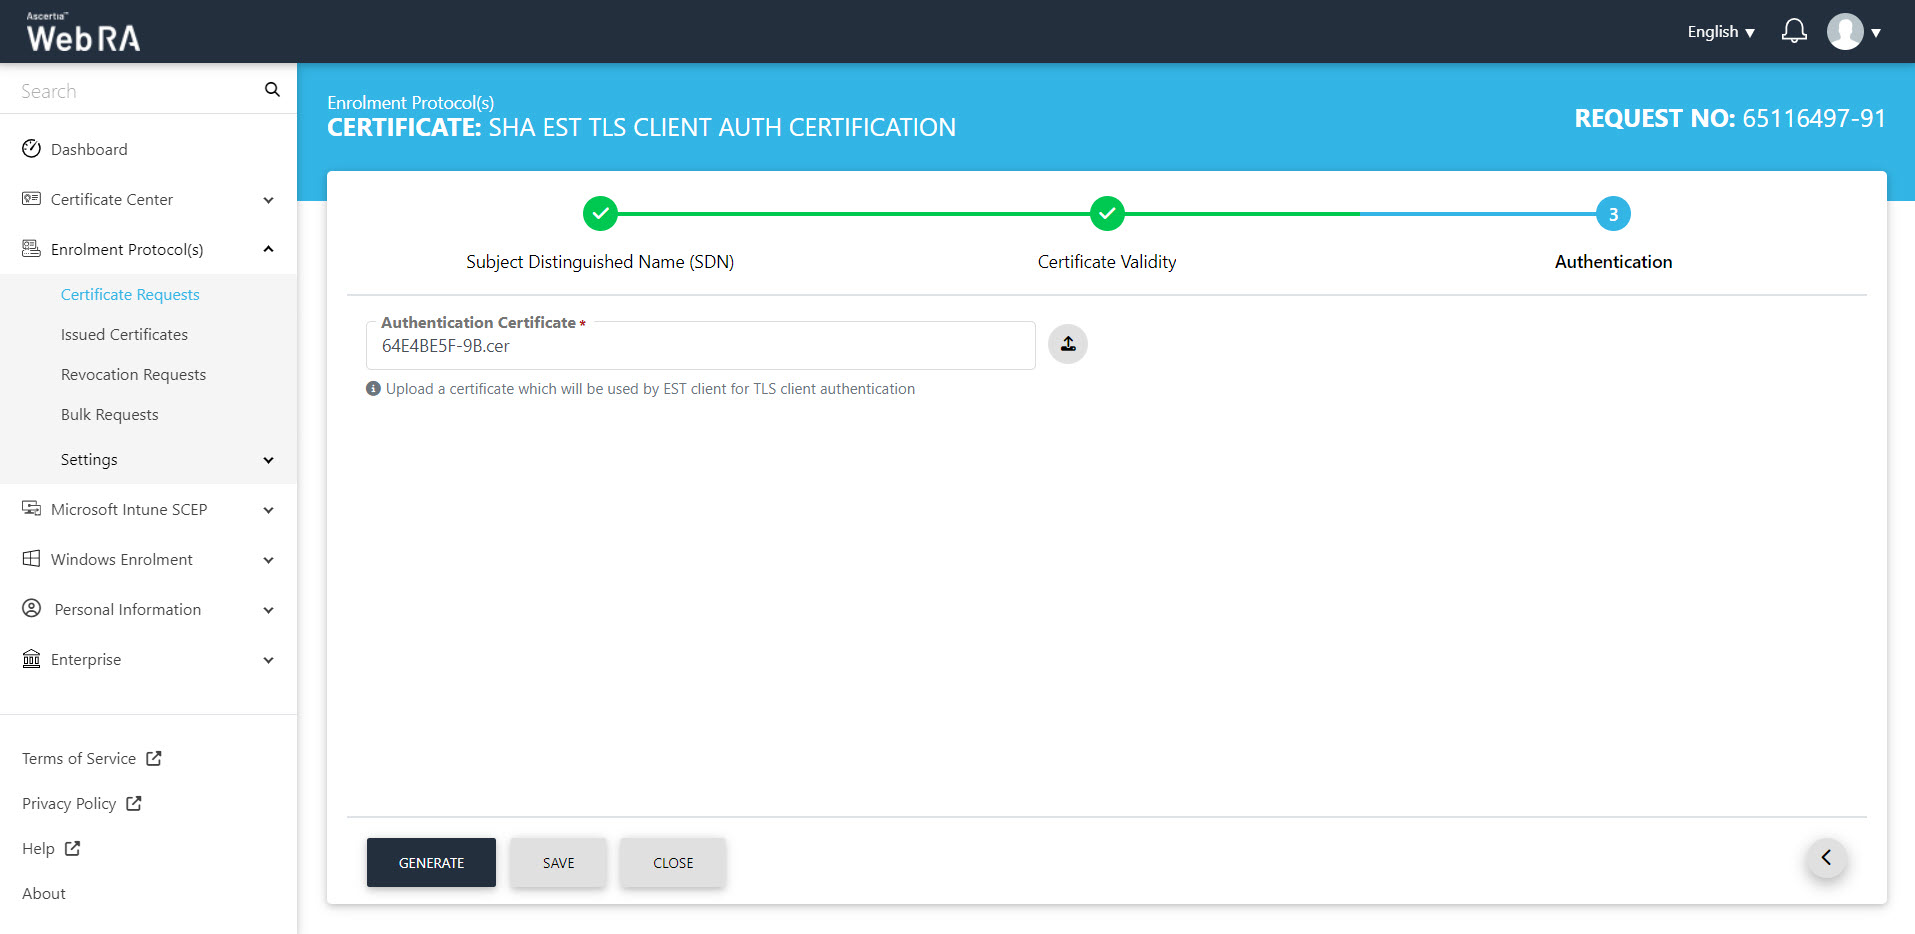
- Authentication tab will appear. Upload an authentication certificate and click "Generate".
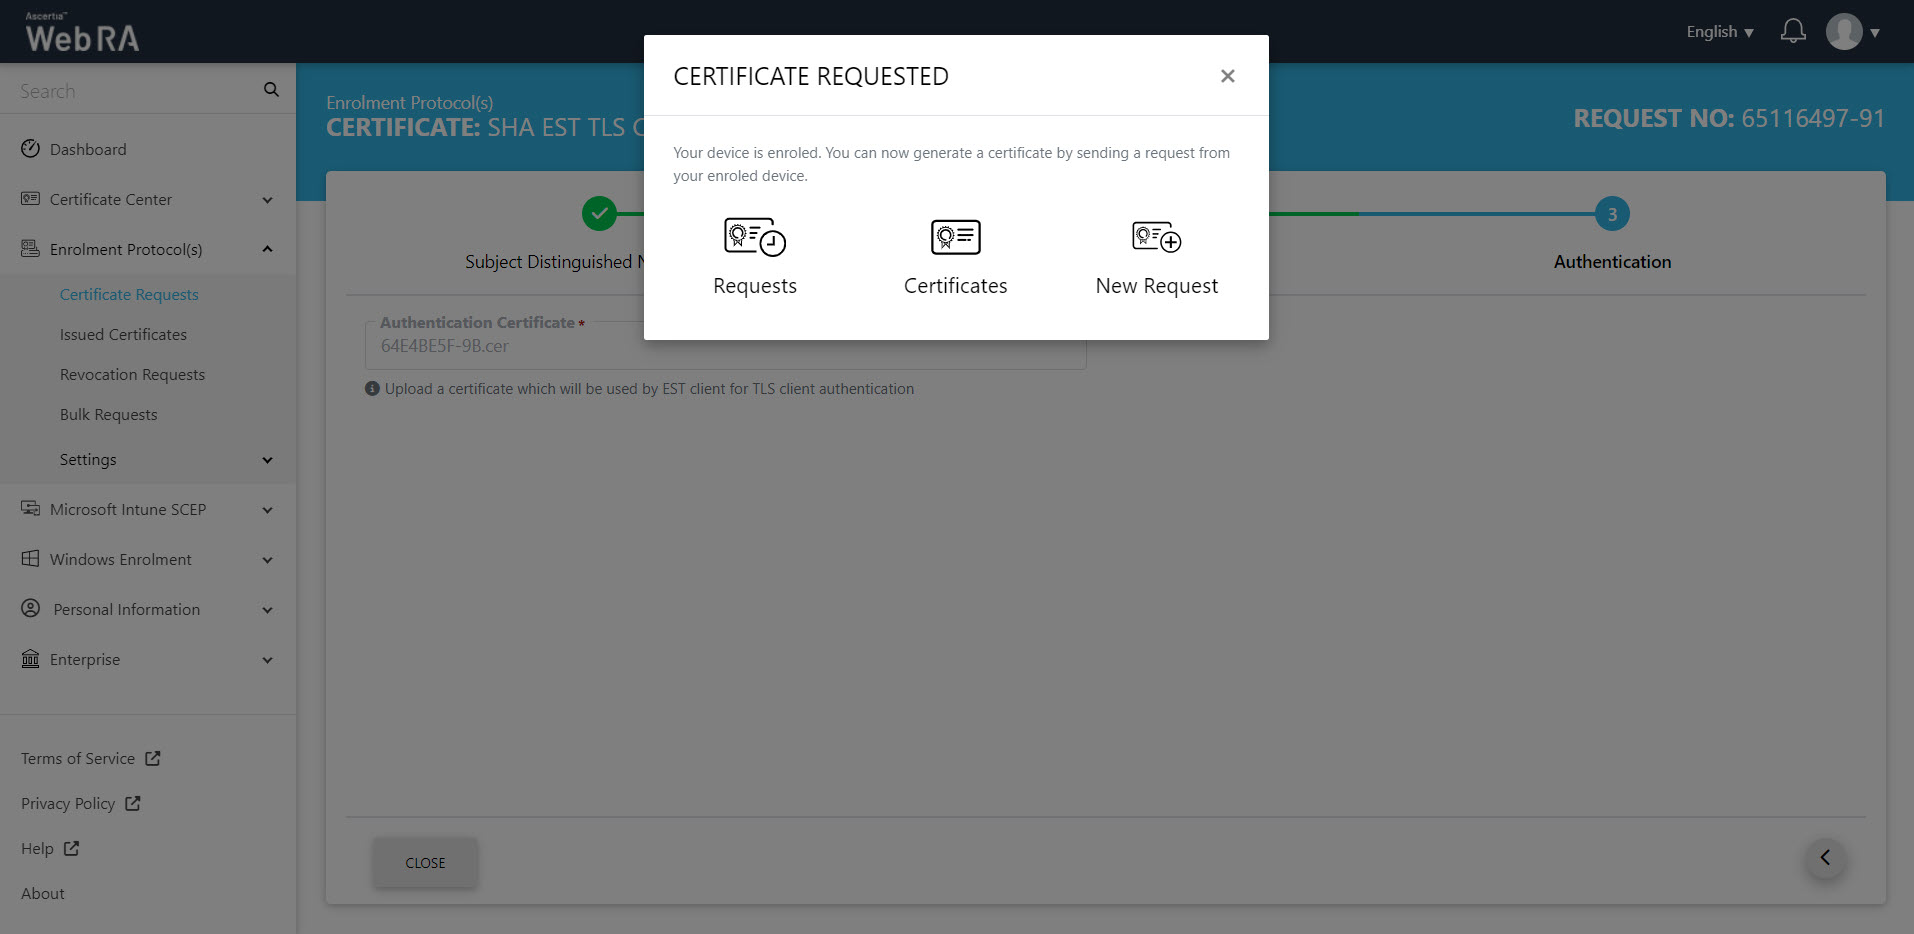
- The Certificate Requested tab will appear, stating that your device is enroled.
- Once you generate a request from your enroled device, the status of the certificate request will be shown as Approved in the requests listing, while the certificate status will be shown as Issued in the certificates listing.
- The certificate can be downloaded by clicking on the Download button once you open the certificate.
CAA Record Verification
If domain name is included in the SAN and CAA Record Verification is enabled in the Enterprise Domain Settings, the EST protocol will perform the domain ownership verification. If the verification is successful, the certificate will be issued and will appear in the Issued Certificates listing. The logs will be recorded in the Personal Information > Activity section.
To check the domain verification status, navigate to Enrolment Protocol(s) > Issued Certificates, and select the Request No. of your certificate to view its details. Then, navigate to the Ownership Verification tab to view the Domain Verification Status.
Create a Certificate Request for CMP
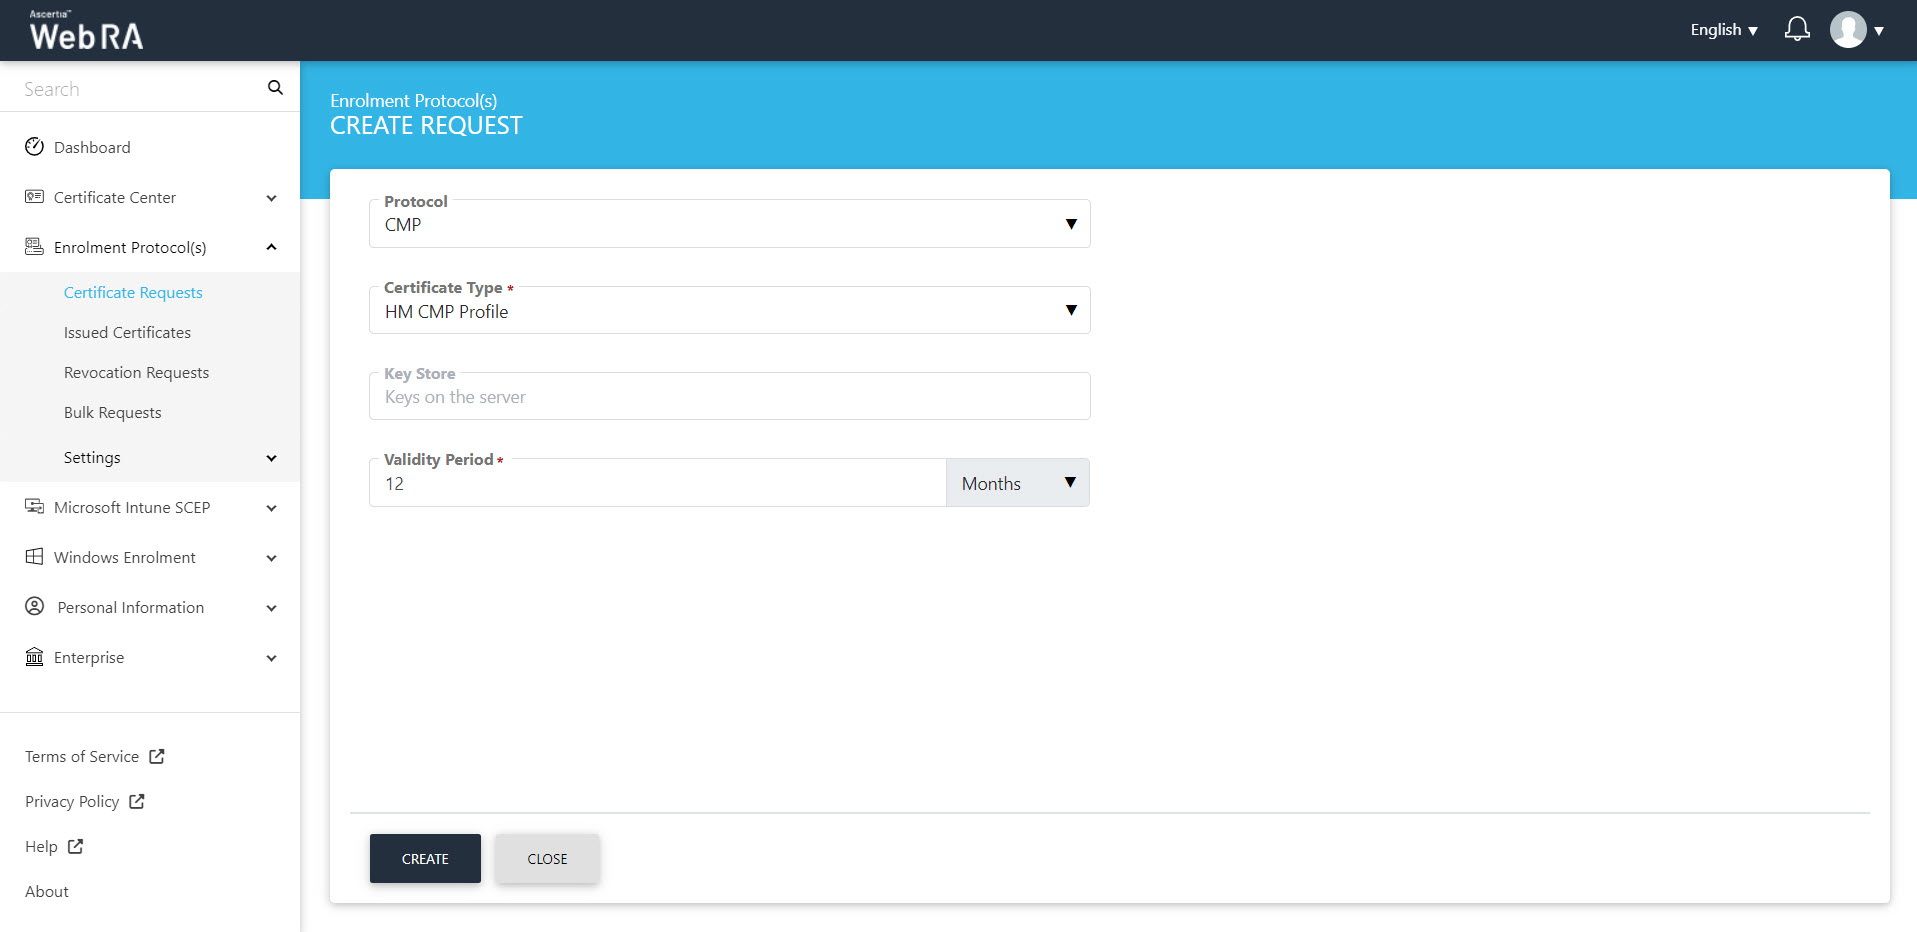
- To create a certificate request, click icon on top right. Select the Protocol and the Certificate Type. The key store and validity period will appear in a disabled form. Click "Create".
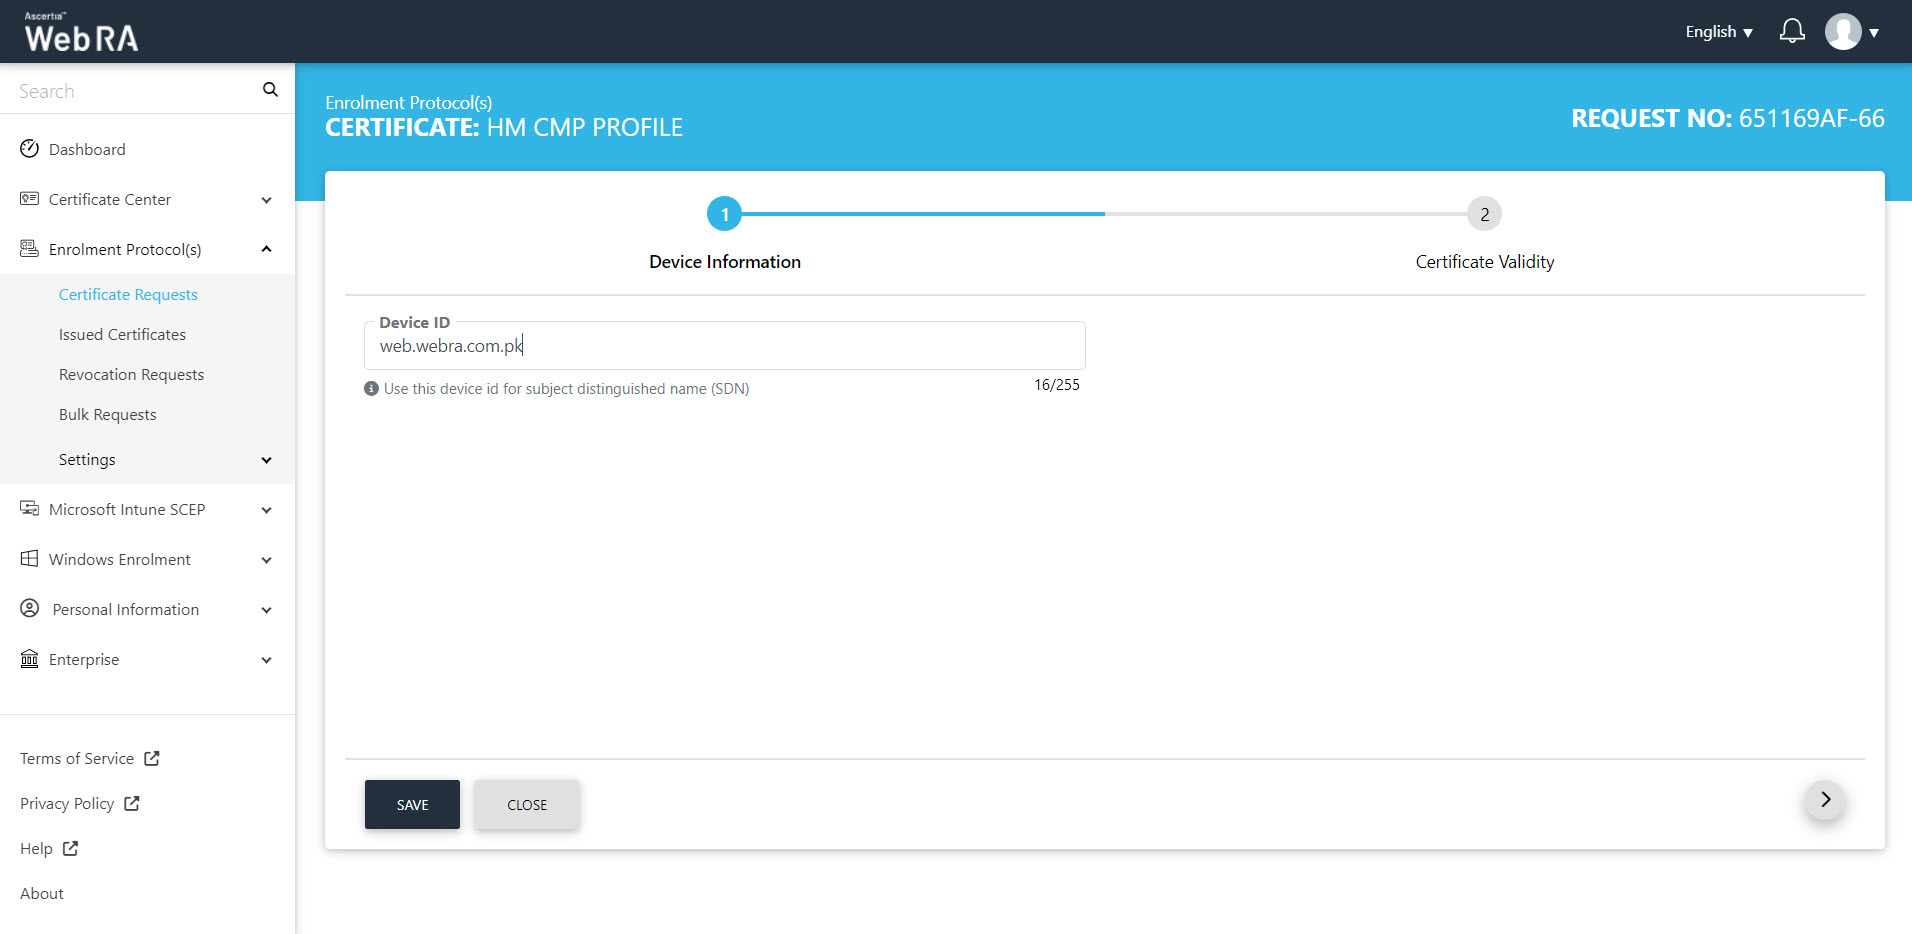
- The Subject Distinguished Name (SDN) screen will appear. Enter your Device ID and click next.
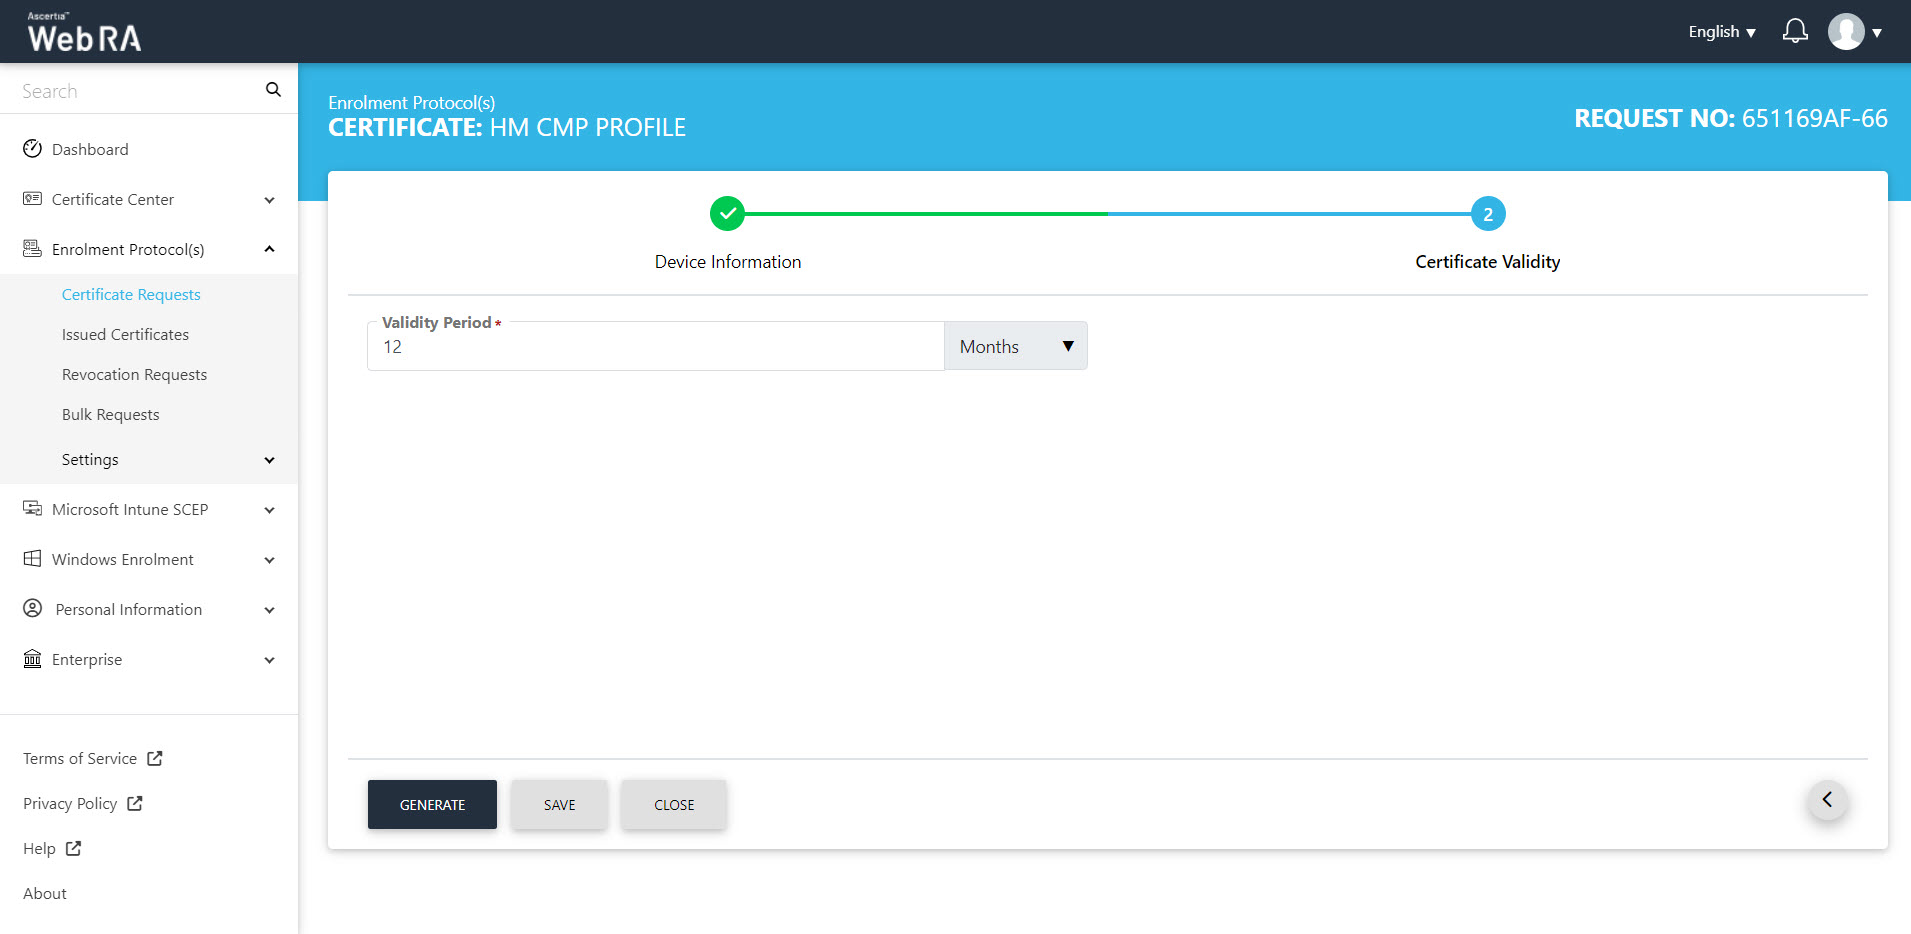
- On the Certificate Validity screen, enter your validity period and click next to proceed.
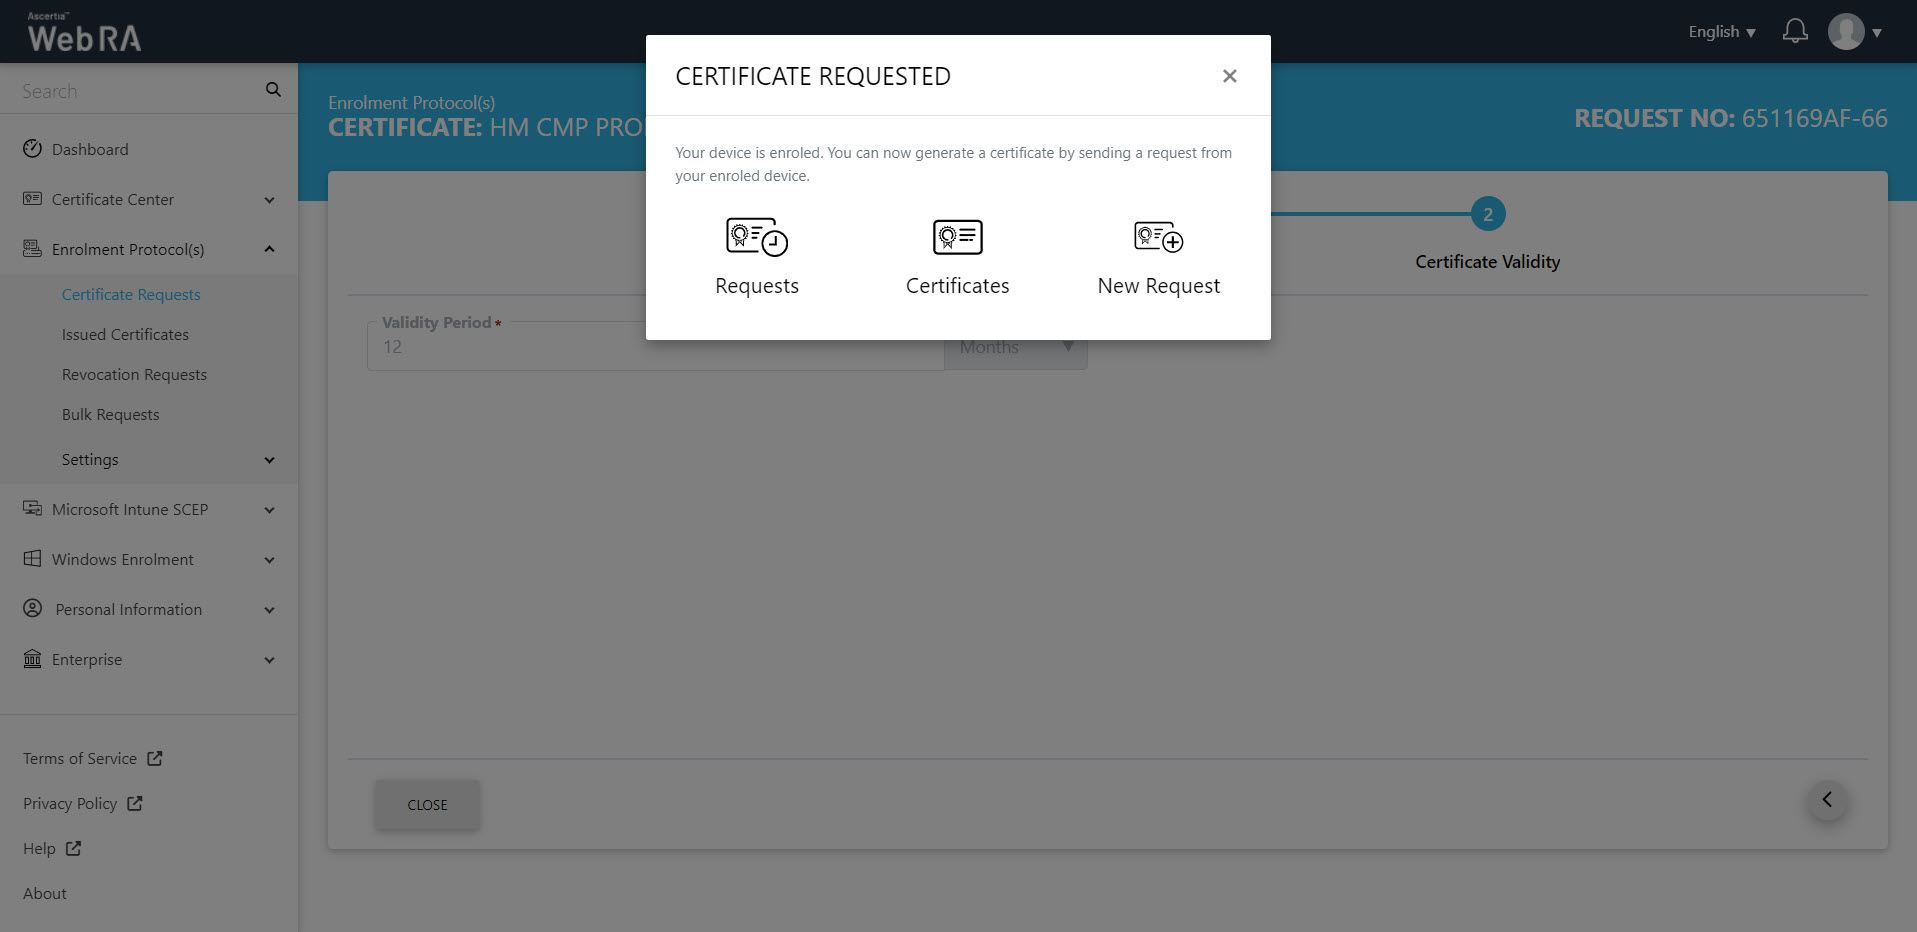
- The Certificate Requested tab will appear, stating that your device is enroled.
- Once you generate a request from your enroled device, the status of the certificate request will be shown as Approved in the requests listing, while the certificate status will be shown as Issued in the certificates listing.
- The certificate can be downloaded by clicking on the Download button once you open the certificate
CAA Record Verification
If domain name is included in the SAN and CAA Record Verification is enabled in the Enterprise Domain Settings, the CMP protocol will perform the domain ownership verification. If the verification is successful, the certificate will be issued and will appear in the Issued Certificates listing. The logs will be recorded in the Personal Information > Activity section.
To check the domain verification status, navigate to Enrolment Protocol(s) > Issued Certificates, and select the Request No. of your certificate to view its details. Then, navigate to the Ownership Verification tab to view the Domain Verification Status.
Second Factor Authentication
If second factor authentication is enabled on certificate requests, the configured authentication mechanism will function accordingly. When a user clicks on the Generate button, the authentication window will appear, and once it accepts the selected method, it will generate a certificate.
The authentication mechanism can be one of the following:
- SMS OTP Authentication
- Email OTP Authentication
- Email & SMS Authentication
- SAML Authentication
- Active Directory Authentication
- Azure Active Directory Authentication
- OIDC Authentication