Databases
ADSS Web RA application works with SQL Server databases. You can install ADSS Web RA application as a new installation either using an automatic and simplest way using installer, or you can manually install ADSS Web RA application by creating a new database, a database user and setting up IIS configurations. Former approach is recommended since it's easy and quick way.
The following article focuses on the creation of a database user that will be used by the application to access the database and also the creation of database files with the correct schema.
Create New Database
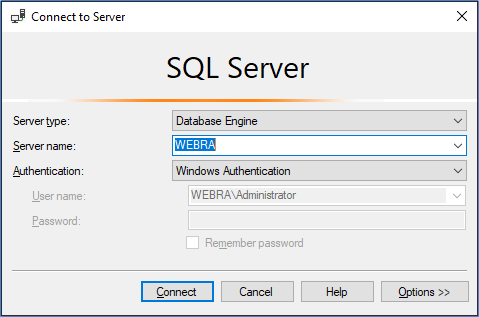
To create a new database, launch SQL Server management studio in the administrator mode and login using administrators credentials.

Login with an administrator account having the rights to create a new database.
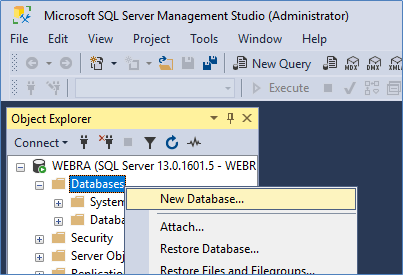
Right click on the databases folder. Select New Database from the context menu. A new dialog appears asking for the name of the database.
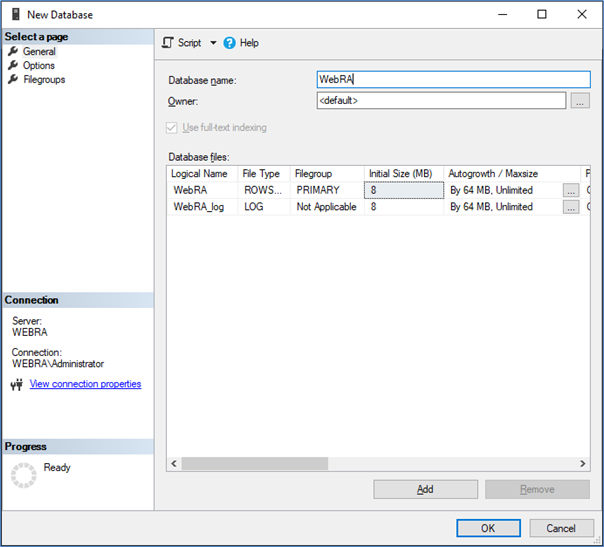
Provide a name of your choice for the database, for this article we are naming the database WebRA. A new and blank database is created and will appear under the databases folder.
Now lets create a user to access this database from the application.
Create New Database User
It is recommended to create a new user for accessing the database from the application for better management. Launch SQL Server management studio in the administrator mode to create a new user.
Login with an administrator account having the rights to create a new user.
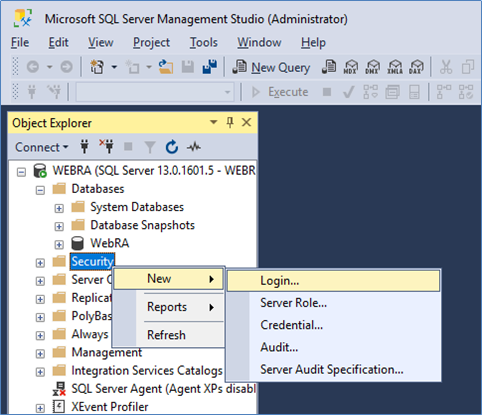
Expand the server node and right click on the Security folder. Select New and then Login. It will open the following new window.
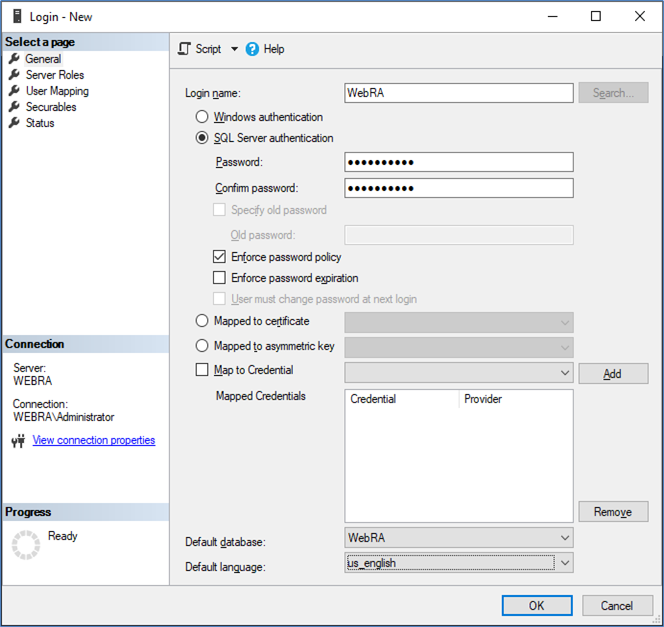
- Select a login name of your choice, e.g. WebRA.
- From the radio buttons, select SQL Server authentication and provide a strong password of your choice.
- Ensure the password policies are carefully selected and features related to passwords are turned on or off based on the organization policy.
- Select the default database that was created for the Web RA application i.e. WebRA.
- Select the default language to us_english.
Select User Mapping from the left menu which presents the following options on the screen.
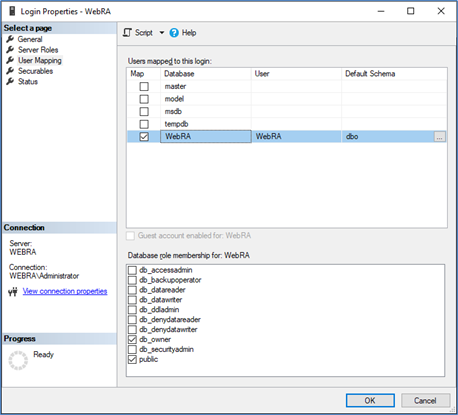
- Select the newly created user under Users mapped to this login, which is WebRA here.
- Select the db_owner and public roles from the Database role membership for the newly created database.
- Click OK to create the user in SQL Server with the privileges to handle the application's database.