
Windows Enrolment Profile
Certification Profile for Windows Enrolment
Expand External Services > Certification Profiles from the left menu. The system will display the certification profiles listing screen.
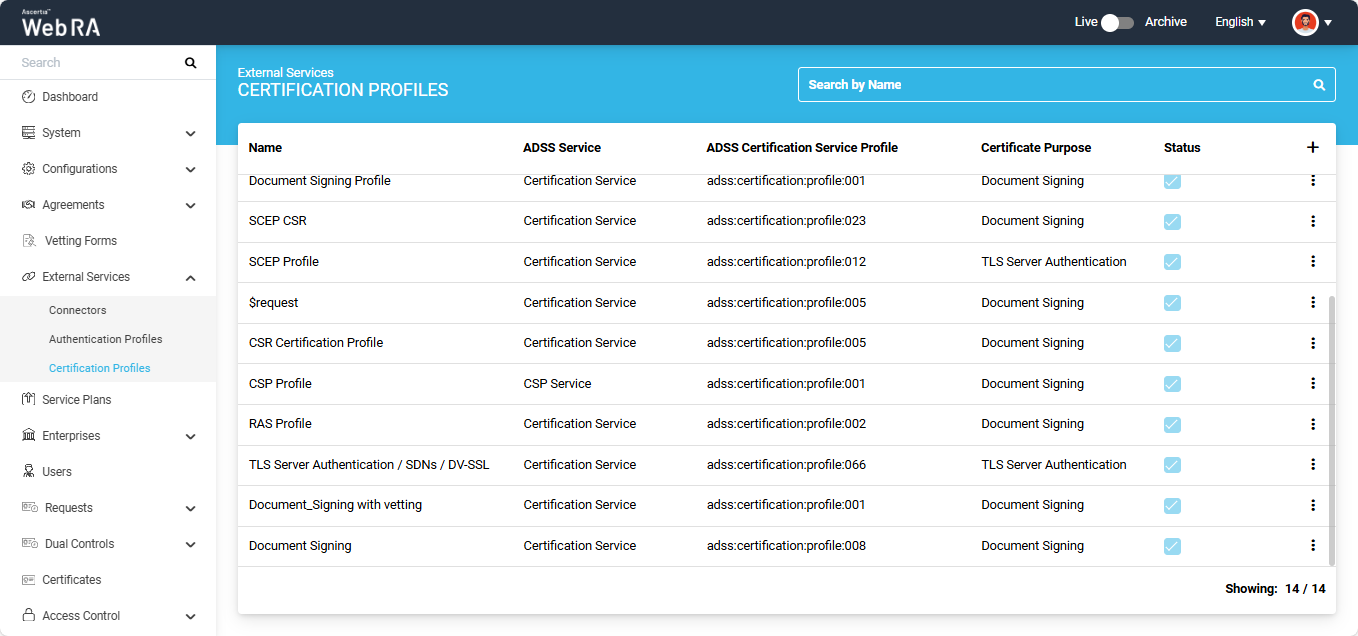
To add a new certification profile, click the ‘+’ button on the left side of the table header. The system displays the ‘Profile’ screen.
The Profile screen consists of the following two sections:
- Basic Information
- Service
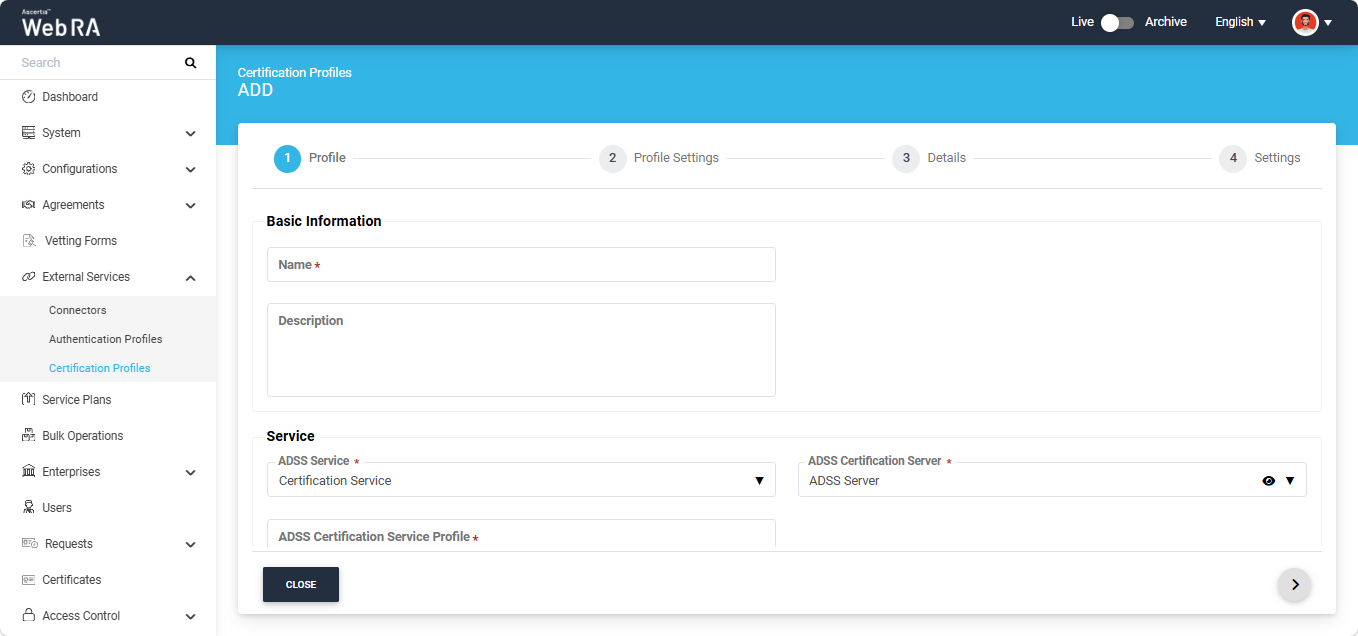
Basic Information
The Basic Information section displays the following fields:
|
Field |
Description |
|
Name |
Specify a unique name for this profile. |
|
Description |
Specify any description related to this certification profile. (Optional) |
Service
The Service section displays the following fields:
|
Field |
Description |
|
ADSS Service |
This field will display the ADSS Services (i.e. Certification Service and CSP Service) that are available for ADSS Web RA. Select the ‘Certification Service’ option from the dropdown. |
|
ADSS Certification Server |
This field will display the list of active ADSS connectors in ADSS Web RA. Select the one to use for this certification service profile, for example: 192.168.2.64. |
|
ADSS Certification Service Profile |
In this field, enter the certification profile that you created on the ADSS Sever, for example: adss:certification:profile:001. |
|
Active |
Select this checkbox to make the profile active. |
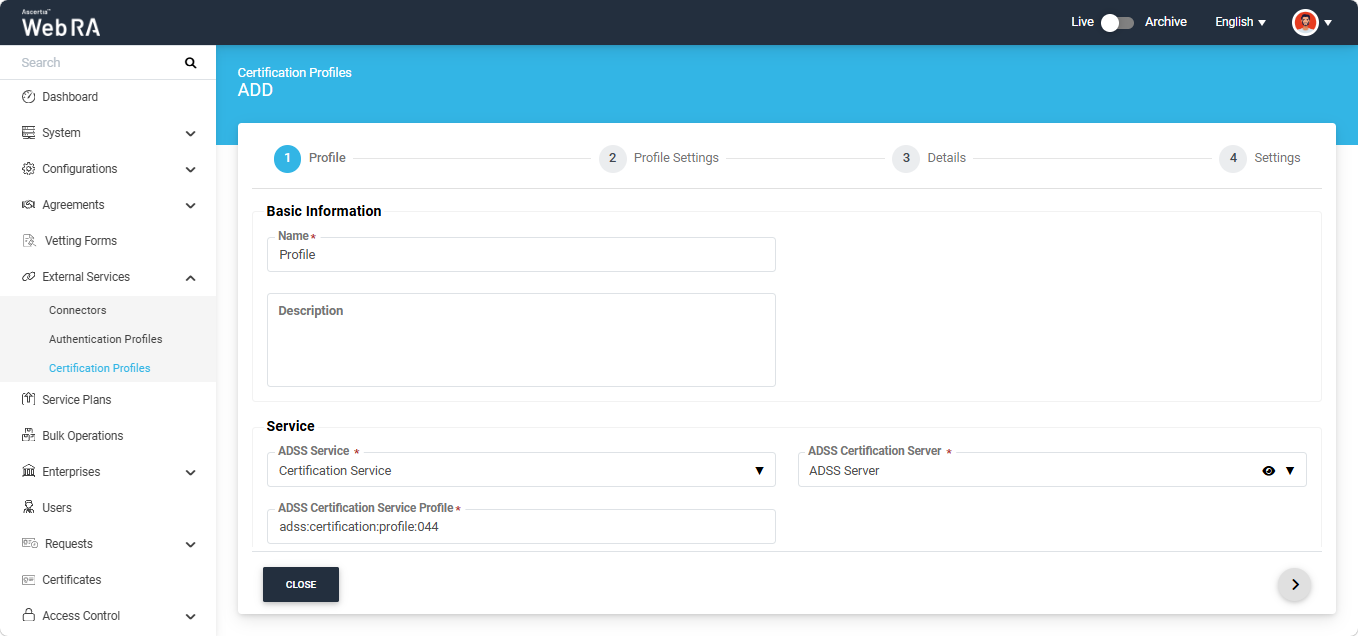
You can view the details of the selected ADSS connector by clicking the ‘Eye’ icon next to the connector name. When you click the icon, the system displays the ‘Connector’ dialog on the screen containing the information.
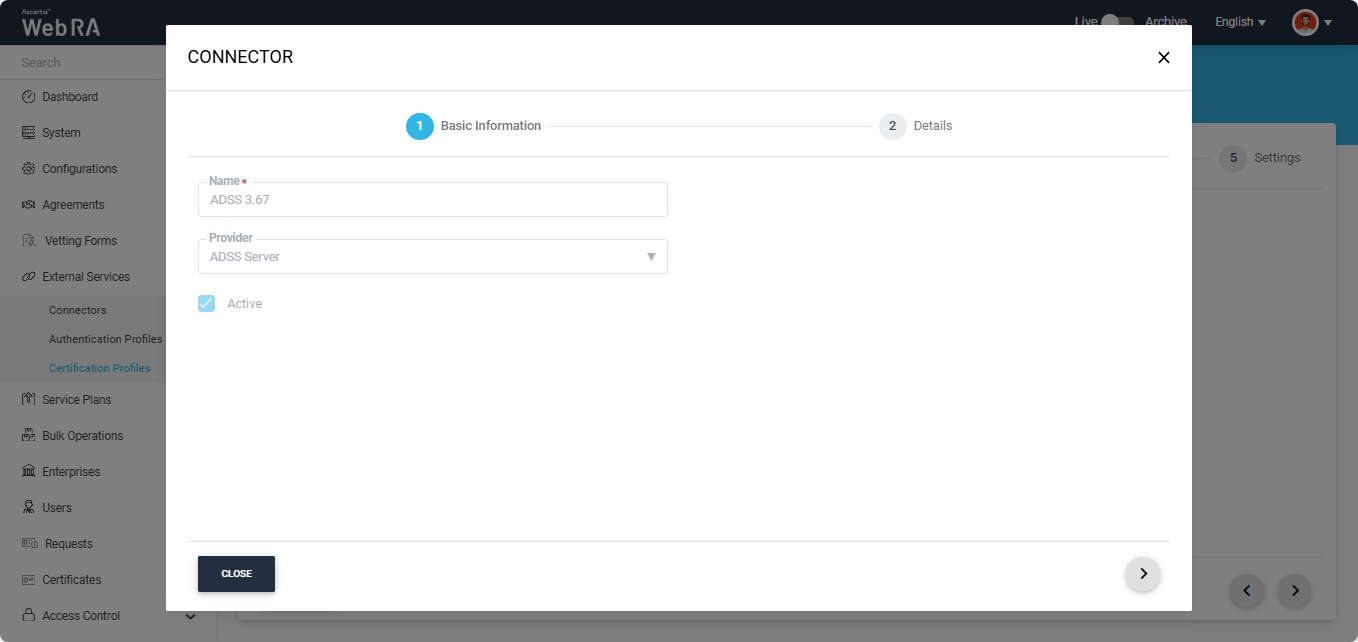
To view complete details of the connector, navigate to the ‘Details’ tab.
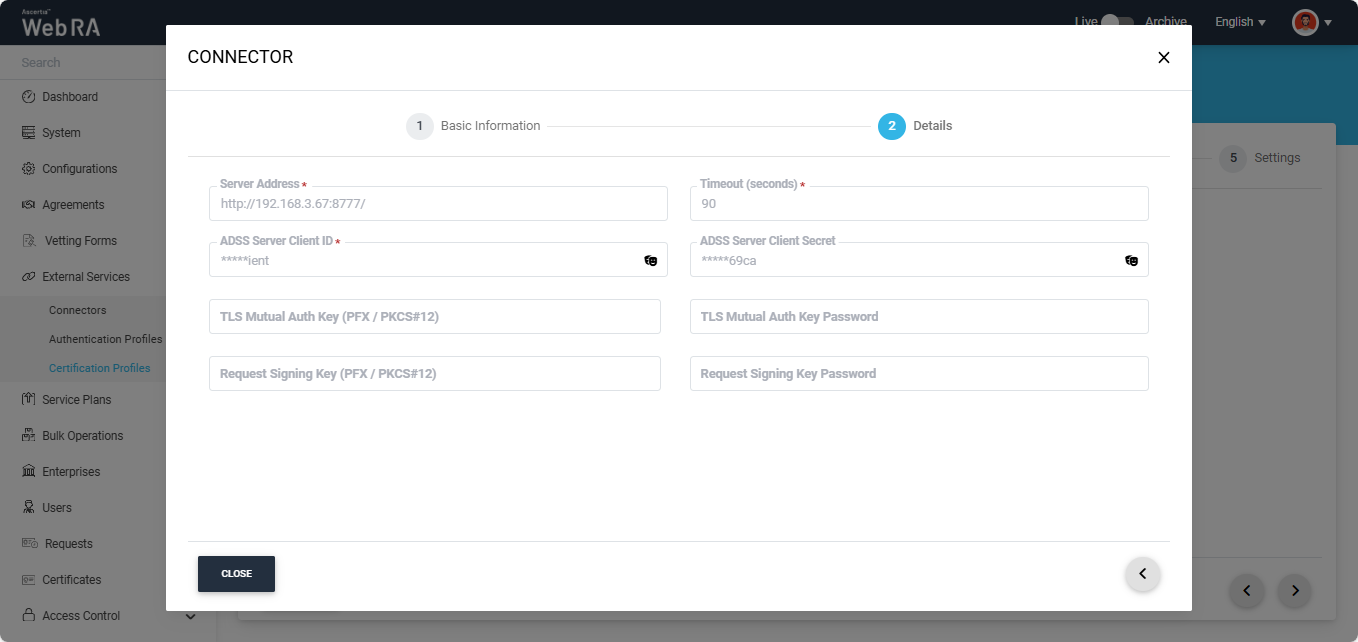
After providing the required information on the 'Profile' screen, click the next ‘>’ button to proceed to the ‘Profile Settings’ screen.
Profile Settings
The Profile Settings screen consists of the following sections:
- Certificate Information
- ADSS Server Client Secret
- Certificate Enrolment
- Verification
- Open MPIC
- Go Sign Token
Certificate Enrolment
To create a Windows Enrolment profile, select the 'Windows Enrolment' option from the 'Certificate Enrolment' dropdown and configure the rest of the required fields in this section as mentioned in the table below:
|
Field |
Description |
|
Certificate Enrolment |
This dropdown displays the following options:
|
|
Windows Enrolment > Active Directory Profile |
It allows a user to select an active directory profile which is required for Windows Enrolment. |
|
Active Directory Profile > Certificate Template |
This drop down will fetch the list of certificate template fetched from the active directory selected above. |
|
Windows Enrolment > Windows Device Certificate |
By enabling this setting, user will not be required to upload an authentication certificate while creating an account. |
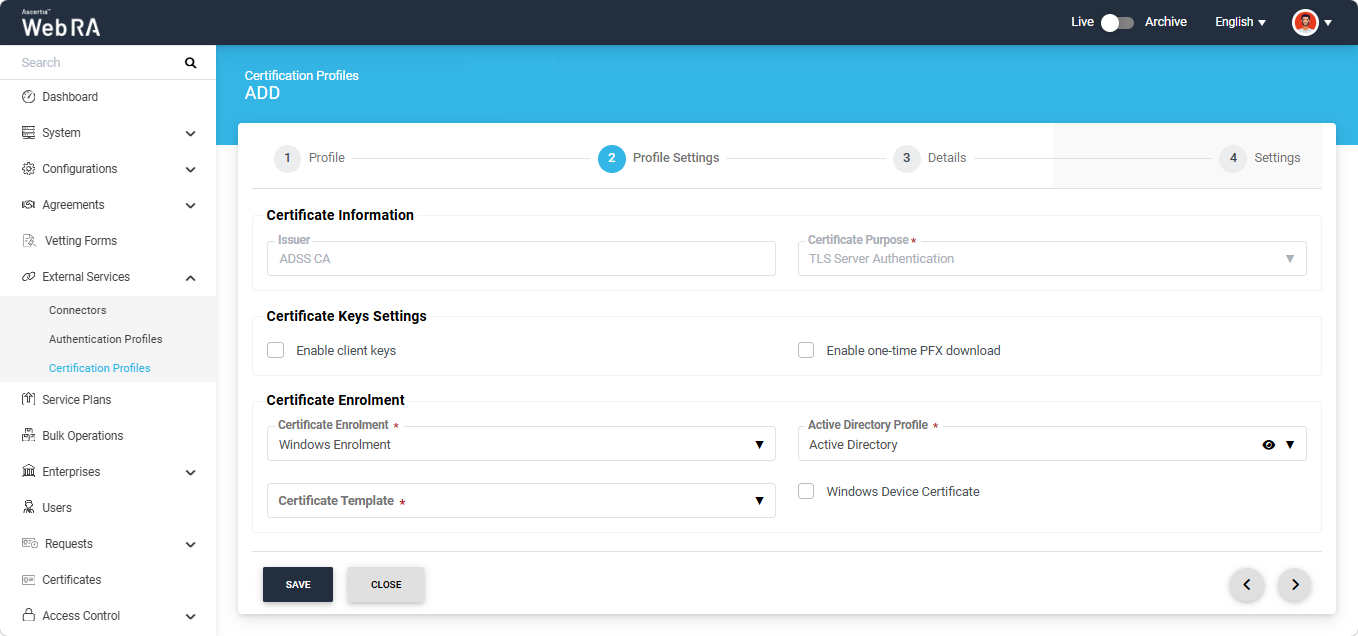
After configuring Windows Enrolment on the 'Profile Settings' screen, click the next ‘>’ button to navigate to the ‘Details’ screen. Set the options in the 'Details', and 'Settings' screens to their default values. The operator can also modify these configurations as needed.
For detailed information about the fields available on the 'Details', and 'Settings' screens for configuring the Certification Service profile, refer to the 'Certification Service Profile' page.
If you want to continue with default values, then after completing the configuration in the Settings tab, click 'Create' to set up the certification profile.