
Certificate Requests
To access the Certificate Requests listing screen, expand Certificate Center > Certificate Requests from the user portal.
The Certificate Requests listing screen displays all the certificate requests that have been created by you from the user portal.
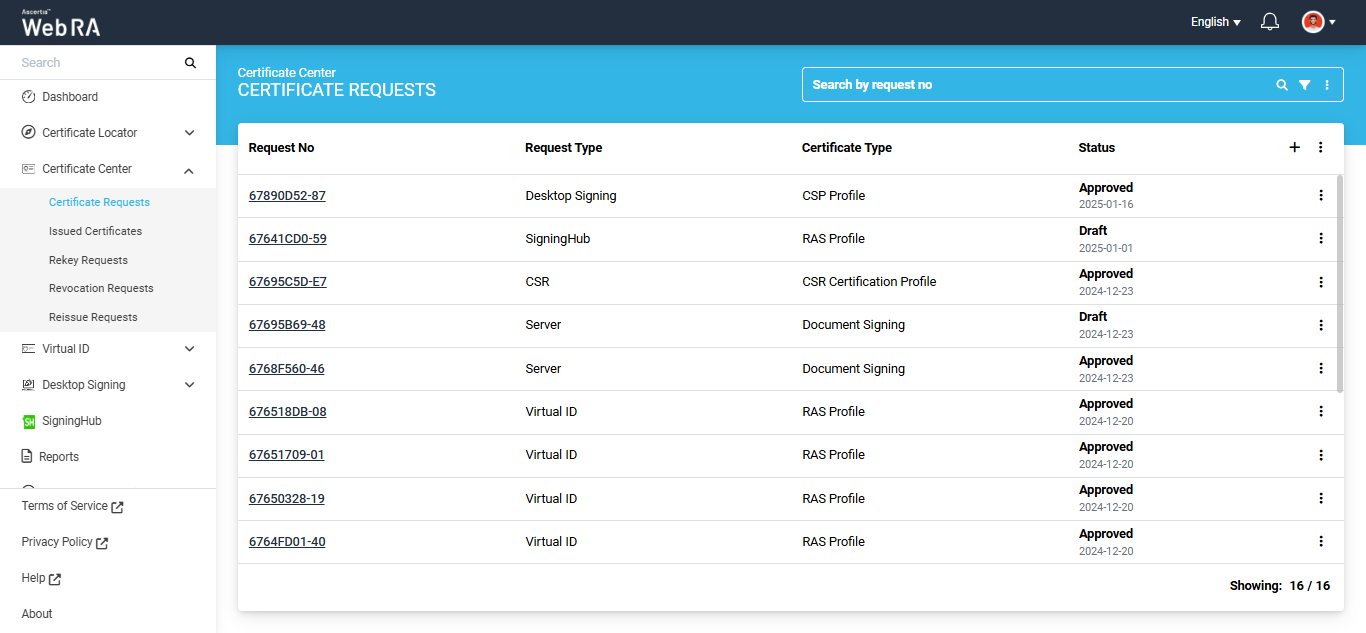
You can click on the '+' button to create a new certificate request for the following types:
- CSR-based requests
- TLS / Server based requests
- S/MIME (Email) certificate requests
- Go>Sign Desktop certificate requests
You can view the details of an existing certificate request by clicking on the "Request No' of that request.
Moreover, if you click on the three-dot  button next to a request you can view following information:
- View Certificate Request
- View Certificate Information
- Edit Certificate Request
- Download a Certificate
- Resubmit a Declined Request
- Substituted Certificate Requests
- Token Information
- Renew a Certificate
To view a certificate request, click the three-dot button next to the request. A short menu will appear on the screen, click on the 'View Request' option to check the details of the request.
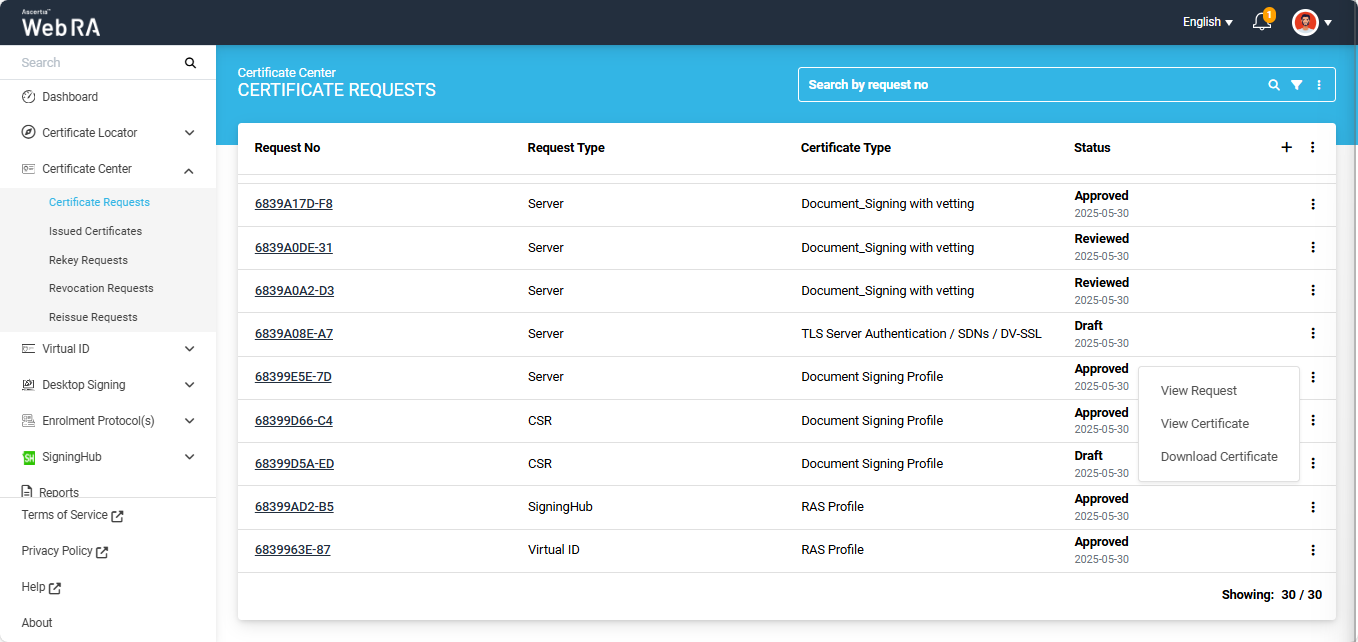
To view the certificate information, click the three-dot button next to the request. Then, click 'View Certificate' from the short menu that appears.
The 'Certificate Information' dialog will appear on the screen where you can view your required information.
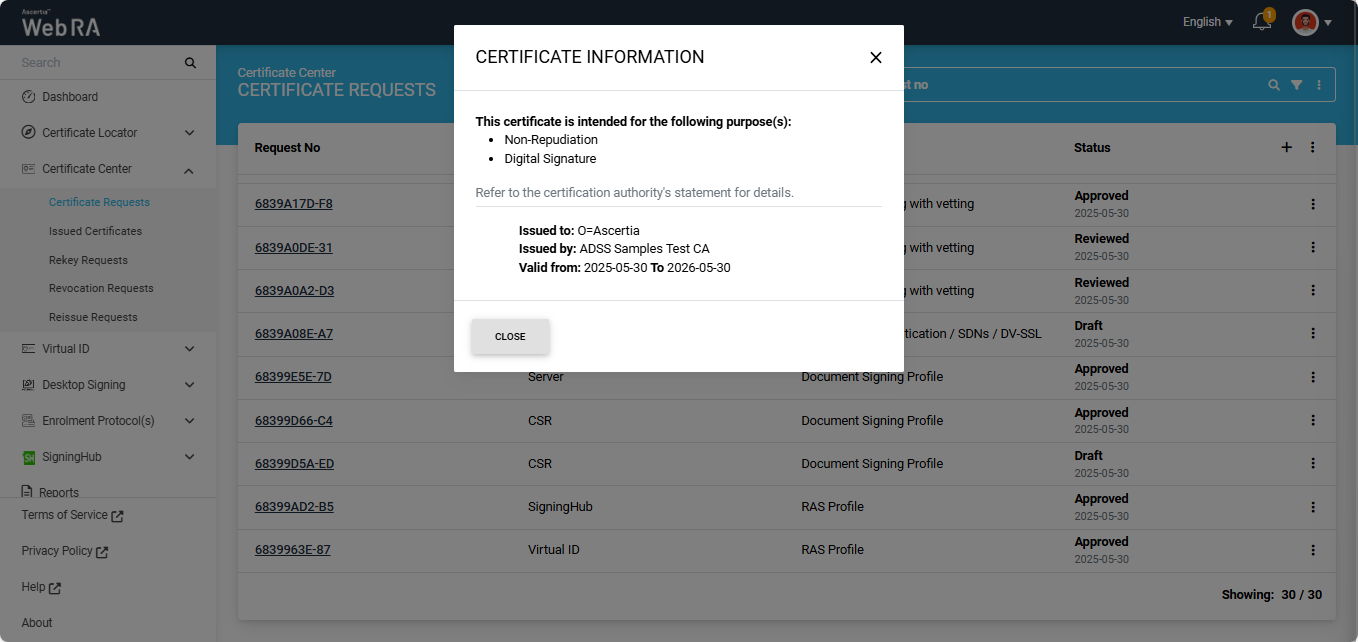
If a certificate request is created and remains incomplete, it will appear in 'Draft' state in the listing. Click the three-dot button and select 'Edit Request' to complete the certificate request.
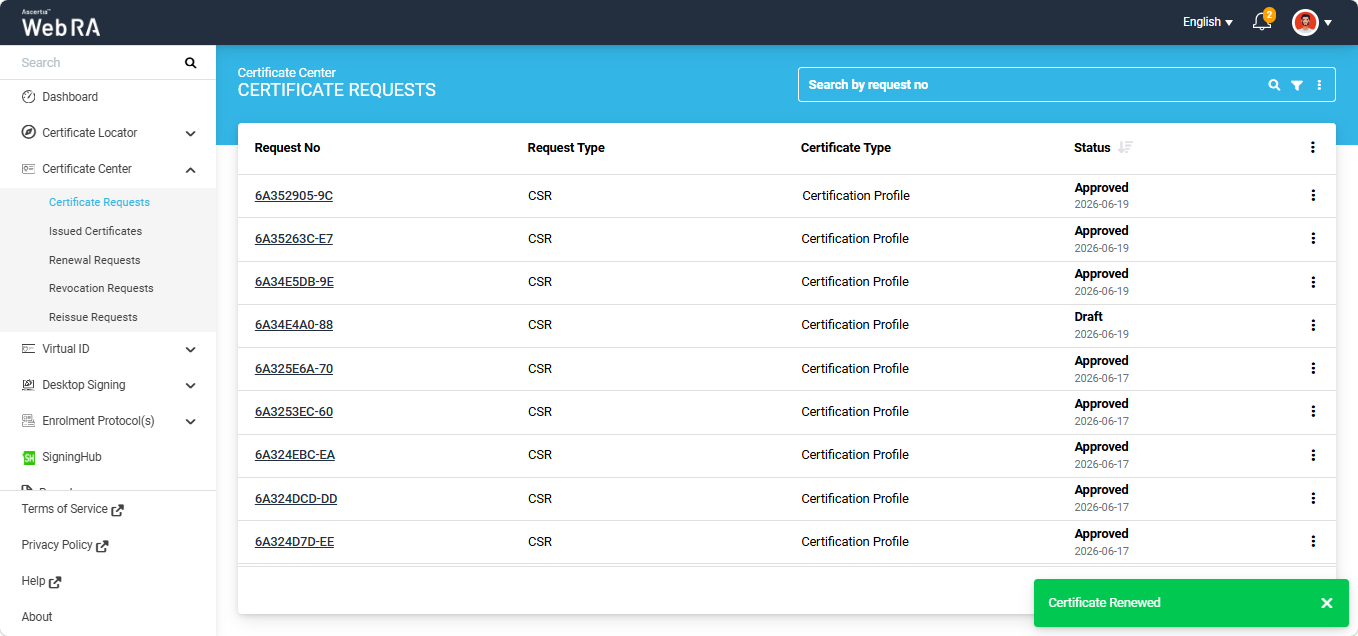
Once the request is completed, it will appear in the certificate request listing with 'Approved' status.
To download a certificate, click the three-dot button and select the 'Download Certificate' option. The certificate will be downloaded in your system.
If a certificate request is declined by the administrator for a specific reason, the user can resubmit the request after modifying the required information.
Click the  button next to the certificate request that has been declined.
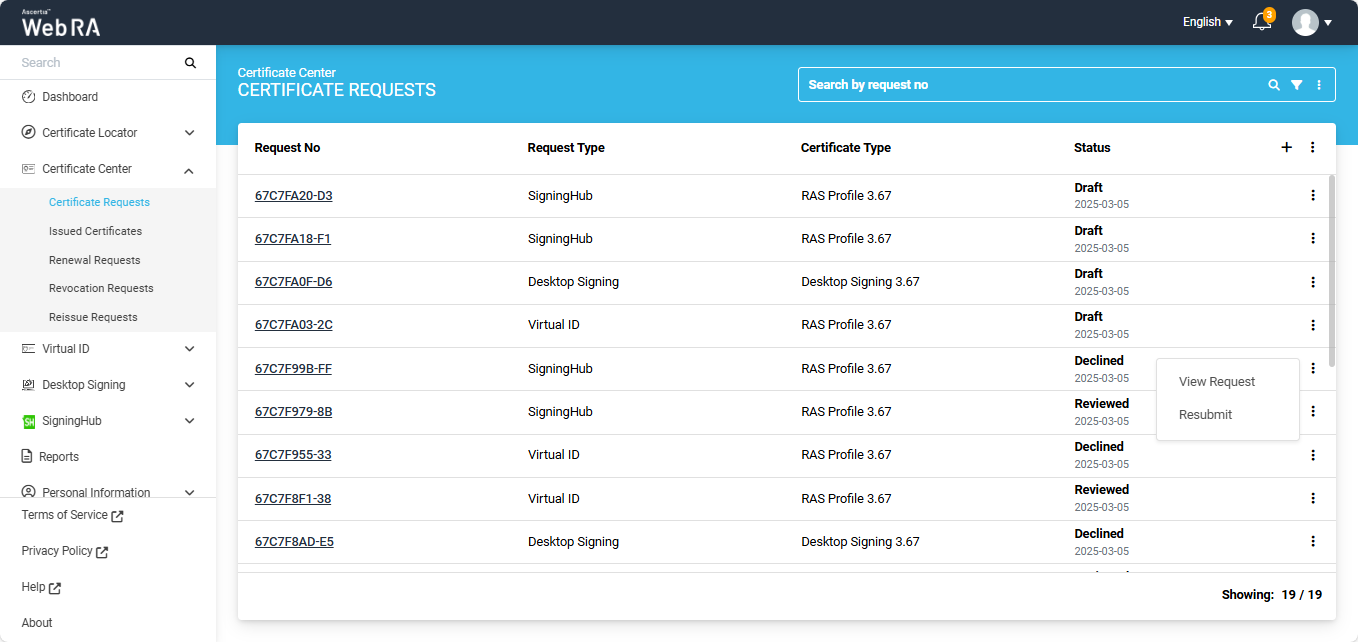
The system will display a ‘Resubmit’ option in the menu. Clicking the Resubmit option will open the request in create screen mode.
From that screen, the user can modify the required details and click ‘Submit’ to send the request for approval again.
Substituted Certificate Requests
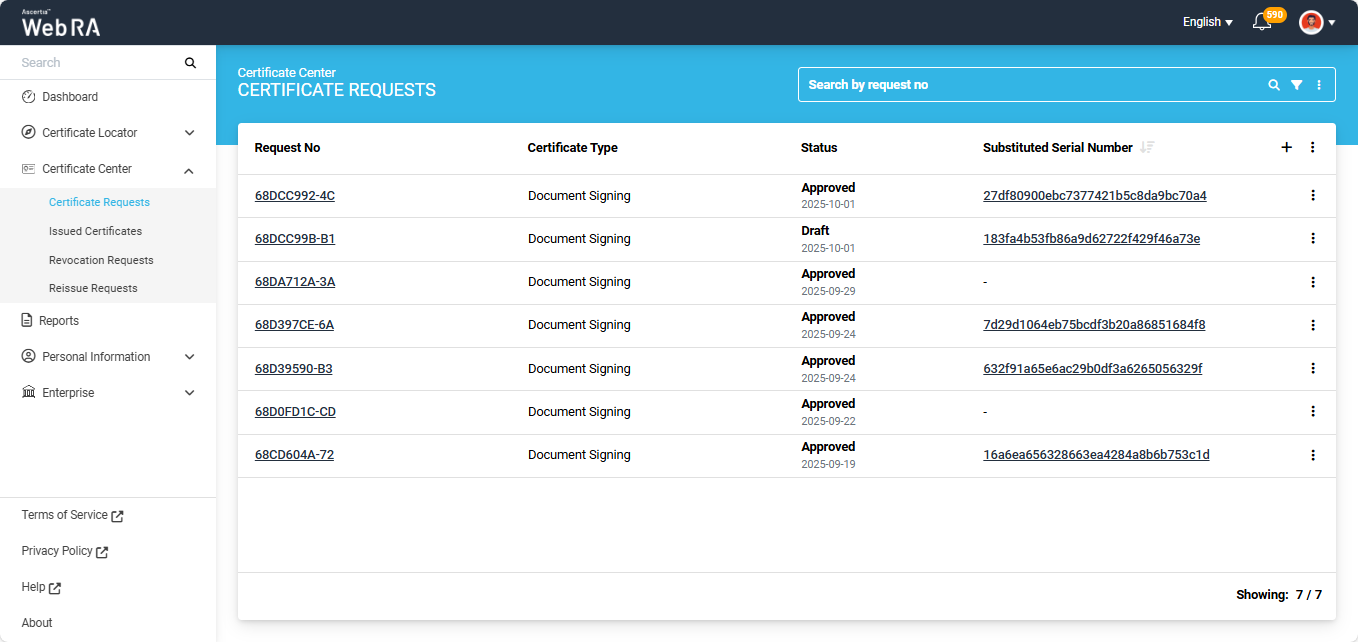
All substituted certificates will appear in draft state in the 'Certificate Request' listing. Each entry will display a 'Substituted Serial Number'. You can click on the substituted serial number to view complete details related to the certificate.
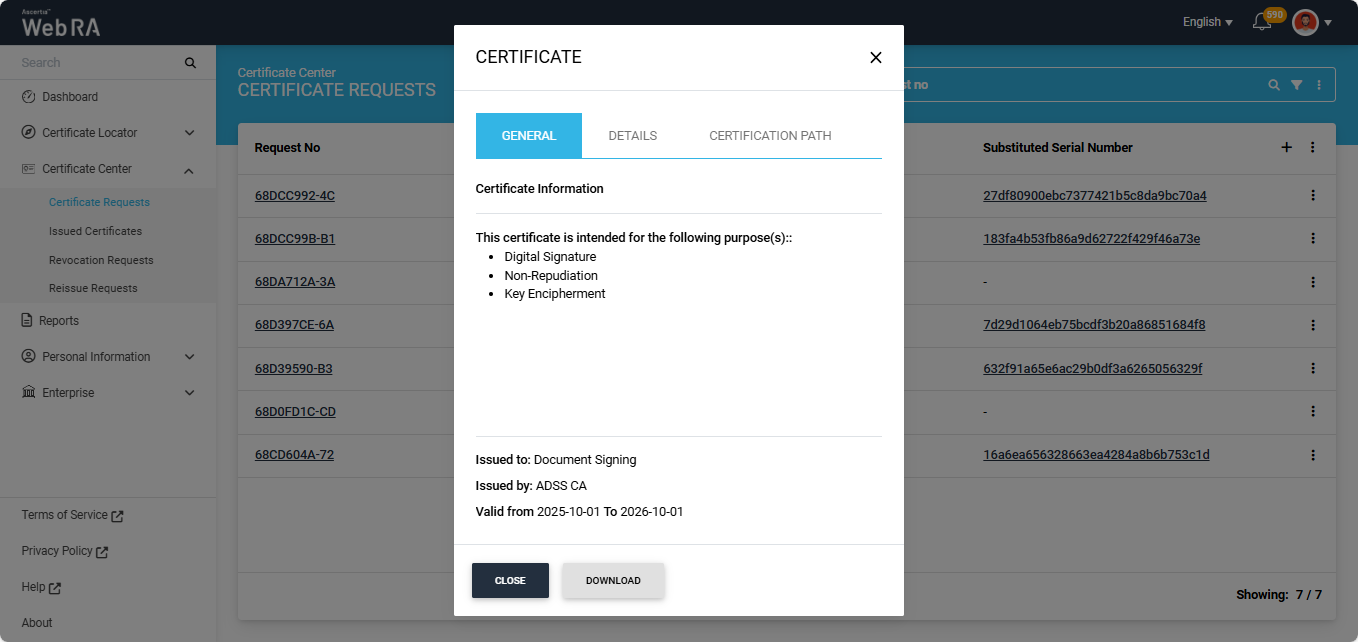
Clicking the serial number will open a dialog titled ‘Certificate’. Use the General, Details, and Certification Path tabs to view the required information.
You can also download the certificate in your computer by clicking the ‘Download’ button.
Note: The substituted serial number can be used to verify the status of the substituted certificate in the ADSS Server.
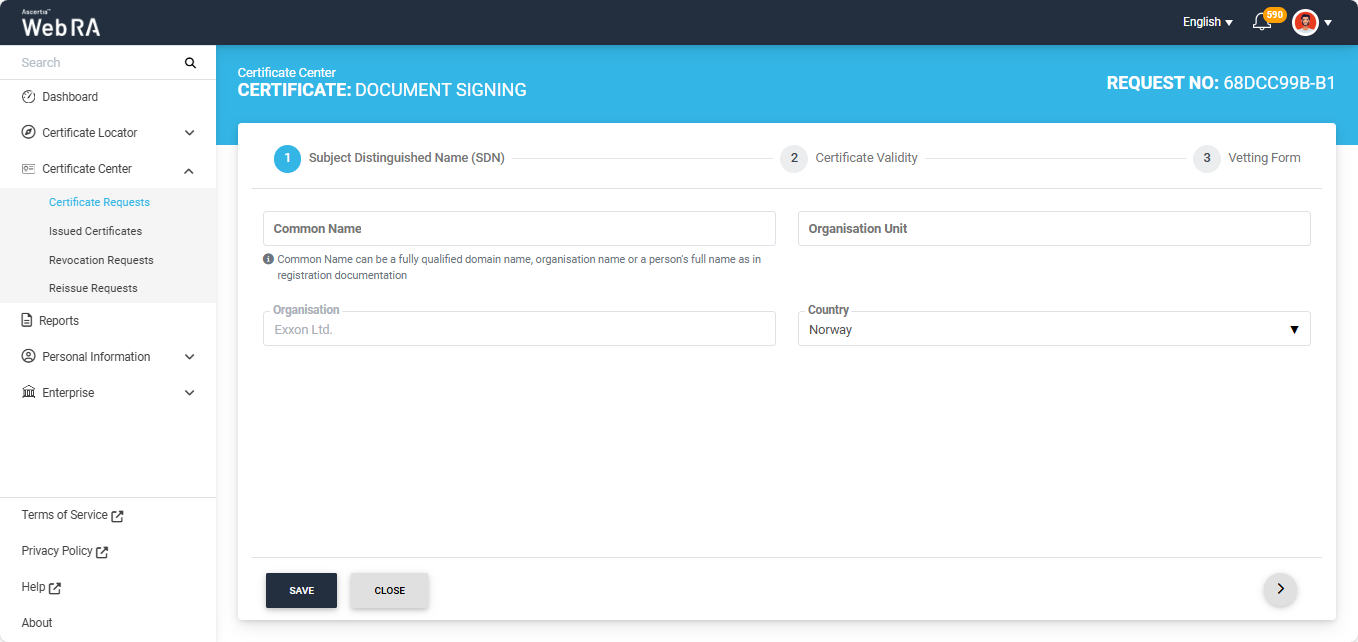
The user can generate the certificate by editing the draft certificate request.
To do this, click the three-dot  icon next to the certificate and select ‘Edit Request’. This will open the certificate request in ‘Edit’ mode.
Navigate to the ‘Vetting Form’ screen and click ‘Submit’.
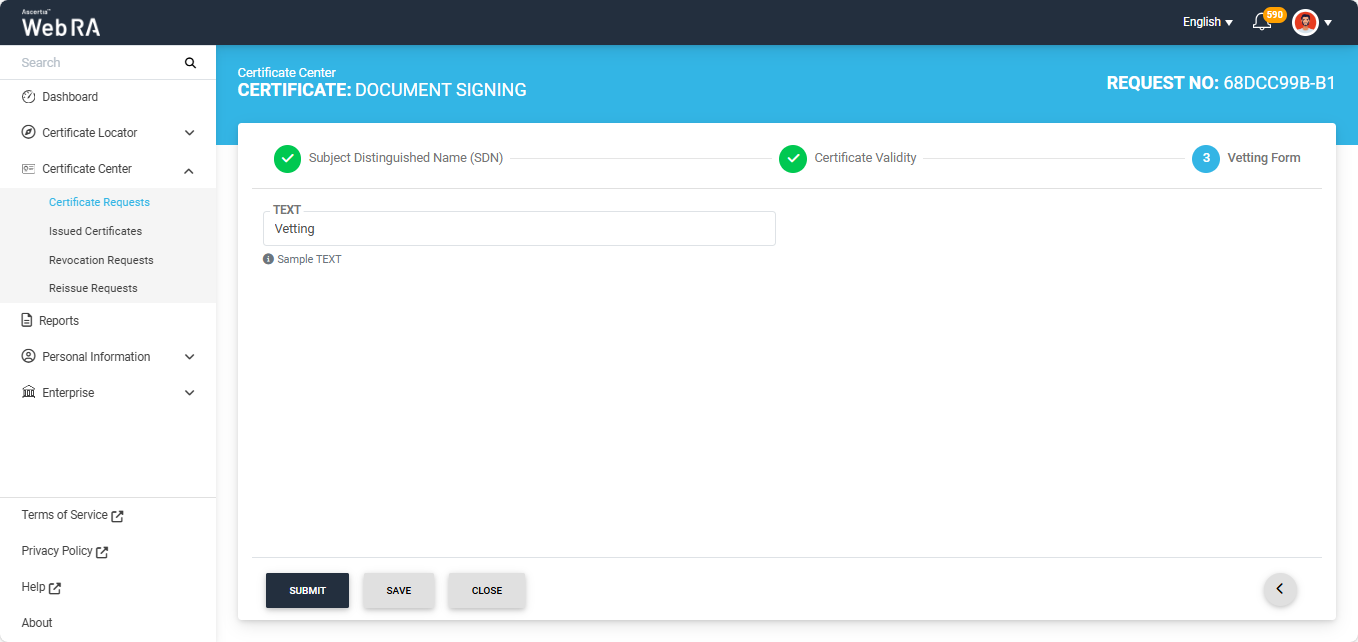
The certificate request will then be sent to the administrator for approval and the system will display the ‘Certificate Requested’ dialog on the screen.
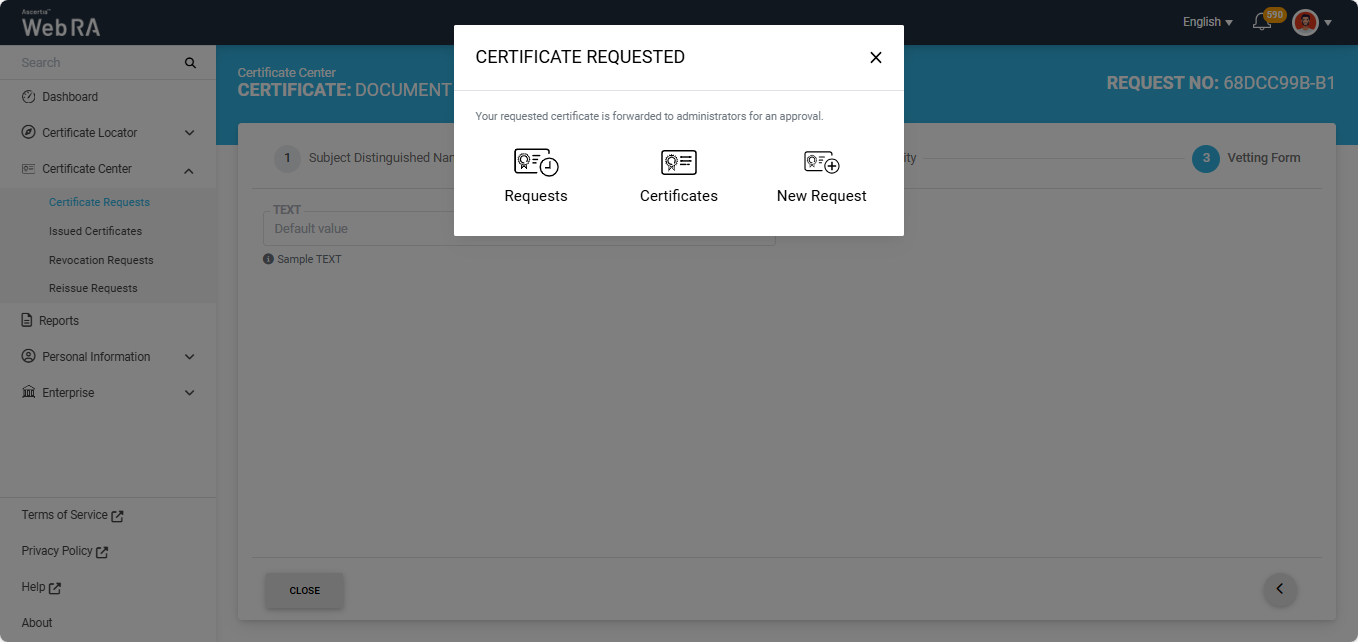
If vetting is not enabled, the system will generate the certificate immediately and download it to the user’s computer.
Extend Certificate Center > Certificate Requests from the left menu of the Web Portal.
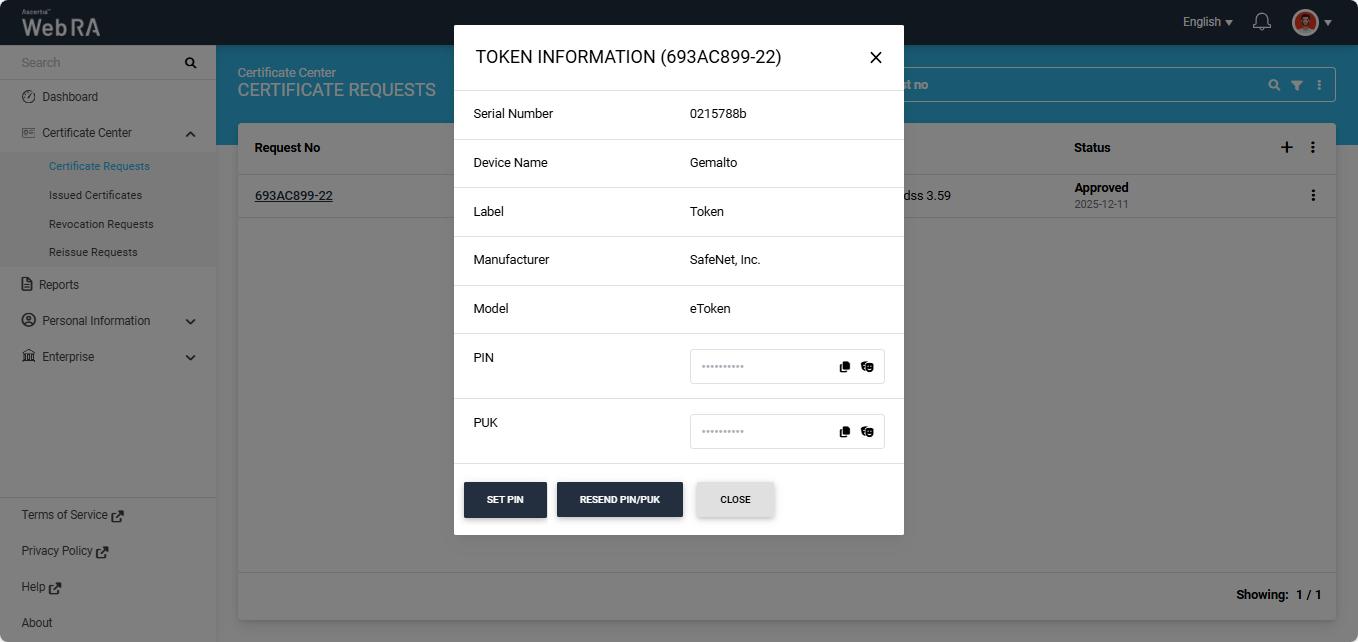
To view Token Information of a certificate, click the three-dot  icon next to the token certificate and select the ‘Token Information’ option.
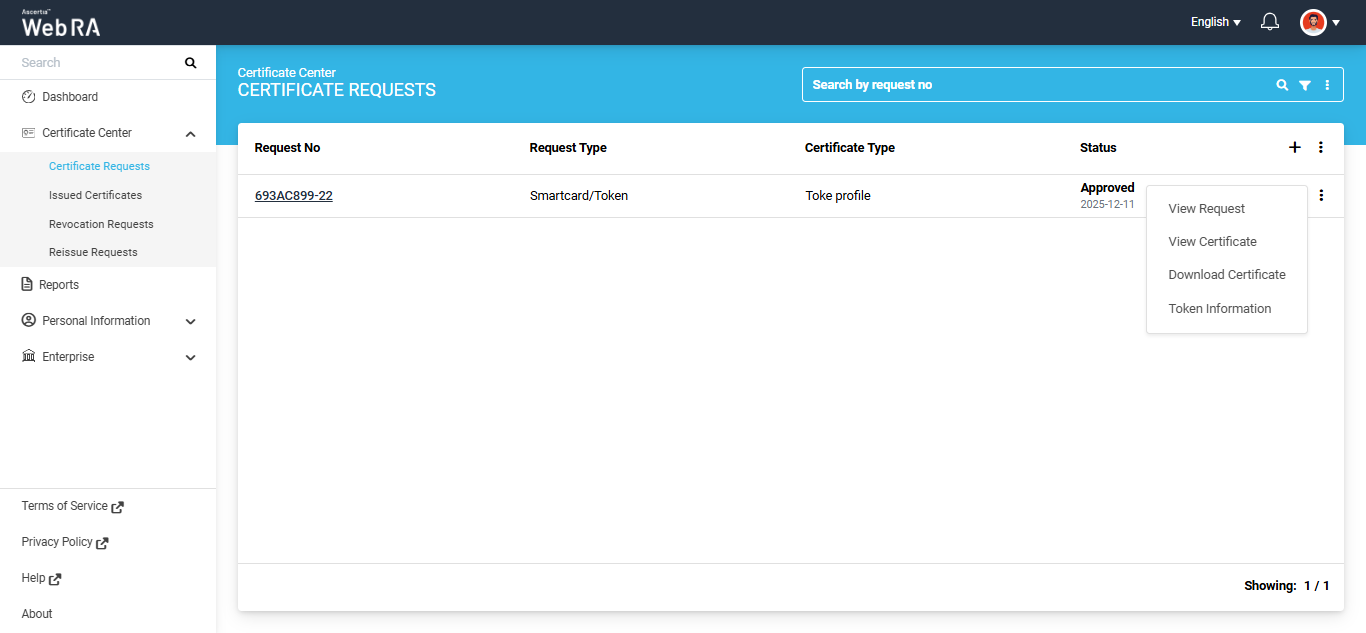
The ‘Token Information’ dialog will appear and display complete information about the token.
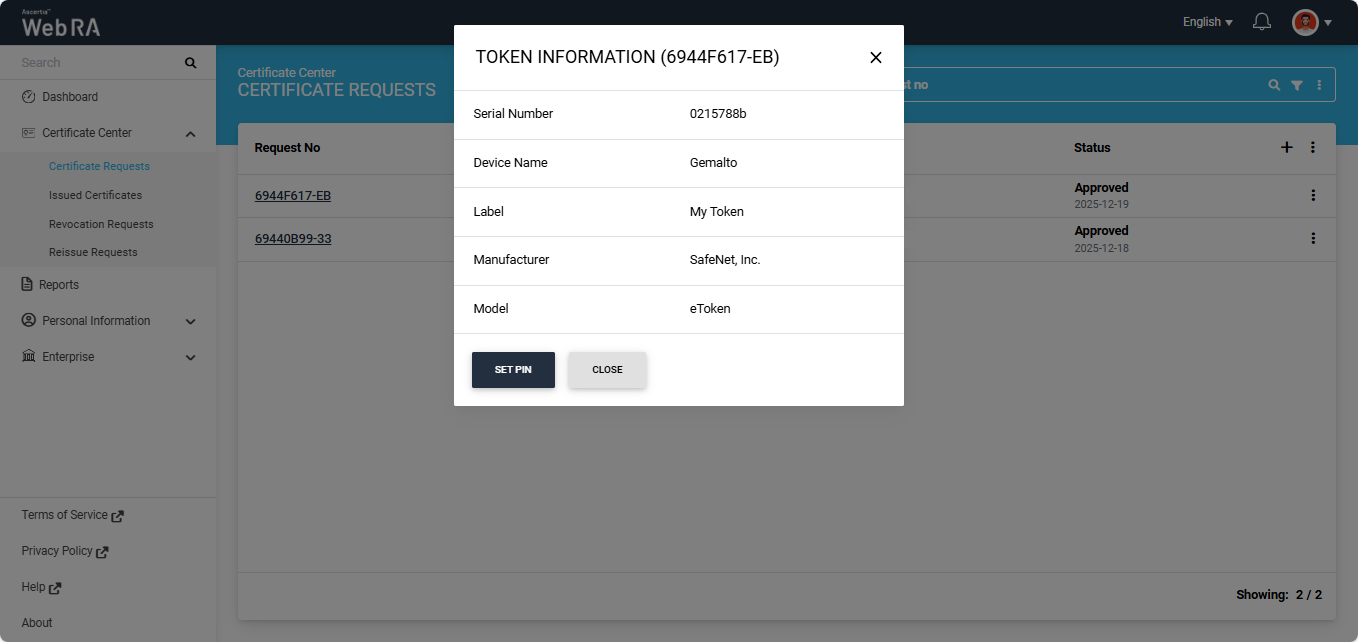
The ‘Token Information’ dialog will display the Serial Number, Device Name, Label, Manufacturer and Model.
You can change the PIN of your token by clicking the ‘SET PIN’ button. Clicking this button will open the ‘SET Token PIN’ dialog.
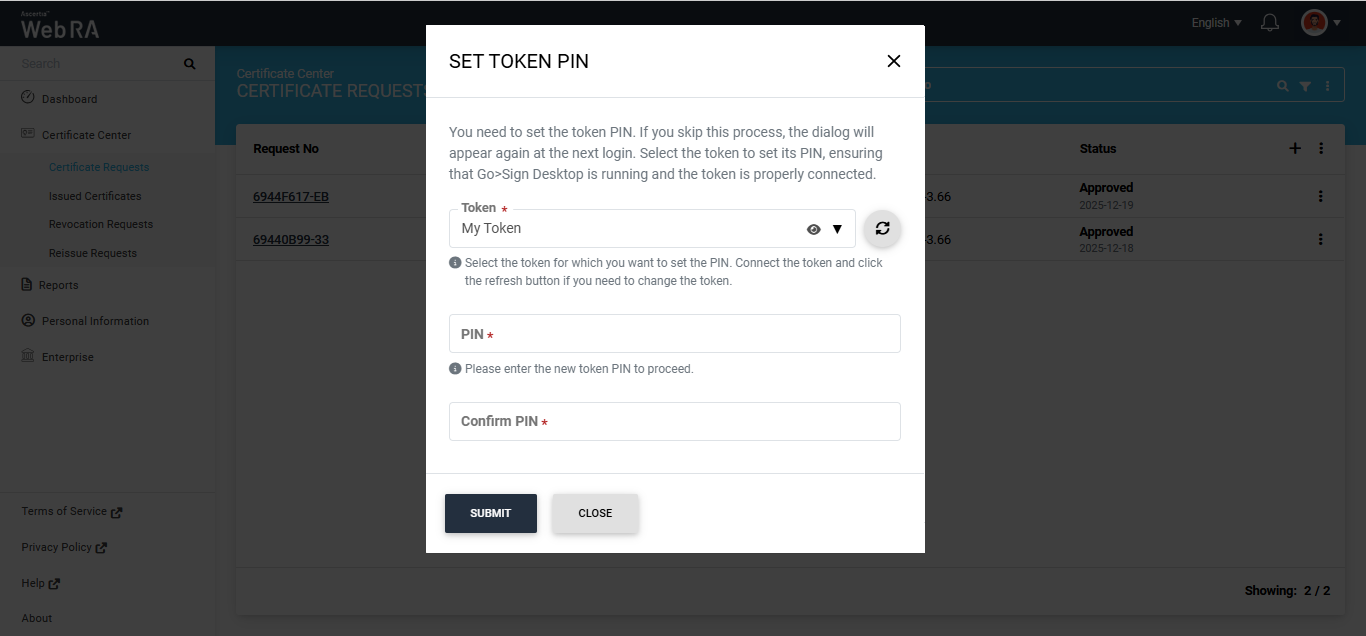
|
Field |
Description |
|
Token |
This dropdown field displays the token name. If multiple tokens are connected with your system, click the dropdown to select the required token from the list. Click the ‘Eye’ icon next to the token name to view additional details about the token. |
|
PIN |
Enter the new PIN value for the token in this field. |
|
Confirm PIN |
Re-enter the new PIN value in this field to confirm it. |
After entering all the required details, click ‘Submit’ to change the PIN. The system will then display a success alert on the screen.
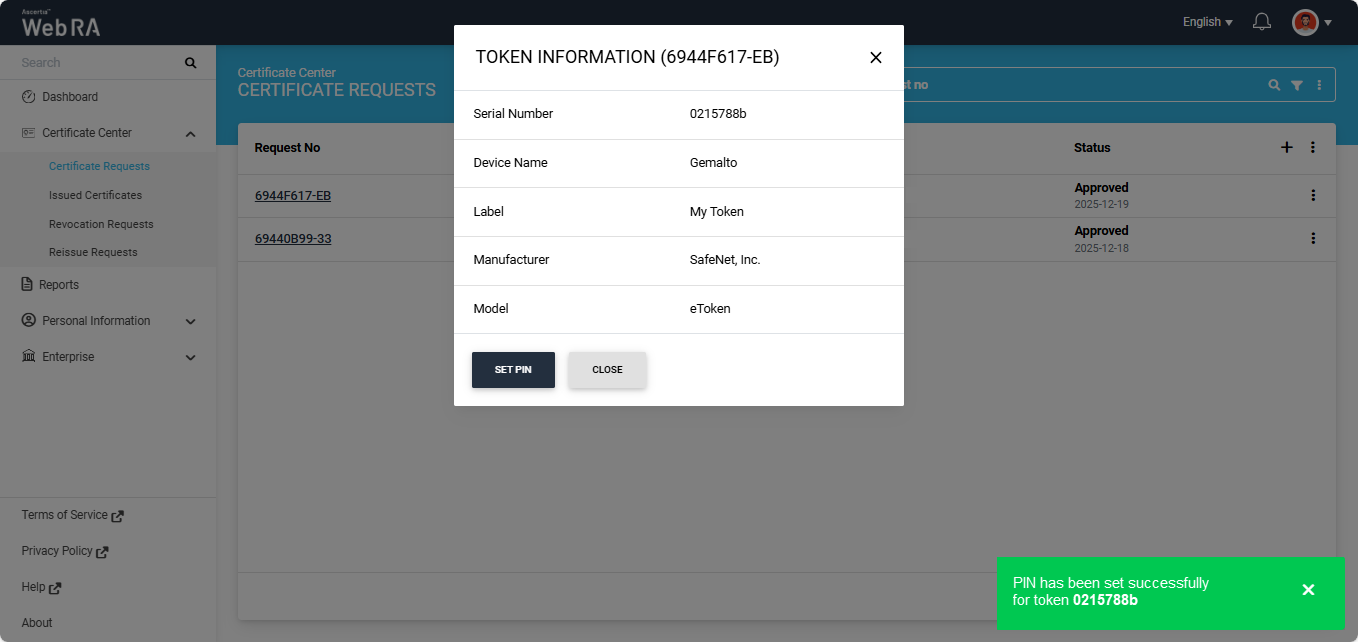
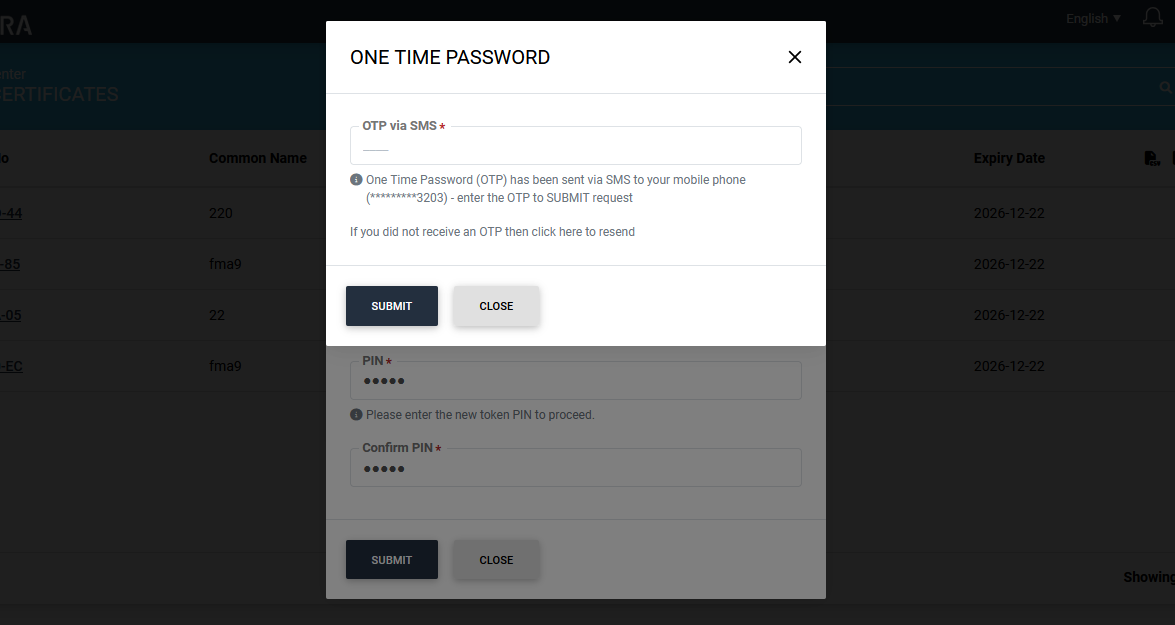
Note: If second factor authentication is enabled in the user role settings, you will be prompted to verify the PIN change using the configured secondary authentication method.
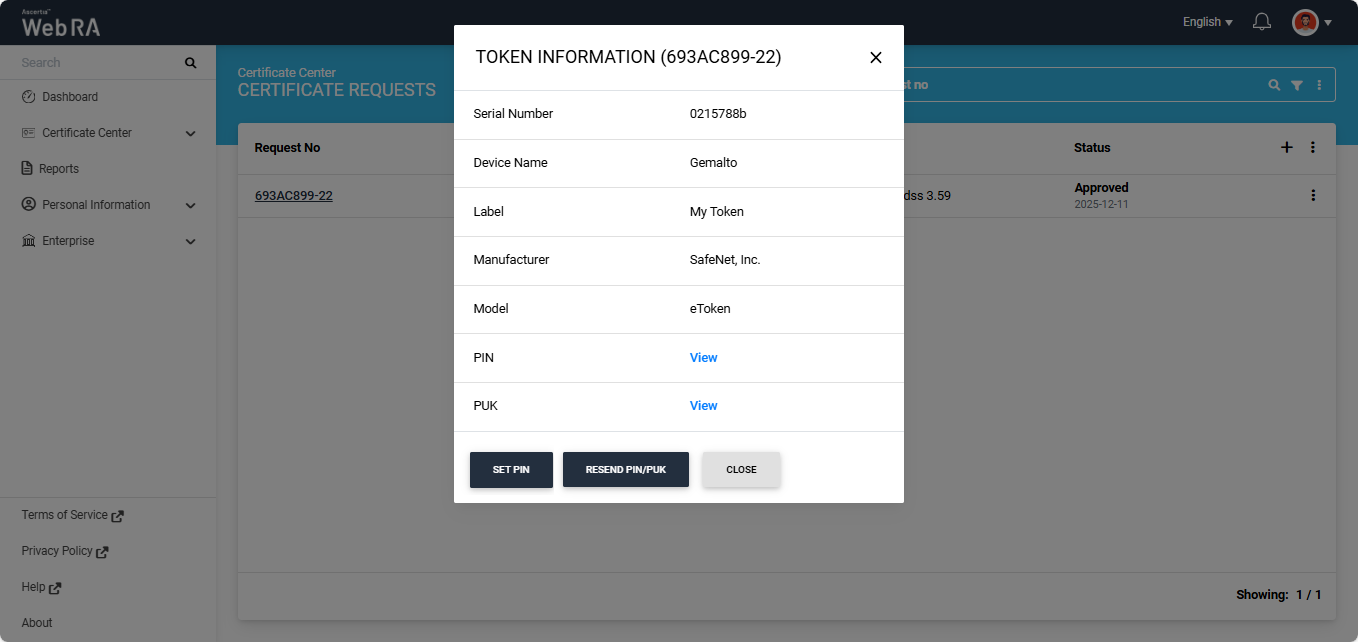
The Token Information dialog displays PIN and PUK information based on the following:
- Permissions assigned to the user role
- PIN/PUK password policies configured at the enterprise level
- The Enable Reset PIN/PUK setting configured in the certification profile
If the relevant permissions and settings are enabled in the user role and certification profile, the Token Information dialog will display the PIN and PUK information.
|
|
|

If the second-factor policy is enabled, the system will prompt you to authenticate the action using the configured second-factor authentication method.
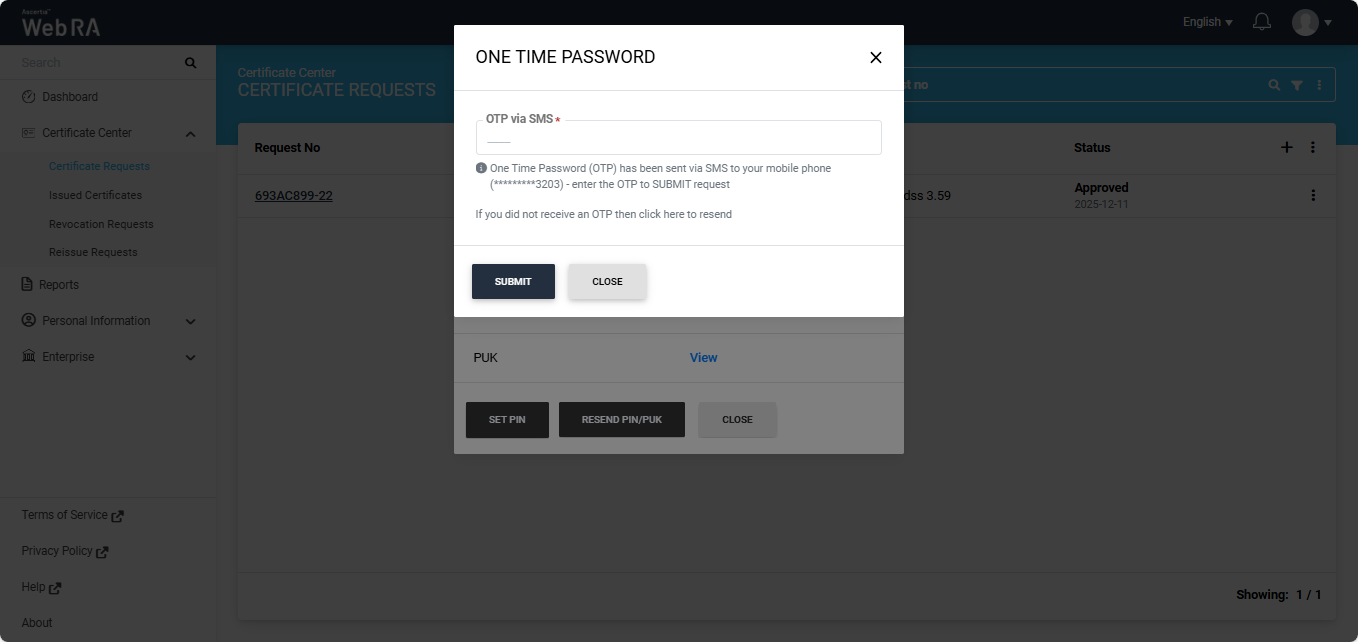
After successful authentication, click the mask icon to reveal the value.
To renew a certificate before its expiration, you need to first open the certificate request generated from the Web RA system.
To do this, expand Certificate Center > Certificate Requests from the left-tree menu in the Web Portal.
Then, click the request number of the certificate that you want to renew. Alternatively, click the three-dot button next to the certificate request entry and select the 'View Request' option.
The system will then open the certificate request in View mode.
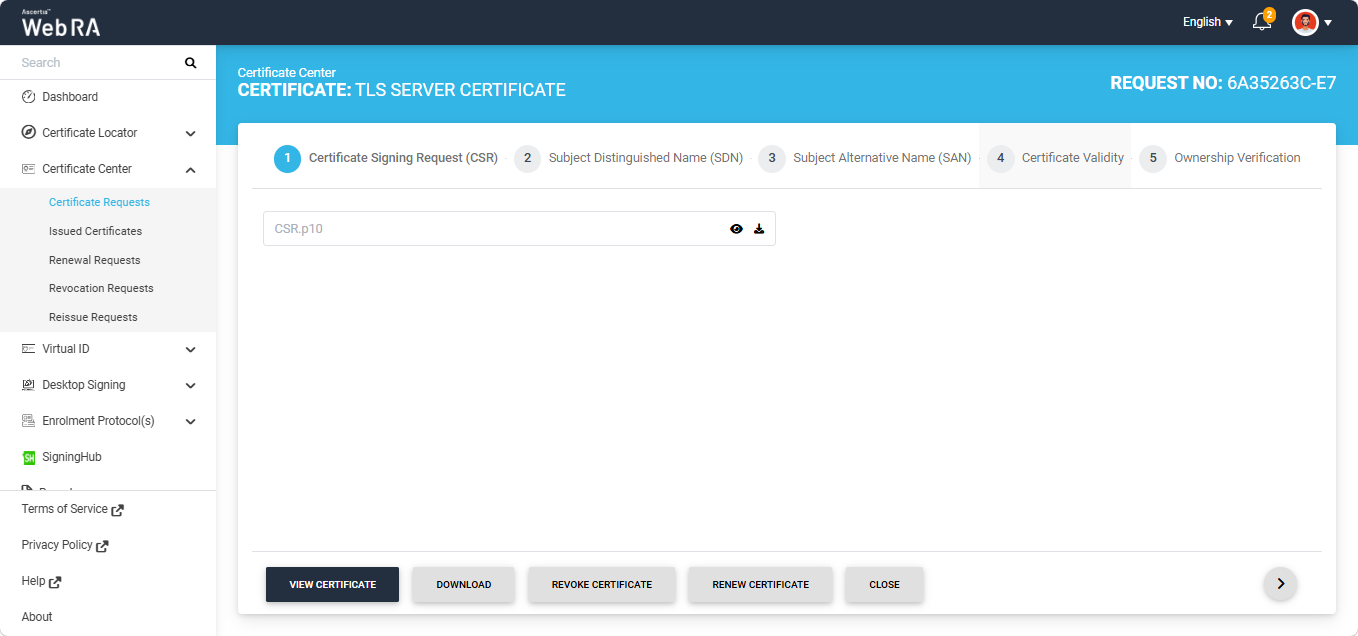
To renew the certificate, click the 'Renew Certificate' button.
Note: The 'Renew Certificate' button appears only if the 'Renew Certificate' policy is selected in Configurations > Policies > Requests section under the certificate renewal settings.
The Certificate Signing Request (CSR) screen will appear again, as displayed in the image below.
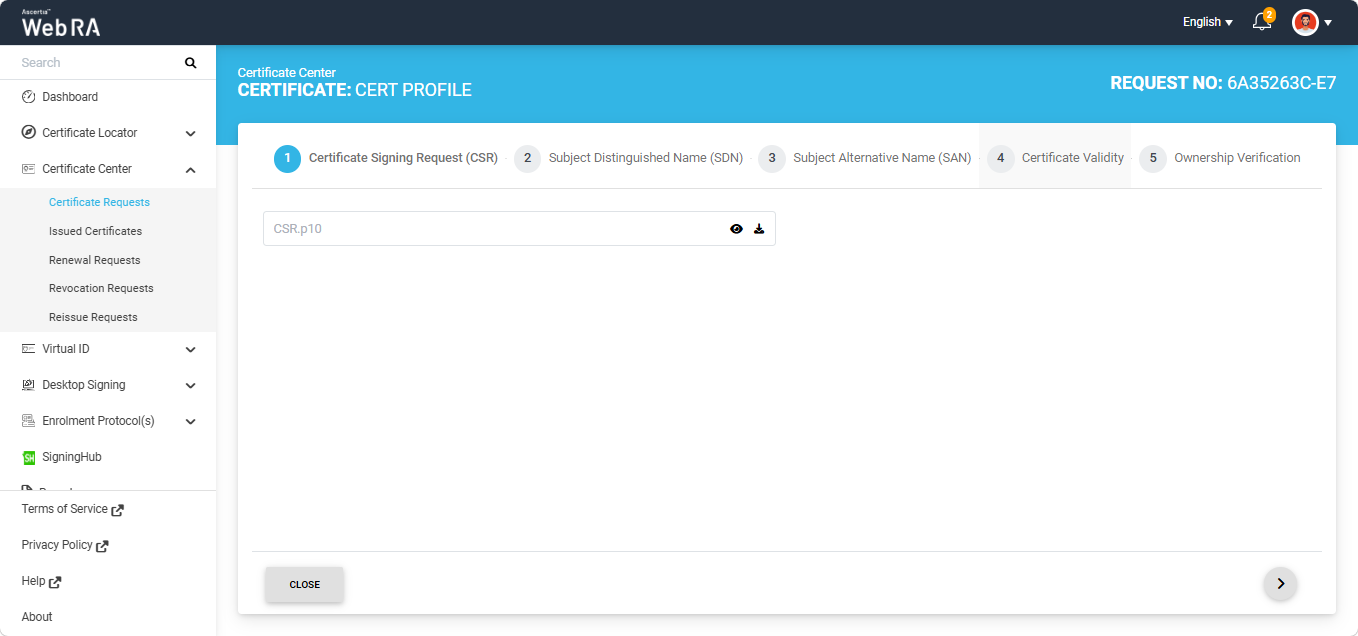
Click the next '>' button to navigate to the 'Ownsership verification'' screen. Here, click the 'Renew' button to renew the certificate.
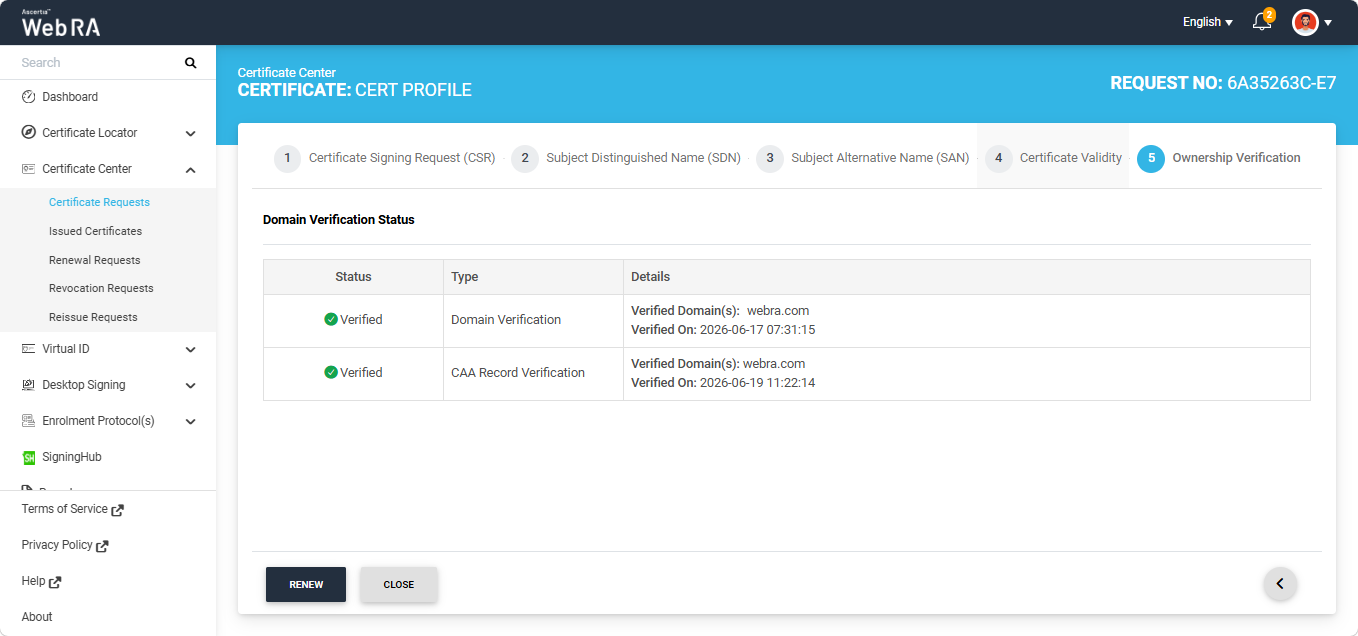
The system will display the Certificate Renew dialog on the screen. Here, you can optionally enter a message in the Message box.
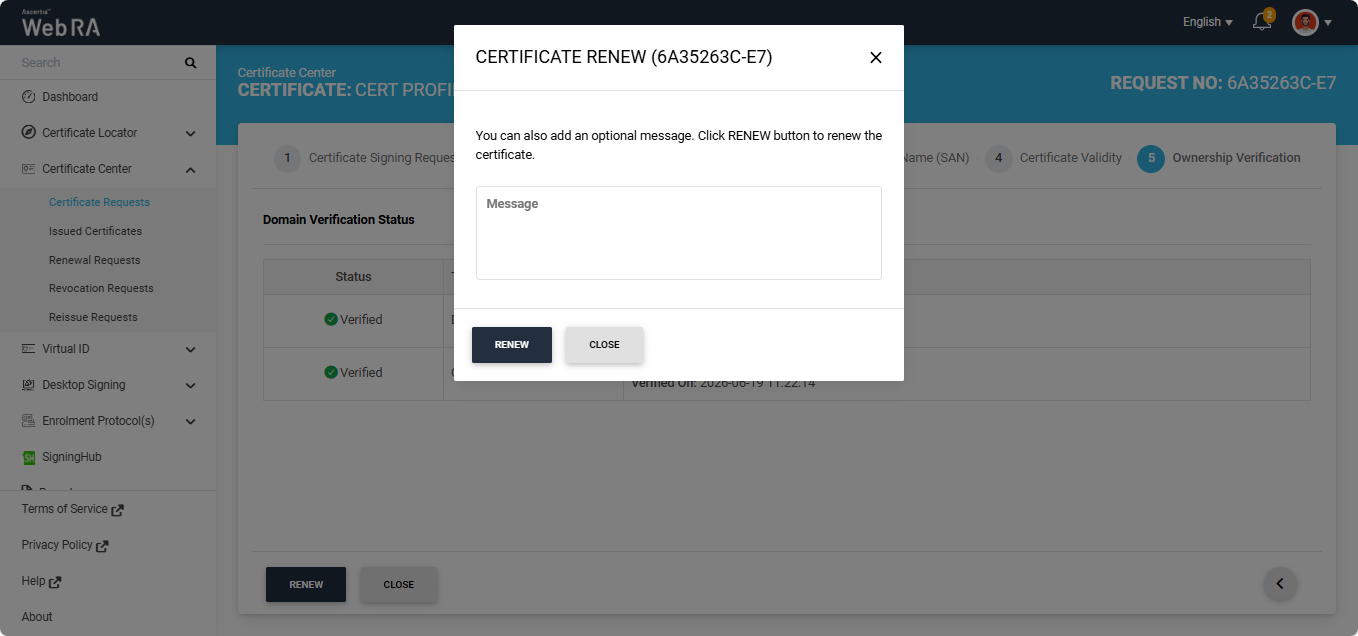
Click the Renew button. The certificate will be renewed, and a Certificate Renewed alert will appear on the screen.
Each certificate can be renewed only up to the renewal limit configured in the certification profile. For example, if a renewal limit of 1 is configured in the certification profile, a certificate can only be renewed once. Any subsequent attempt to renew the same certificate will result in an error being displayed by the system.
The following error will appear on the screen if you attempt to renew a certificate after the renewal limit has been reached.
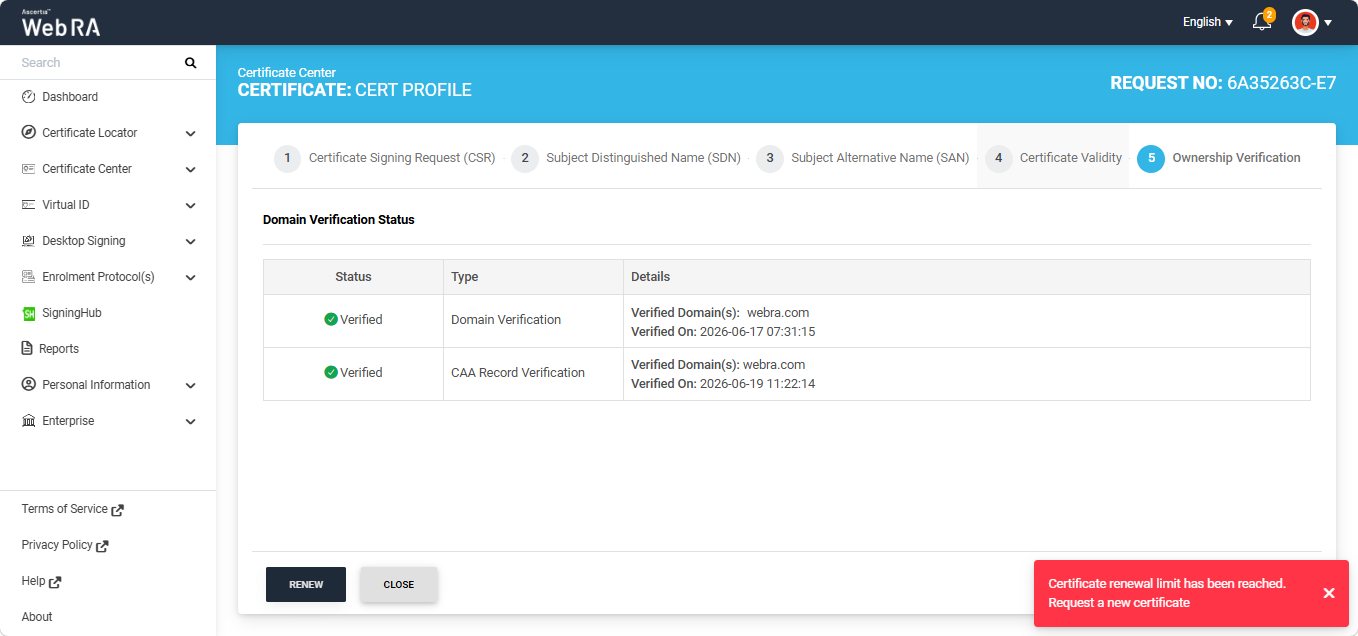
Note: If the renewal limit is set to zero in the certification profile, certificates generated under that certification profile cannot be renewed.