Load-Balanced Installation
The following two methods could be used to perform a load-balanced installation of SigningHub:
Load Balanced Installation via SigningHub Installer
Follow these instructions to install SigningHub Enterprise with a load-balanced configuration.
Launch the installer by right-clicking the file name [SigningHub Installation Directory]/setup/install.bat and select Run as administrator.
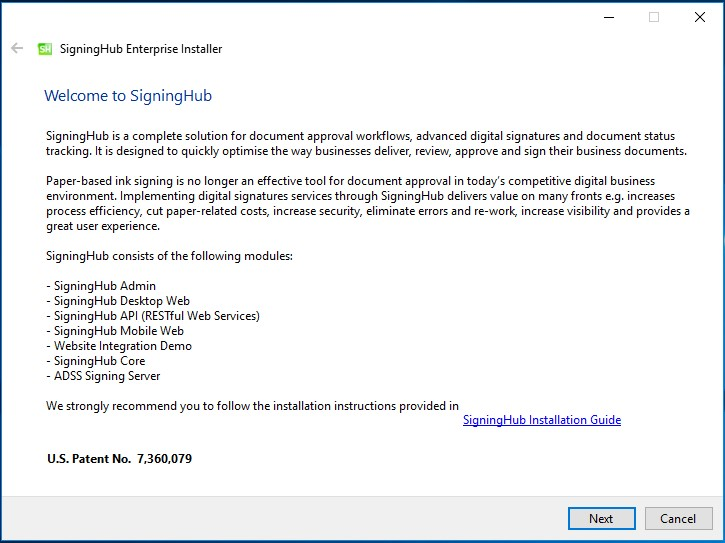
Click on the Next button on the Welcome screen.
The system requirements screen will appear, once all the requirements have been verified, click on the Next button.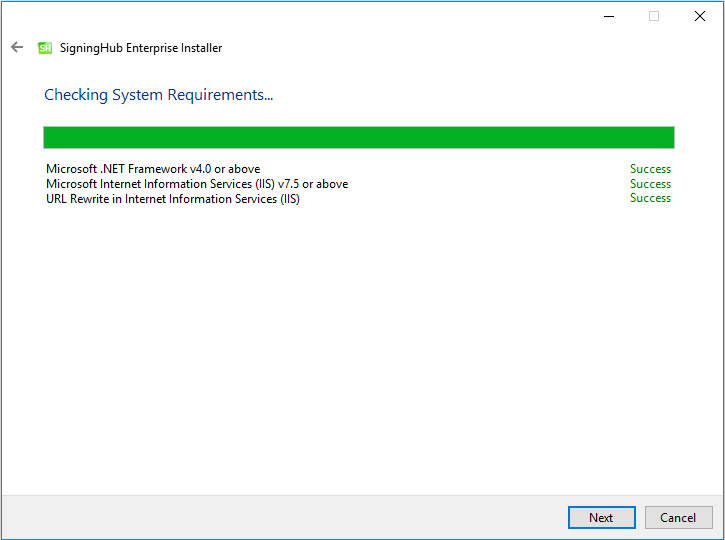
The Installation Type screen is shown: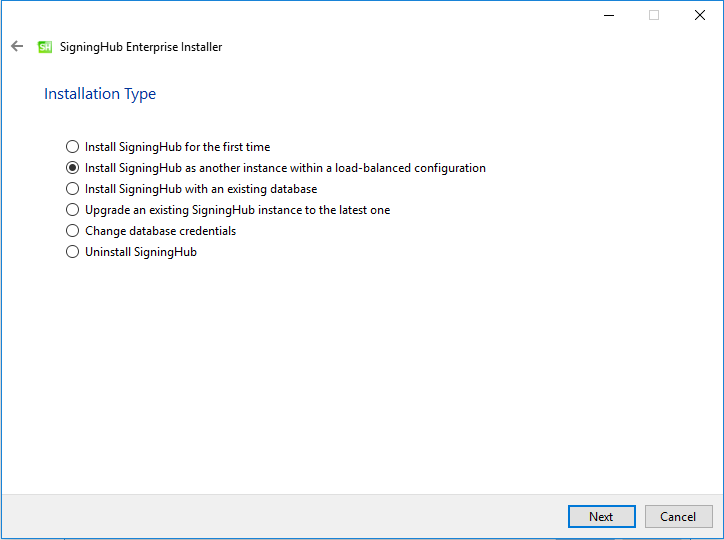
Click the Next button to show the License Agreement.
License Agreement
Click the I Agree button to proceed.
The following screen to prompt for database details is displayed:
The information displayed above is an example and you should configure the relevant settings for your own environment.
|
|
|

Click the Next button to select specific modules:
Select the appropriate modules to install the required features.
Click the Next button to show the summary and complete the installation:

This screen shows the installation summary by listing the different product modules that will be installed.
If you think any listed item is incorrect then use the Back button (arrow towards the top-left of the dialogue box) to correct your choices before proceeding ahead.

Click the Next button to continue with the installation.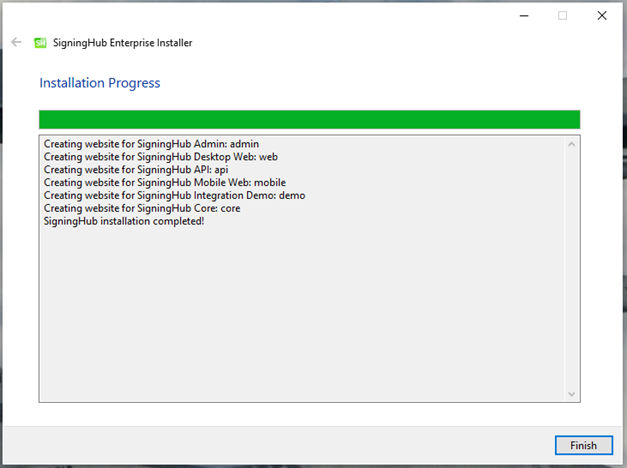
Click the Finish button to complete the installation process.
|
|
The site IDs of deployed IIS websites should be the same across all the instances in a load balanced environment to run SigningHub Enterprise properly.
<sessionState mode="SQLServer" allowCustomSqlDatabase="true" sqlConnectionString="AdocsEntities" cookieName="SH_ID" timeout="60" compressionEnabled="true"> </sessionState> With: <sessionState mode="InProc" timeout="60" cookieName="SH_ID" cookieSameSite="None" />
Also note that if someone wants to change email templates in case of a Load Balanced environment, then email templates will have to be replaced manually across all instances. |

Load Balanced Installation via XML
Silent installation via XML refers to a method of installing SigningHub silently or without user interaction using an XML file as a configuration or parameter file. In this approach, the installer reads instructions from an XML file to perform the installation without requiring any user input. Given below is a list of parameters to be configured for carrying out a load balanced installation via XML. Click here, for a detailed breakdown of each component in the XML file, indicating its purpose, and visibility settings for a silent installation scenario.
- Welcome
- System Requirements
- Installation Type (The mode of installation should be set to "LOAD_BALANCE")
- License Agreement
- Database Configurations
- SigningHub Modules Selection
- Installation Summary
- Installation Progress
|
|
|

See also
- Fresh Installation
- Installation with Existing Database
- Upgrading SigningHub Enterprise
- Regular Release Installation
- Silent Installation via XML
- Change Database Credentials
- Post Installation Steps