Manage enterprise legal notices
SigningHub enables you to manage (Add, Edit, and Delete) enterprise legal notices. These legal notices will be available to all the enterprise users within your enterprise, when they configure recipients in a workflow. 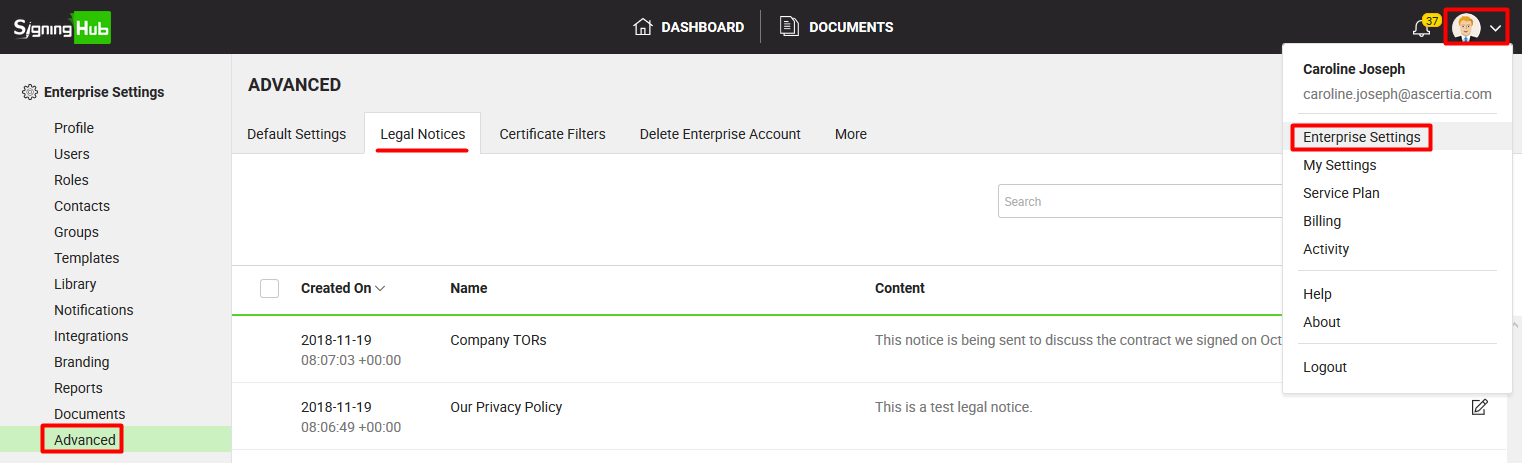
Create a new enterprise legal notice
- Login with your enterprise admin credentials.
- Click your profile drop down menu (available at the top right corner).
- Click the "Enterprise Settings" option.
- Click the "Advanced" option from the left menu.
- Click the "Legal Notices" tab.
- Click
 from the grid header. The "Add Legal Notice" dialog will appear.

- A dialog will appear, specify the notice name and its content in the respective fields. Format the content as required by using the text editing toolbar. You can also use the source code option
 to add the HTML code for their design.

- Once done, click the "Save" button.
The saved notices can be used by your enterprise users, while adding them in a template and/ or while adding them in a workflow.
Edit your enterprise legal notice
- Login with your enterprise admin credentials.
- Click your profile drop down menu (available at the top right corner).
- Click the "Enterprise Settings" option.
- Click the "Advanced" option from the left menu.
- Click the "Legal Notices" tab. Your existing enterprise legal notices will be listed.
- Search/ move to the legal notice to edit and click
 adjacent to it. The "Edit Legal Notice" dialog will appear.

- Edit the required content (i.e. Name or Content).
- Click the "Save" button.
Delete your enterprise legal notice(s)
- Login with your enterprise admin credentials.
- Click your profile drop down menu (available at the top right corner).
- Click the "Enterprise Settings" option.
- Click the "Advanced" option from the left menu.
- Click the "Legal Notices" tab. Your existing enterprise legal notices will be listed.
- Select the legal notice(s) to delete and click
 from the grid header.
