Configure post processing
SigningHub gives you an option to configure your workflow to send the copy of completed document(s) to your choice contacts. This could be useful when a workflow document has got multiple owners, and/ or each stakeholder wants to have the final document copy after being signed by all the recipients/ placeholders.
You can also configure SigningHub to send the completed documents to your cloud drives to save the allowed storage space of your SigningHub account.
Set post processing
After you have:
- Added the documents,
- Added all the recipients and placeholders, and
- Configured workflow type in a workflow package:

- From the toolbar, click
 .
.
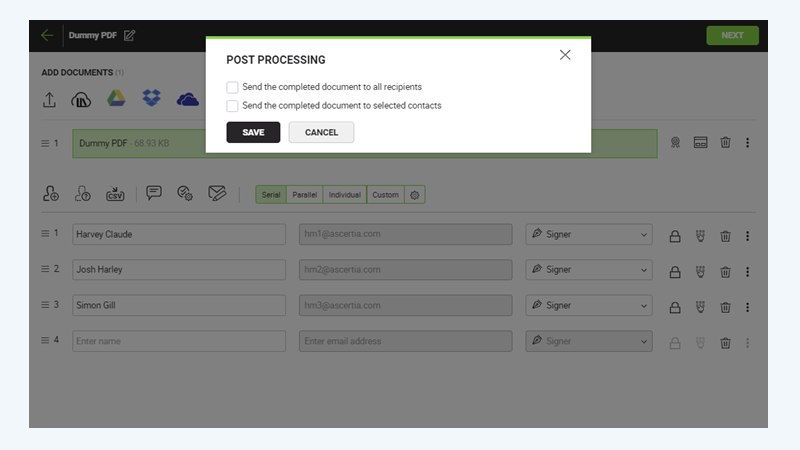
The "Post Processing" dialog is displayed.

The dialog allows sending emails to either all recipients or only the specific email addresses when the document is completed.
|
|
The Post Processing feature is a powerful automation feature and covers a variety of scenarios. One of the important scenarios is when you need to send the completed document to all recipients and other people who haven't registered on SigningHub yet but they also need to see the completed document. To achieve this, you simply need to select both the check boxes and configure the settings accordingly. The system will, upon completing the document, send an email to all the recipients in the workflow package as well as to the selected contacts and provided email addresses. In addition, if you have enabled a cloud drive, it will upload the completed document to the enabled cloud drive also. |

To email the completed document to all recipients:
Simply, select the "Send the completed document to all recipients" check box.
To email the completed document to only specific contacts and/or email addresses:
- From the "Post Processing" dialog, select the "Send the completed document to selected contacts" check box.
This will display further options on the dialog.
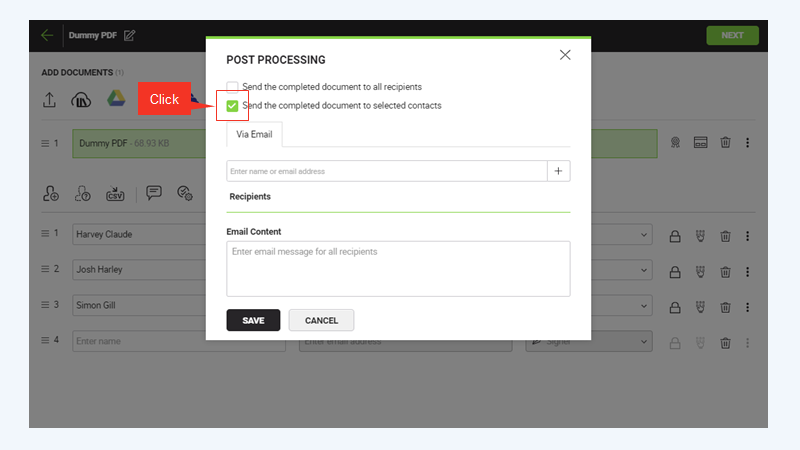
- Under the "Via Email" tab, select a contact from the dropdown or enter an email address.
|
|
In case no contact is found against the provided email address, you can click |

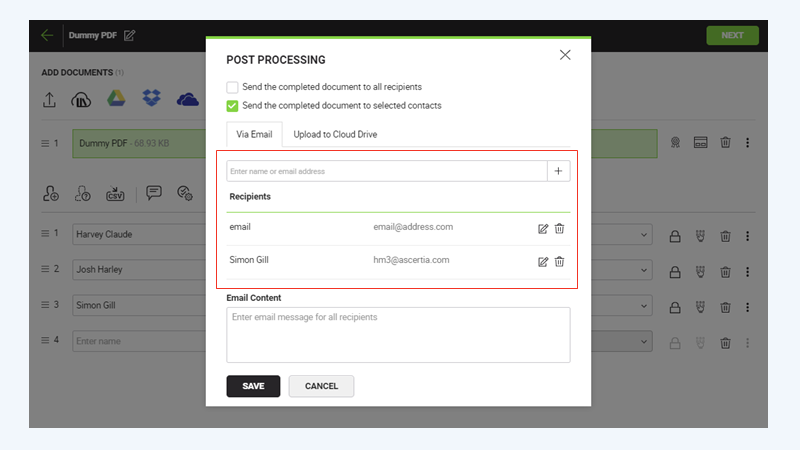
The following image illustrates two email recipients added: one is an existing contact and the other is a dummy email address.
|
|
You can update the names of the recipients by using
|


- In the "Email Contact" field, enter the email body.
|
|
You can enter the text for email body up to 1500 characters, which is also displayed on the tooltip when you focus on the field. |


The following image illustrates the example settings of the Post Processing dialog.

- Click "Save".
The information entered on the dialog is saved for the workflow package.
To upload the completed document to a cloud drive:
- Click the "Upload to Cloud" tab to configure uploading the signed document copy on cloud drives. Enable the drive(s) i.e. Google Drive, Dropbox, or OneDrive as required. The "Upload to Cloud Drive" tab is shown when the cloud drives are enabled from your Cloud Drive settings.

- Click the "Save" button.
The document will be emailed to all the recipients, selected contacts, and/ or uploaded on the enabled cloud drives accordingly, when it is signed by all the recipients/ placeholders.
|
|
|
