Step 4 - Configuring Verification Profile
A verification profile defines which of the registered trust anchors to be used to build trusted chains from the signer certificates, which signature types are to be verified using this profile and what certification validation method is to be used for the the non registered trust anchors (i.e. OCSP and/or CRL). Verification profiles are then linked to ADSS clients within the Client Manager module to control which specific verification profile is to be used by each client.
A verification profile can be created by clicking on the Verification Profiles button as shown below:
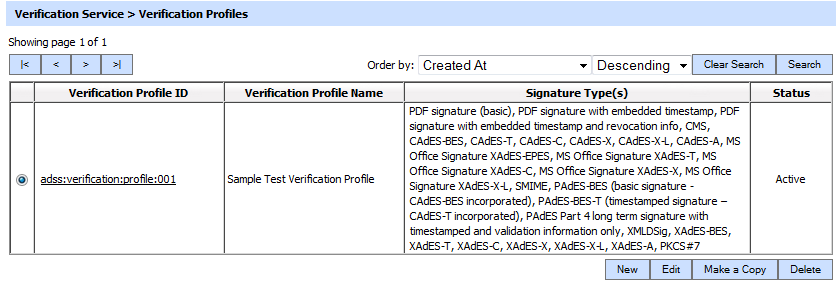
This shows a table of already configured verification profiles.
This shows a table of the existing verification profiles. These verification profiles can be sorted in either Ascending or Descending order by selecting a table column from the drop down list.
Clicking on the Search button on the Verification Profile main page will display the following screen:
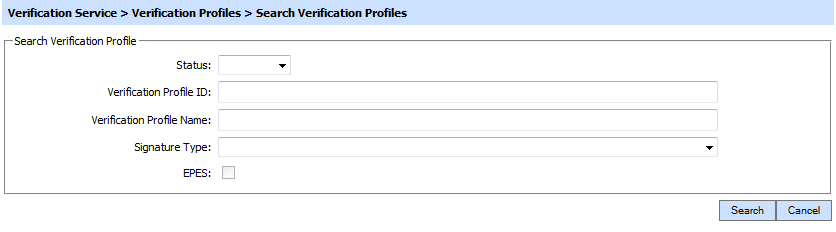
This helps to locate a particular type of verification profile generated in the Verification Service. The verification profile can be searched based on Status, profile ID, profile name, signature type and whether a profile allows verifying of EPES signatures. If a search is based on multiple values, then these will be combined together using the “AND” operand, and thus only records that meet all the criteria will be presented.
If "_" character is used in the search then it will act as wildcard.
A new profile can be created by clicking the New button on the above screen. Create a replica of an existing profile by clicking Make a Copy button. Details of creating a new verification profile are described in the following pages.

See also