Virtual ID
Virtual ID facilitates to register user ID and provides the capability to manage its certificates' keys. This certificate can be used for Advanced Electronic Signature to allow you to authorise a remote signing request using your registered mobile device(s). Certificate request can be for Issuance/approval, renewal and revocation.
- By default, the
 button will appear allowing you to create a Virtual ID for the first time. This can be done from Dashboard or by navigating to Virtual ID from left panel. You need to provide user ID, a valid mobile number, your full legal name and other organization related information for the certificate generation. Select the validity period (if allowed by your Enterprise RAO) for your certificate. Once your Virtual ID is successfully generated, a dialog will appear with an account creation message. Another dialog will appear to save the certificate generated against your Virtual ID. A certificate request with an Approved status will be shown under Certificate Requests list. You can view your request details, view or download your associated certificate as well. Same certificate will also be shown under the Issued Certificate list.
 - If you have already created a Virtual ID, then you can create a certificate request using icon on top right. Provide all required information and your certificate request will appear with Approved status under Certificate Requests list. Click on Generate to create certificate, a dialog will appear with the title Certificate Generated. You can either generate new certificate request or can move to certificate requests list to view/download certificate from this dialog. You may also navigate to issued certificates list from same dialog by selecting certificates.
- A certificate request once created, will appear as a Draft (if it is not completed), click on
 icon and select Edit option to complete a certificate request. Provide all required information and generate certificate using same steps as mentioned above.
|
|
One Time password (OTP) can be set as an authentication at the time of request submission for certificate issuance, renewal and revocation, based on certificate criticality. See details in External Services > Connectors> SMS Gateway. |
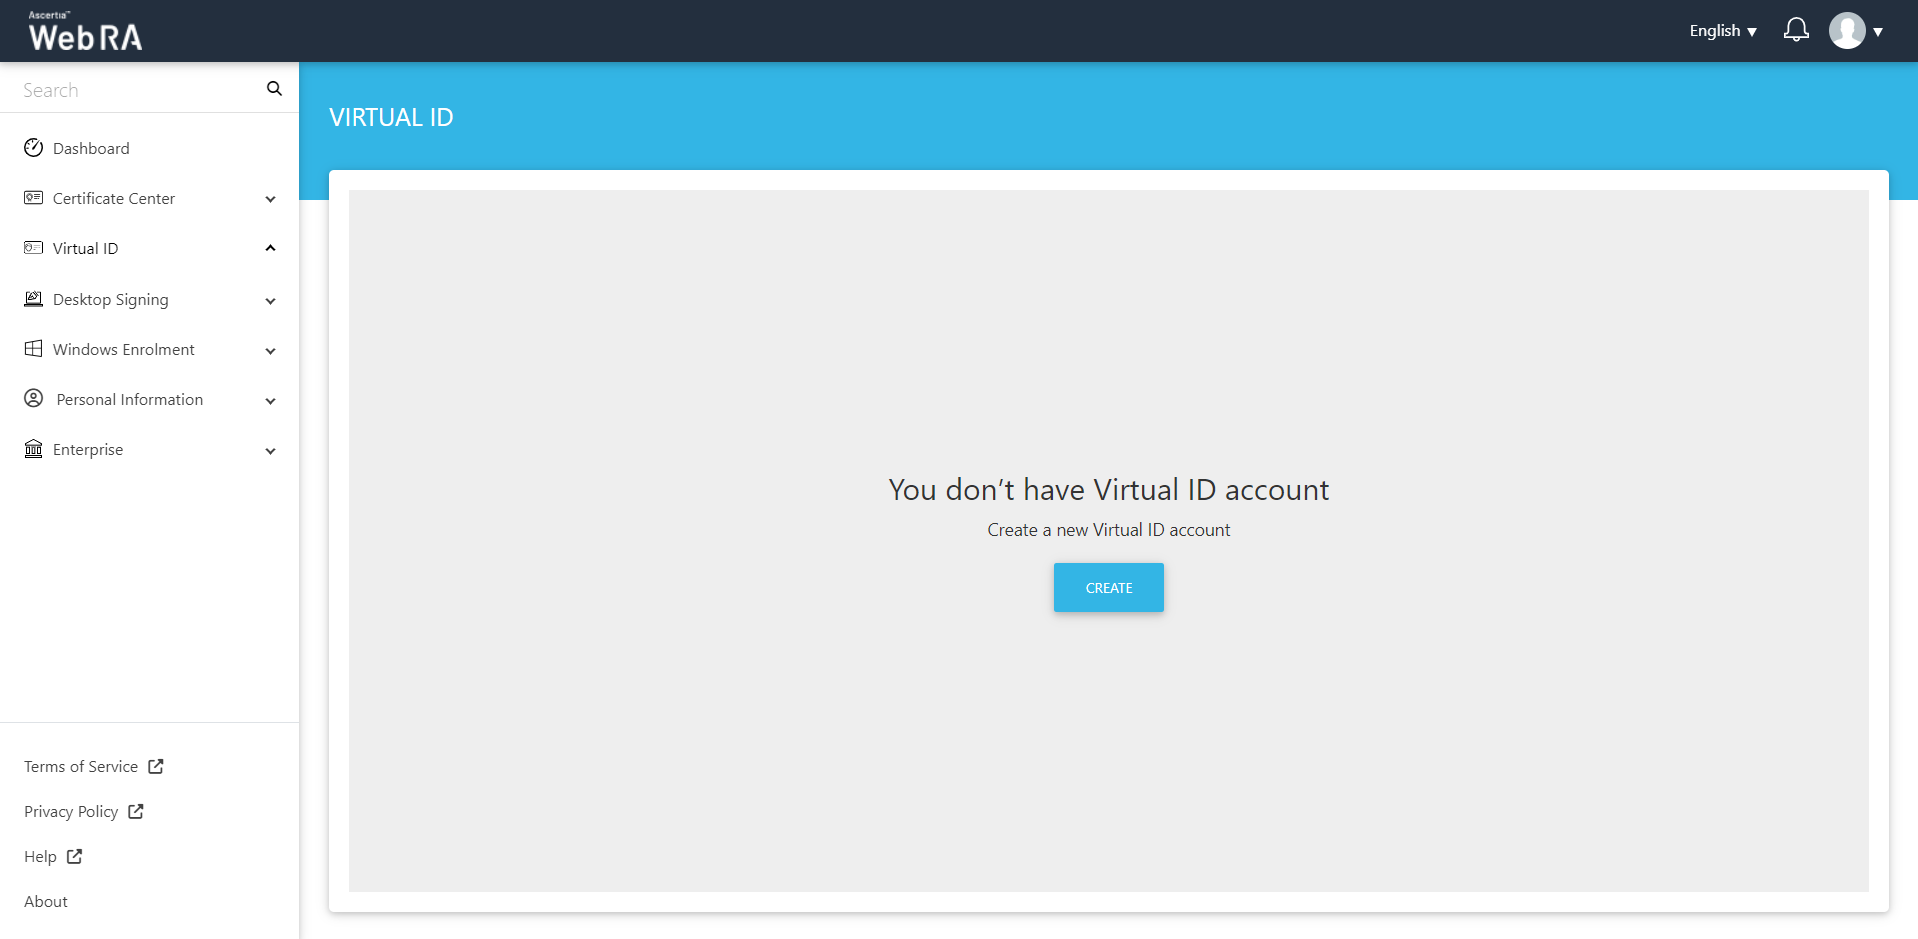
Create a new Virtual ID
- Click either on Dashboard or navigate to Virtual ID. Click on Create to setup a new Virtual ID for the very first time.
The Welcome Note screen will appear if it is configured in the Enterprise request notes:
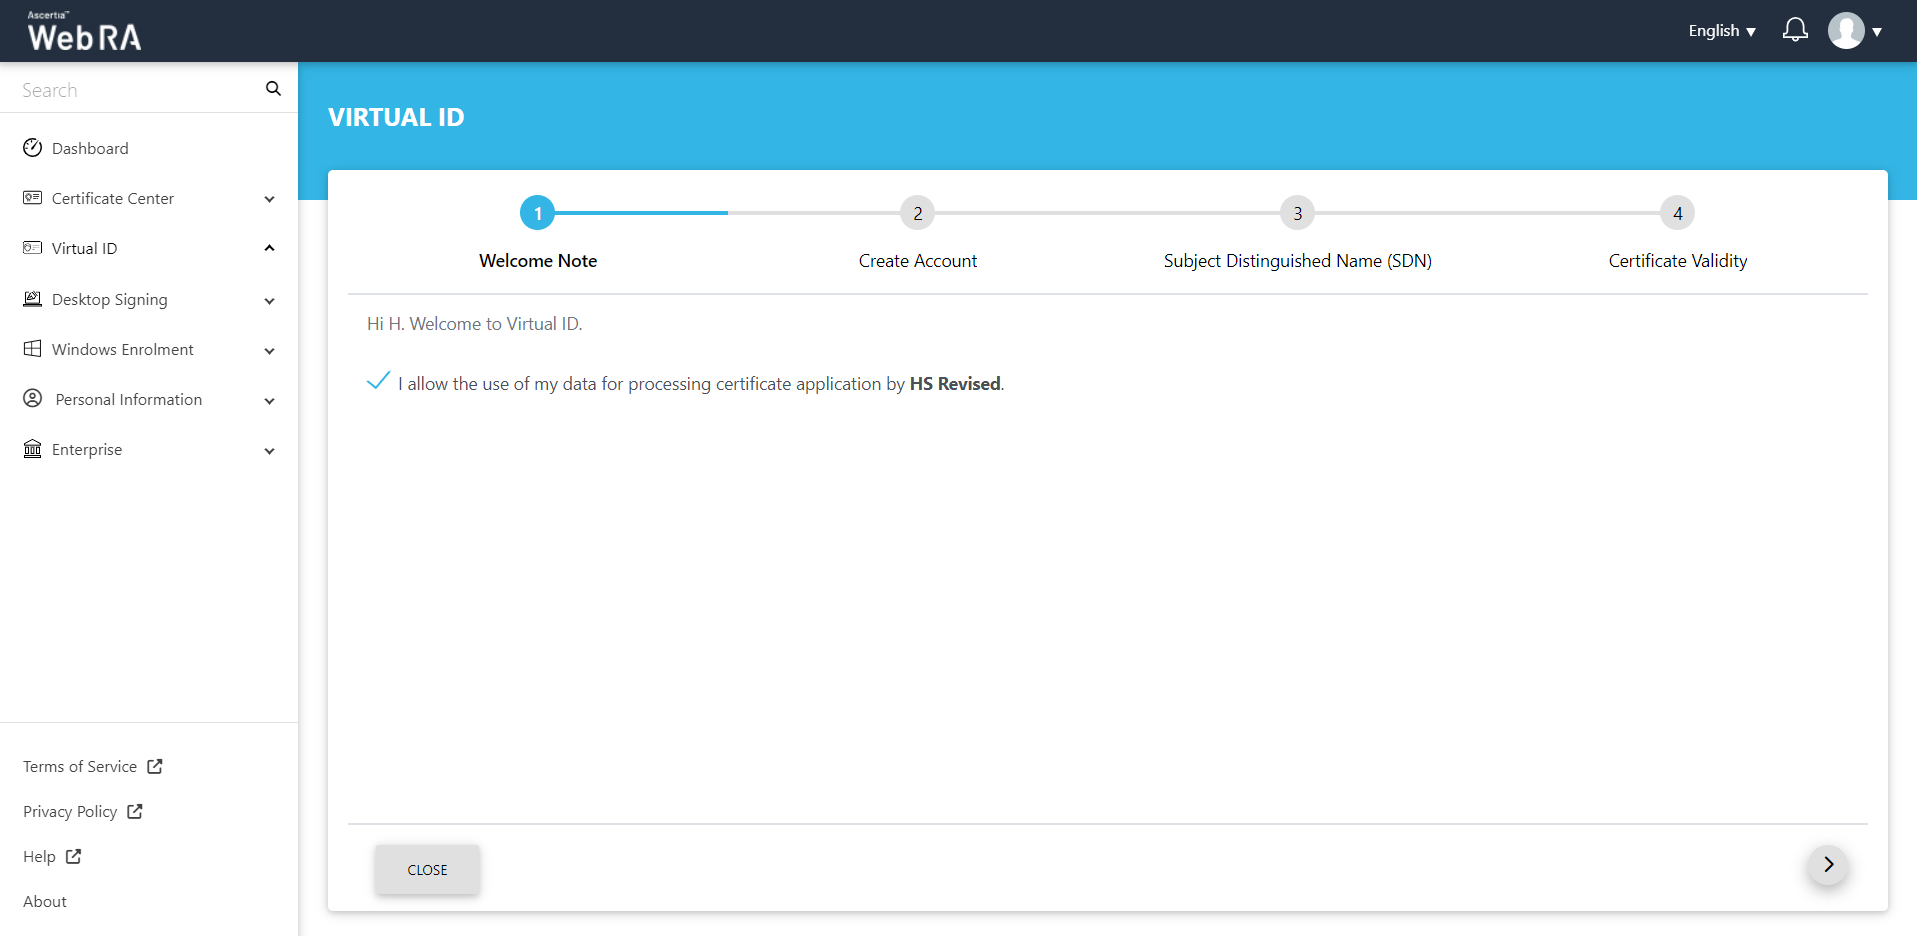
The welcome note will appear if it is filled in the admin portal. Select the checkbox "I allow the use of my data for processing certificate application by Enterprise Name" and click next.
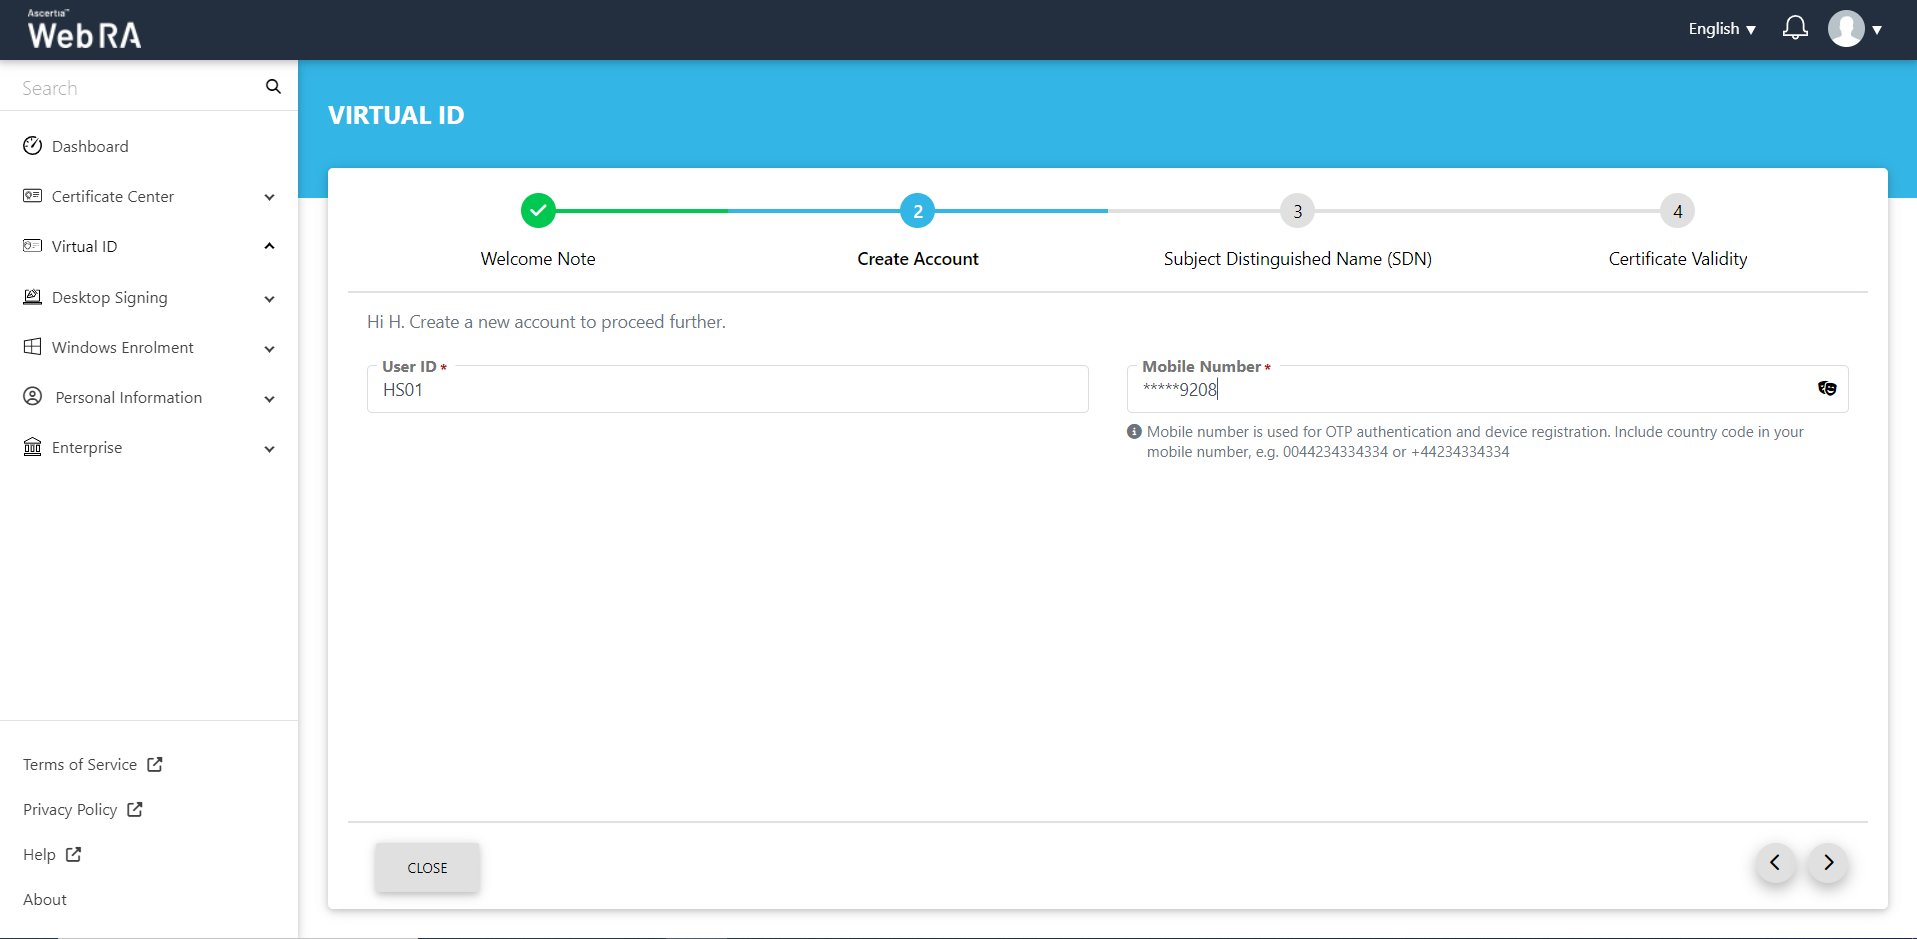
The Create Account screen will appear.
The customised request note will appear, if it is added in the admin portal.
Enter the user ID and mobile number and click next.
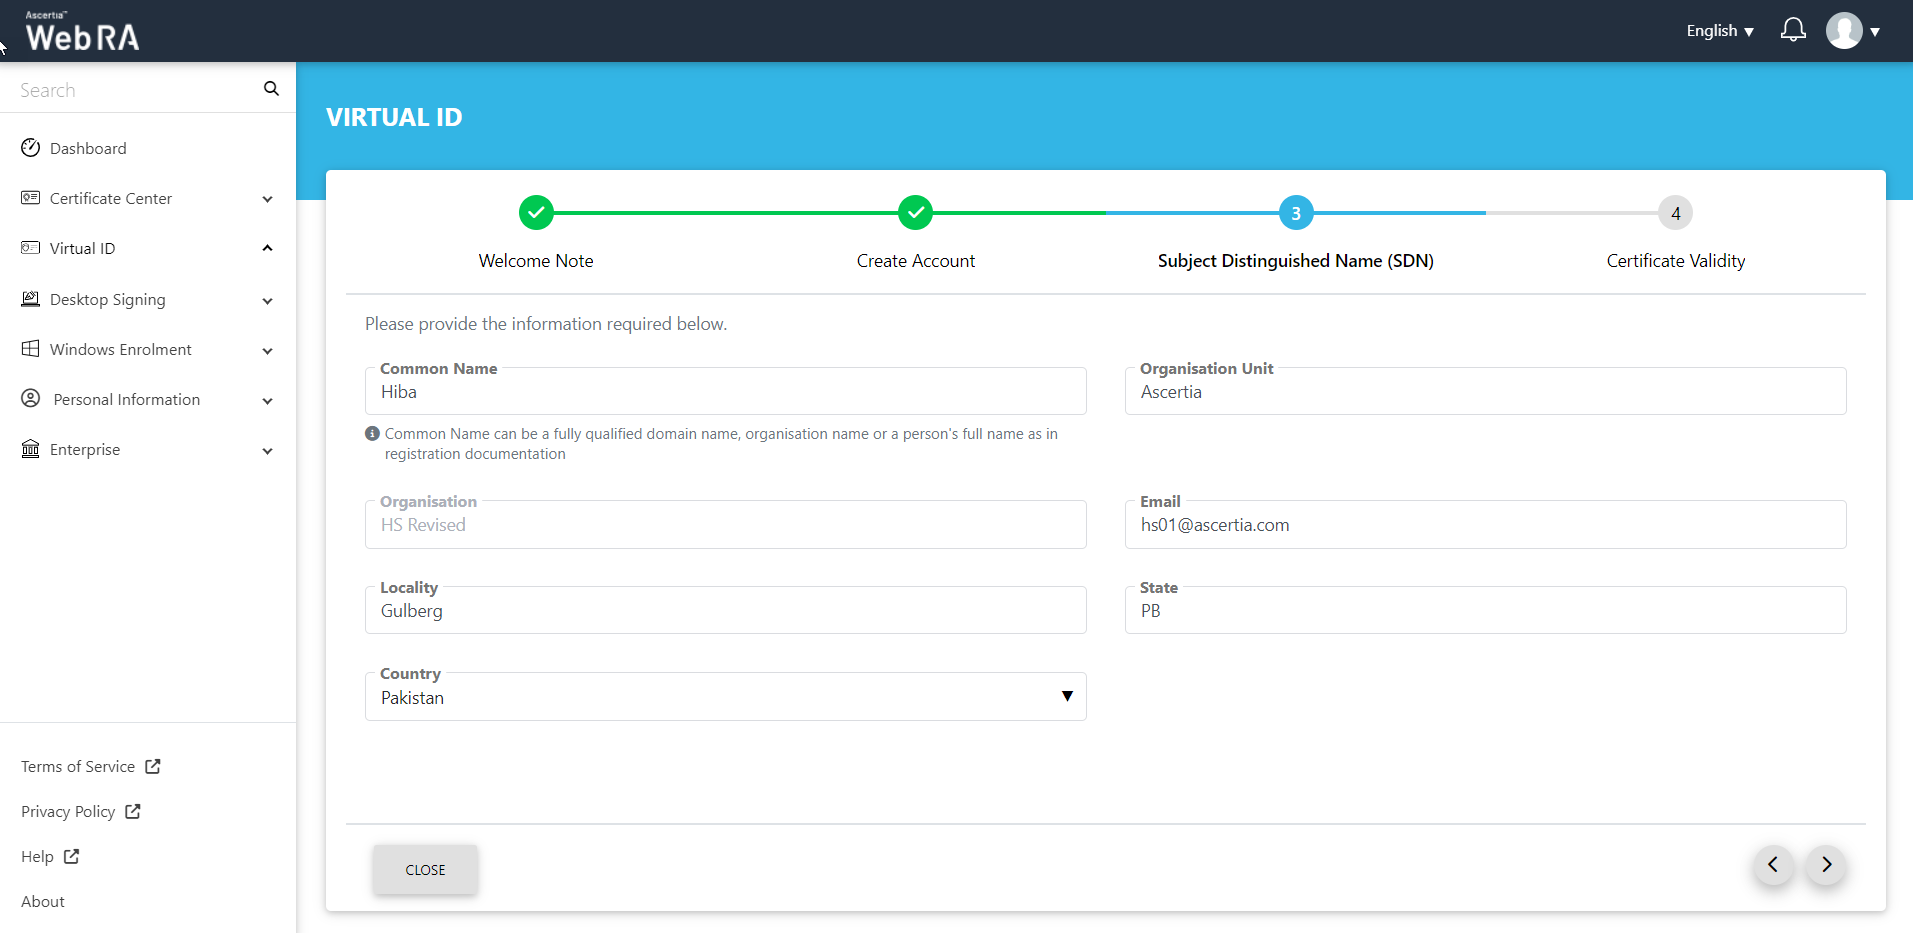
The Subject Distinguished Name (SDN) screen will appear. Enter the Common Name, Organisation Unit, Email, Locality, State, and Country. Then click next.
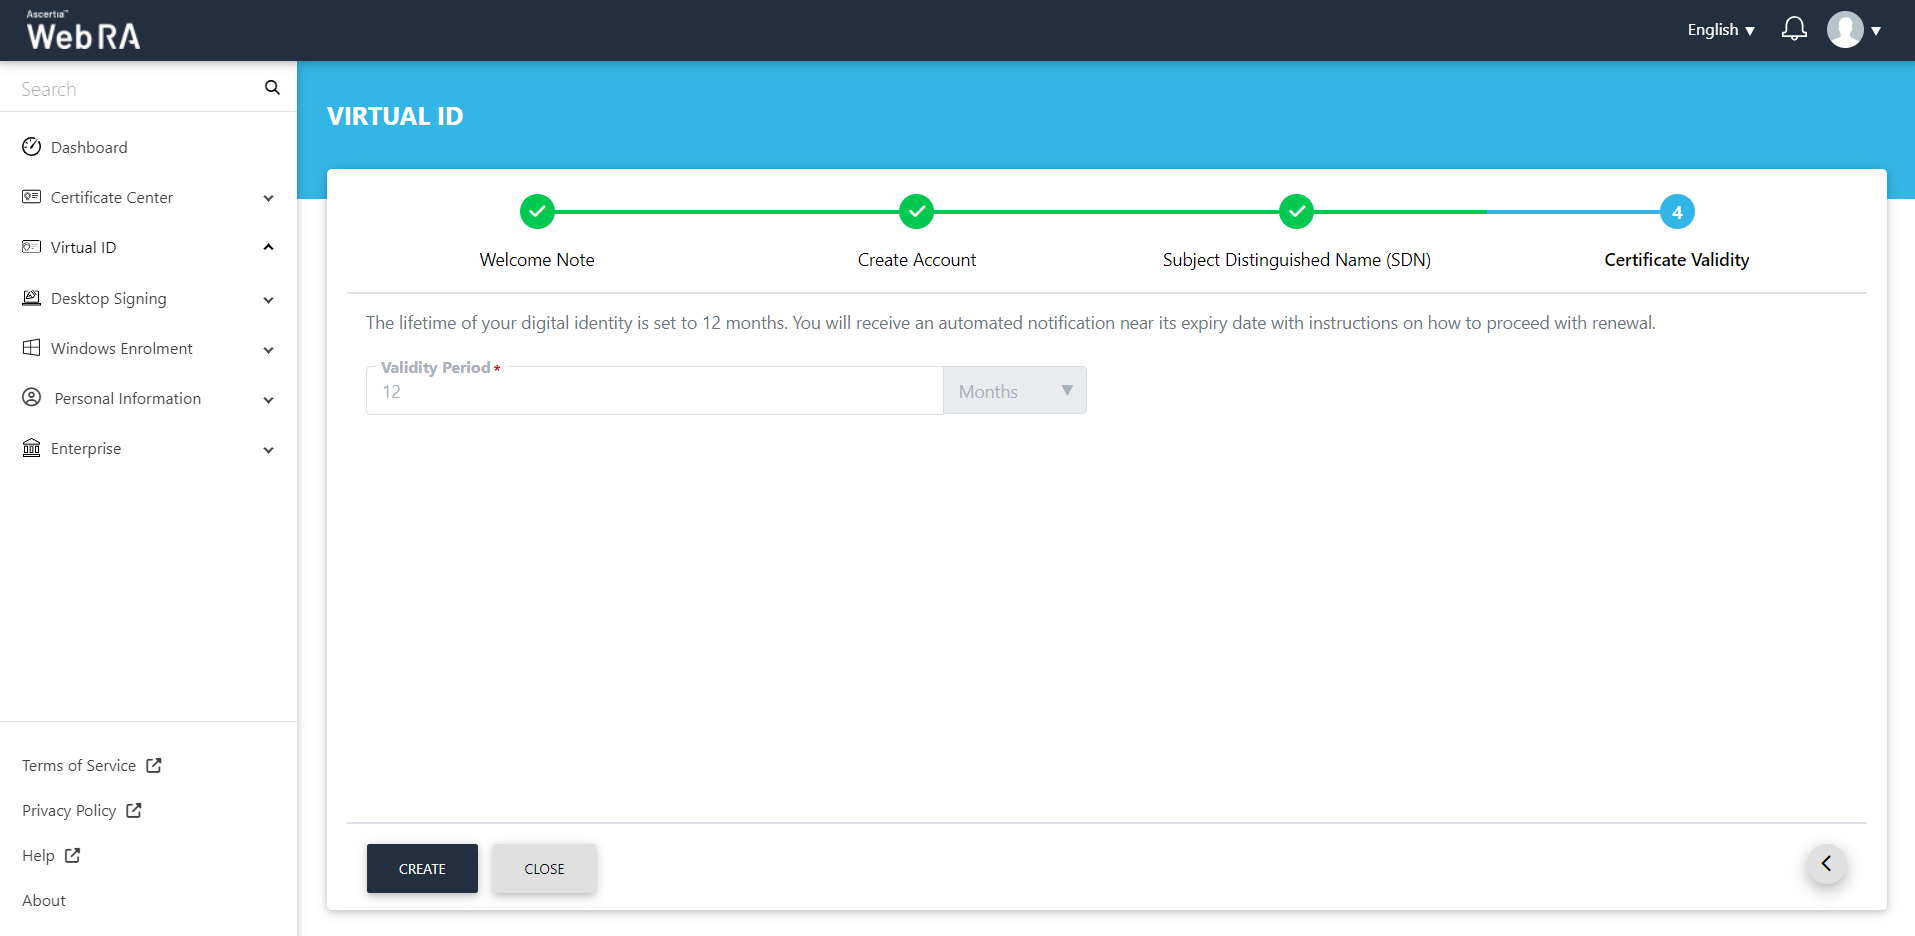
The Certificate Validity screen will appear.
Here, the customised request note will appear, if it is added in the admin portal.
Then the validity period will be displayed in a disabled form.
Click "Create" to proceed.
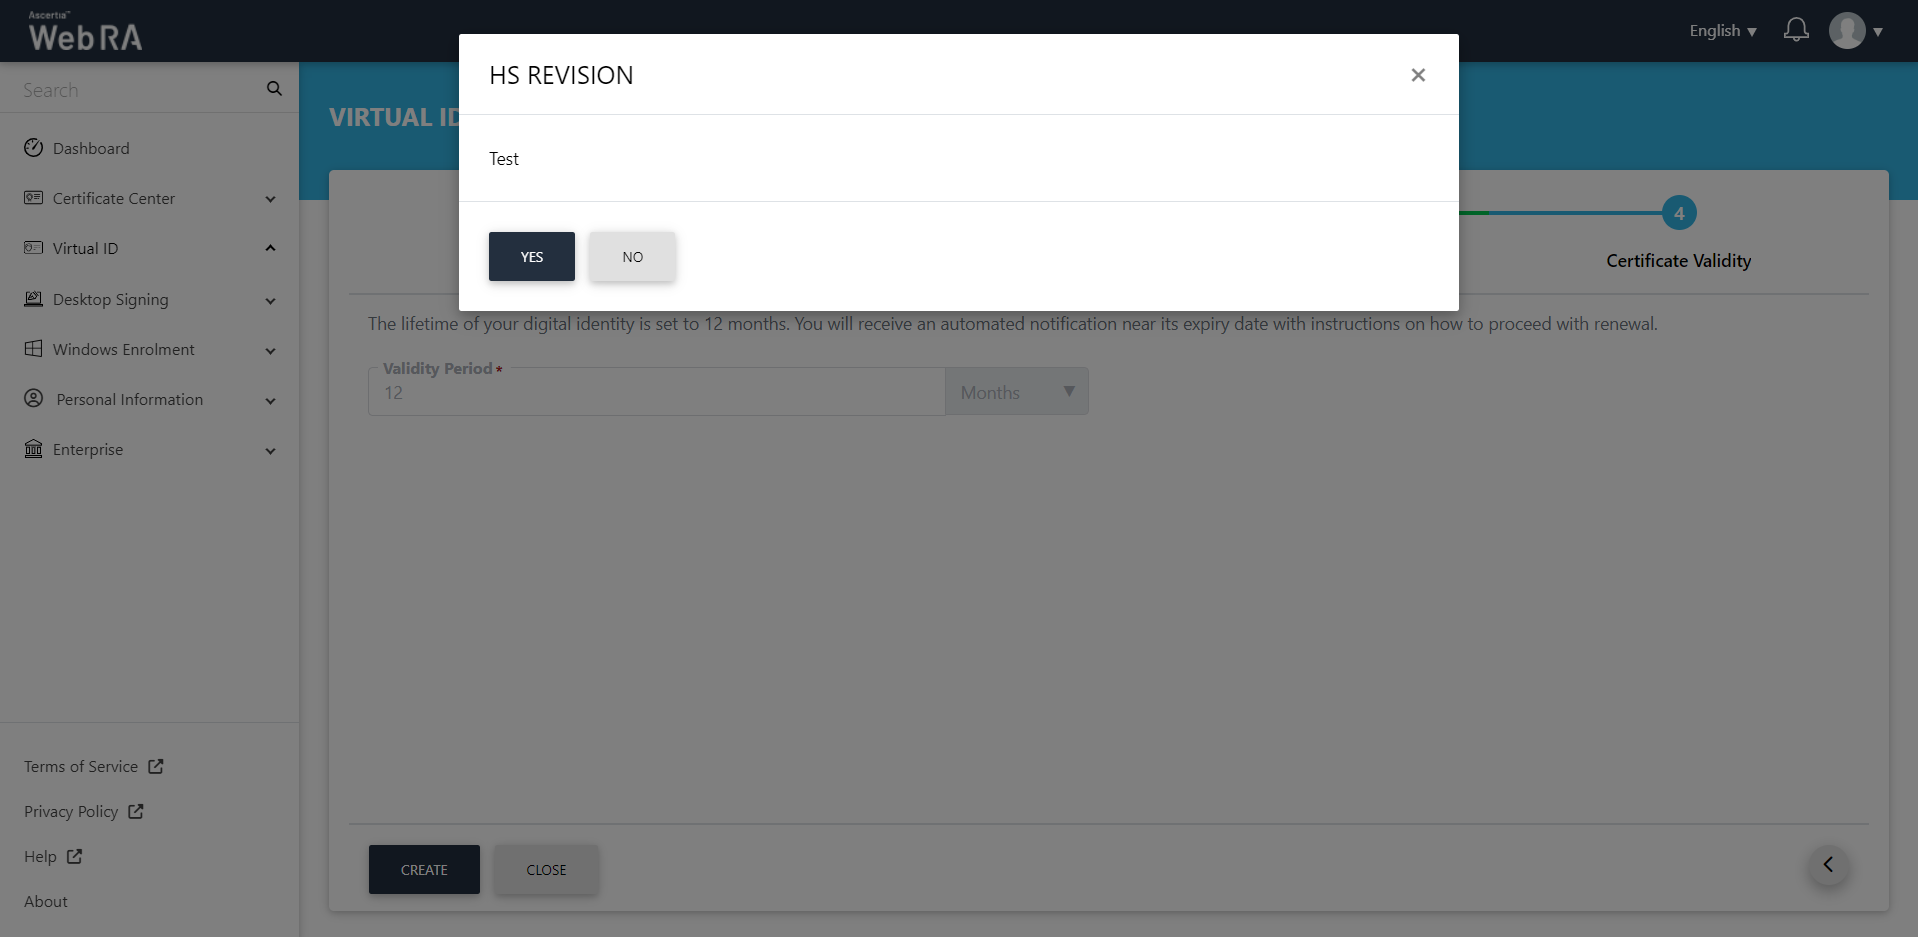
Then the subscriber agreement confirmation message will be displayed. Click "Yes".
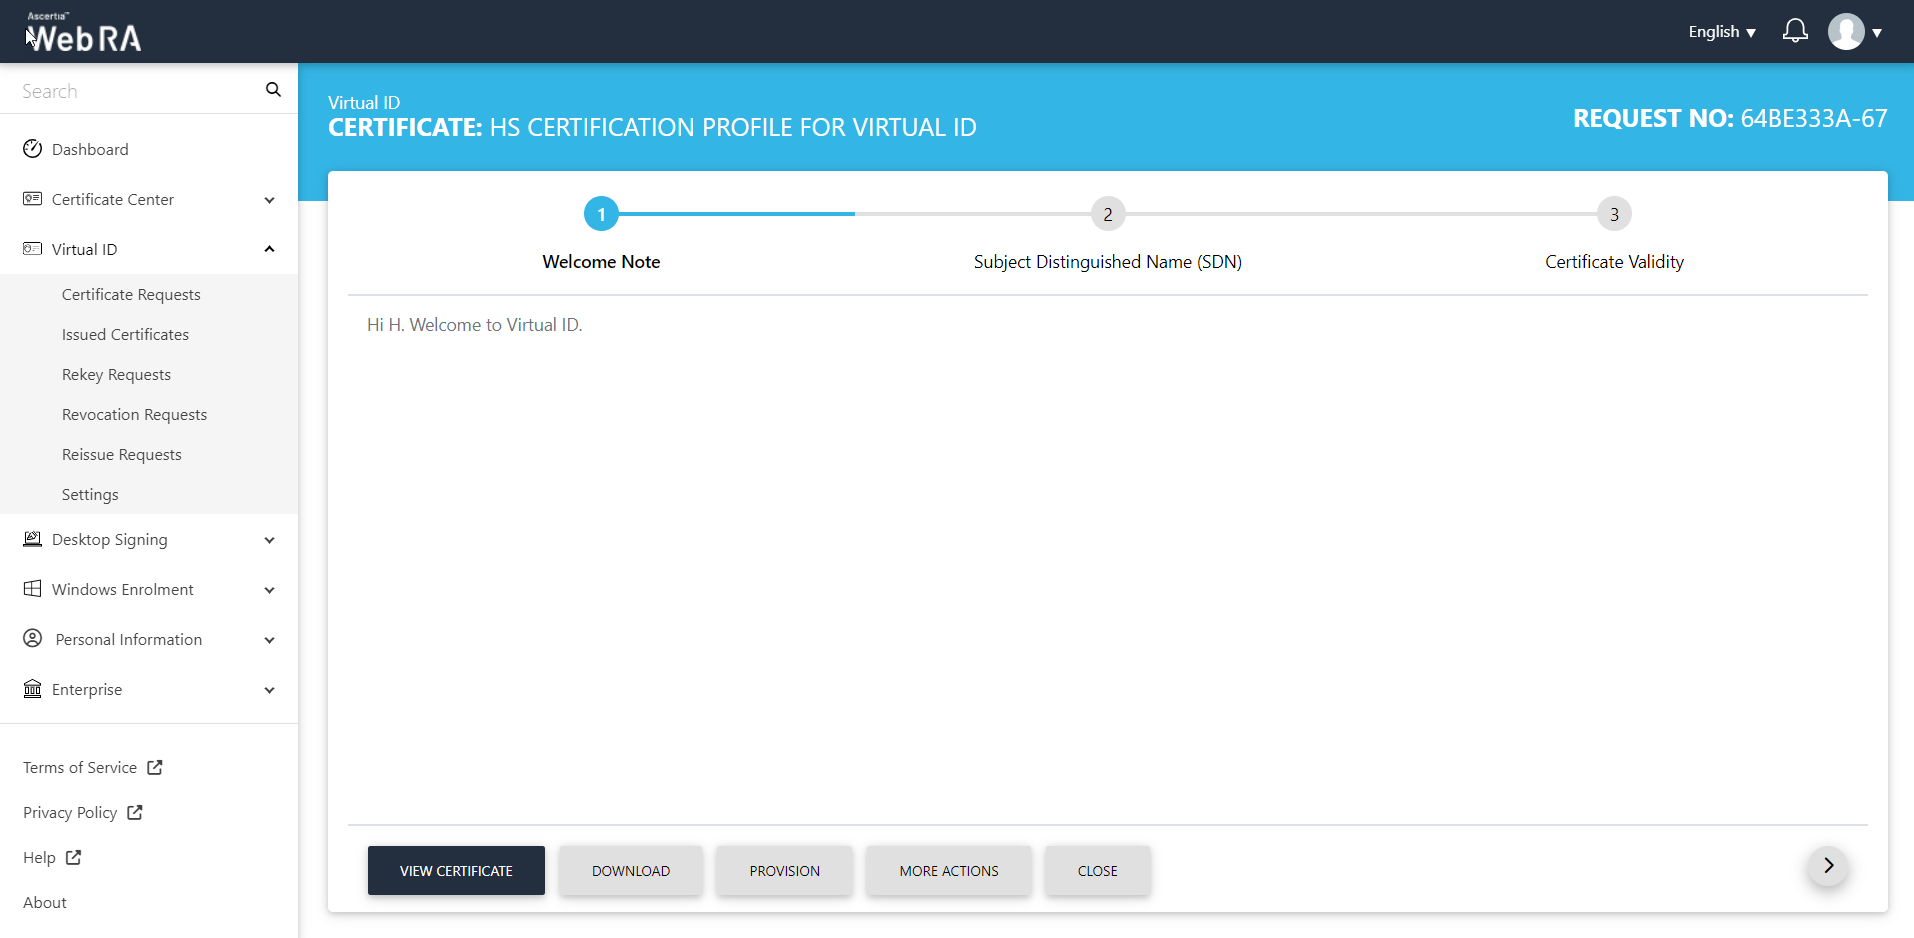
A success message will be shown on successful creation, along with a new Virtual ID certificate in your downloads folder.
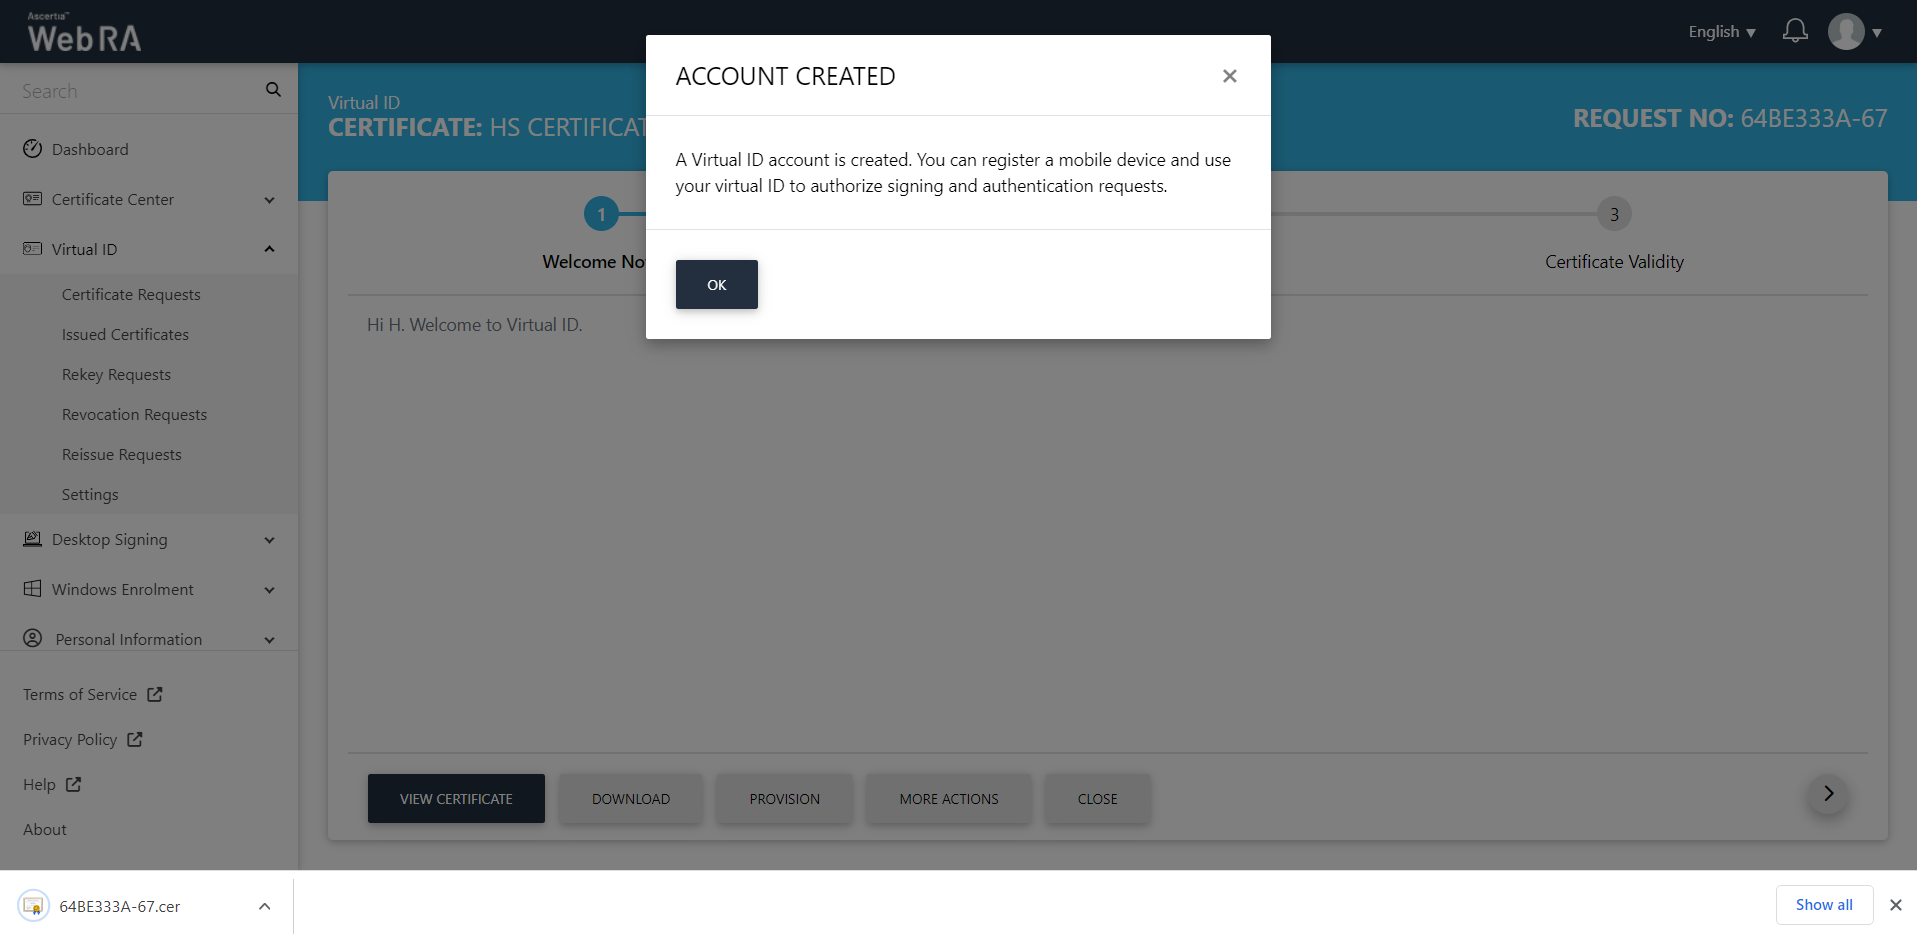
You can view the certificate, download, provision or perform more actions.
|
|
1) Subscriber Agreement is optional. A dialogue will appear to accept agreement if required by RA (Registration Authority). Request will be submitted to RA (Registration Authority) for approval to generate certificate. |
Change Virtual ID Mobile Number with OTP Verification
A user can change his virtual ID mobile number with OTP verification.
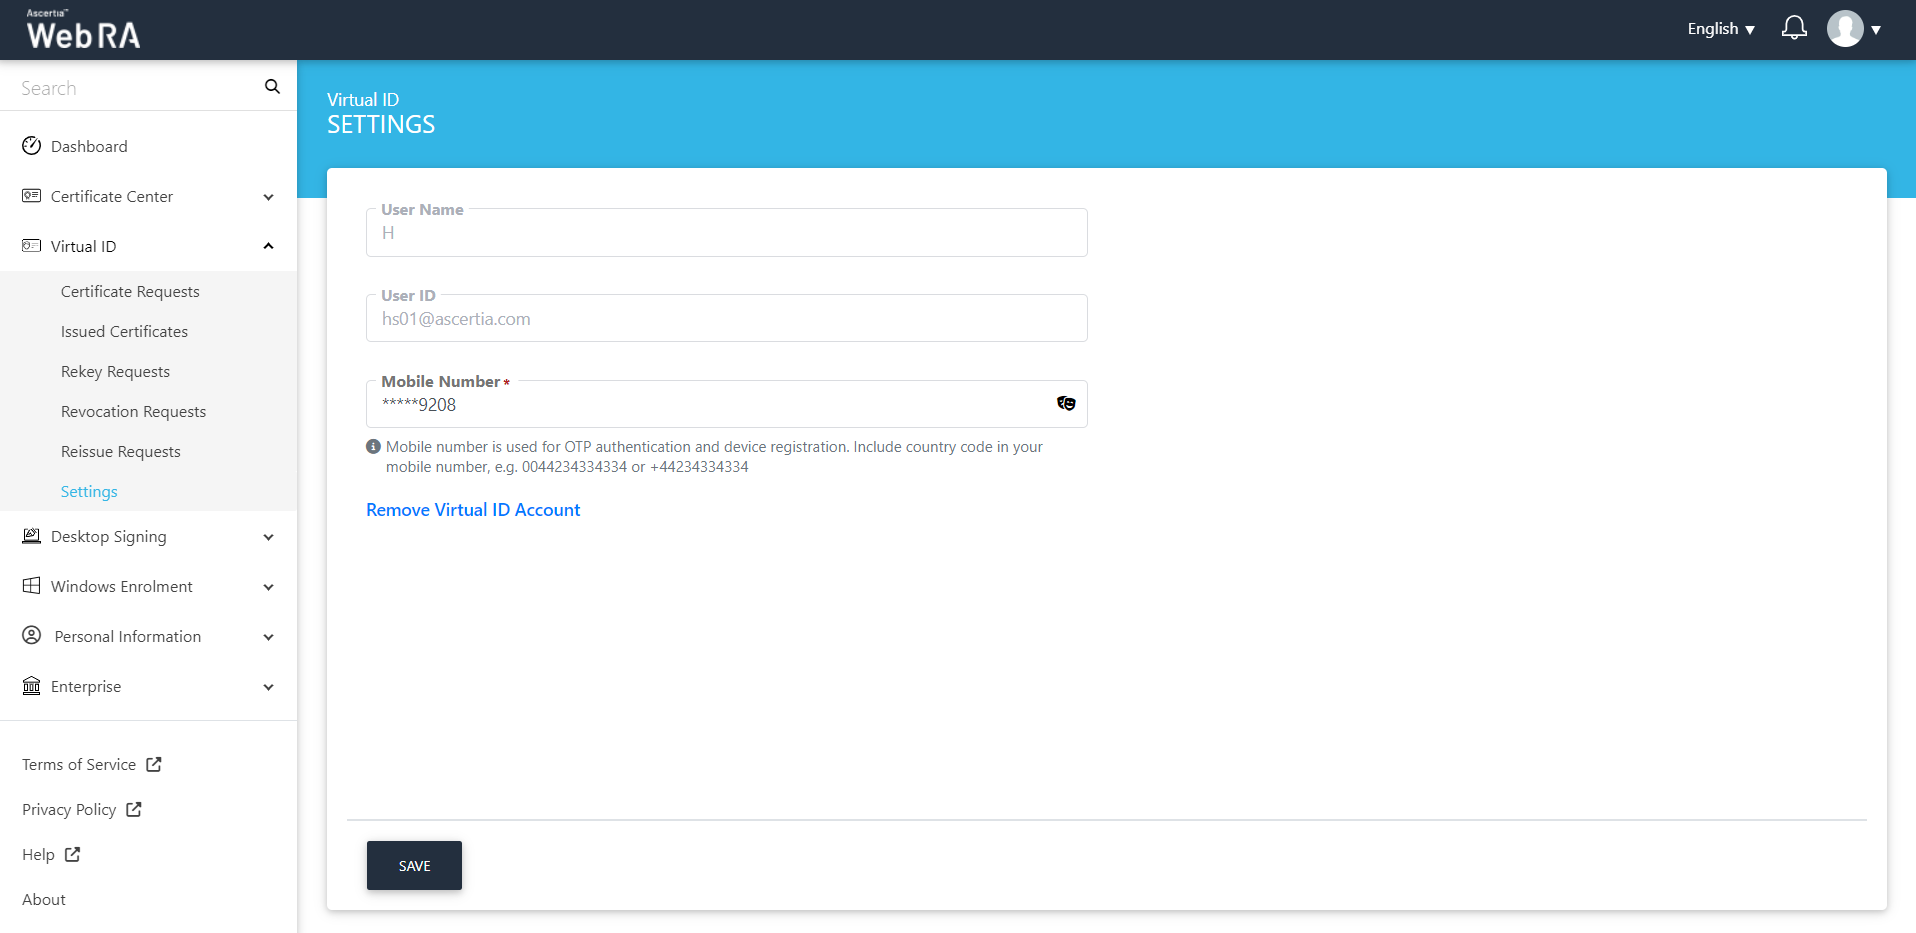
Once you enter the new mobile number and click Save, the following OTP screen will appear:
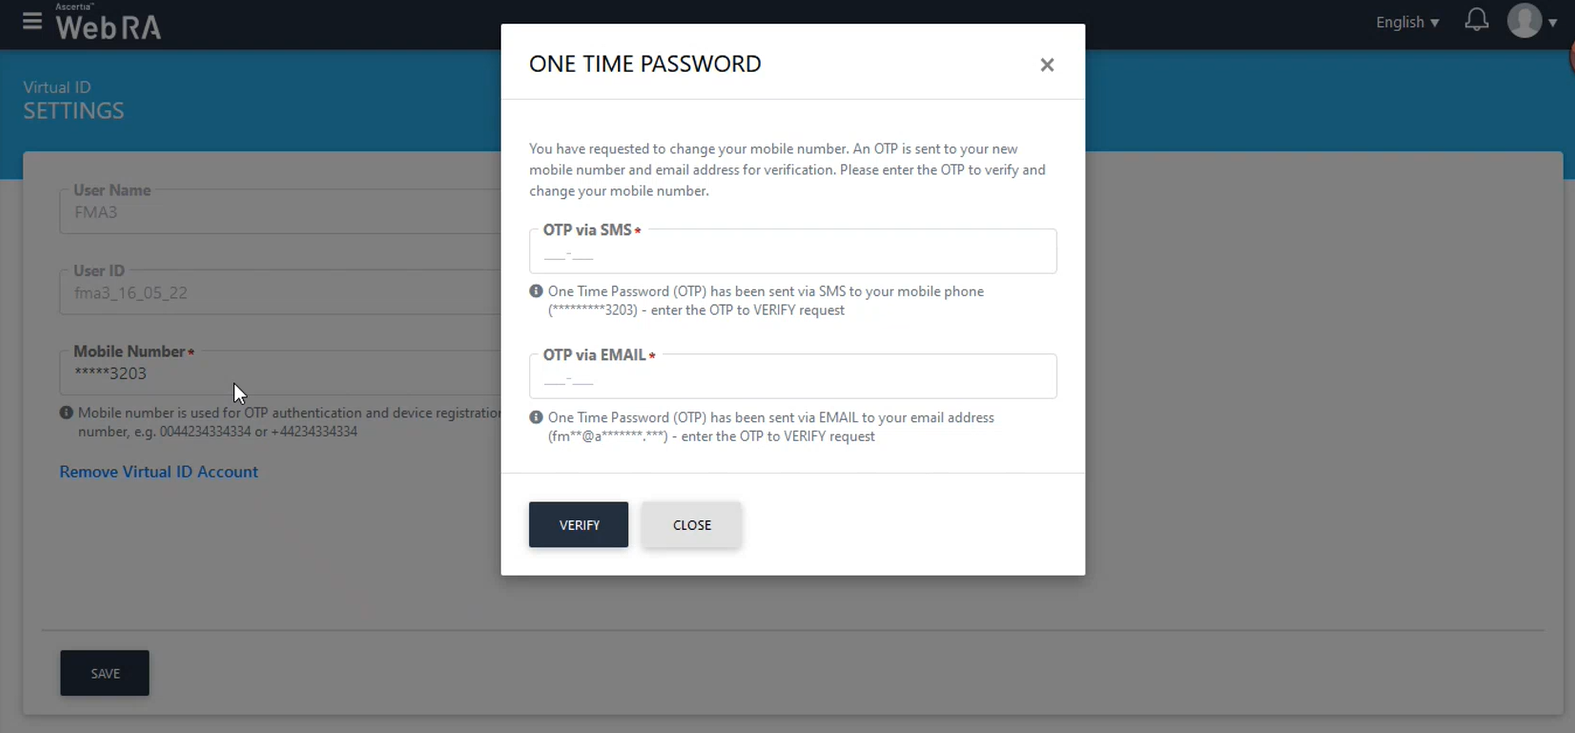
An OTP will be sent to the new mobile number, enter it in the OTP via SMS box.
An OTP will also be sent to user's email address, enter it in the OTP via EMAIL box and click Verify to proceed.
Note:
- A user will also have to change the configurations in the ADSS Server to change the Virtual ID mobile number.
- For Virtual ID, the configurations for SAM_OTP length is 6.
|
Field |
Description |
|
Name |
A friendly identifier for the new role |
|
Description |
A brief text to explain the characteristics of the role |
|
Allowed Modules |
Select the required modules and sub modules to include in this role and set their permissions (i.e. Read, Add/Edit, and Delete) accordingly. The administrators with this role would be able to access the allowed (selected) modules only along with the respective fine grained authorization. |