Rekey Requests
Rekeying a certificate generates a new key and certificate with the same name and expiration date as an existing certificate. Rekeying is used if an existing key is lost or compromised.
This section lists all the rekey certificate requests.
As a pre-requisite, the rekey certificate option should be enabled in the Policy section from the admin portal.
|
|
A user will be required to agree to a Subscriber Agreement while rekeying a certificate. |

To rekey a certificate from the web portal:
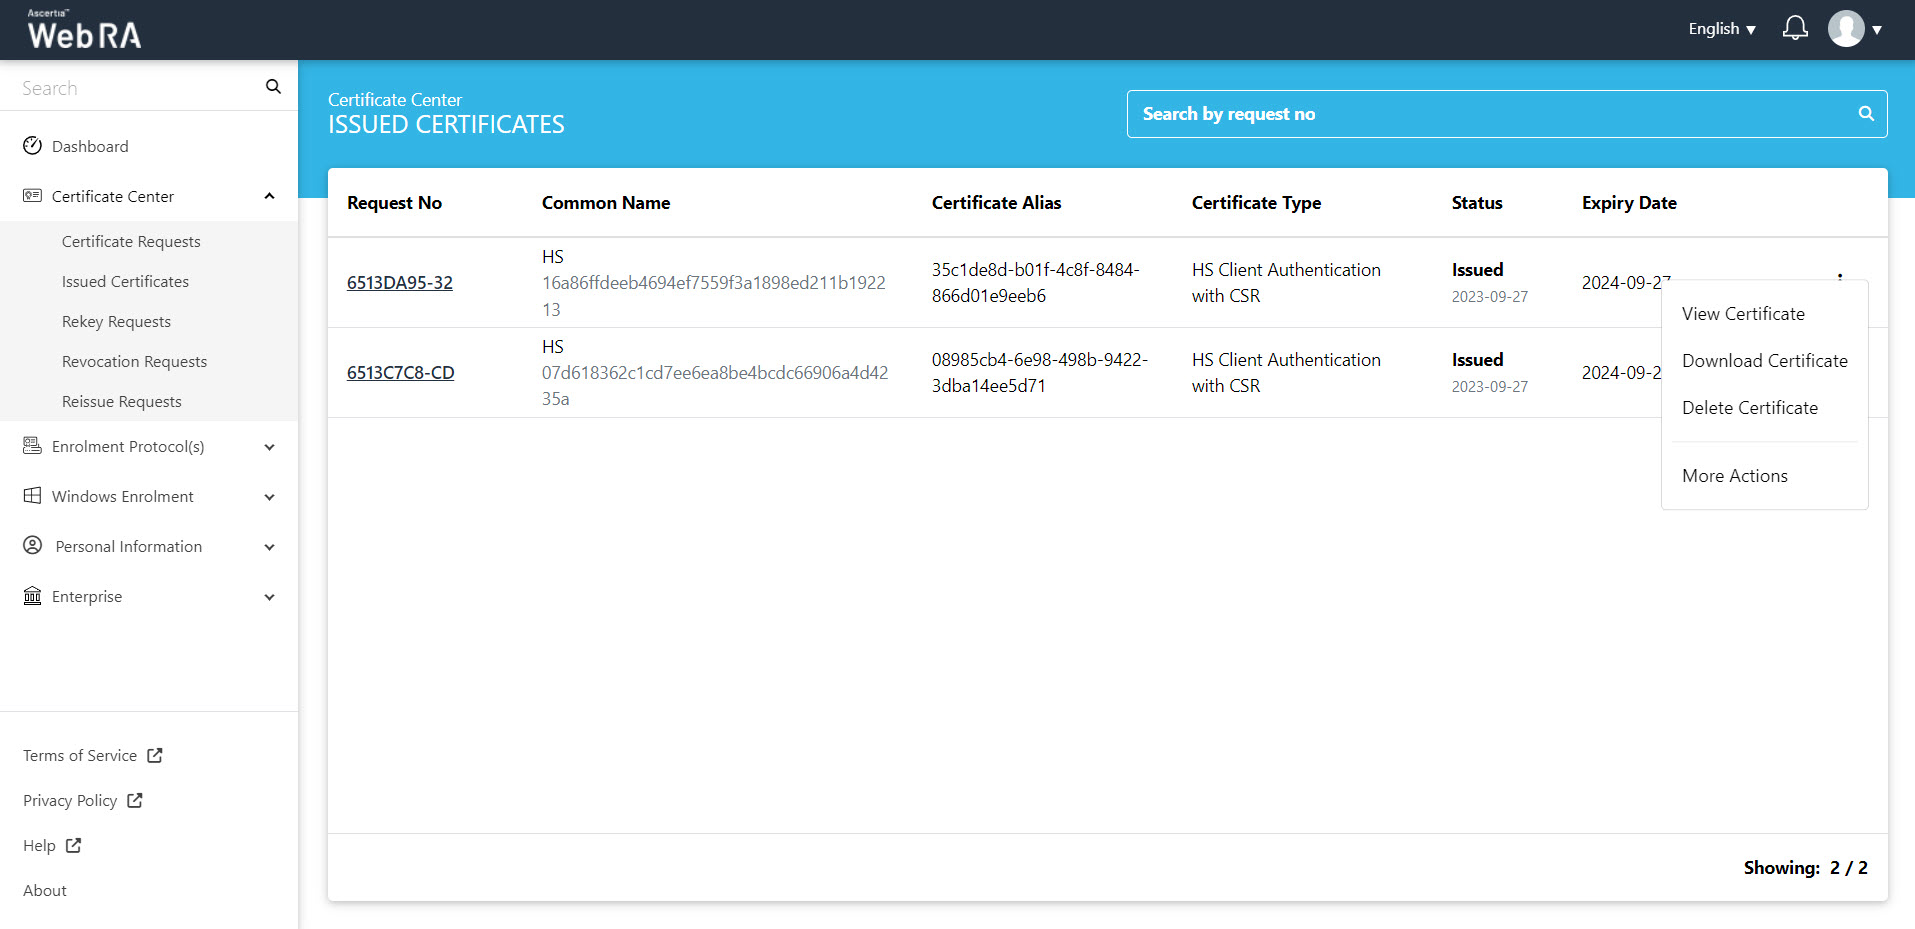
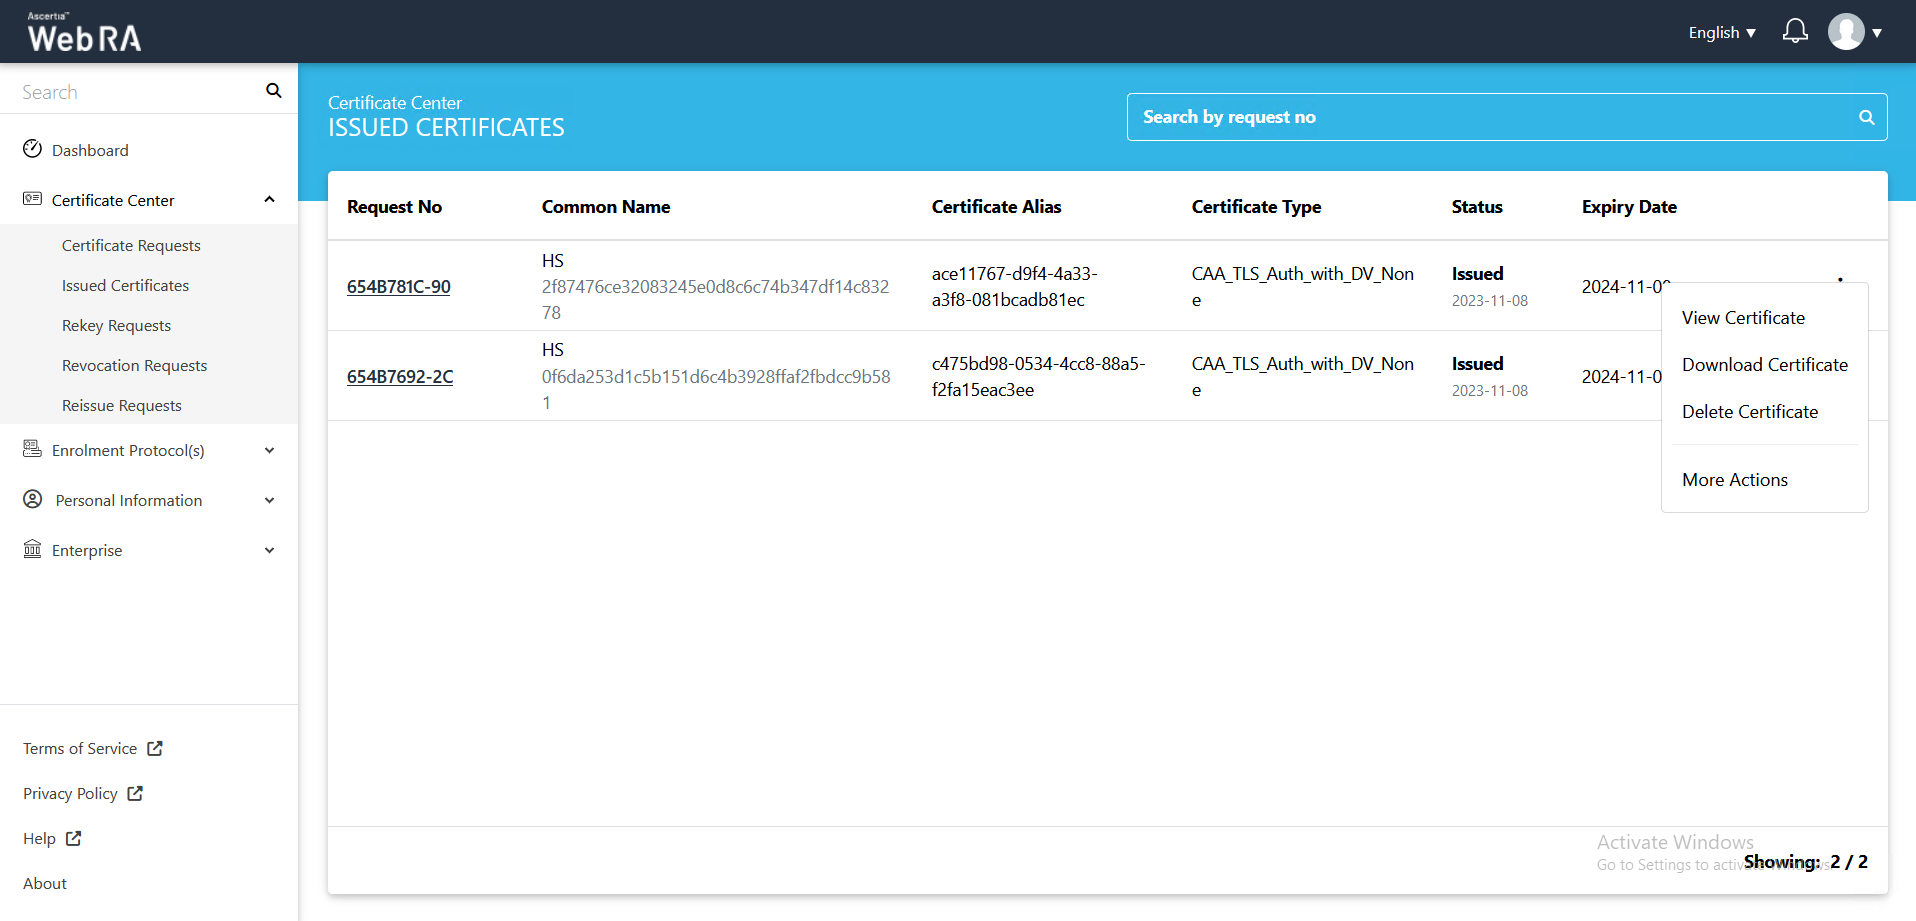
- Expand Certificate Center > click Issued Certificates.
- Click the
 button against the certificate that you want to rekey and click on More Actions.
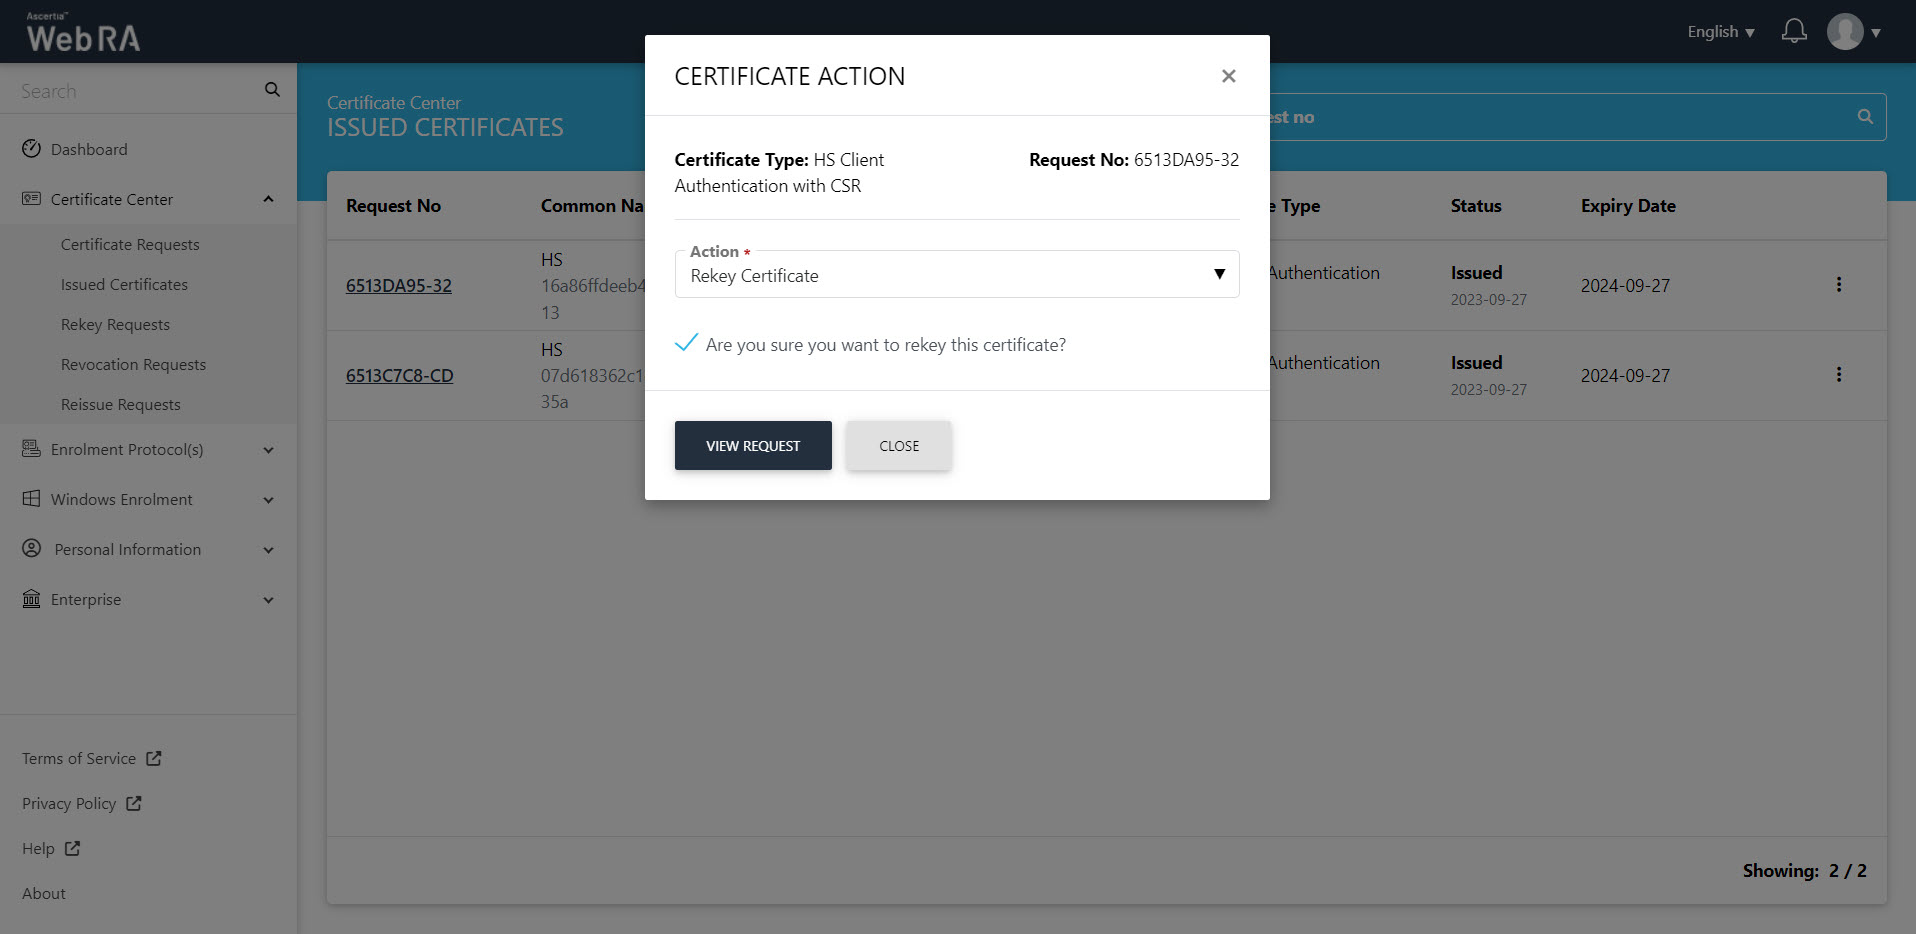
- Certificate action screen will be displayed. Select "Rekey Certificate" from the drop down, click the confirmation button and then click "View Request".
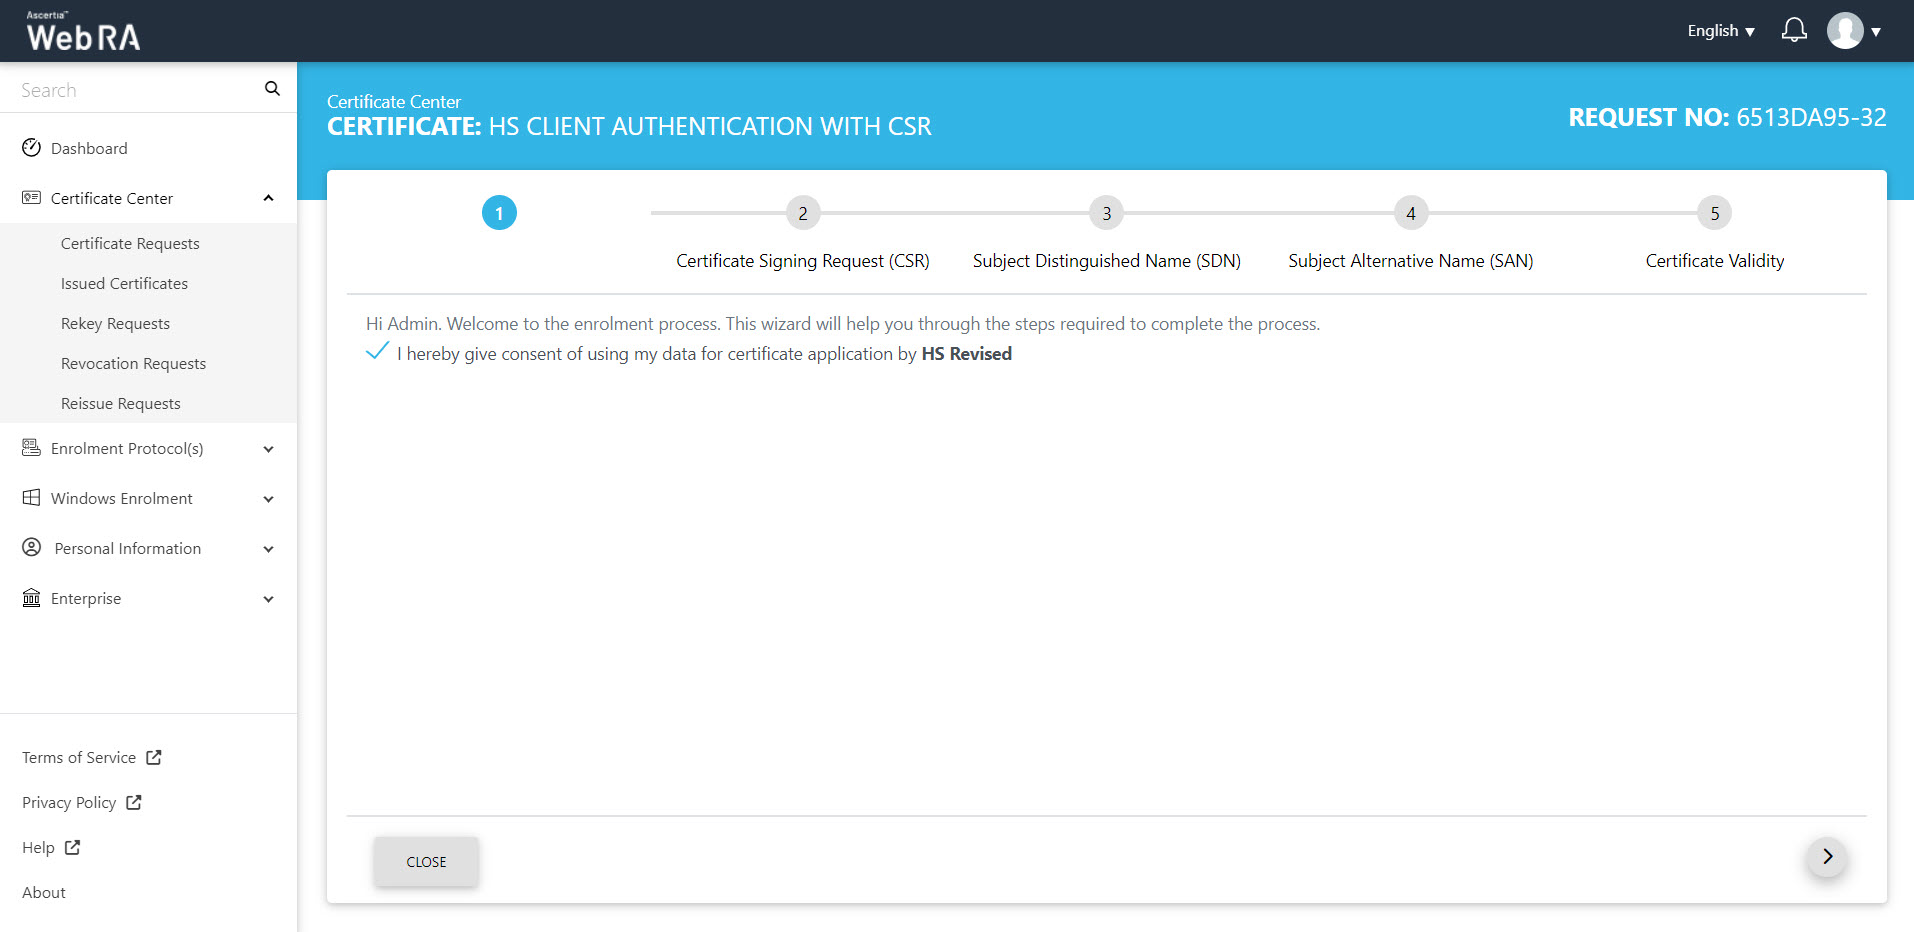
- The certificate request will appear on the screen. The Welcome Note screen will appear. Click next.
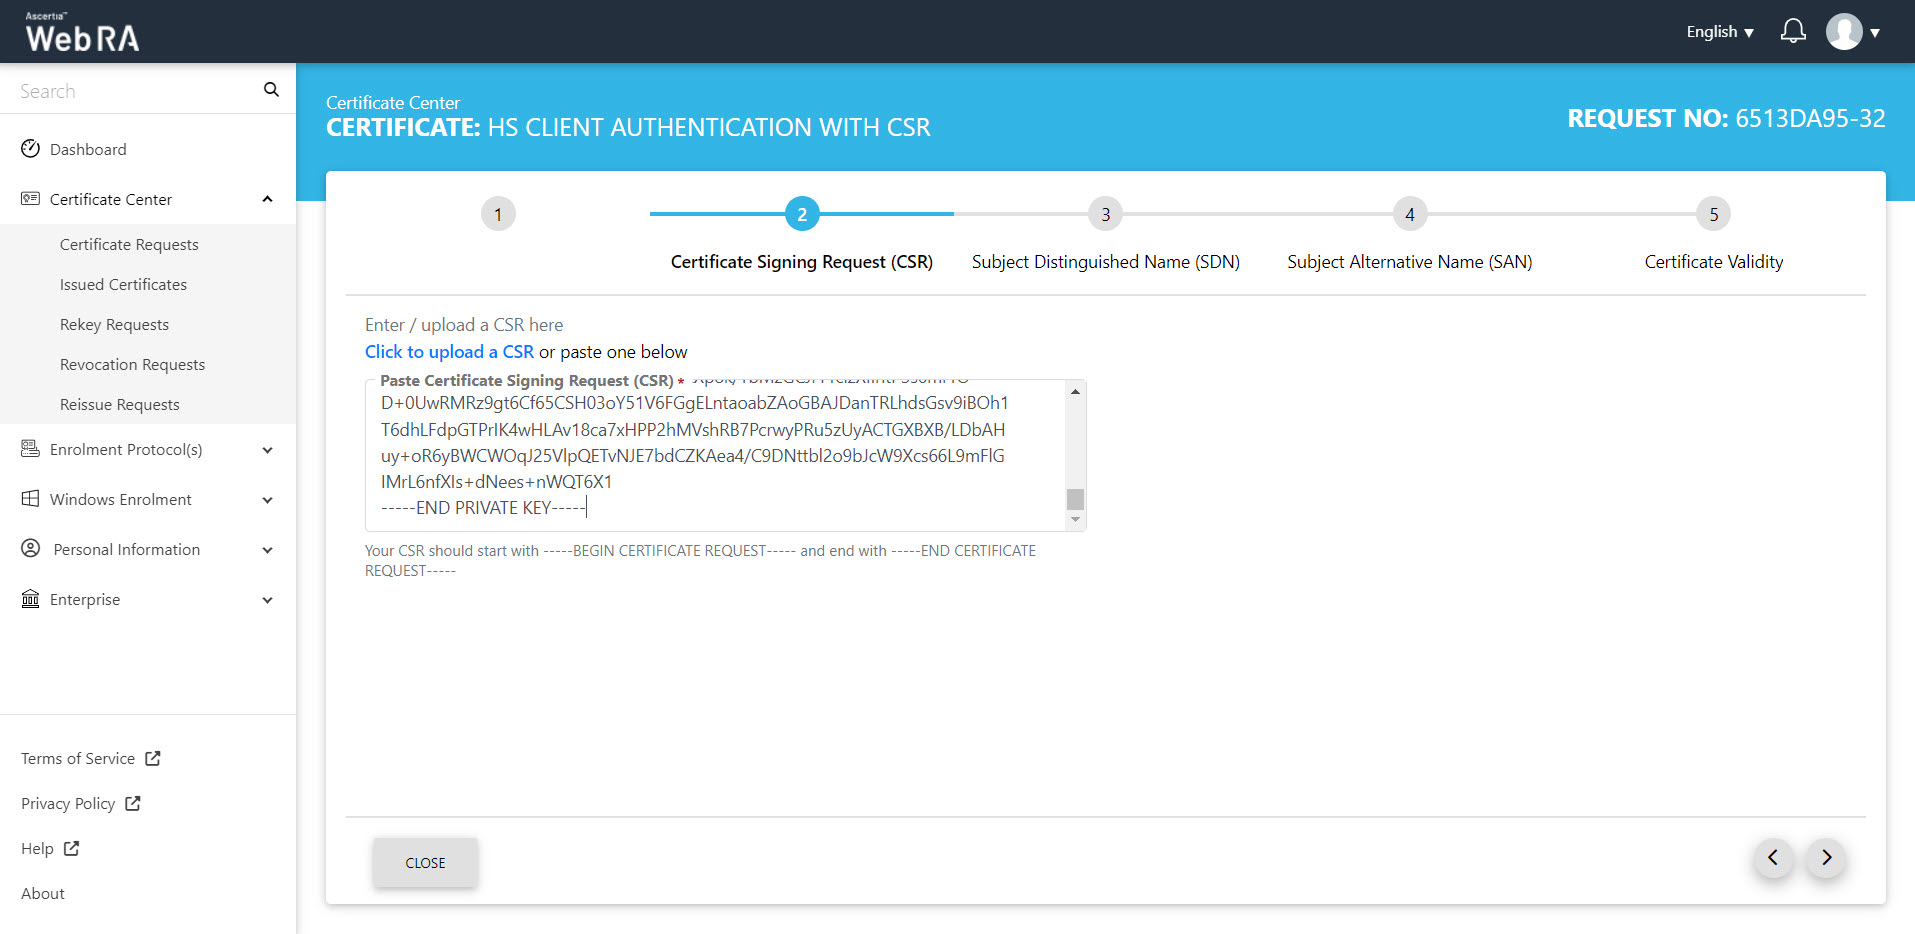
The next screen will require you to upload or paste a CSR:
After validating the CSR, the verification details will be listed as shown below:
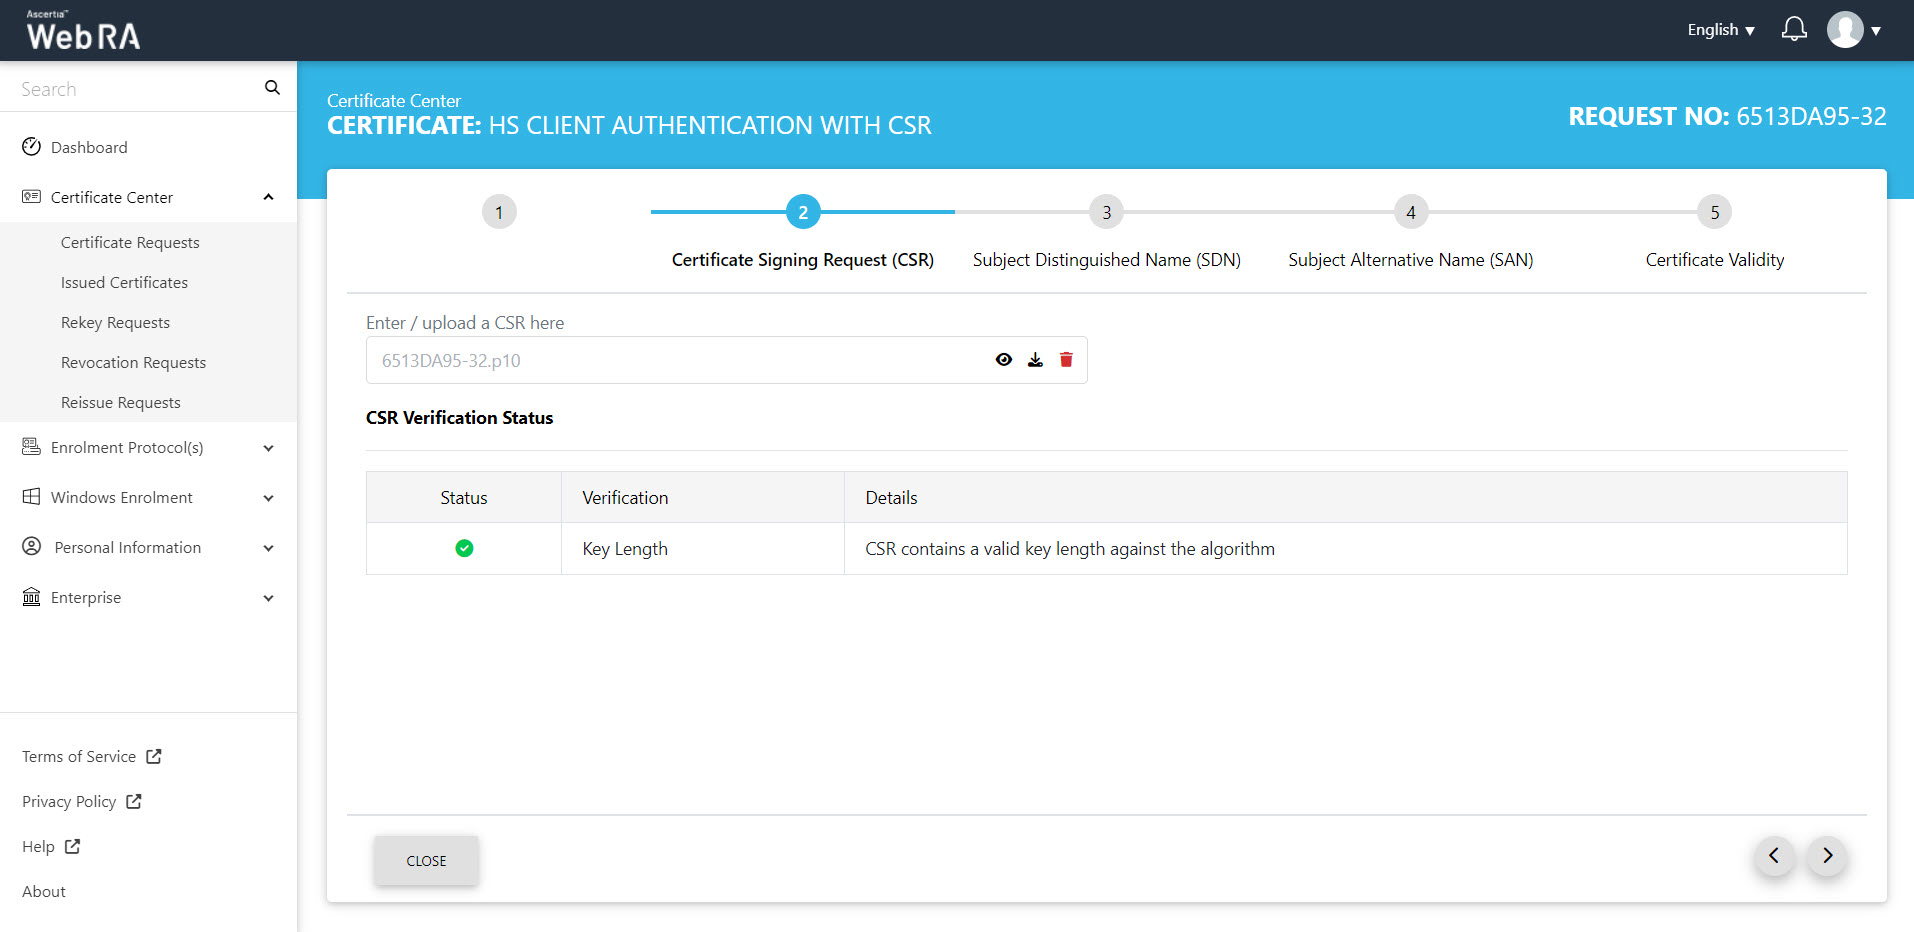
You can click the view icon button, to see the CSR. It contains all the SDNs, SANs, etc.
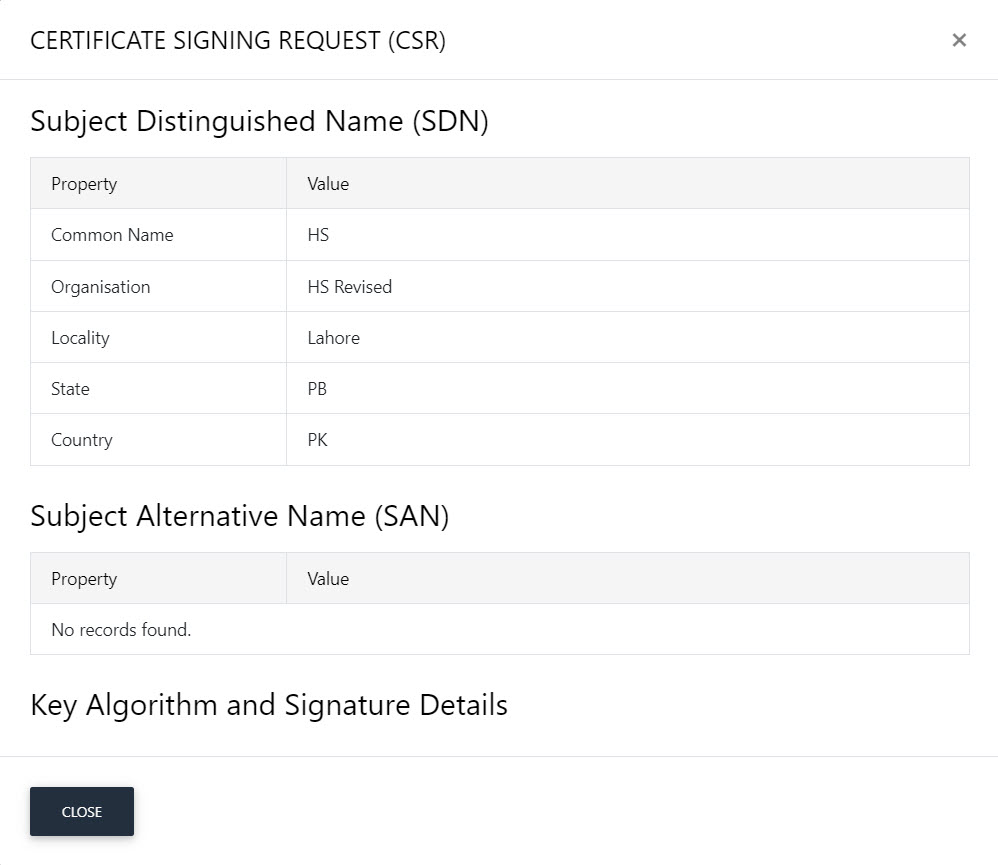
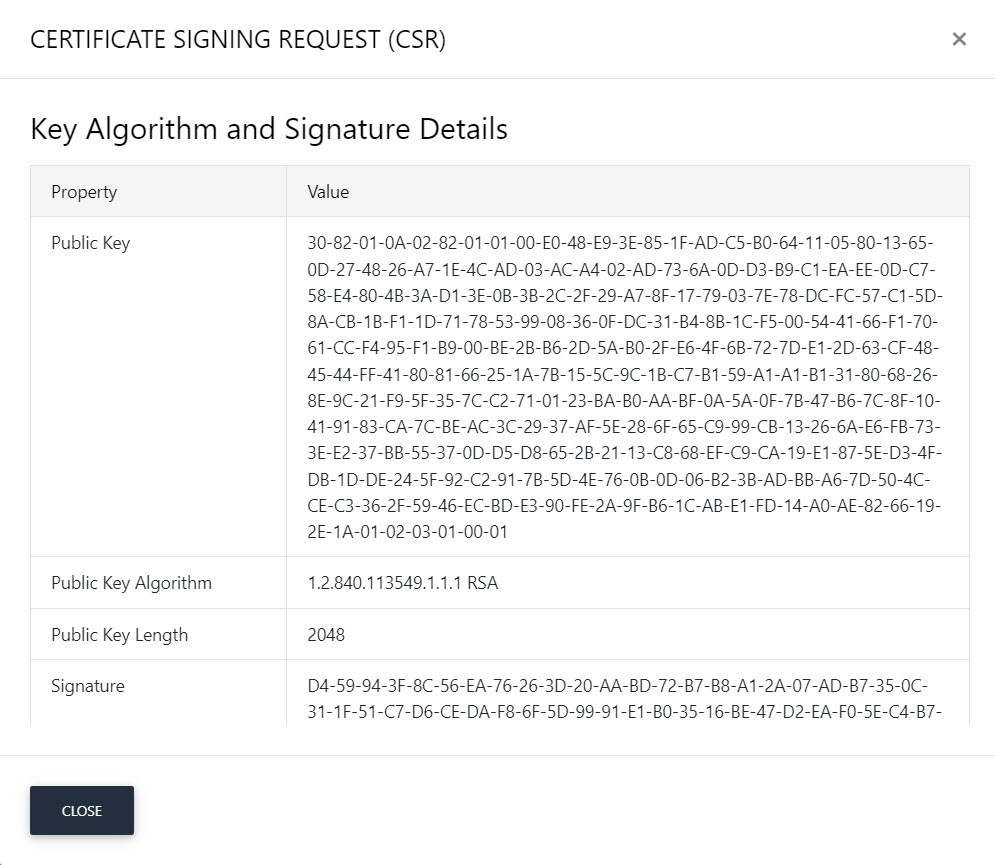
Scroll down to see the CSR in detail.
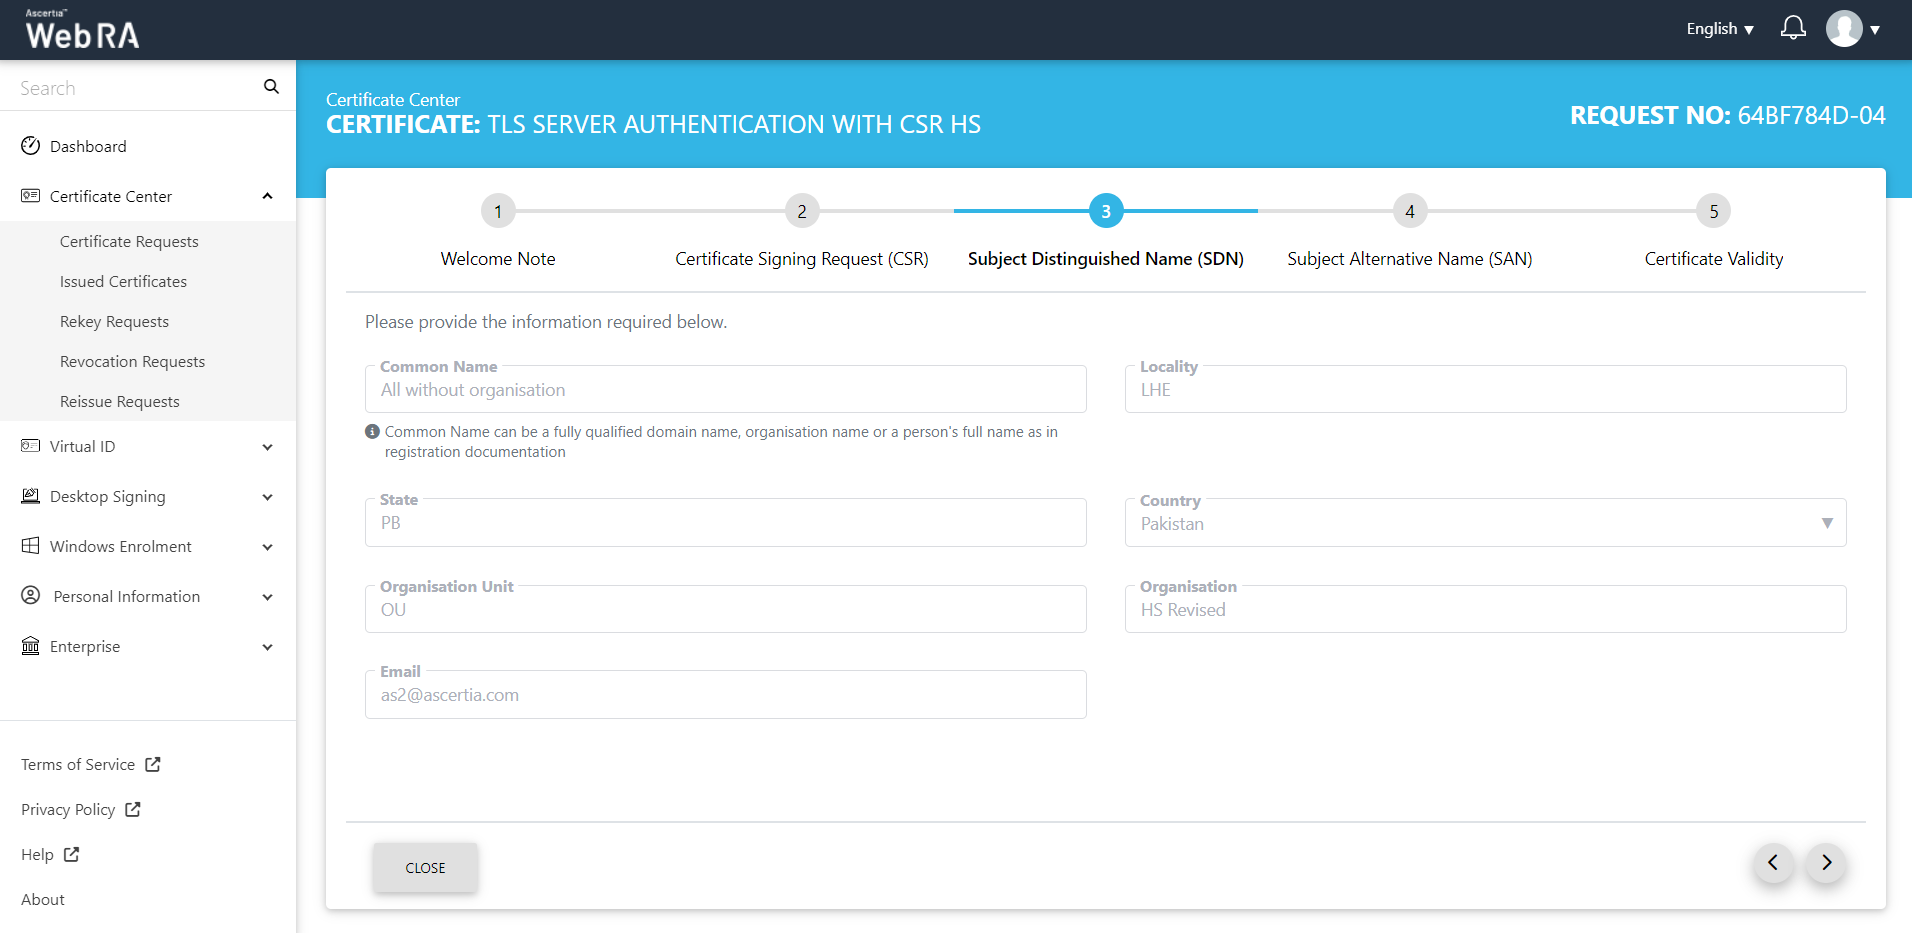
Click next to the Subject Distinguished Name (SDN) screen, they will appear in a disabled form.
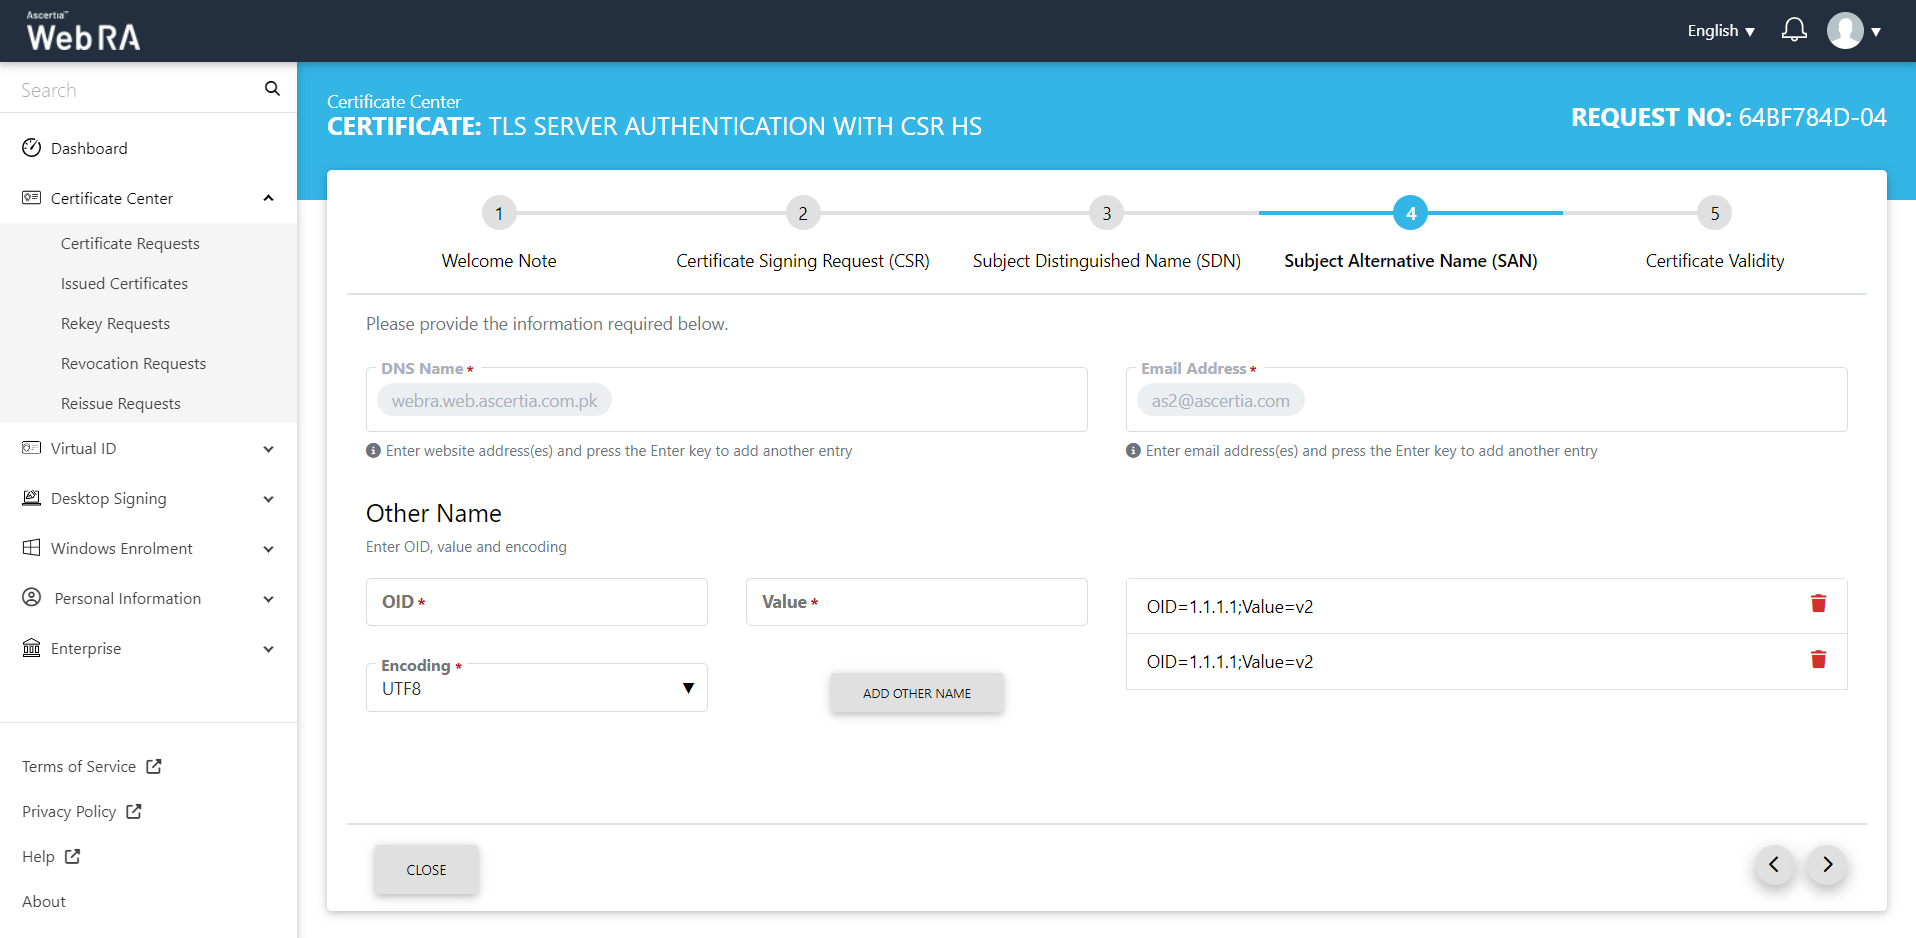
The Subject Alternative Name (SAN) screen will appear. Click next.
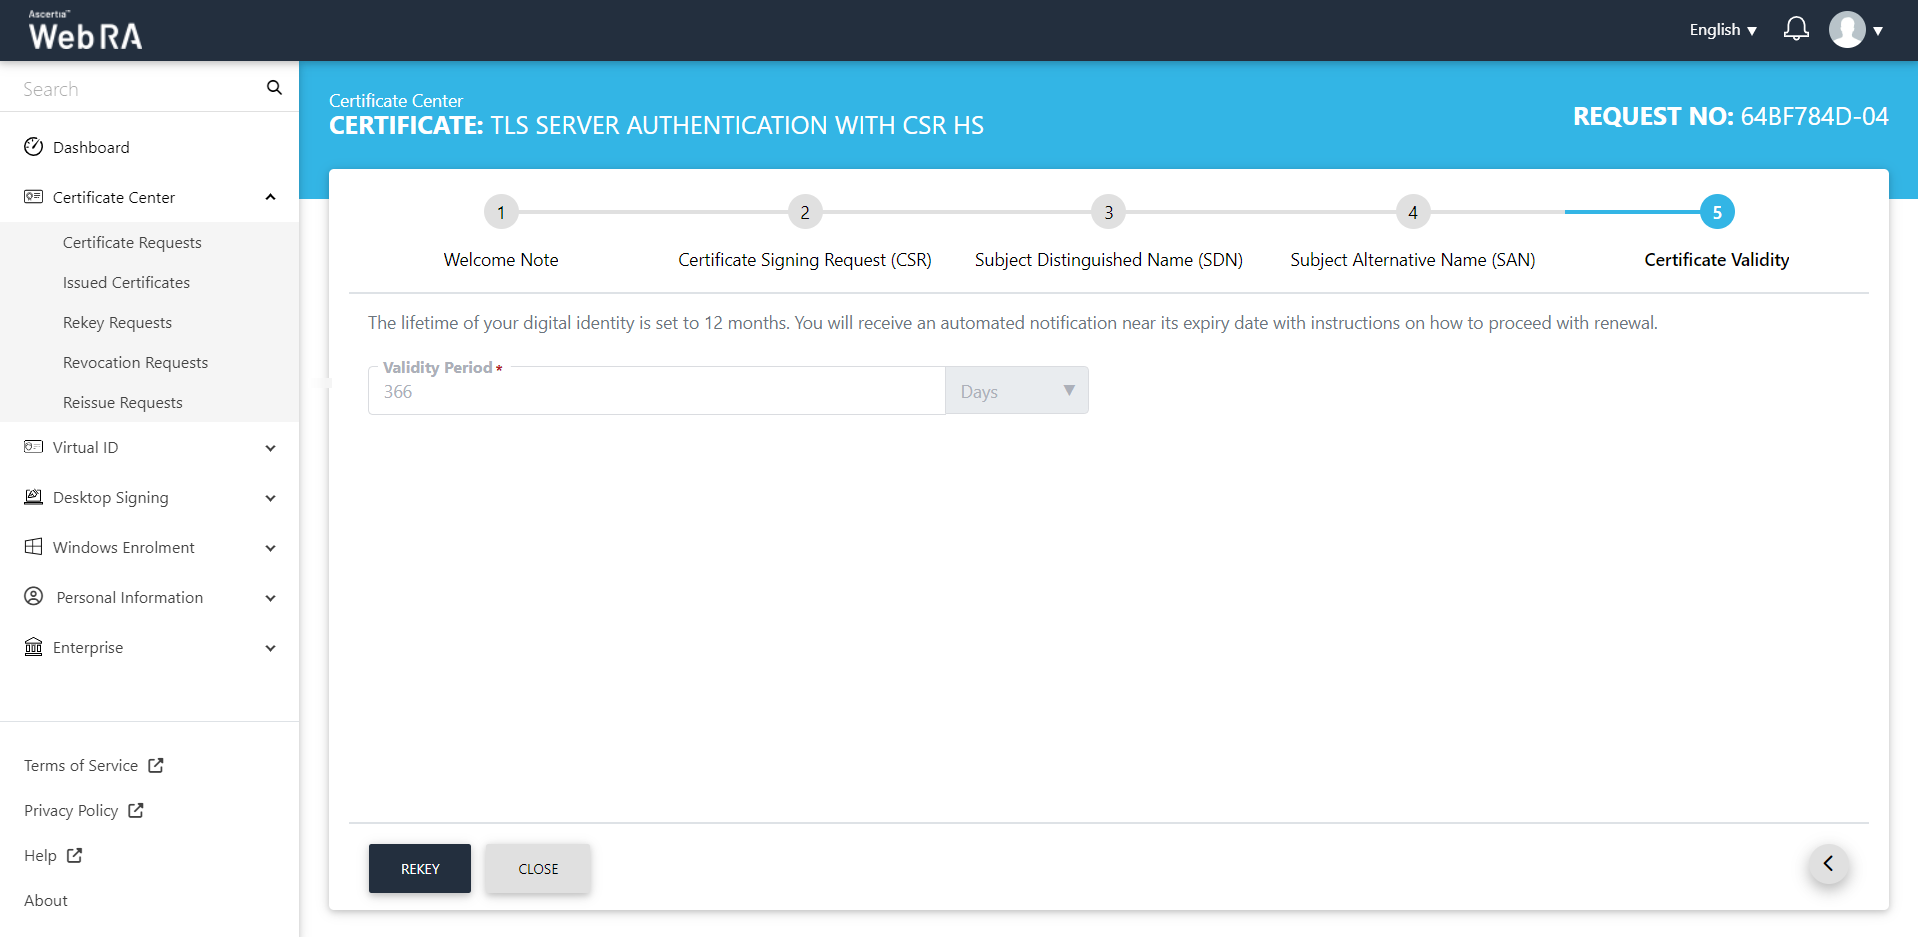
The Certificate Validity screen will appear. Click "Rekey".
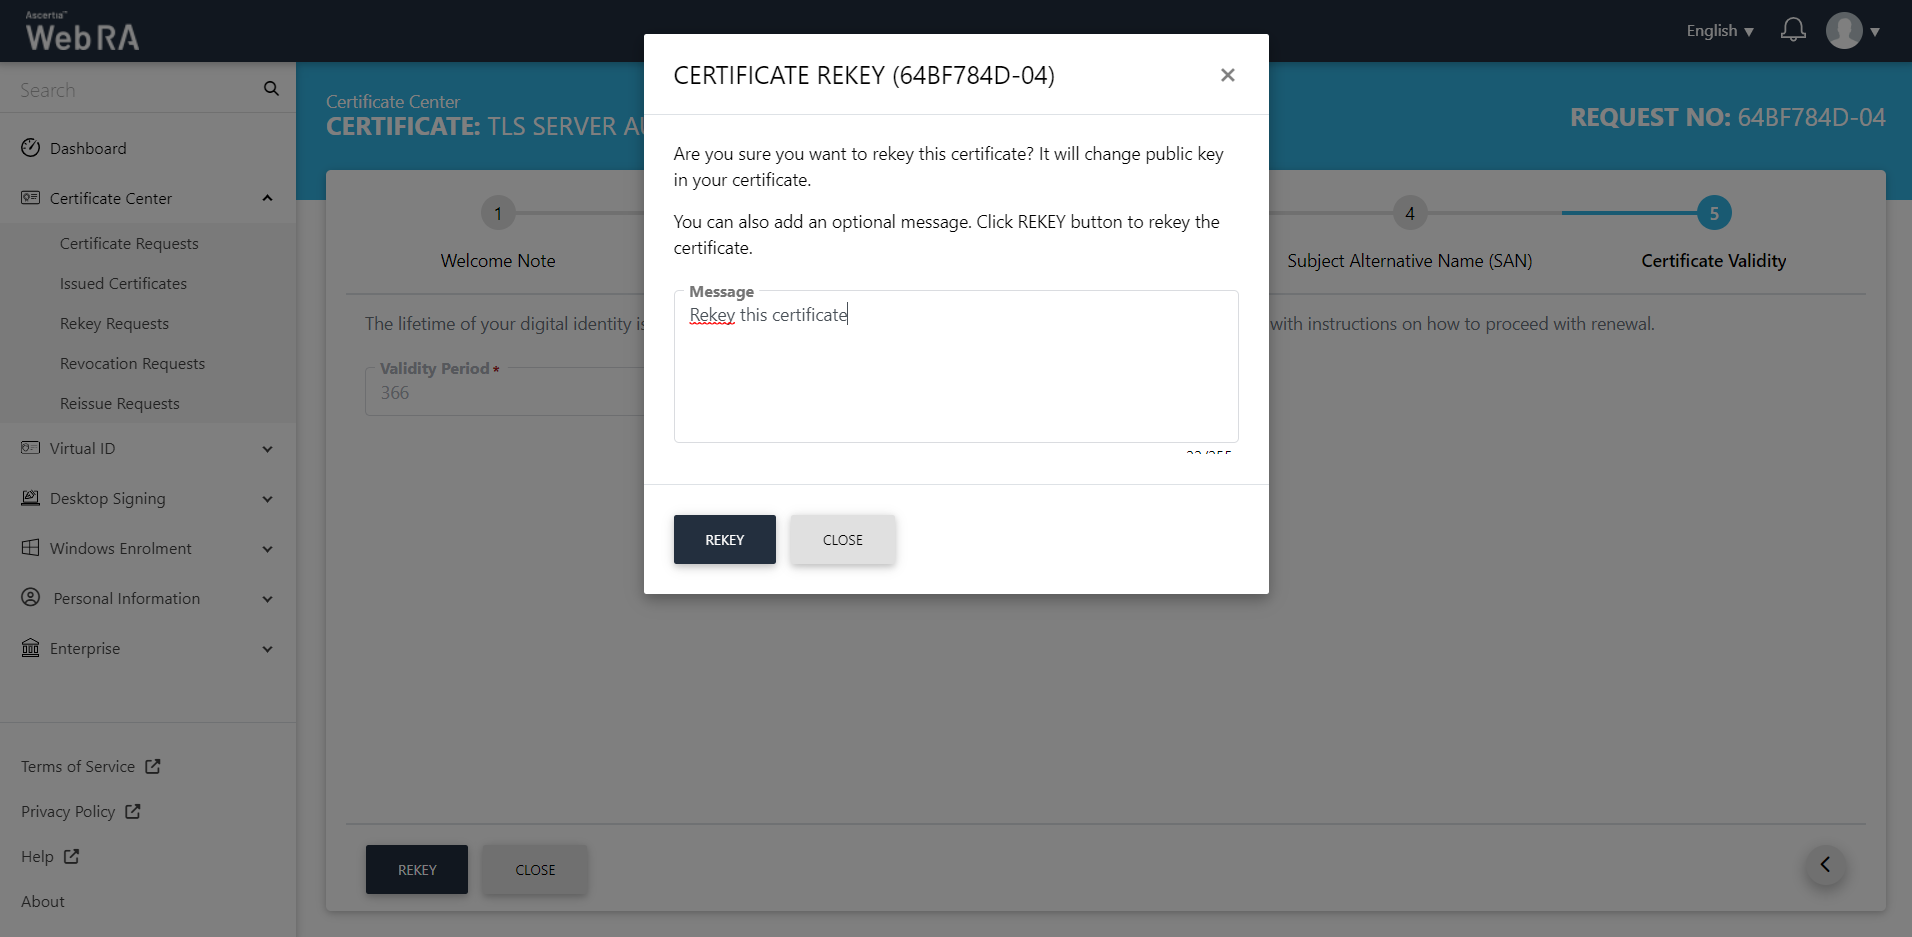
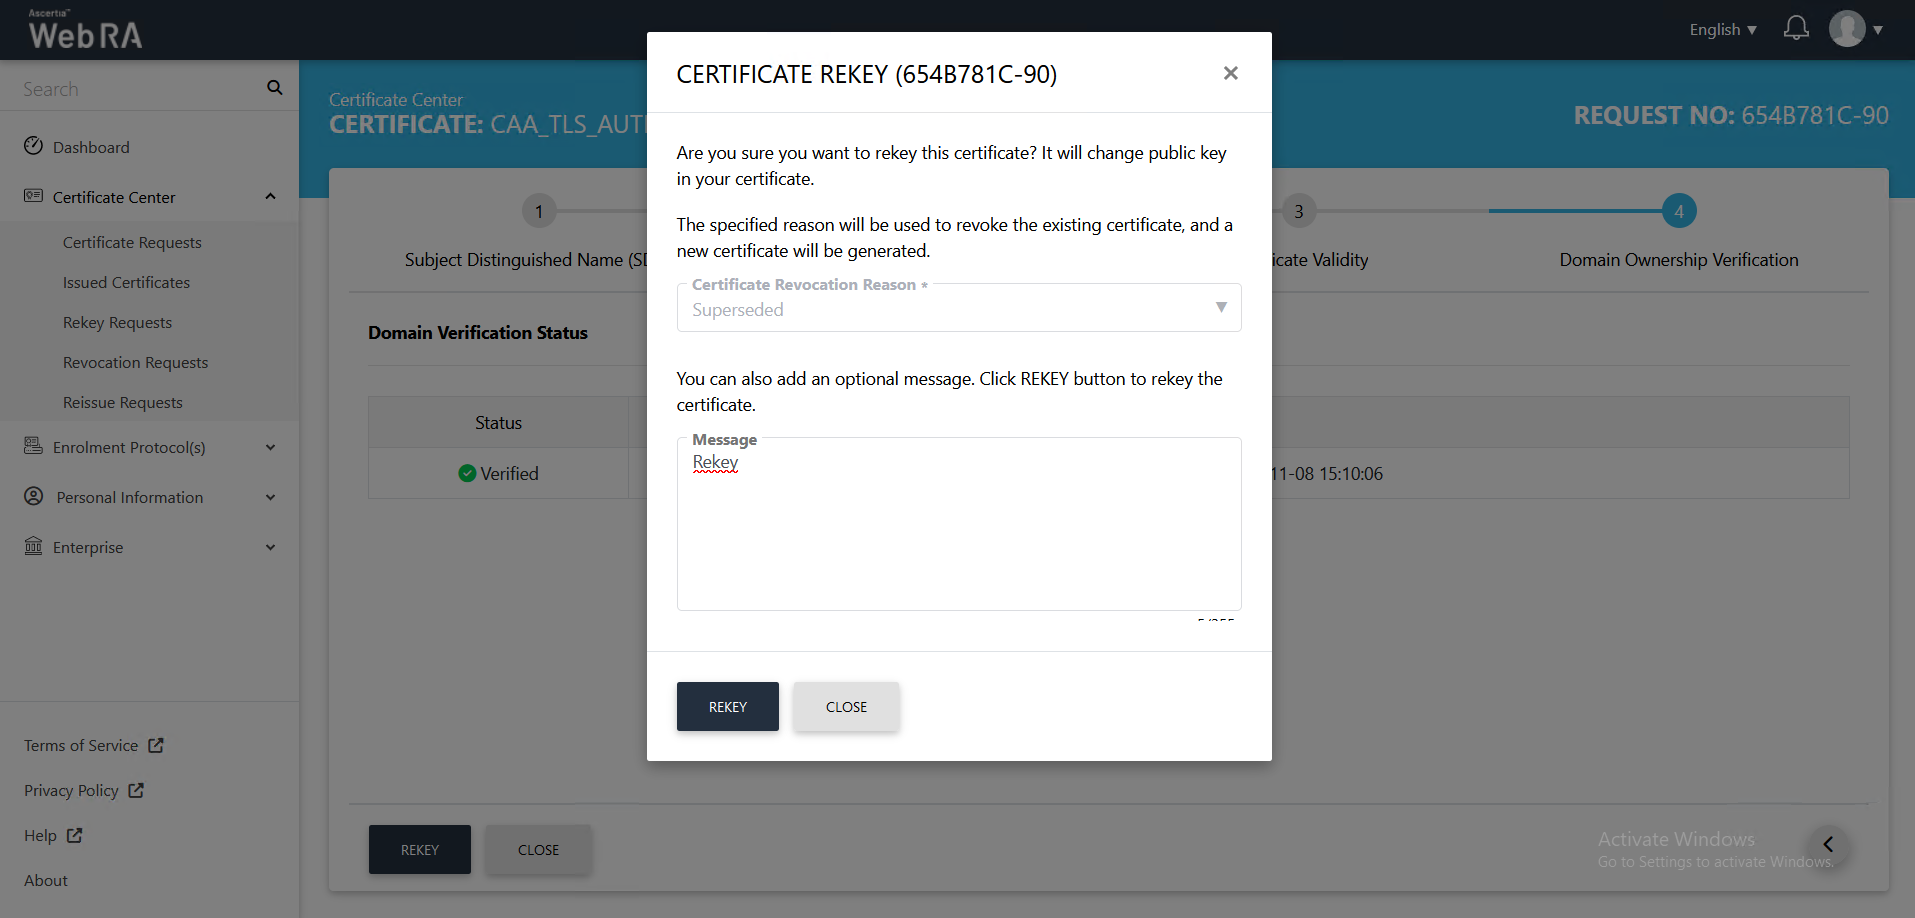
A confirmation message will appear. You can enter a message, then click "Rekey".
The certificate will appear in the Rekey Requests listing.
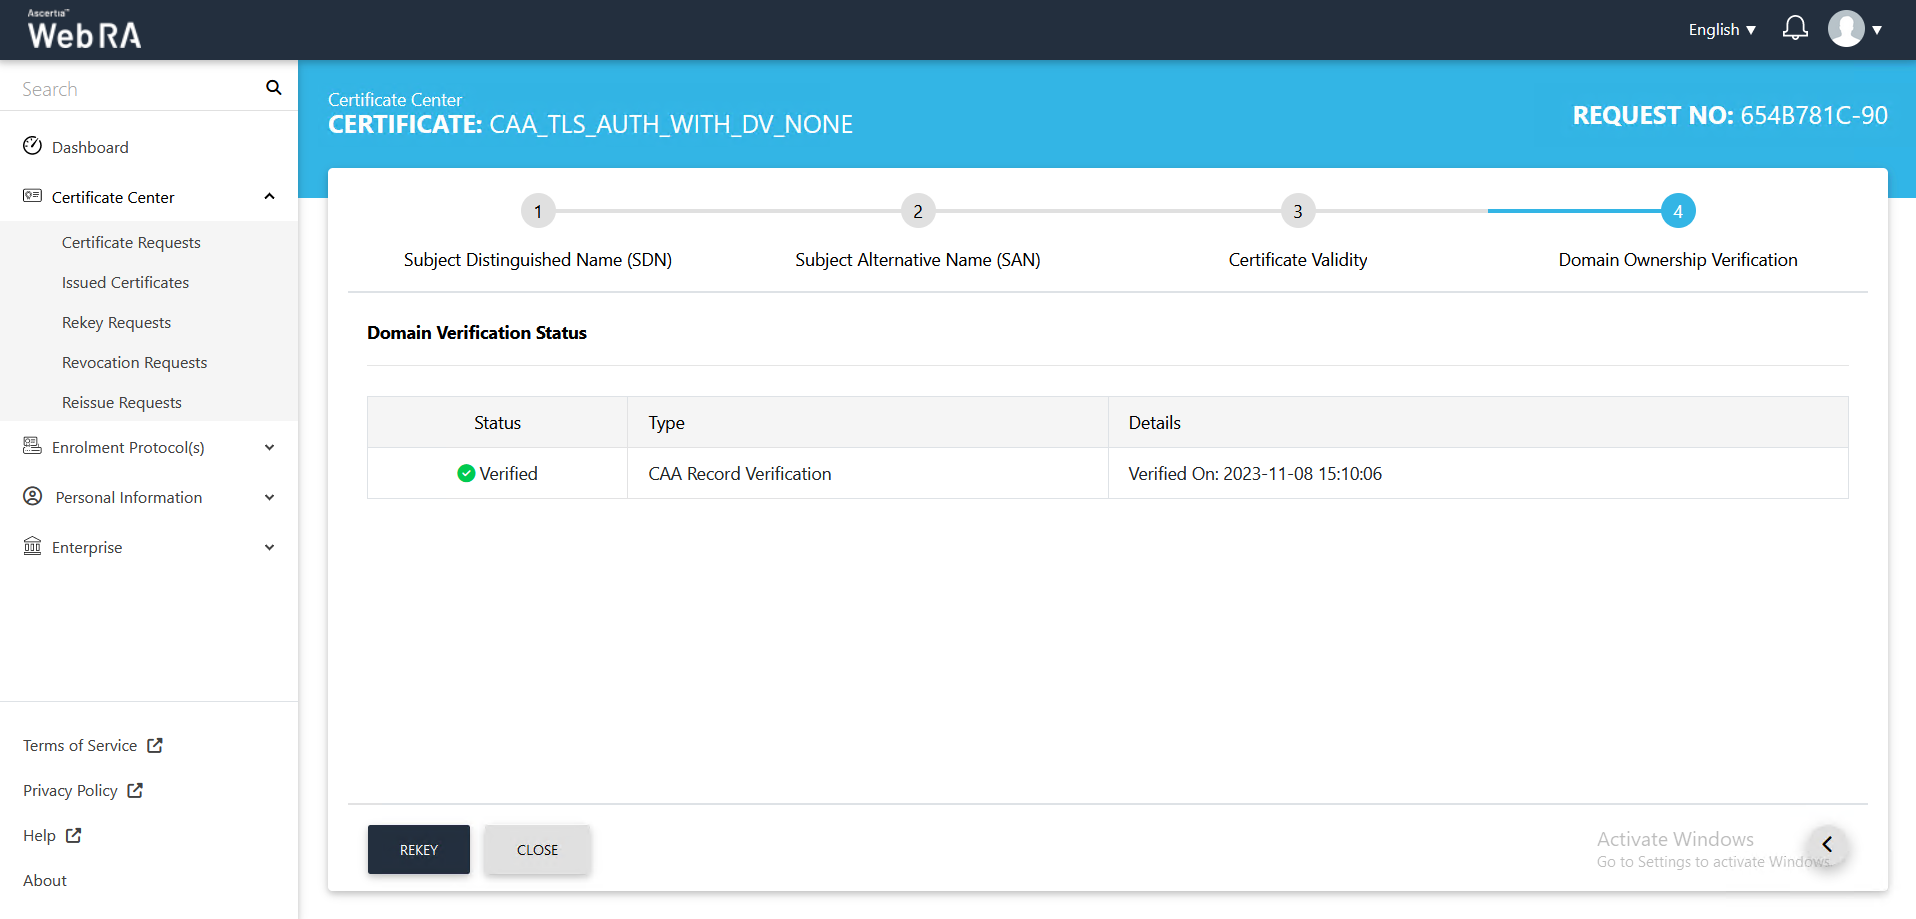
Rekey a Certificate with CAA Records
- Navigate to the "Certificate Center" and click "Issued Certificates".
- Click the button against the certificate that you want to rekey and click on "More Actions".
- Certificate action screen will be displayed. Select "Rekey Certificate" from the drop down, select the confirmation button 'Are you sure you want to rekey this certificate?' and then click "View Request".

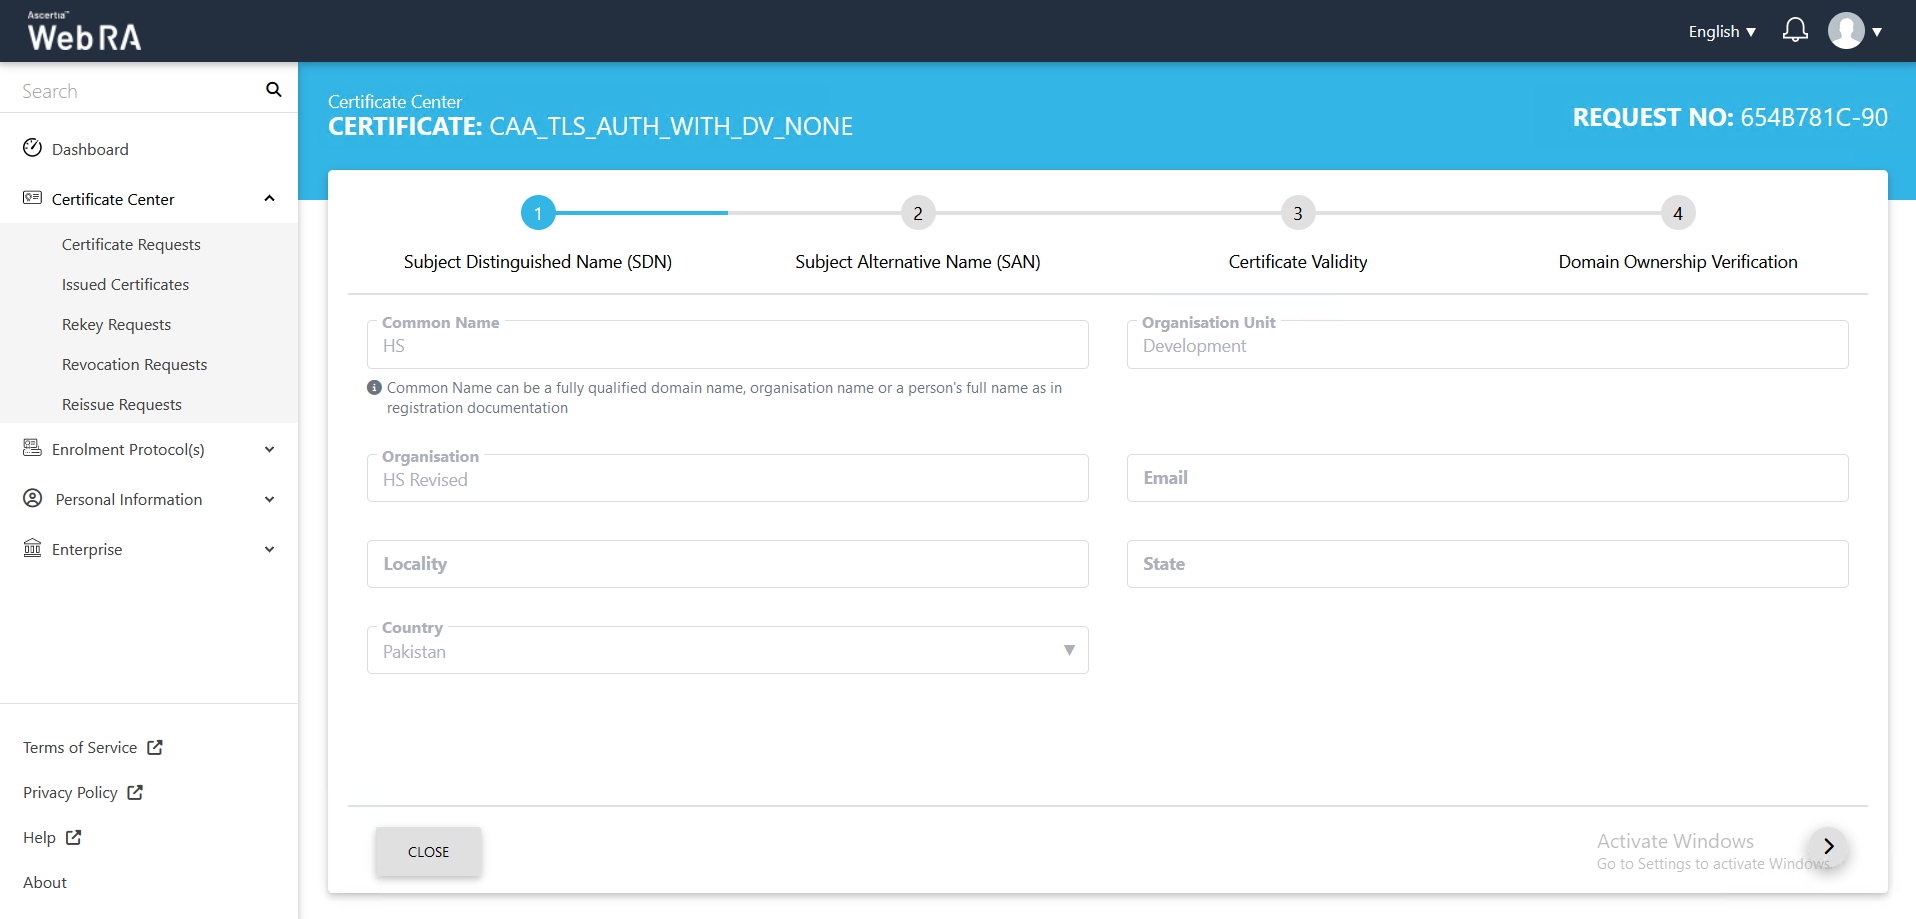
- The Subject Distinguished Name (SDN) screen, they will appear in a disabled form. Click next.
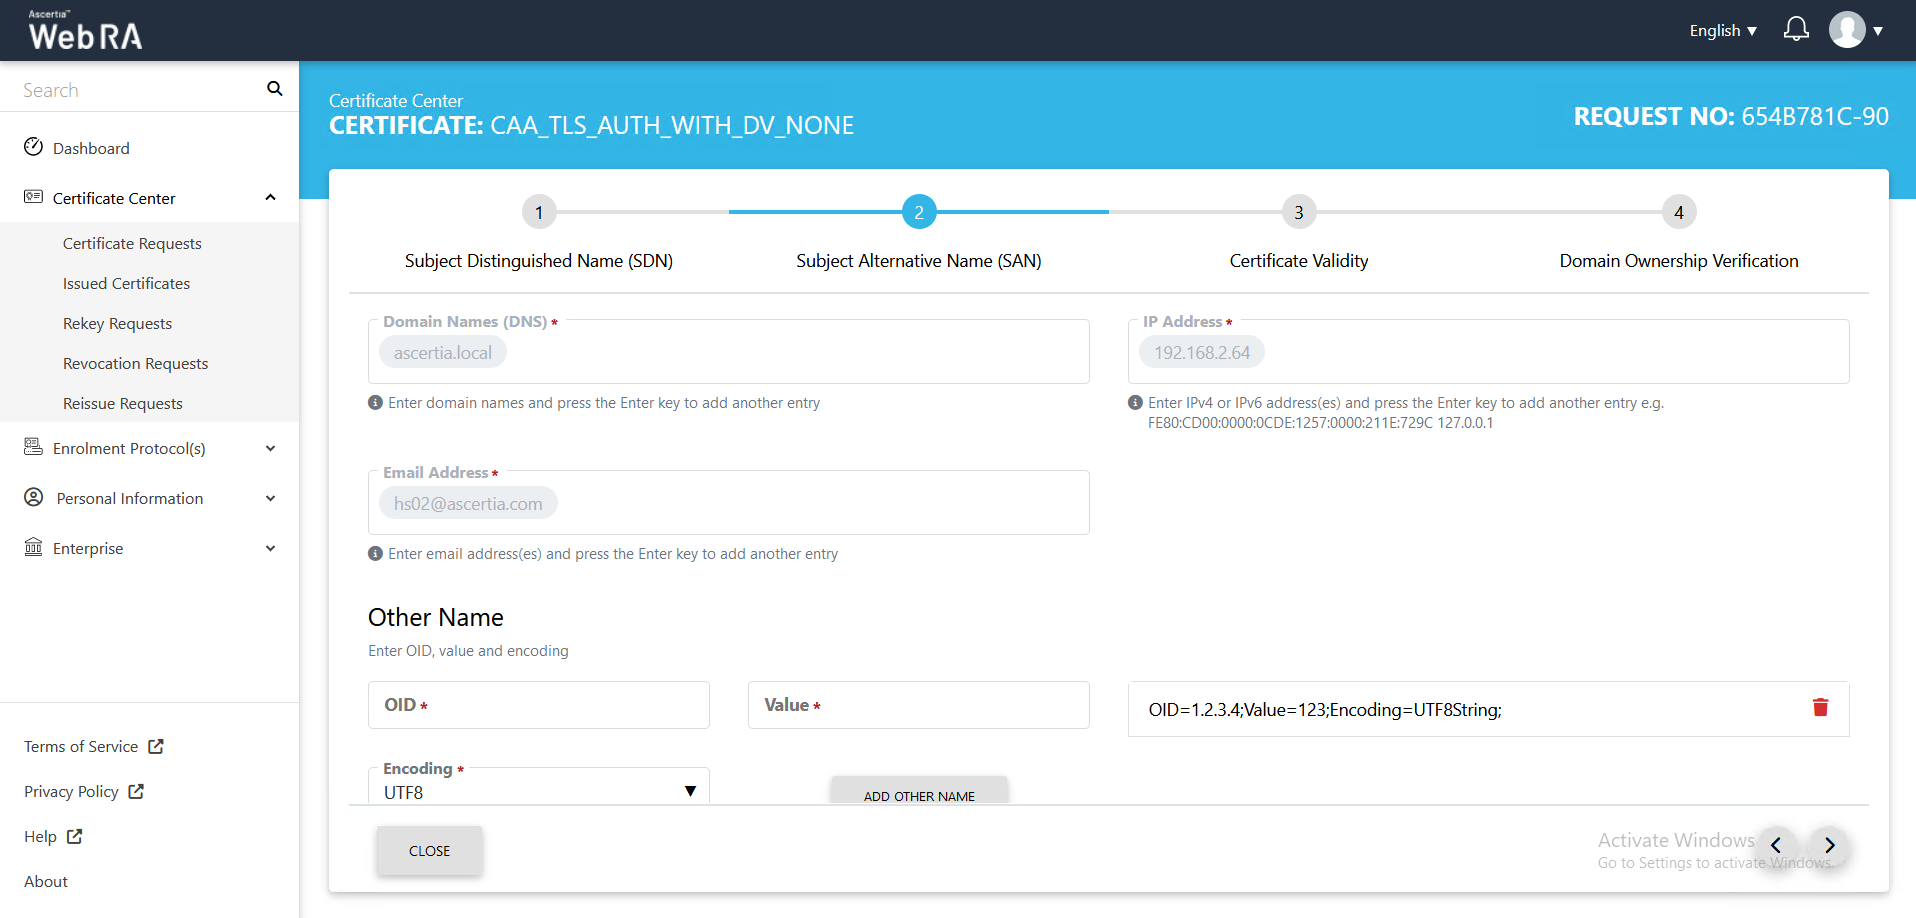
- The Subject Alternative Name (SAN) screen will appear. Click next.
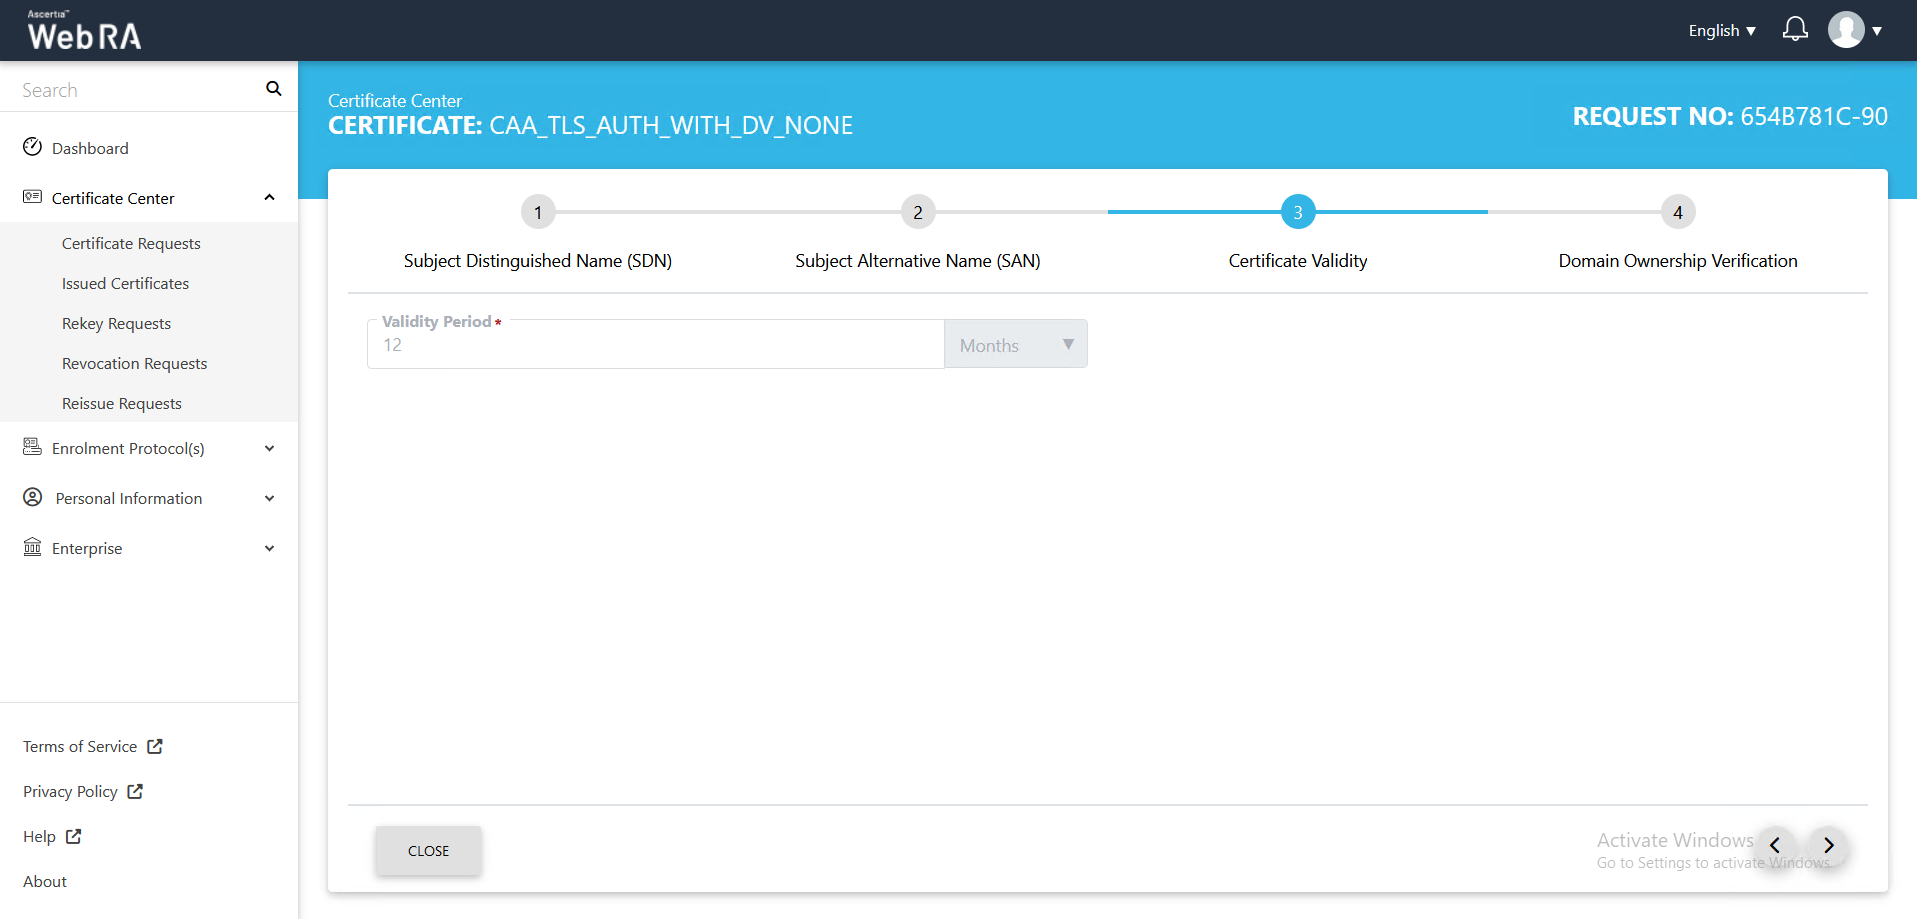
- The Certificate Validity screen will appear. Click next.
- The Domain Ownership Verification screen will appear with the CAA record as unverified. Click the Verify button to validate the CAA record.
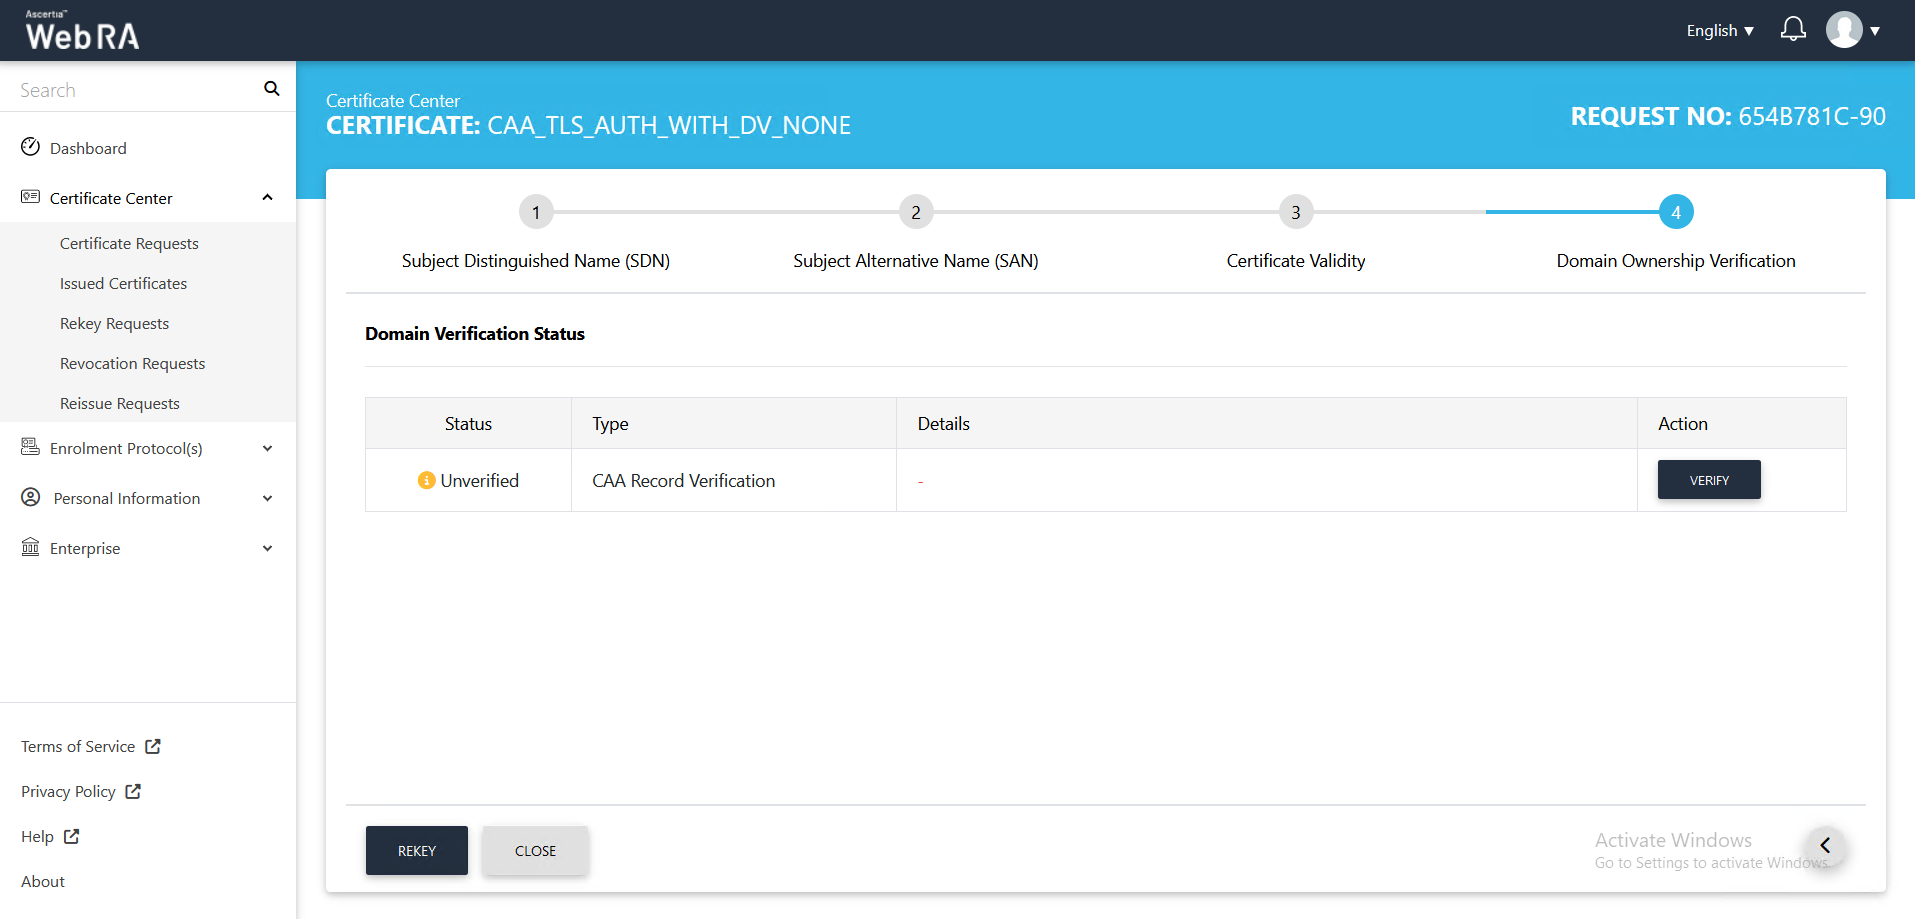
- Once the CAA record is verified, click Rekey.
- The certificate rekey screen will appear, click Rekey.
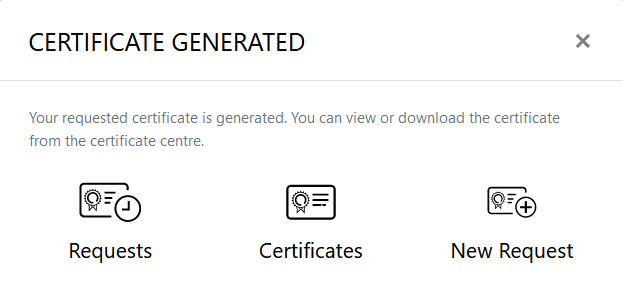
- Once the certificate rekey process is complete, a certificate will be generated.
Second Factor Authentication
If second factor authentication is enabled on rekey requests, the configured authentication mechanism will function accordingly. When a user clicks on the Rekey button, the authentication window will appear. Once it accepts the selected method, and you enter the verification details, it will rekey a certificate.
The authentication mechanism can be one of the following:
- SMS OTP Authentication
- Email OTP Authentication
- Email & SMS Authentication
- SAML Authentication
- Active Directory Authentication
- Azure Active Directory Authentication
- OIDC Authentication