Go>Sign Desktop Requests
Submit a Certificate Request based on Go>Sign Desktop Profile
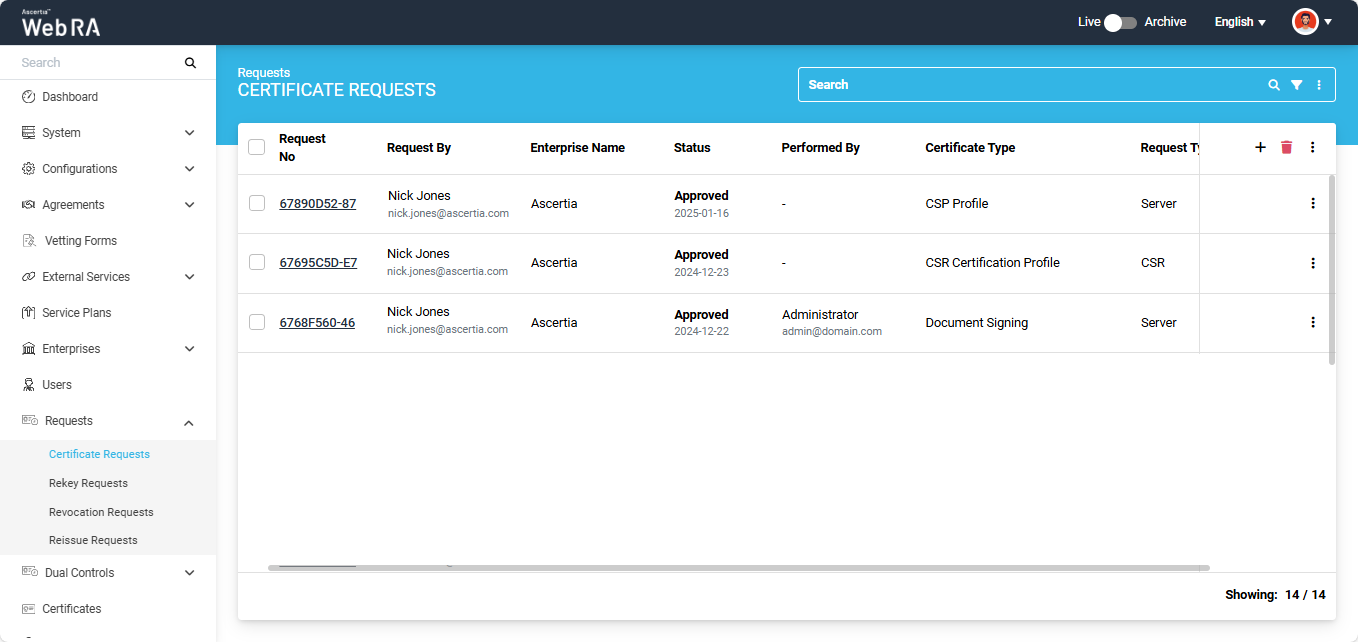
Expand Requests > Certificate Requests from the left menu pane. The Certificate Requests listing screen will appear.
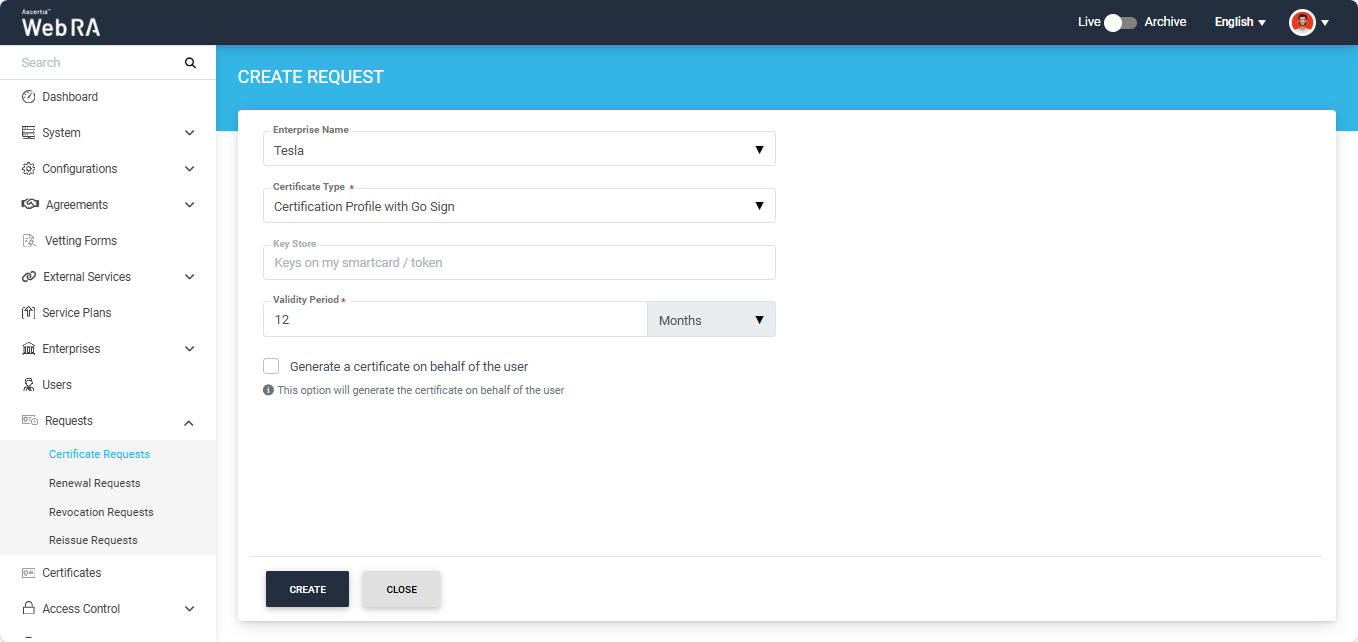
Click the + button in the grid header to access the Create Request screen. Select the Enterprise name from the dropdown, choose the Certificate Type, and click 'Create'.

Note: A checkbox titled ‘Generate a certificate on behalf of the user’ will appear on this screen if the policy for this option is enabled in the Enterprise > Policies section.
Enabling this checkbox will allow the operator to generate a certificate on behalf of the user.
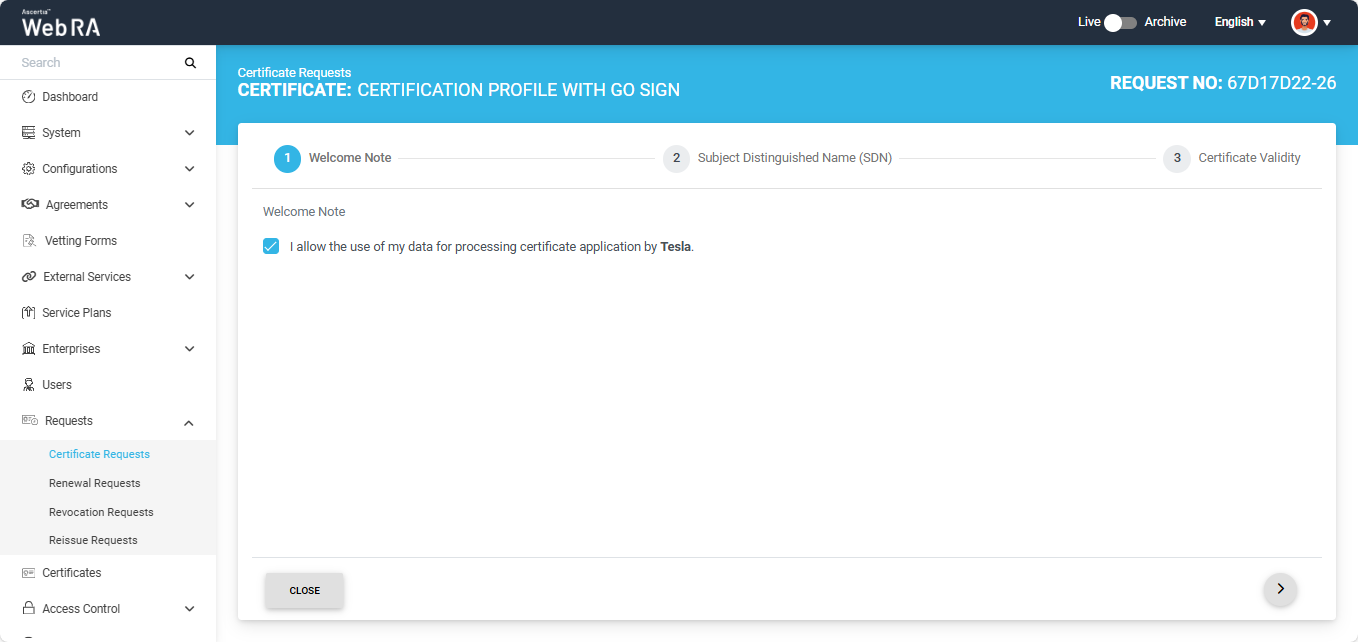
A Welcome Note screen will appear. Enable the ‘I allow the use of my data for processing certificate application by Enterprise Name’ and click next.
Note: The welcome note will only appear during the creation of a certificate request if the operator has added customised request notes in the enterprise that the user belongs to. For more details, navigate to Request Notes.
Once you agree to the Welcome Note and click Next, the ‘Subject Distinguished Name (SDN) screen will appear. Enter the required details in the respective fields and click 'Next'.

The Certificate Validity screen will appear. Enter the validity period and click 'Generate'.
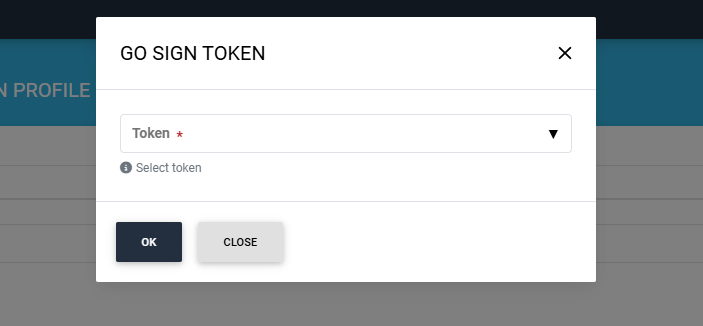
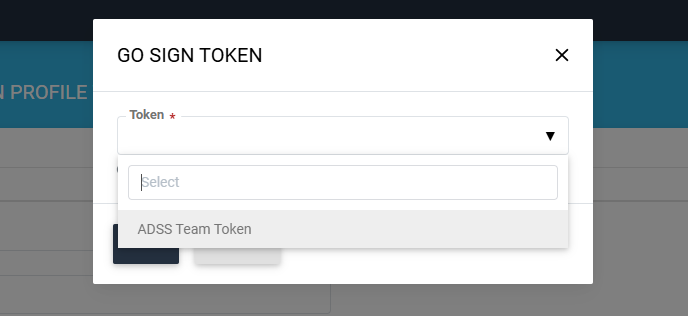
The systen will display a 'Go Sign Token' dialog with a dropdown named 'Token'. You will be required to select the token for the certificate being generated. After selecting the token, click 'Ok'.
The system will generate the CSR and issue the certificate. The 'Certificate Generated' message will appear at the right bottom of the screen.
Note: If the ‘Generate a certificate on behalf of the user’ checkbox is enabled, the system will display an additional screen titled ‘User Information’ next to the 'Certificate Validity' screen.
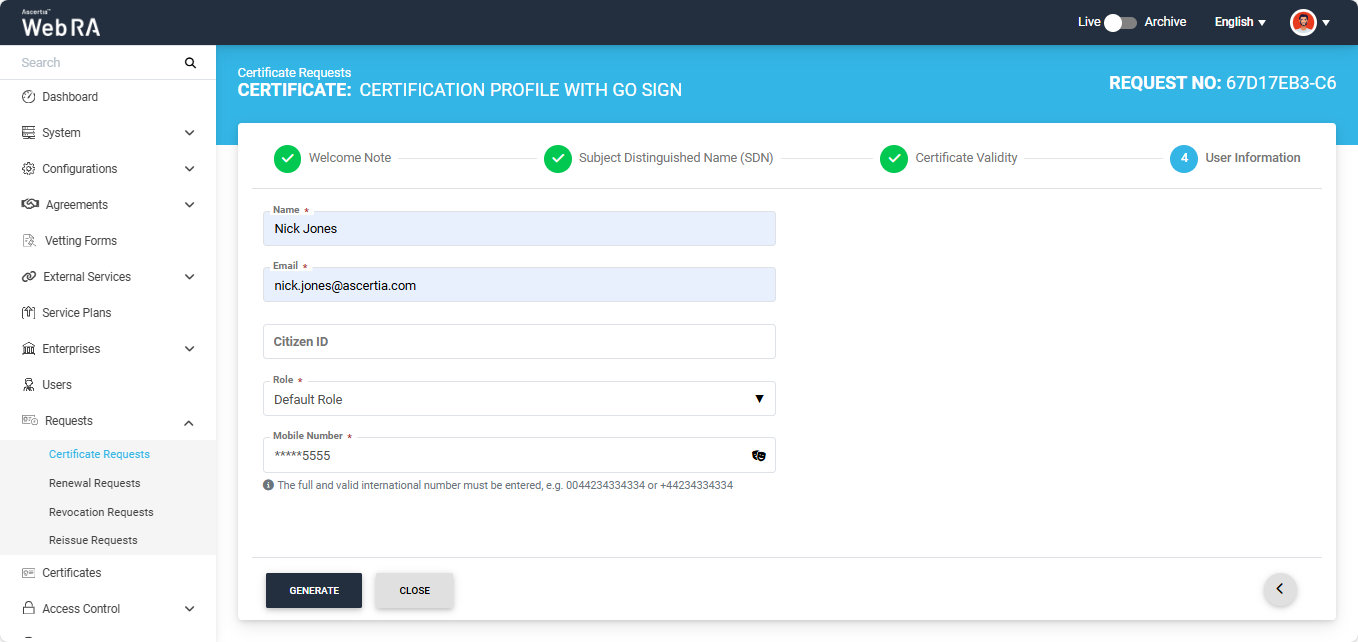
On this screen, you will be required to enter and select the Name, Email, Citizen ID, Mobile Number, and Role of the user for whom the certificate is being generated.
After entering the details, click ‘Generate’.
The systen will display a 'Go Sign Token' dialog with a dropdown named 'Token'. You will be required to select the token for the certificate being generated. After selecting the token, click 'Ok'.
The system will create an account for the user and generate the certificate.
The system will auto-generate the PIN or PUK value based on the configured policies in the Enterprises > Policies section. If there is no policy enabled, the system will auto-generate a random value for PIN or PUK. The generated values will be shared with the user via Email or SMS (depending upon the mechanism selected during the creation of certification profile). The user will also receive an email regarding the account and certificate creation and is prompted to activate their account.
Note: If the certificate is being created for a user who does not exist in the system, a new account will be created for the user along with the certificate. If the user already has a registered account in the WebRA system, only the certificate will be created. The user will be notified via email about the certificate generation. Meanwhile, if the user exists in the system but is not part of the enterprise where the certificate is being created, the system will send an invitation for the user to join that enterprise and will generate the certificate as well.
Note: If 'Dual Control' for request section or 'Special Permissions' setting is enabled in the certification profile of Smartcard/Token in ADSS Web RA, the 'Go Sign Token' dialog will also display a 'None' option in the dropdown.
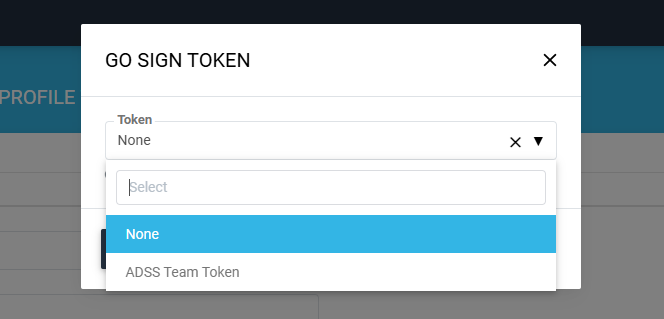
If you select the 'None' option from the dropdown and submit the request, the certificate request will be submitted without creating CSR. However, if you select a token from the dropdown, the system will first create a CSR and then submit the certificate request.
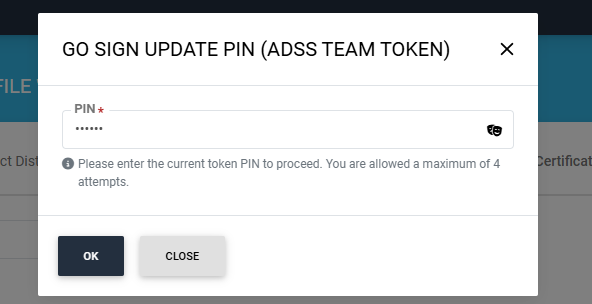
Note: If the token password previously generated by the ADSS Web RA system has been changed through the 'SafeNet Authentication Client', the system will display the 'Go Sign Update PIN' dialog when you attempt to generate a new certificate request from the same token.
You will be required to enter the updated token PIN to proceed.