Issued Certificates
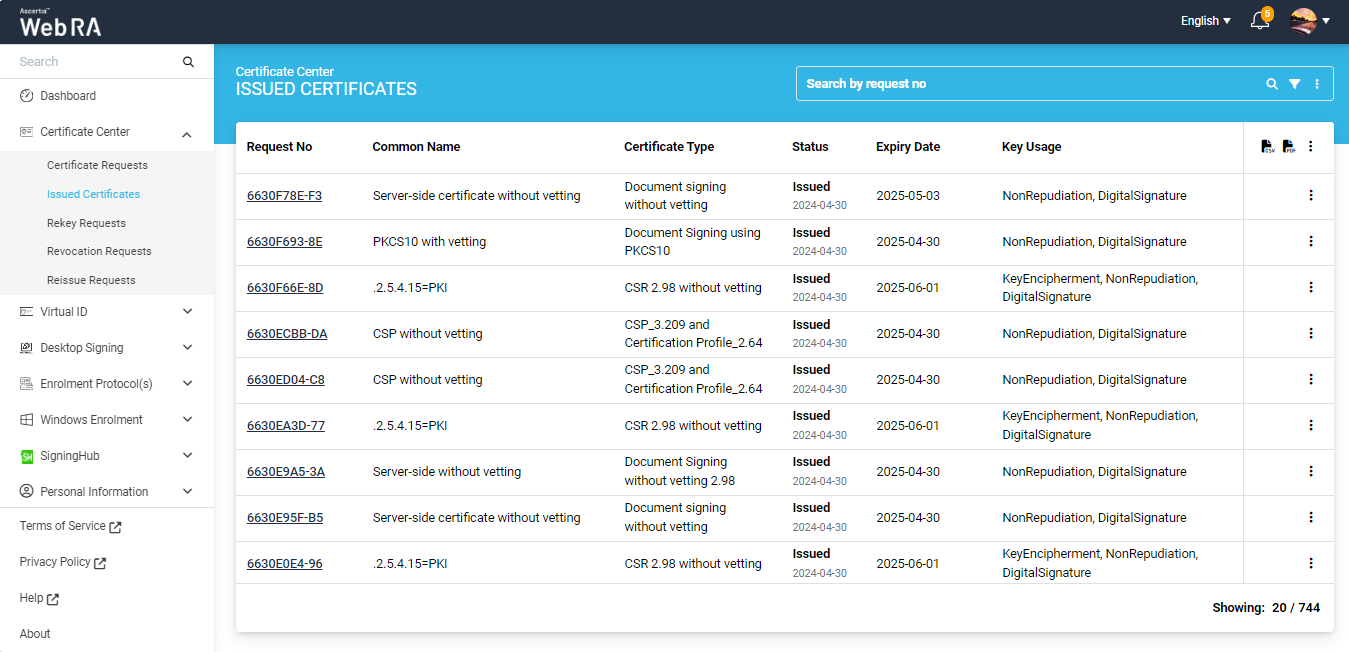
The Certificate Center displays all the certificates issued to an enterprise under the Issued Certificates section.
- View Certificate
- Download Certificate
- Provision Certificate
- Delete Certificate
- Renew Certificate
- Rekey Certificate
- History
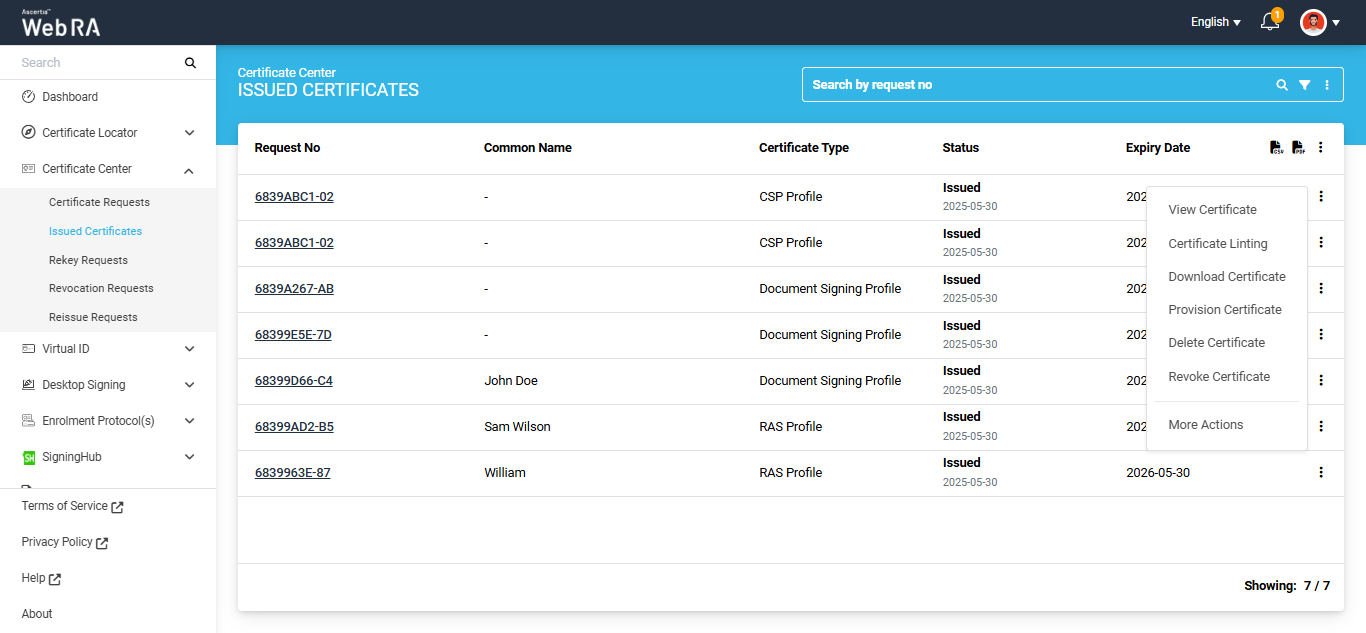
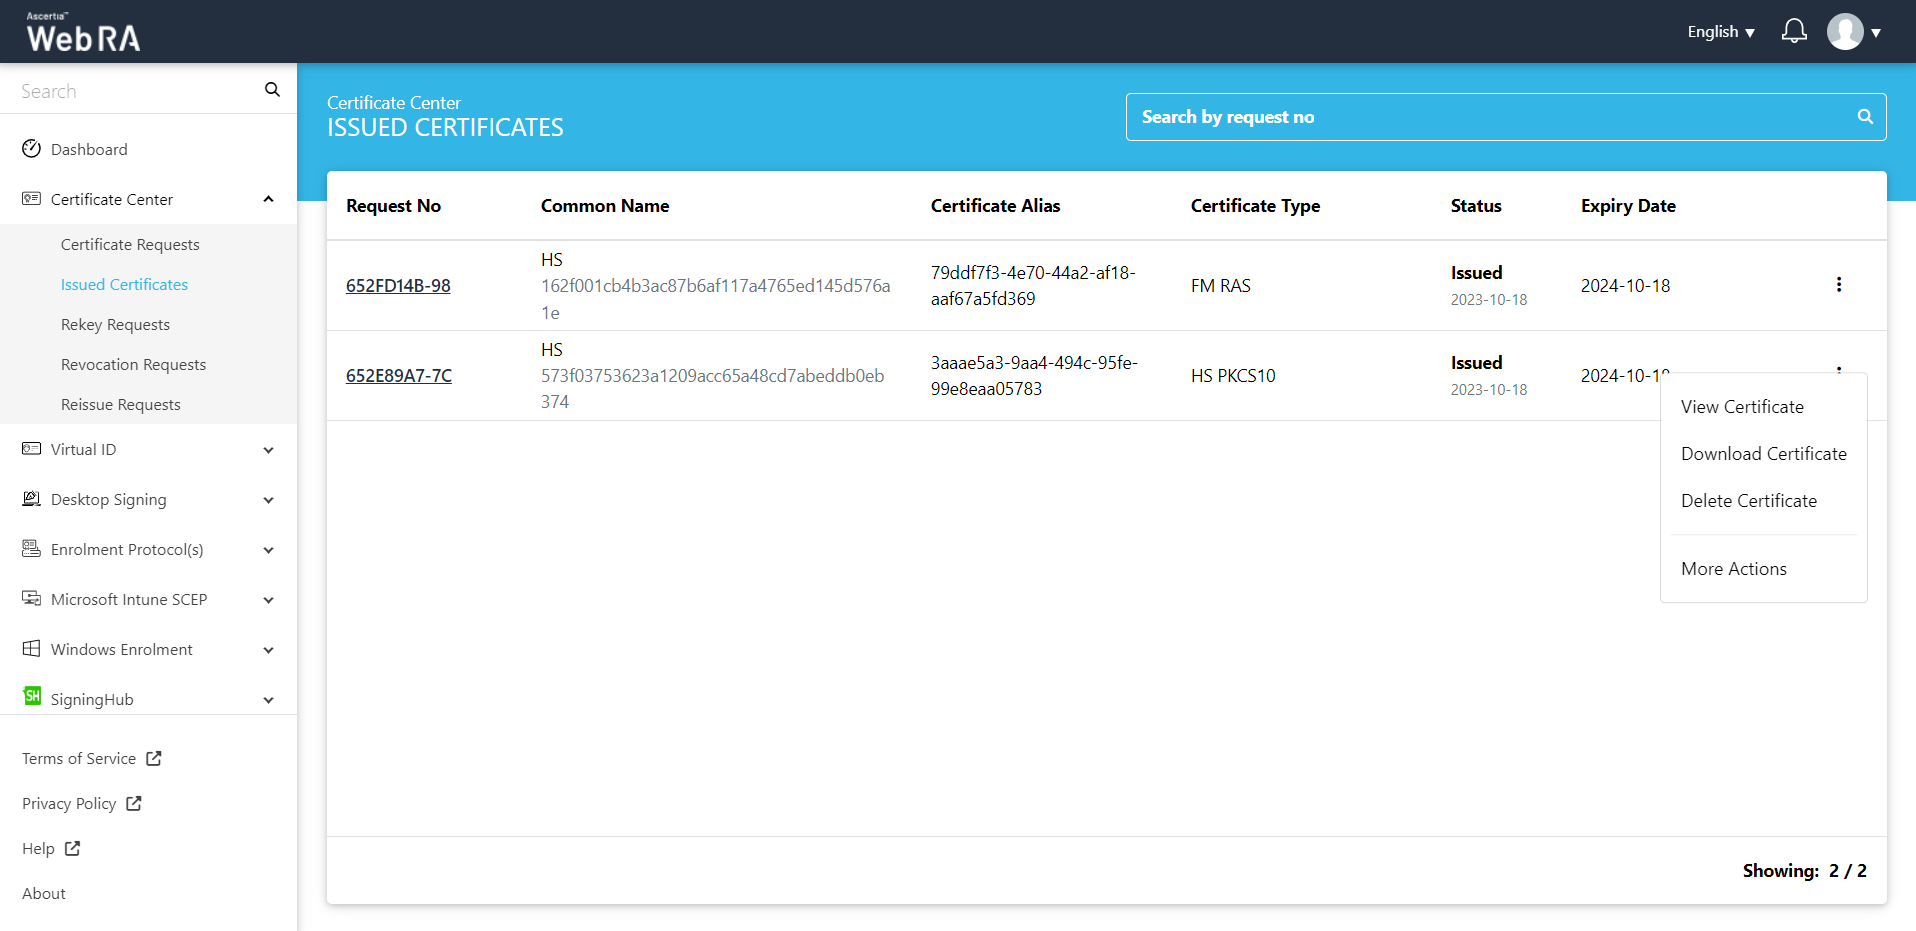
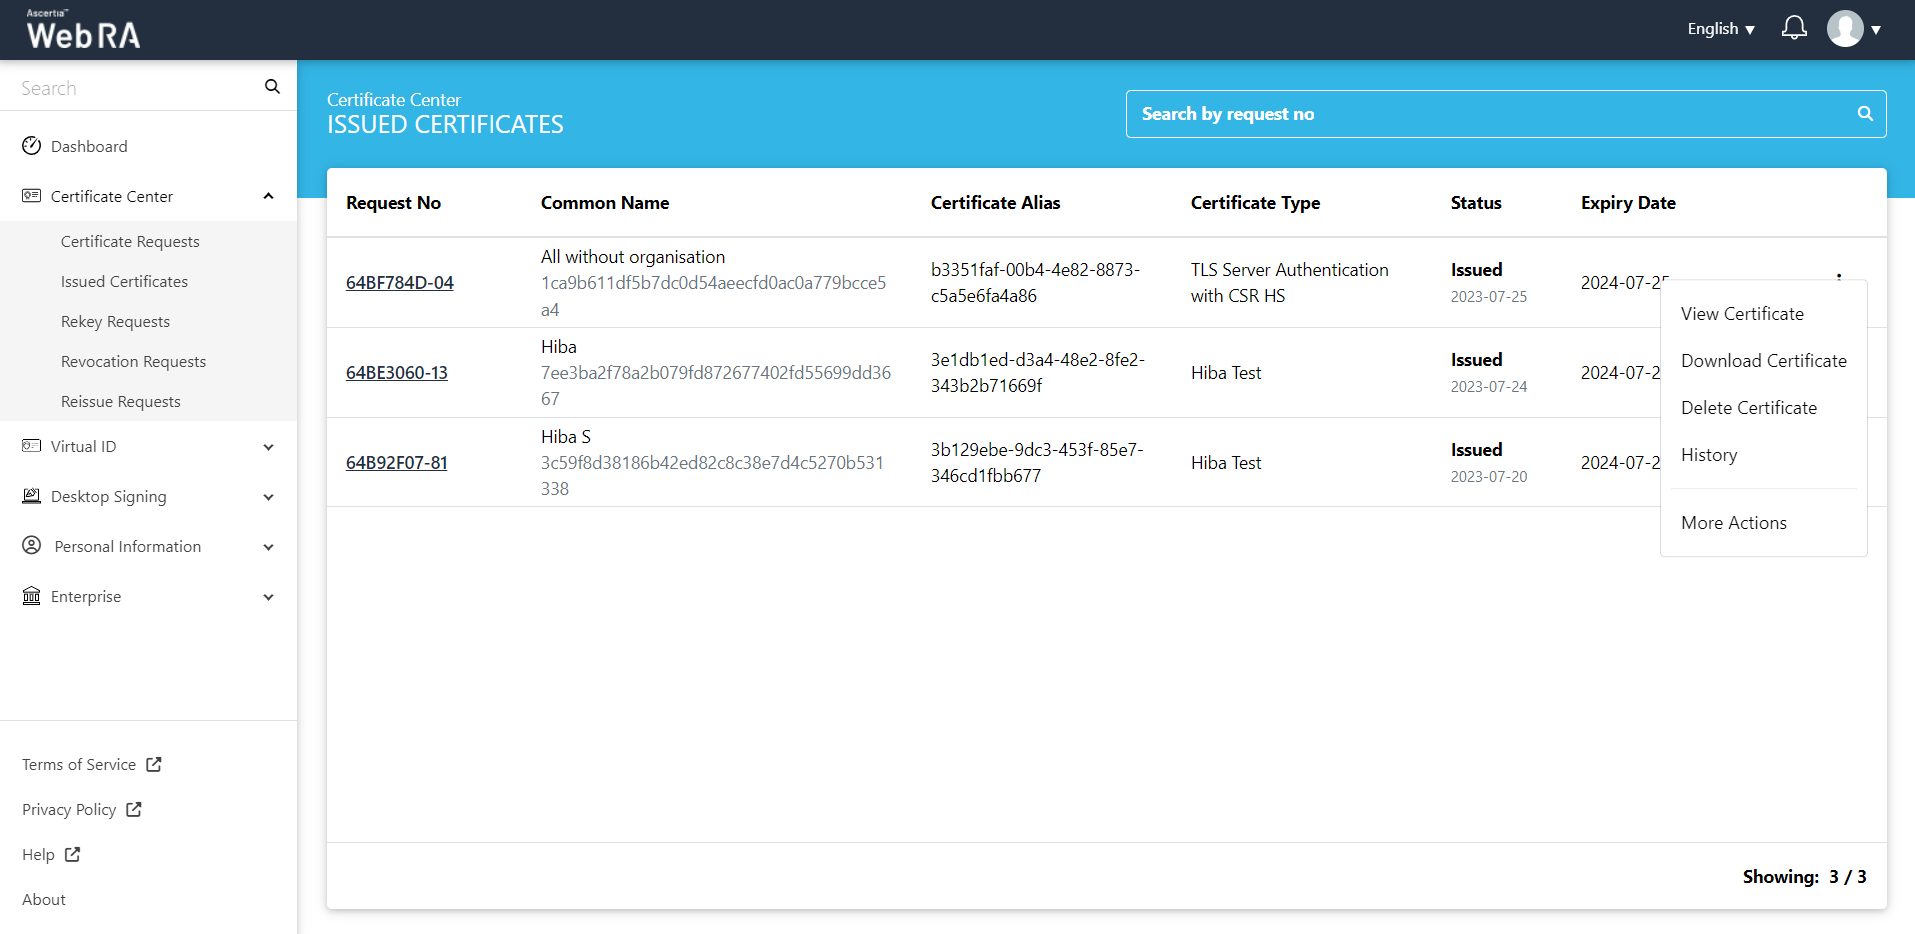
On the web portal, from the left menu pane, navigate to Certificate Center > Issued Certificates from the left menu pane. The following screen will be displayed:
|
Field |
Description |
|
Sort |
User can sort the record by ay column on click of sort Icon |
|
Modify |
User can modify all columns |
|
Export |
User can Export all selected records on click of PDF and CSV icon |
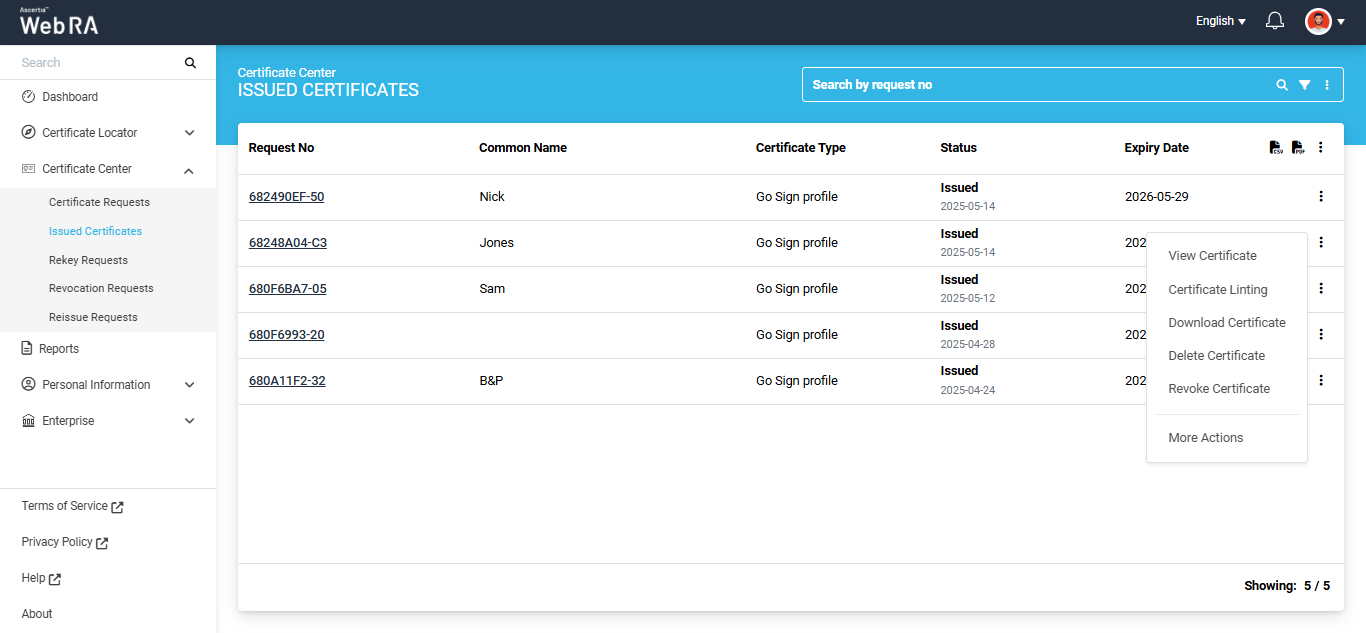
Click  button and you can perform a number of actions as displayed below:
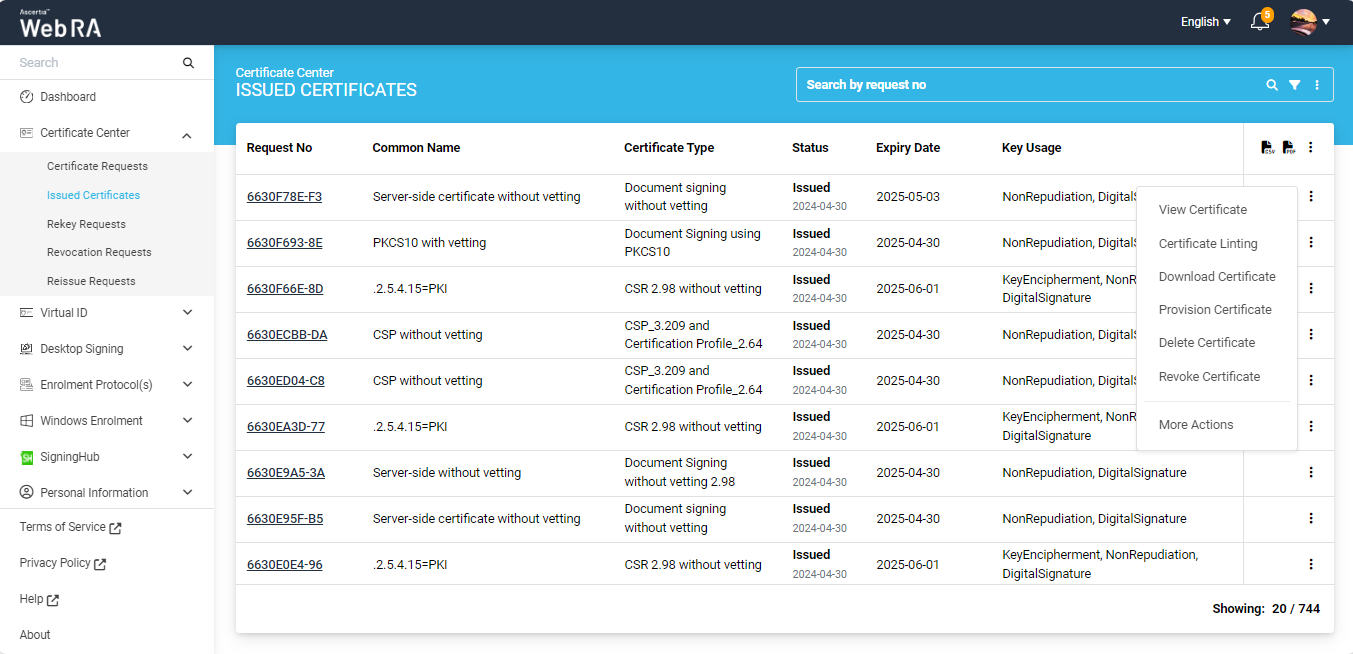
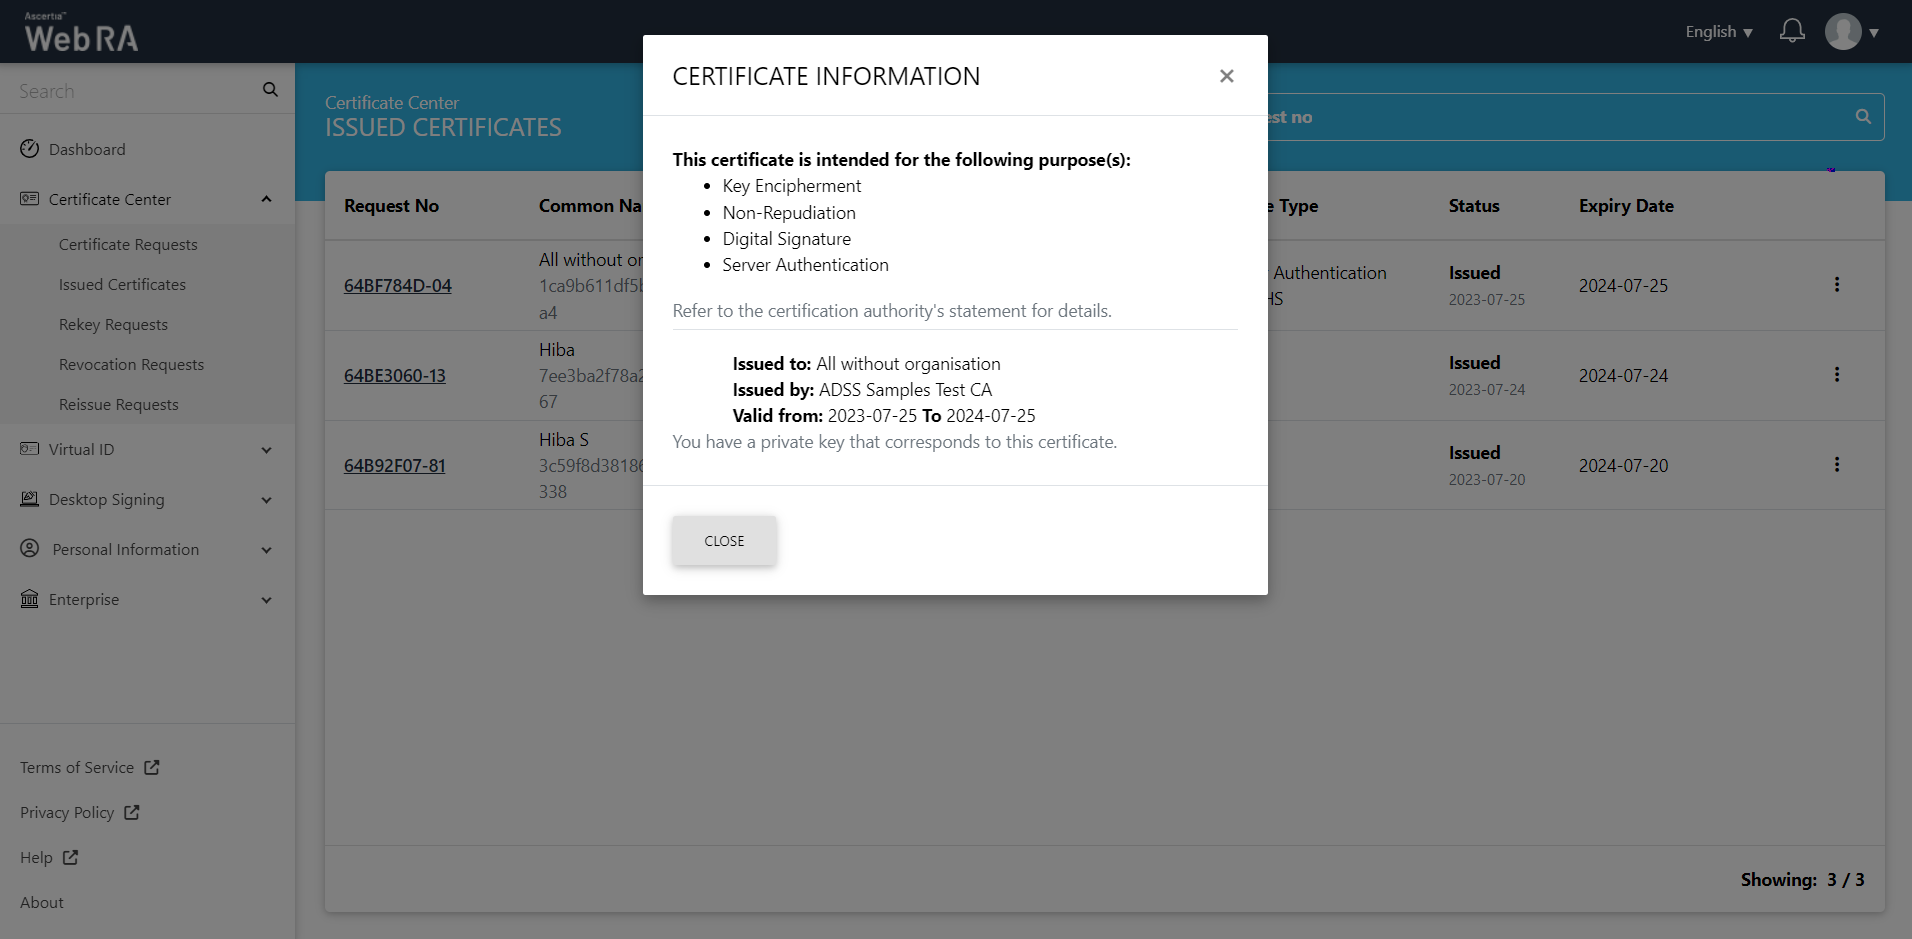
Click "View Certificate" against the certificate you want to view. The certificate information will be displayed. Then click "Close".
- Expand Certificate Center > Issued Certificates.
- Click the button next to the certificate that you want to download, then click 'Download Certificate' option.
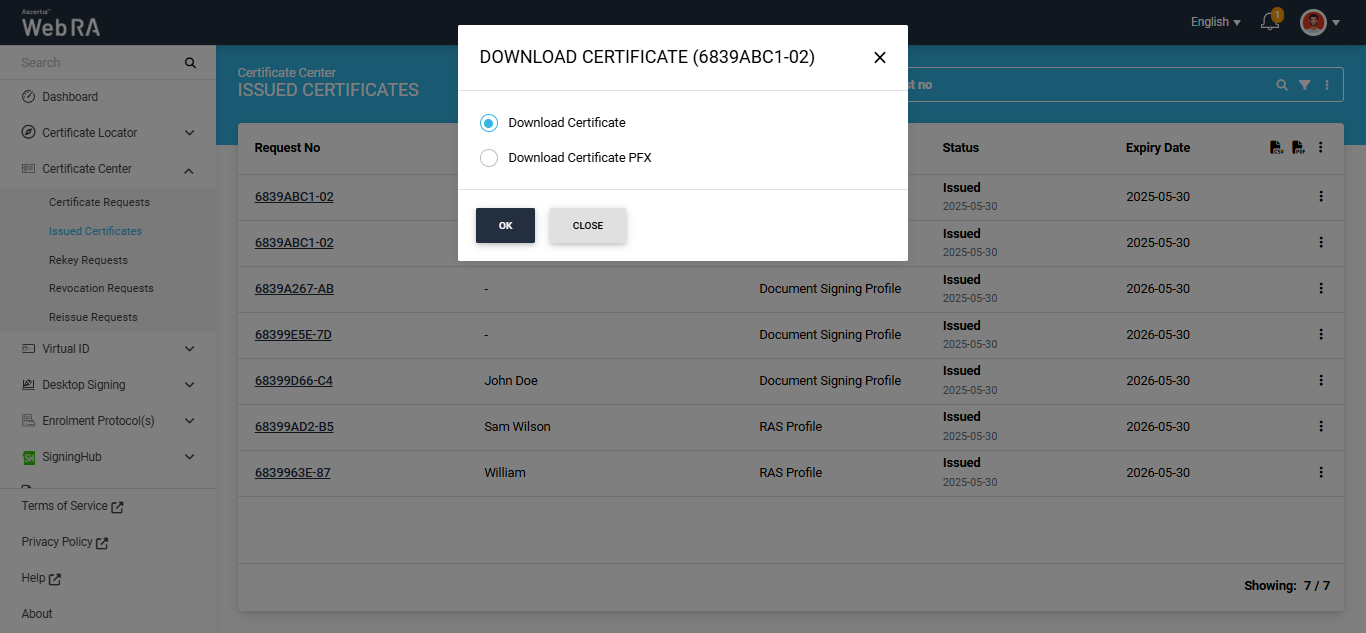
The system will display the 'Download Certificate' dialog. You will have the option to download just the certificate alone or download the certificate PFX.
If you want to download the certificate, select the 'Download Certificate' radio button and click 'Ok'. The certficate will be downloaded in your computer.
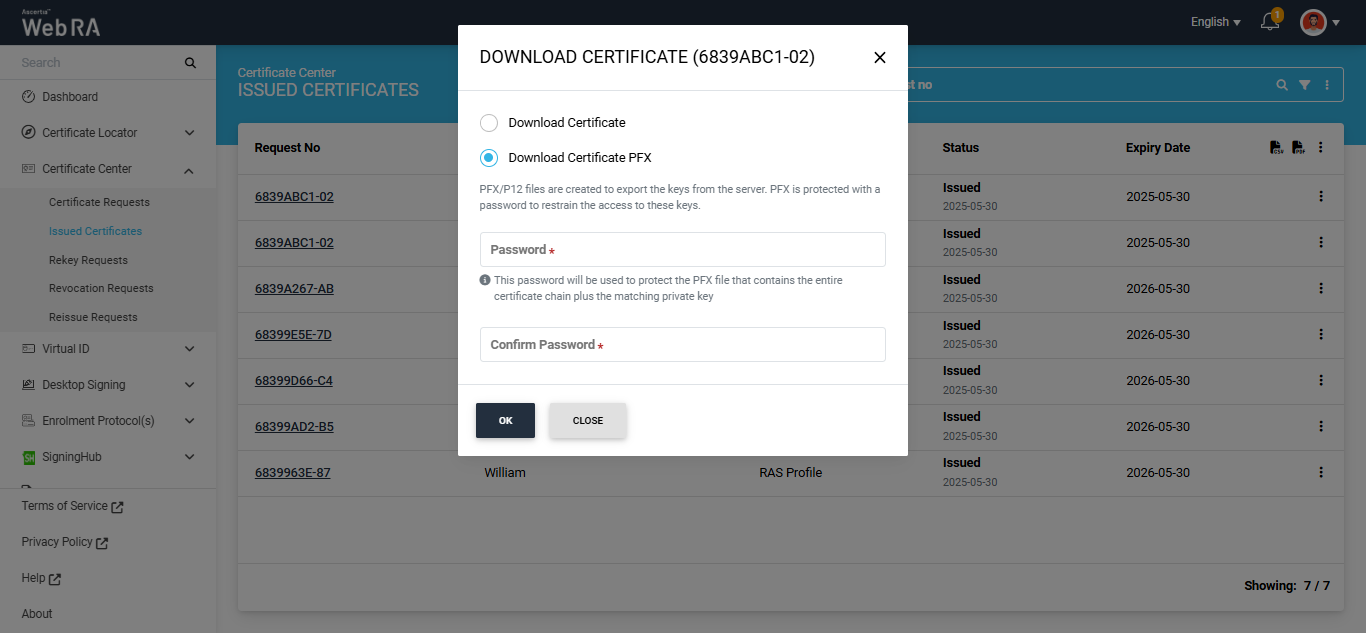
If you want to download the certificate PFX, select the 'Download Certificate PFX' radio button. The dialog will then display the Password fields.
Enter the password in the 'Password' and 'Confirm Password' fields, then click 'Ok' to download the certificate PFX on your computer.
- Expand Certificate Center > Issued Certificates.
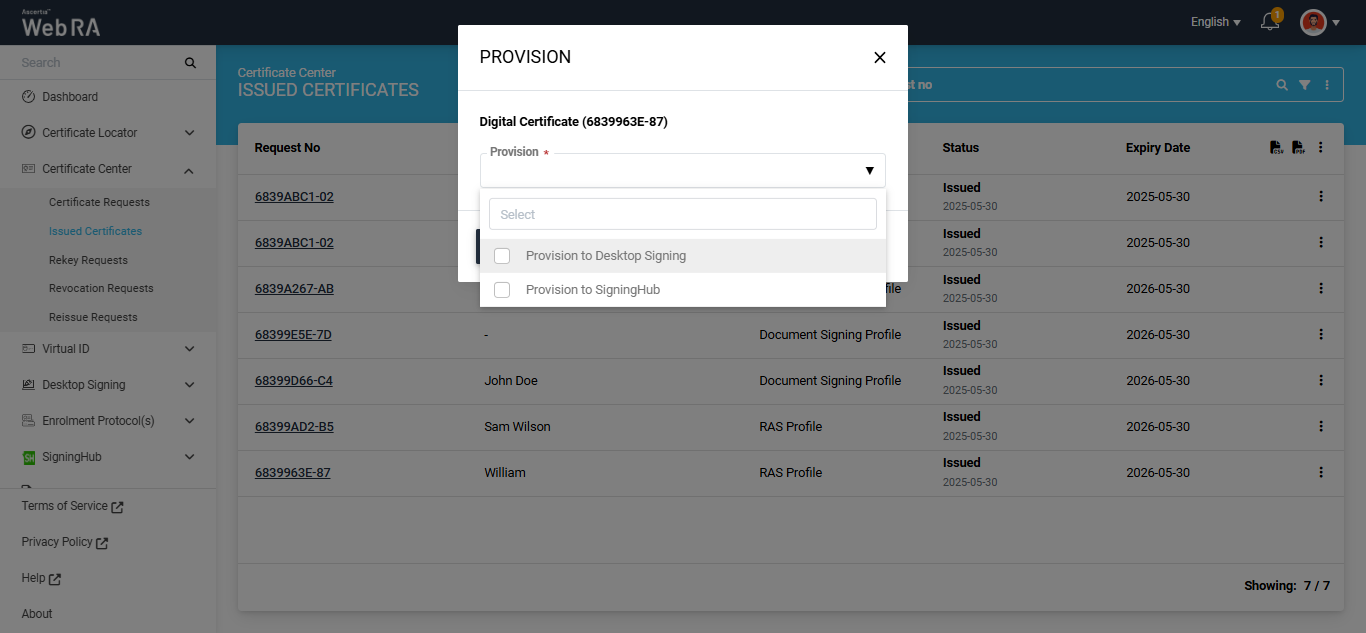
- Click the button next to the certificate that you want to provision, and click 'Provision' option. The system will display the 'Provision' dialog.
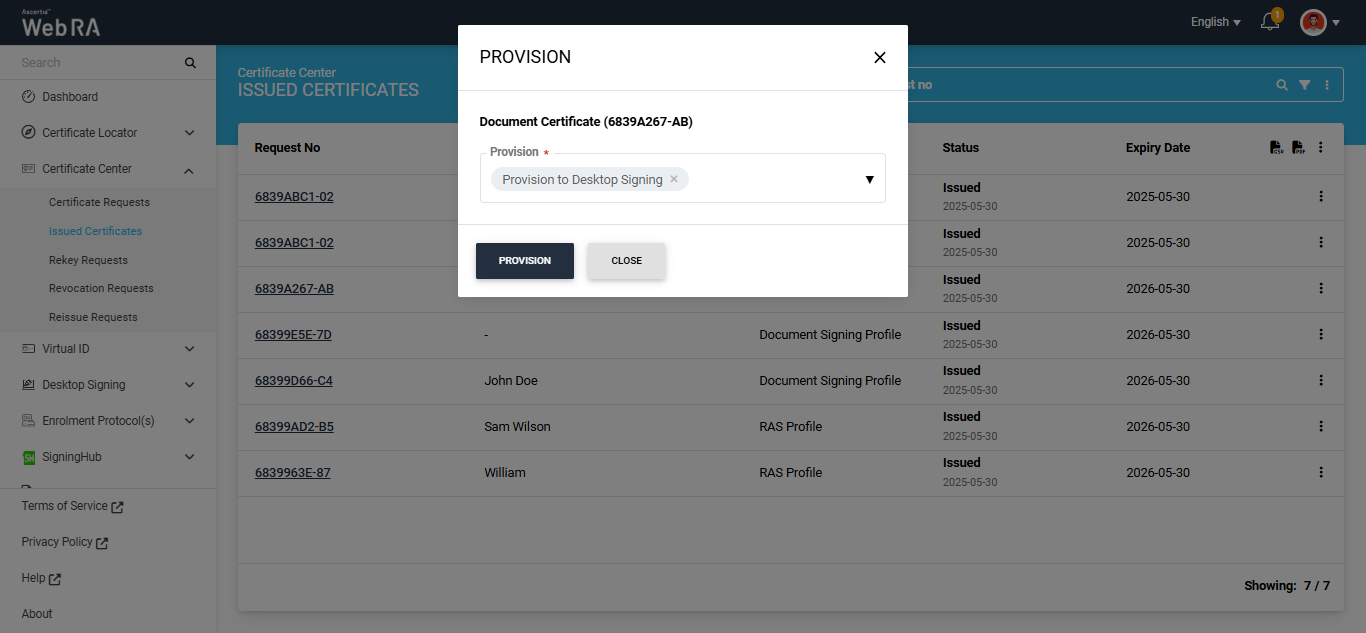
Select the 'Provision to Desktop Signing' option from the dropdown and click 'Provision'.
The certificate will be provisioned to the Desktop Signing service.
Note: If you are provisioning a Virtual ID certificate, the 'Provision' dropdown will display two options:
- Provision to Desktop Signing
- Provision to SigningHub
You can choose either one or both options from the dropdown to provision your certificate. After making your selection, click 'Provision' to complete the provision process.
- Expand Certificate Center > Issued Certificates.
- Click against the certificate you want to delete and then click Delete Certificate.
- A confirmation dialog will appear as displayed below. It will also delete certificate (s) against this request,

This note appears according to the configurations in the Policy section in the Admin portal.
- Expand Certificate Center > Issued Certificates
- Click the
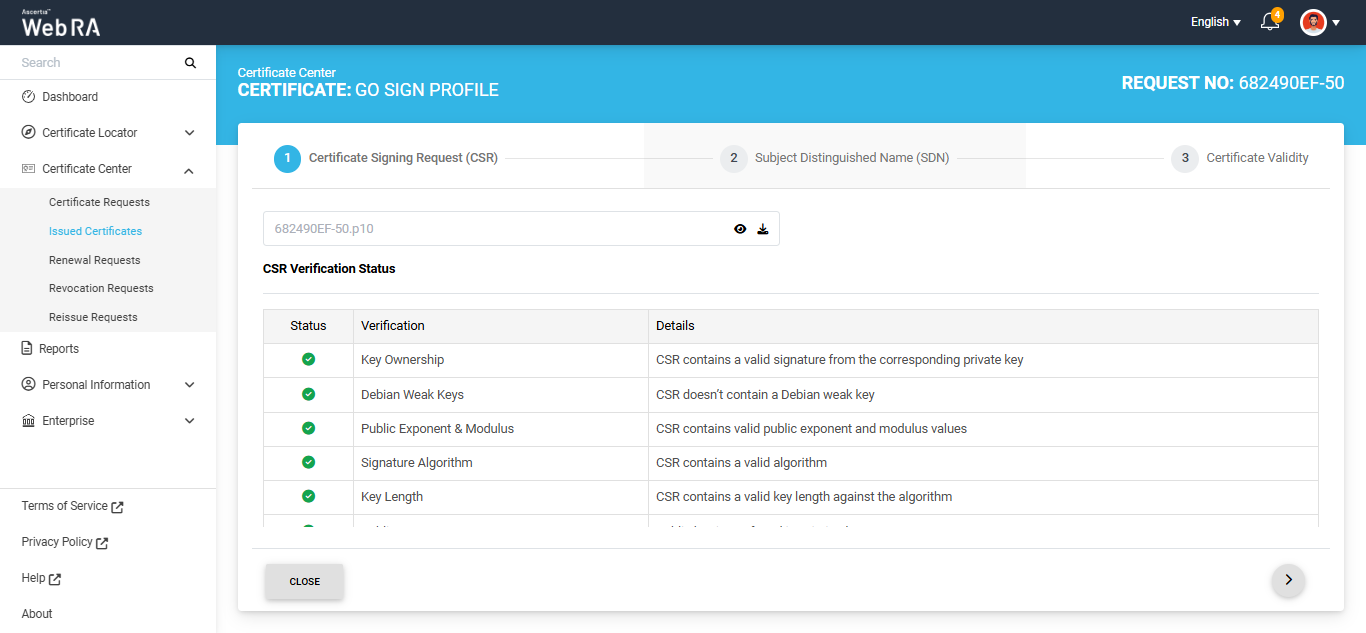
 button next to the certificate that you want to renew, then click the 'Renew Certificate' option.

The system will open the certificate in read-only mode.
After reviewing the certificate details, proceed to the final section and click the 'Renew' button.
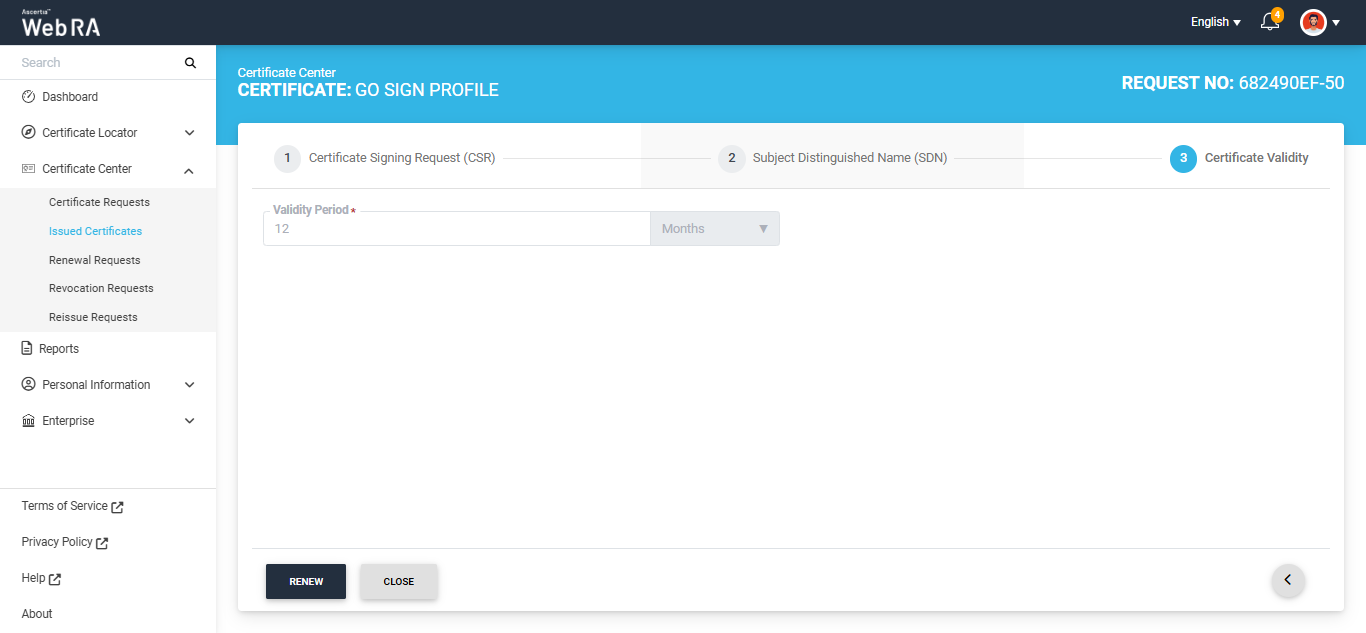
The system will display a dialog titled 'Certificate Renew'.
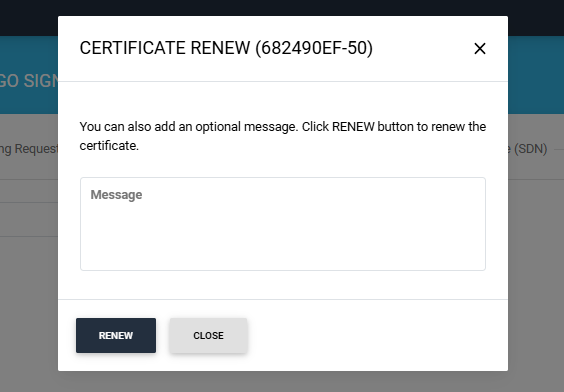
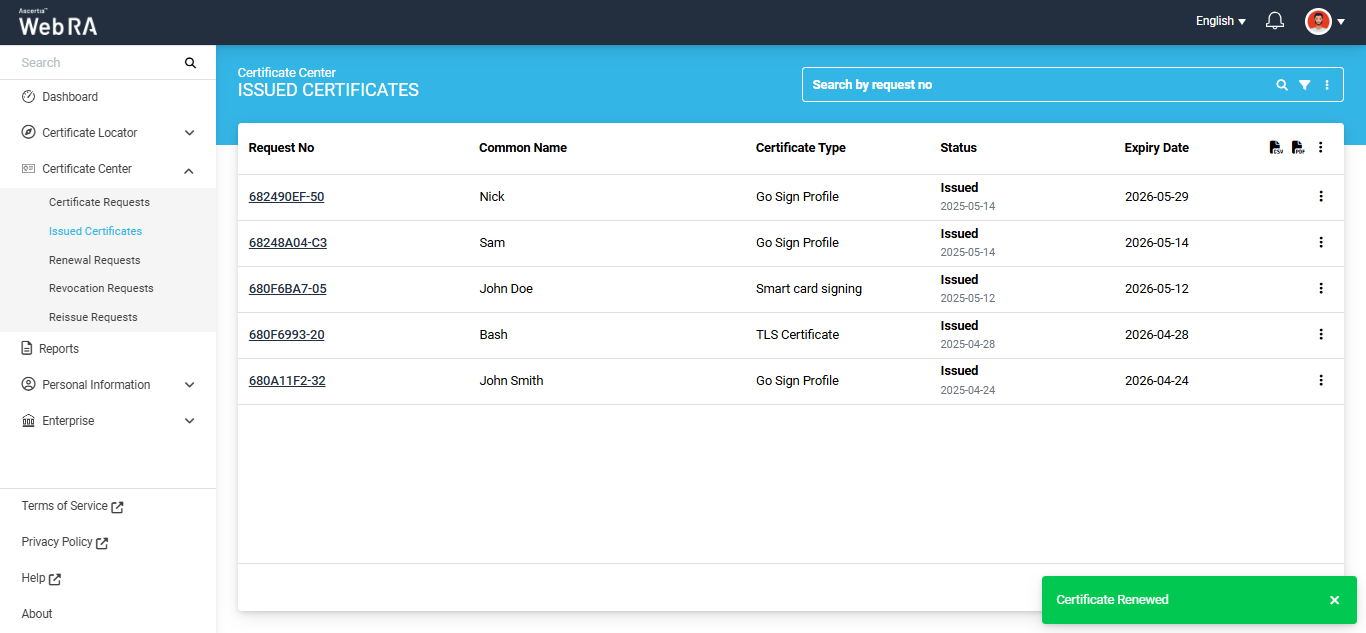
You can add a message in the optional message box. After that, click ‘Renew’ button to renew the certificate. The certificate will be renewed and the ‘Certificate Renewed’ popup will appear in the bottom-right corner of the screen.
Note: If Vetting is enabled in the certification profile, then upon clicking ‘Renew’ the certificate renewal request will be sent to the Administrator for approval.
Note: In case of ‘Go>Sign certificate with smart card token’, you will need to import the renewed certificate to update it in the token.
To do this, click the  button next to the renewed token certificate, then click the ‘Import Certificate’ option. The certificate will be imported, and a new entry will be created for this certificate in the token.

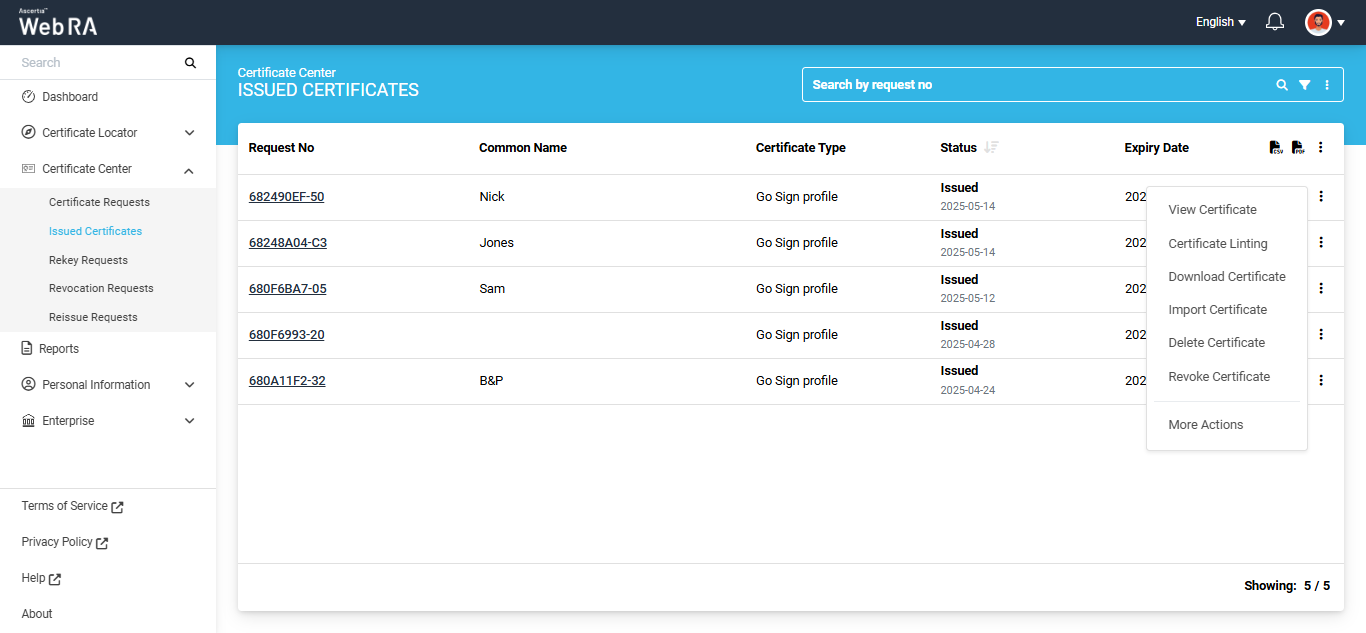
- Expand Certificate Center > Issued Certificates
- Click the
 button next to the certificate that you want to rekey, then click ‘More Actions’.
Note: To rekey a certificate, the ‘Rekey Certificate’ option should be enabled in the Policies > Certificates section from the admin portal.
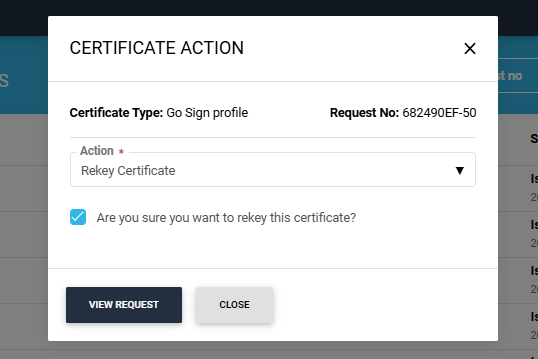
A ‘Certificate Action’ dialog will appear on the screen.
Select the ‘Rekey Certificate’ option from the ‘Action’ dropdown and enable the confirmation checkbox below the dropdown. Then click ‘View Request’.
The system will open the certificate in read-only mode.
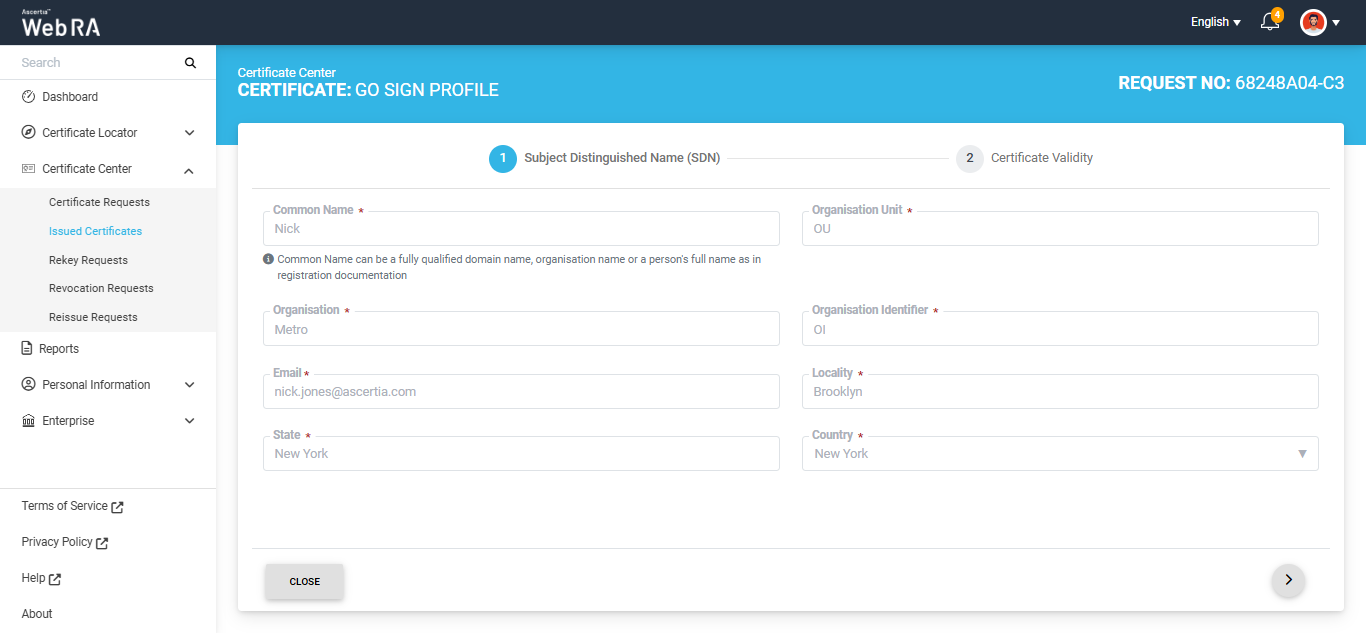
After reviewing the certificate details, proceed to the final section and click the 'Rekey' button.
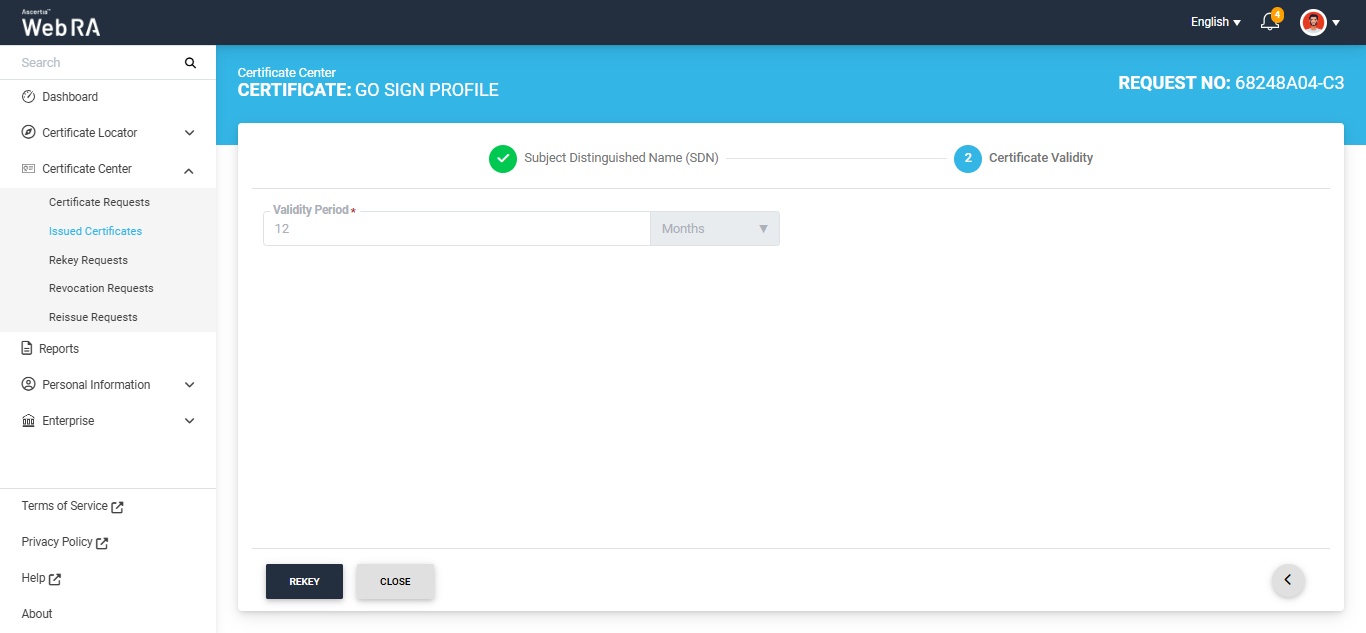
The system will display a dialog titled 'Certificate Rekey'.
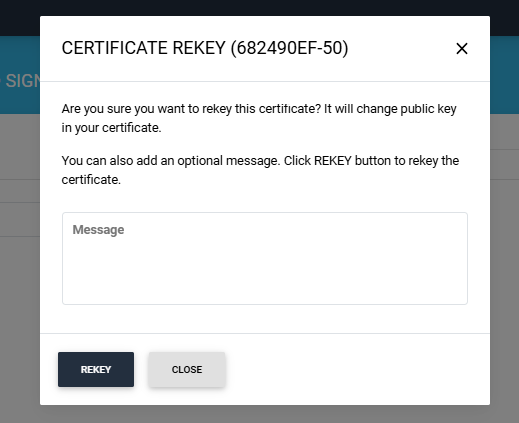
You can add a message in the optional message box. After that, click ‘Rekey’ button to renew the certificate. The certificate will be rekeyed.
Note: If Vetting is enabled in the certification profile, then upon clicking ‘Rekey’ the certificate rekey request will be sent to the Administrator for approval.
Note: In the case of ‘Go>Sign certificate with smart card token’, you will need to import the rekeyed certificate to update it in the token.
To do this, click the  button next to the rekeyed token certificate, then click the ‘Import Certificate’ option.
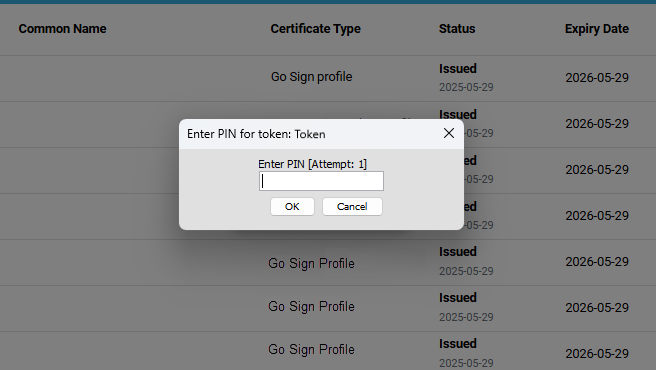
The system will display the ‘Enter PIN for Token’ dialog. Enter the PIN of the token and click ‘Ok’.
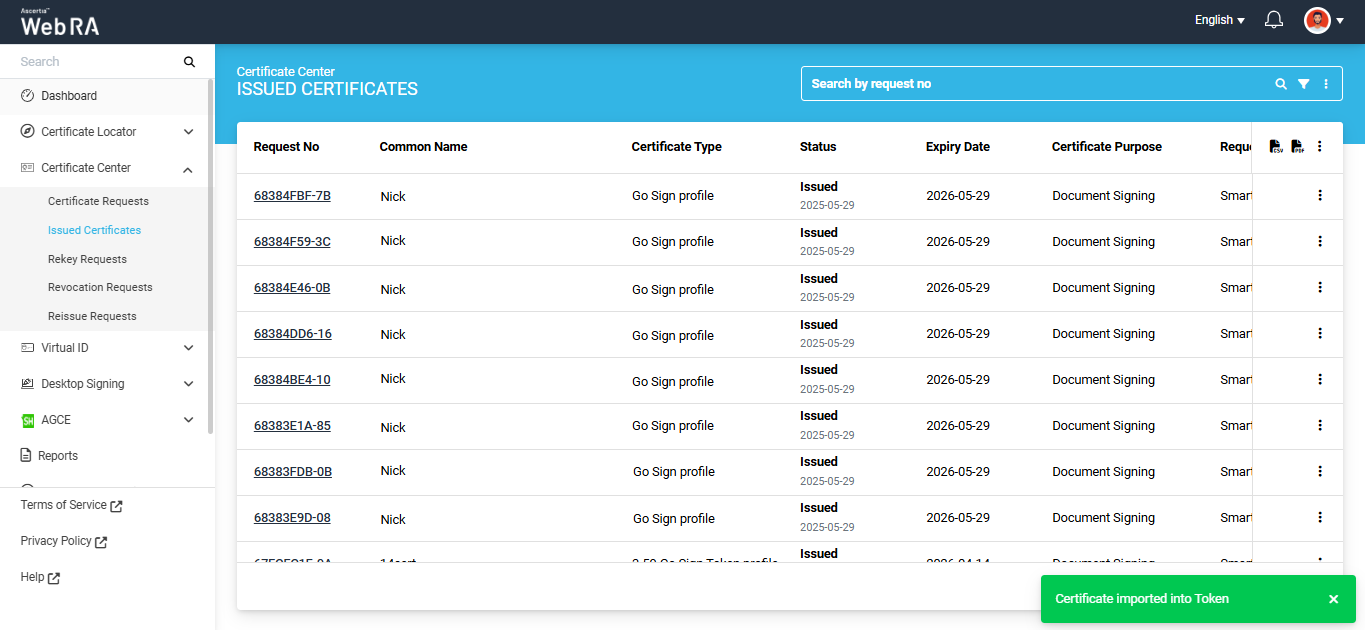
The certificate will be imported, and a new entry will be created for this certificate in the token. A success popup titled ‘Certificate imported into Token’ will appear once the certificate is successfully imported into the token.
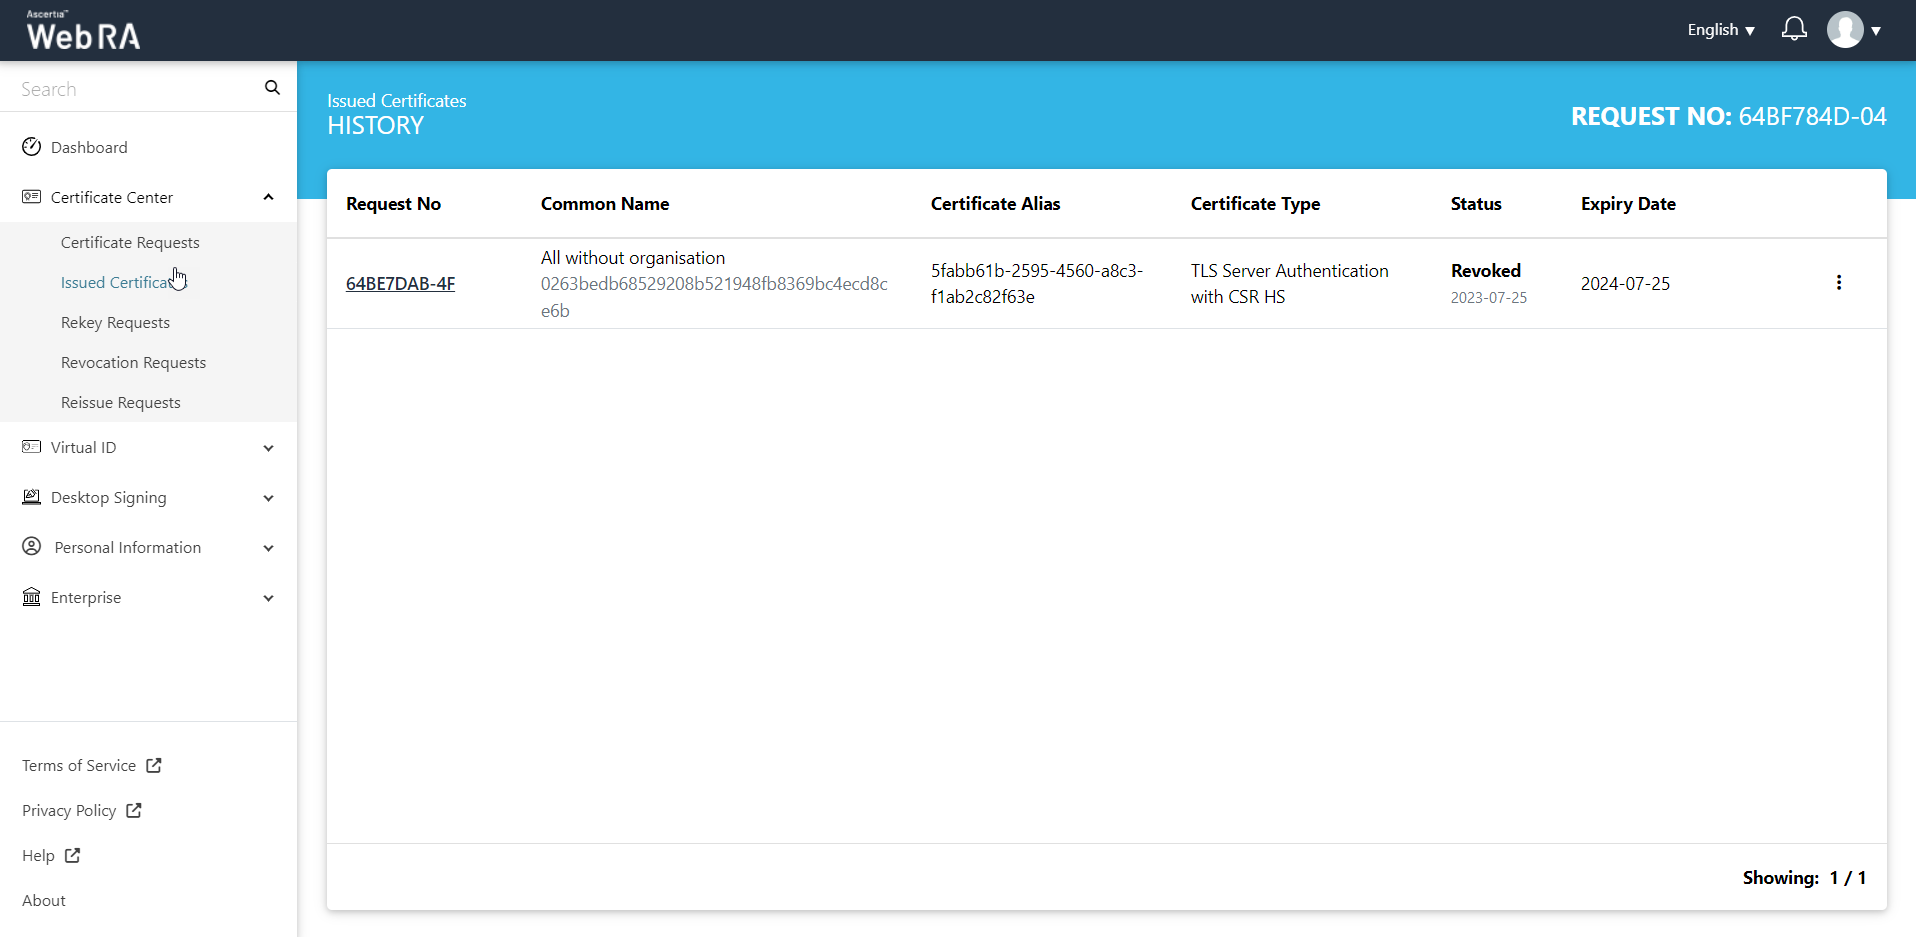
If you have revoked a certificate, or reinstated a revoked certificate, you can also view the history by clicking against a specific certificate. Then click "History".
You can see what action was performed on a certificate previously.