Settings
An operator can manage the Virtual ID settings from this section.
Click "Virtual ID" and then click "Settings". The following screen will be displayed:

User name is the user that has logged into ADSS Web RA web portal. User ID is the virtual ID user that is registered in the ADSS Web RA. And the mobile number is provided to set up Virtual ID user.
Change Virtual ID Mobile Number with OTP Verification
Users have the option to change their Virtual ID mobile number with OTP verification.
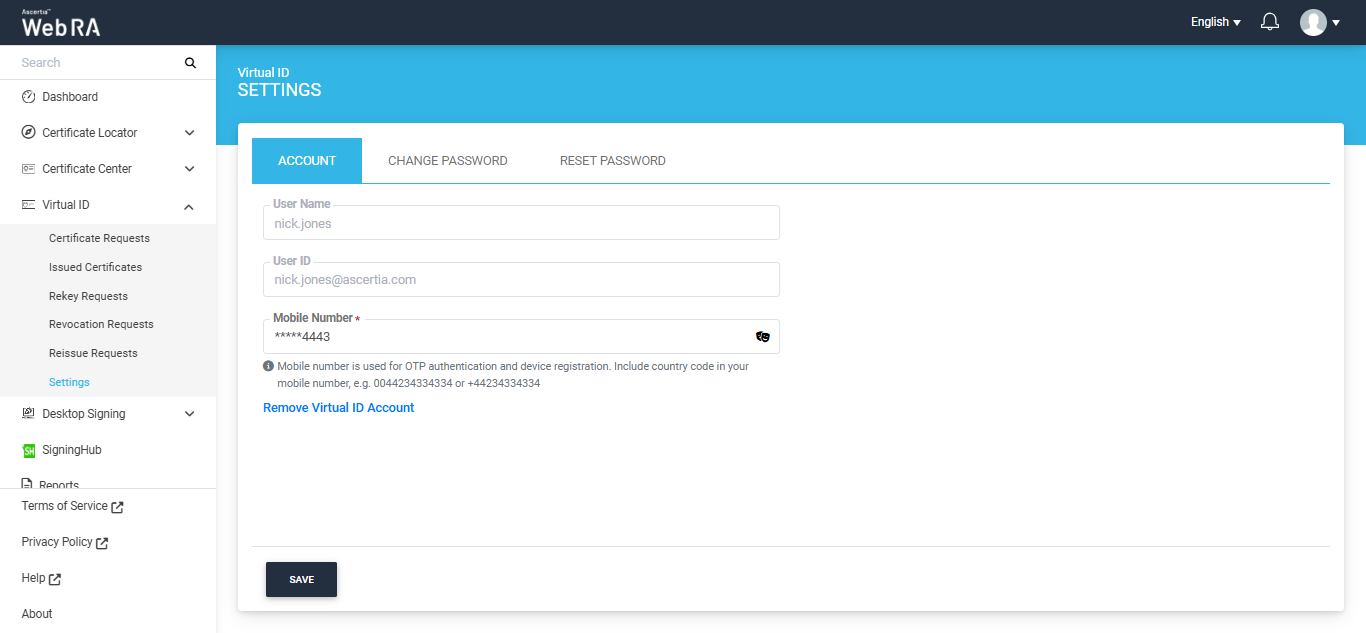
To change your mobile, click on the mask icon present inside the 'Mobile Number' field. The system will then display the full number.
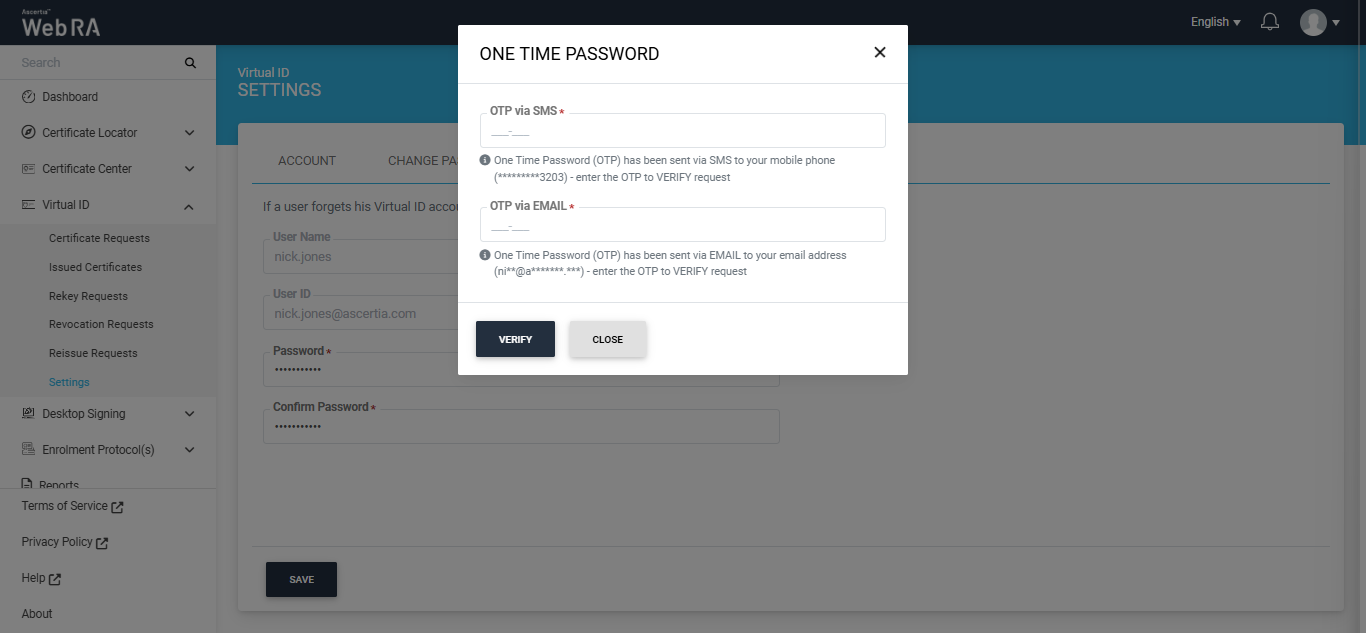
Enter your new mobile number in the field and click 'Save'. The following OTP dialog will appear on the screen:
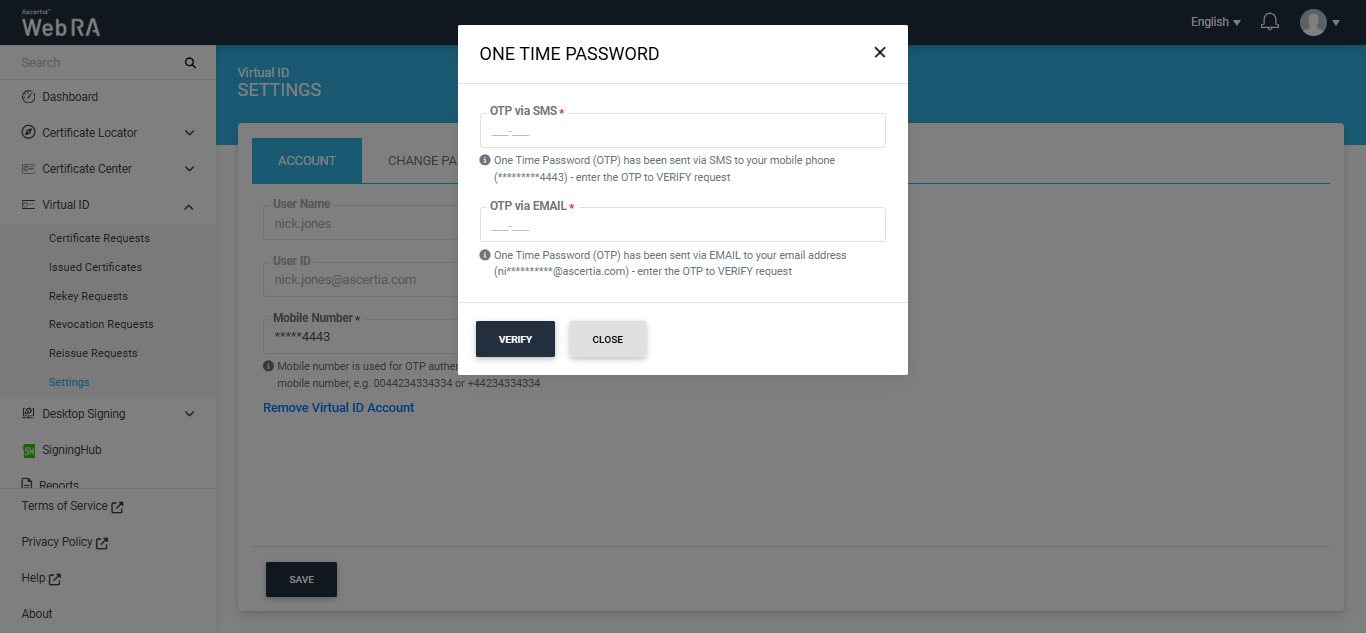
An OTP will be sent to the new mobile number, enter it in the OTP via SMS box.
An OTP will also be sent to user's email address, enter it in the OTP via EMAIL box and click Verify to proceed.
Enter both OTPs and click "Verify" for verification. The new number will be saved upon verification.
Note:
- A user will also have to change the configurations in the ADSS Server to change the Virtual ID mobile number.
- For Virtual ID, the configurations for SAM_OTP length is 6.
|
Field |
Description |
|
Name |
A friendly identifier for the new role |
|
Description |
A brief text to explain the characteristics of the role |
|
Allowed Modules |
Select the required modules and sub modules to include in this role and set their permissions (i.e. Read, Add/Edit, and Delete) accordingly. The administrators with this role would be able to access the allowed (selected) modules only along with the respective fine grained authorization. |
Remove Virtual ID
- Click "Virtual ID" and then click "Settings" from the left menu.
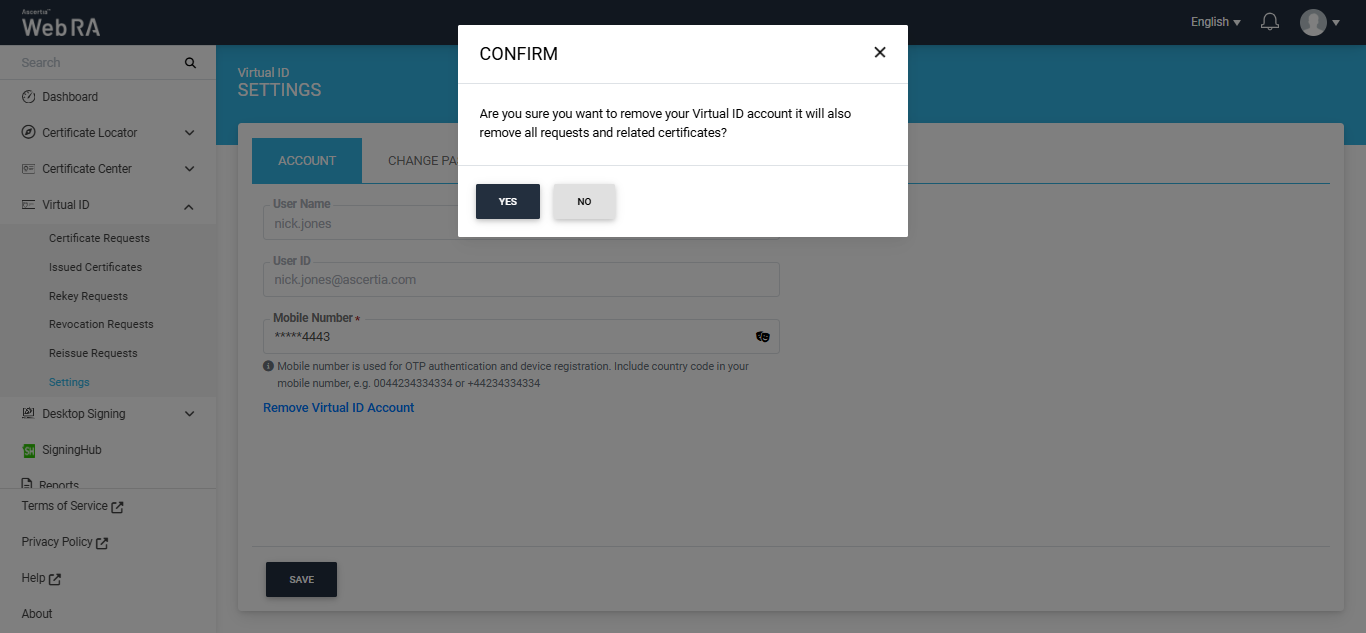
- Click on the "Remove Virtual ID Account" link.
- A confirmation message will appear. Click "Yes" to remove your configured Virtual ID account.
|
|
Once you delete your Virtual ID, all its associated requests and certificates will be removed permanently. |
Change Virtual ID Password
- Click "Virtual ID" and then click "Settings" from the left menu.
- To change your old password, click on the 'Change Password' tab.
- The system will display three password fields that will allow you to change the password.
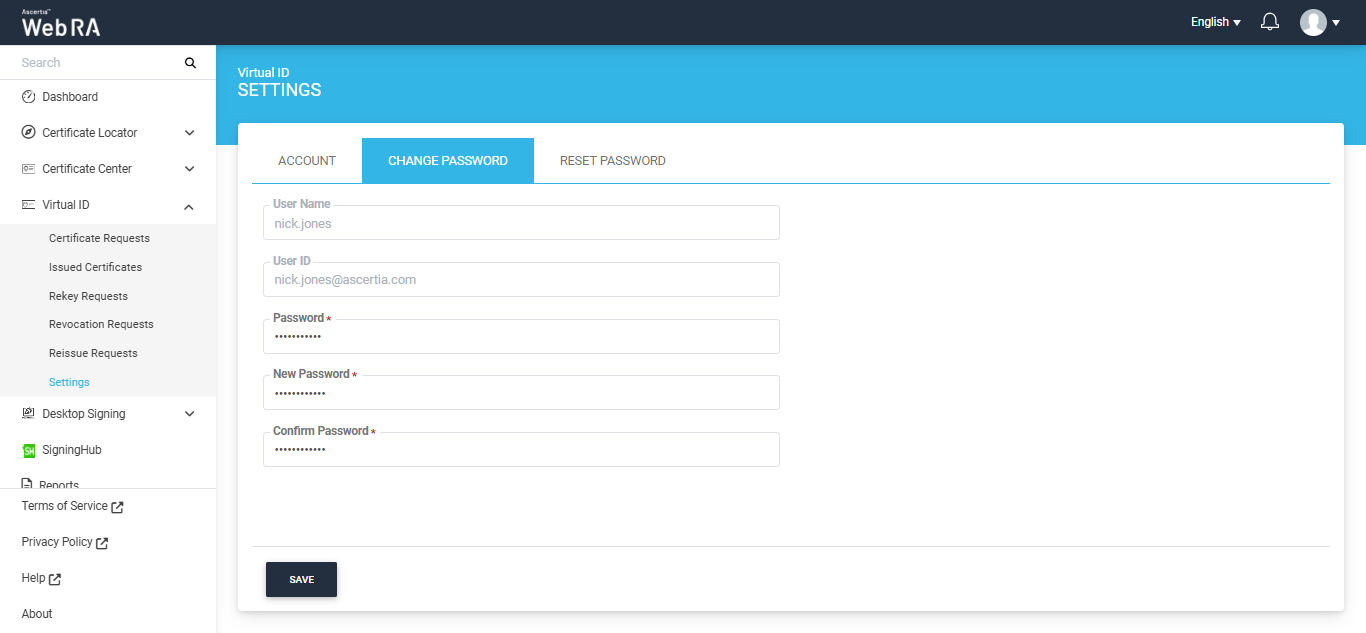
Enter your current password in the ‘Password’ field. Then, enter the new password in the ‘New Password’ and ‘Confirm Password’ fields.
Click ‘Save’ to implement the new changes.
Reset Password
- Click "Virtual ID" and then click "Settings" from the left menu.
- To reset your password, click on the ‘Reset Password’ tab.
- The system will display Password and Confirm Password fields on the screen.
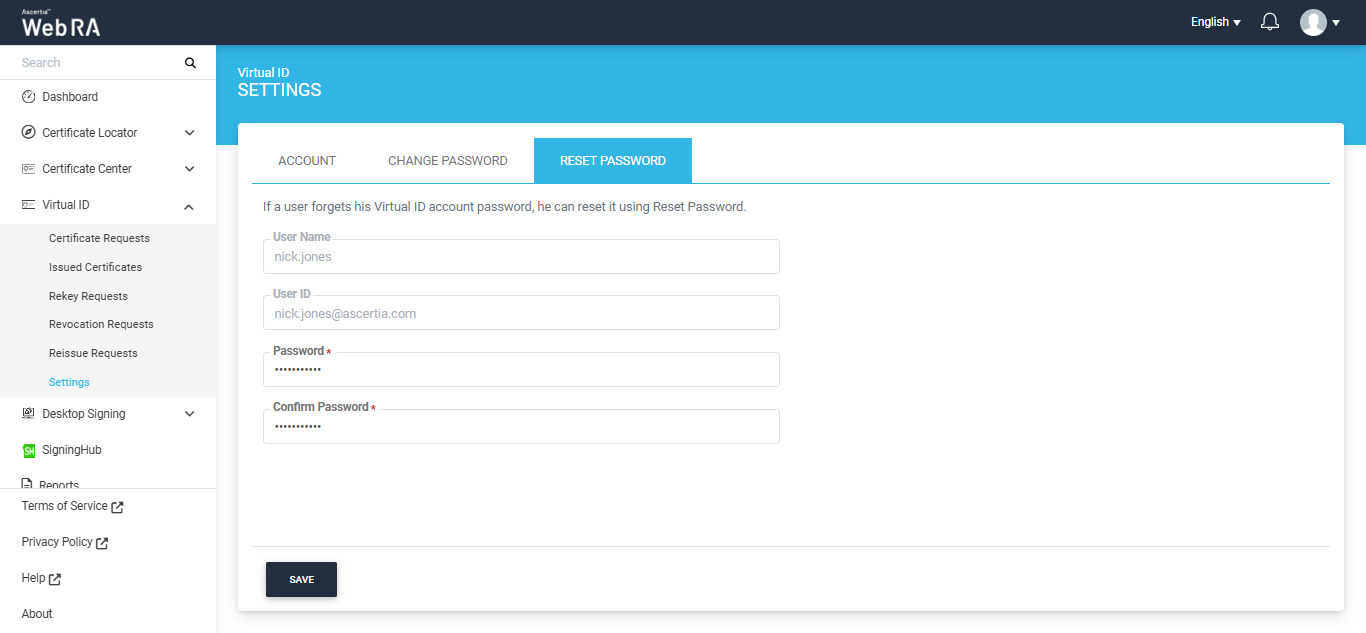
Enter the new password in the ‘Password’ and ‘Confirm Password’ fields and click ‘Save’ to reset your password.
After clicking the 'Save' button, an OTP verification dialog will appear, requiring you to verify your OTP to reset your password.
Note: To reset your password, ensure that the notification settings for Email and SMS OTP on the ADSS Server are functioning properly.
|
|
The system will not display the 'Change Password' and 'Reset Password' tabs in the settings page if the 'Enable Virtual ID Registration With Password' option is disabled in the RAS certification profile. |
