
Certificate Requests
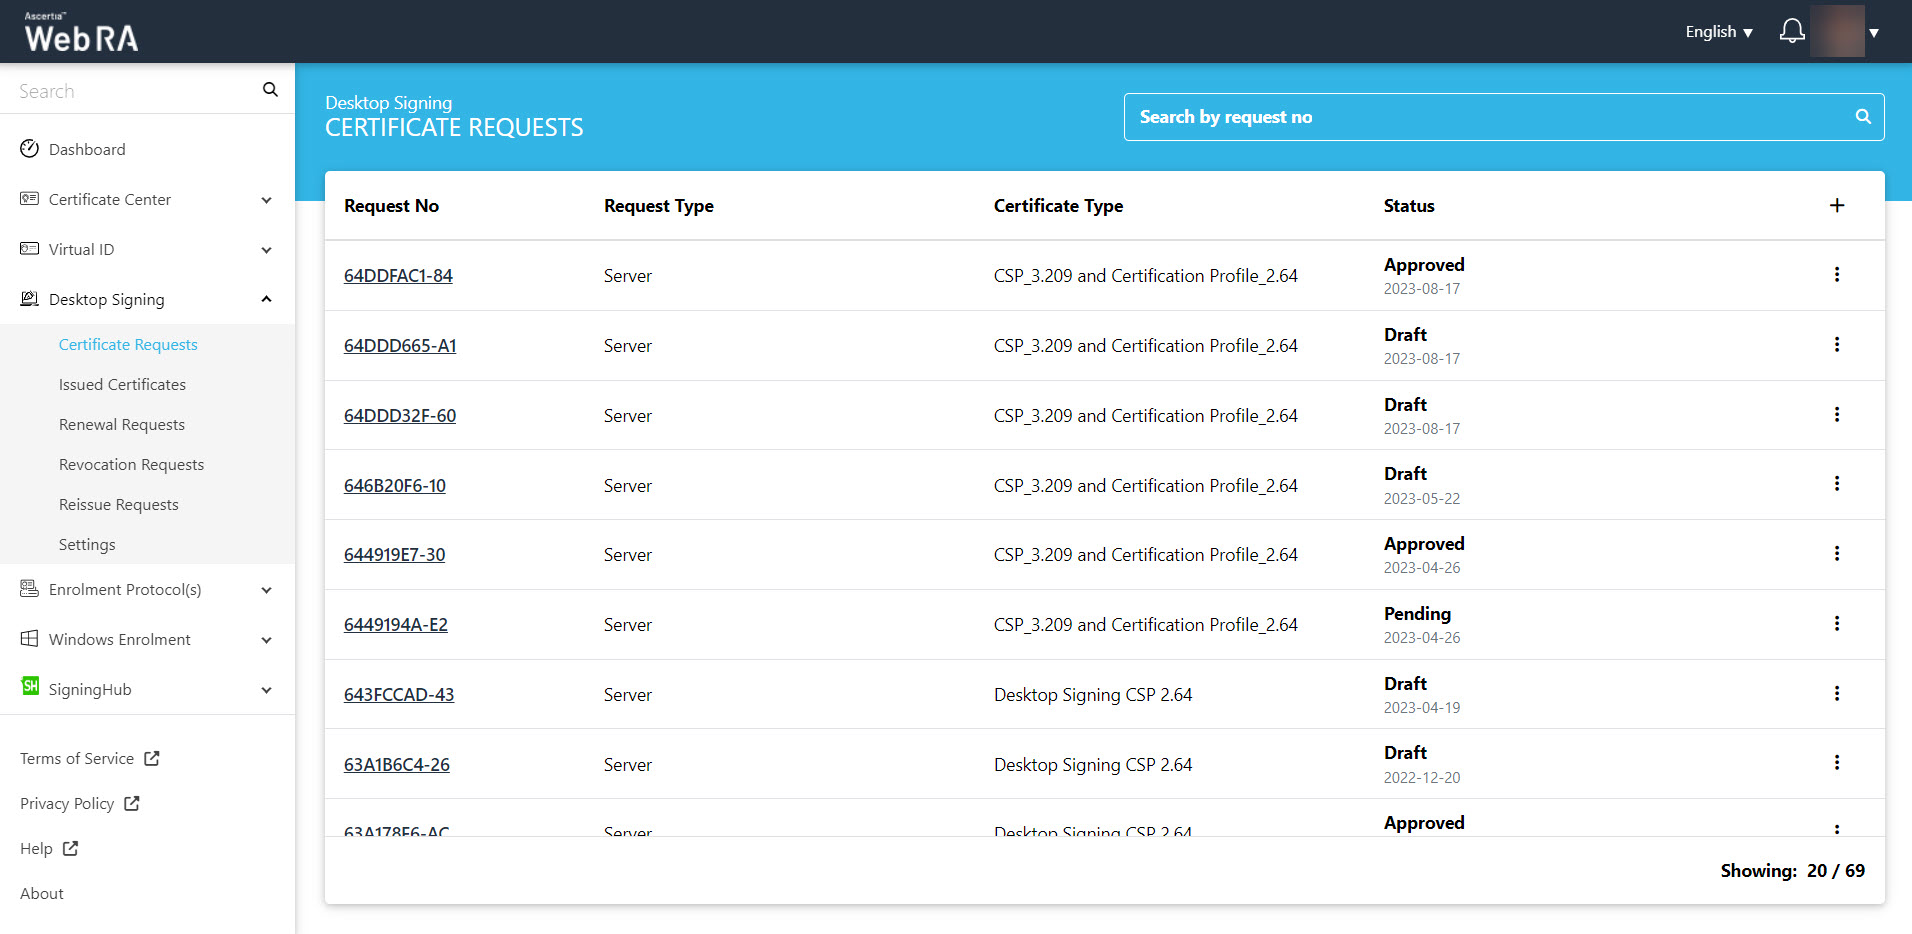
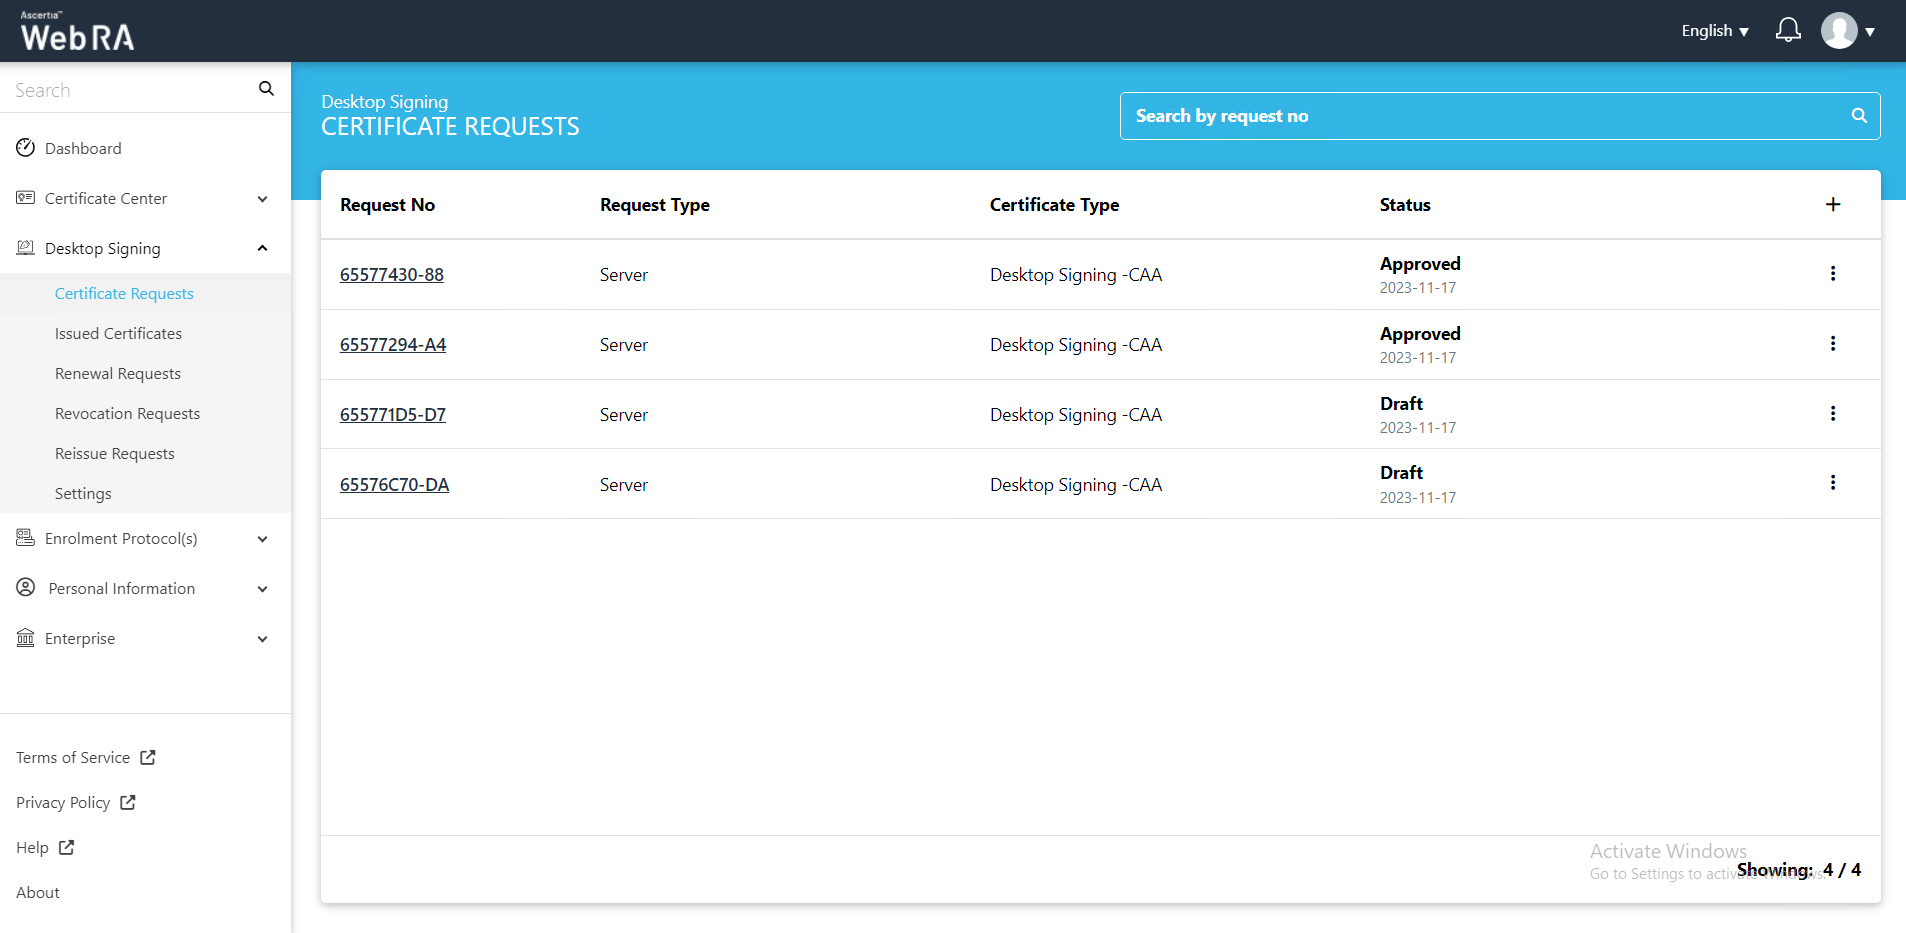
This section lists down all the certificate requests pertaining to a Desktop Signing user.
Once you have created a Desktop Signing account, follow these steps to create a certificate request:
- You can create a certificate request, using
 icon on top right.
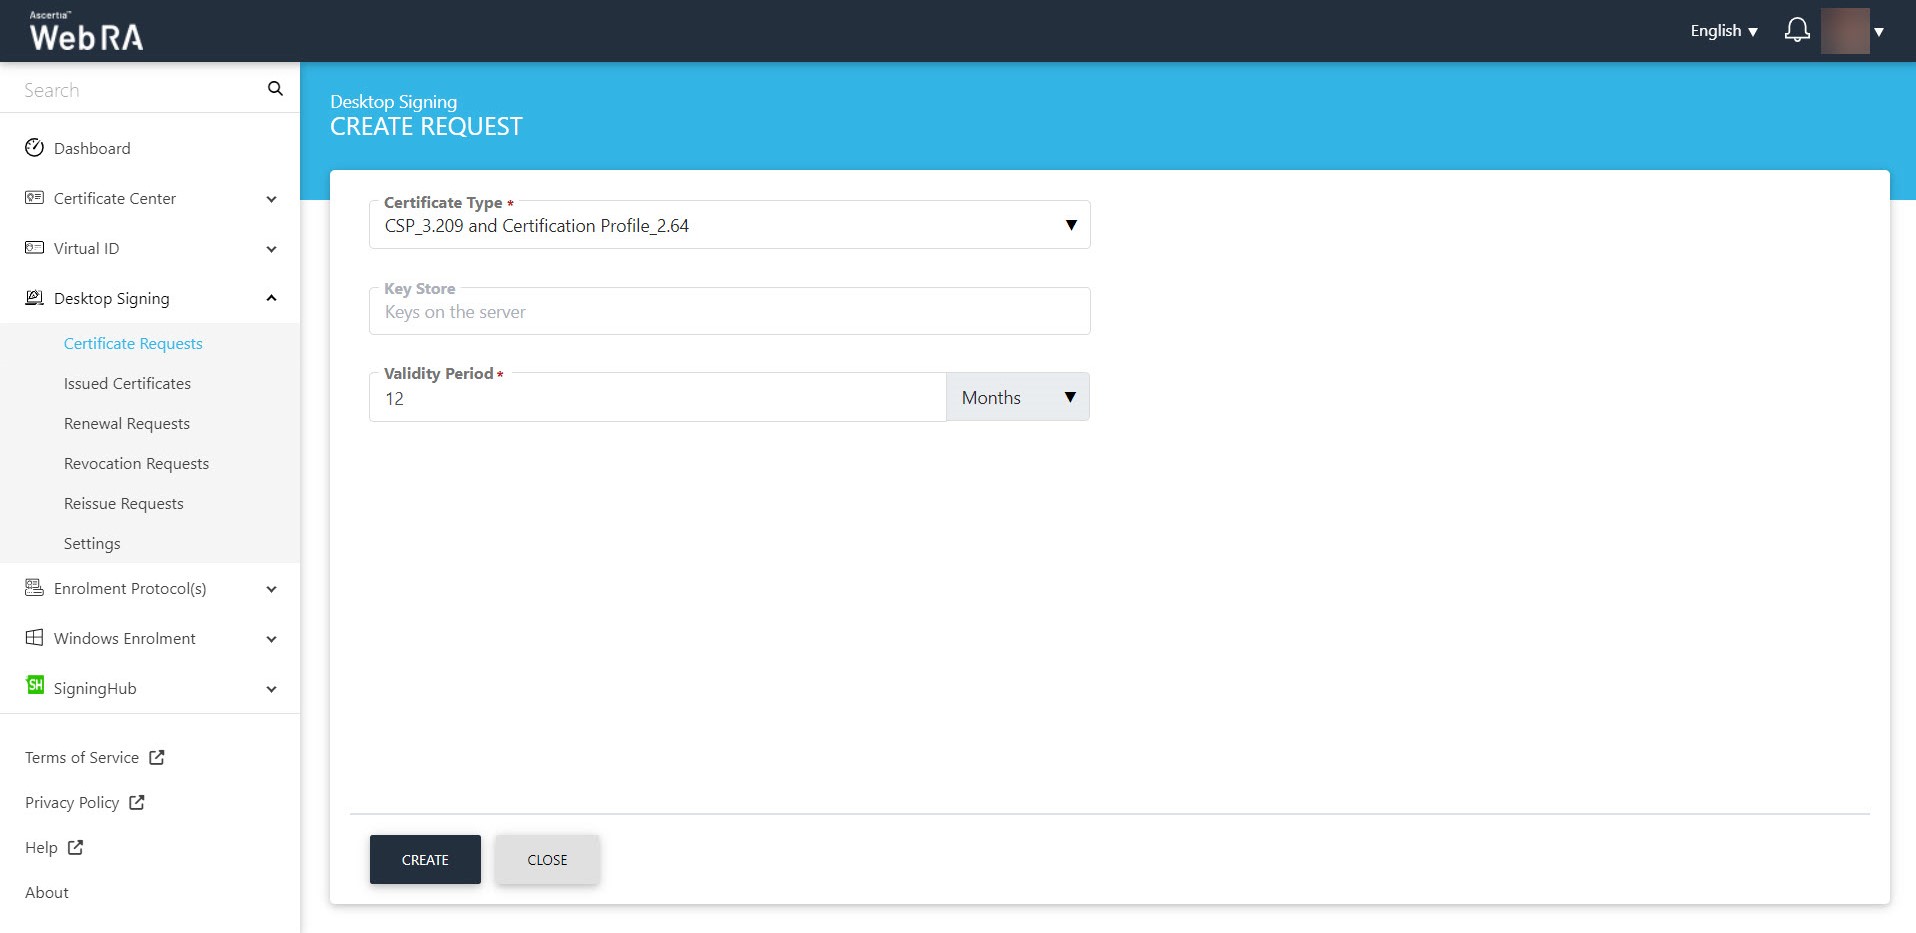
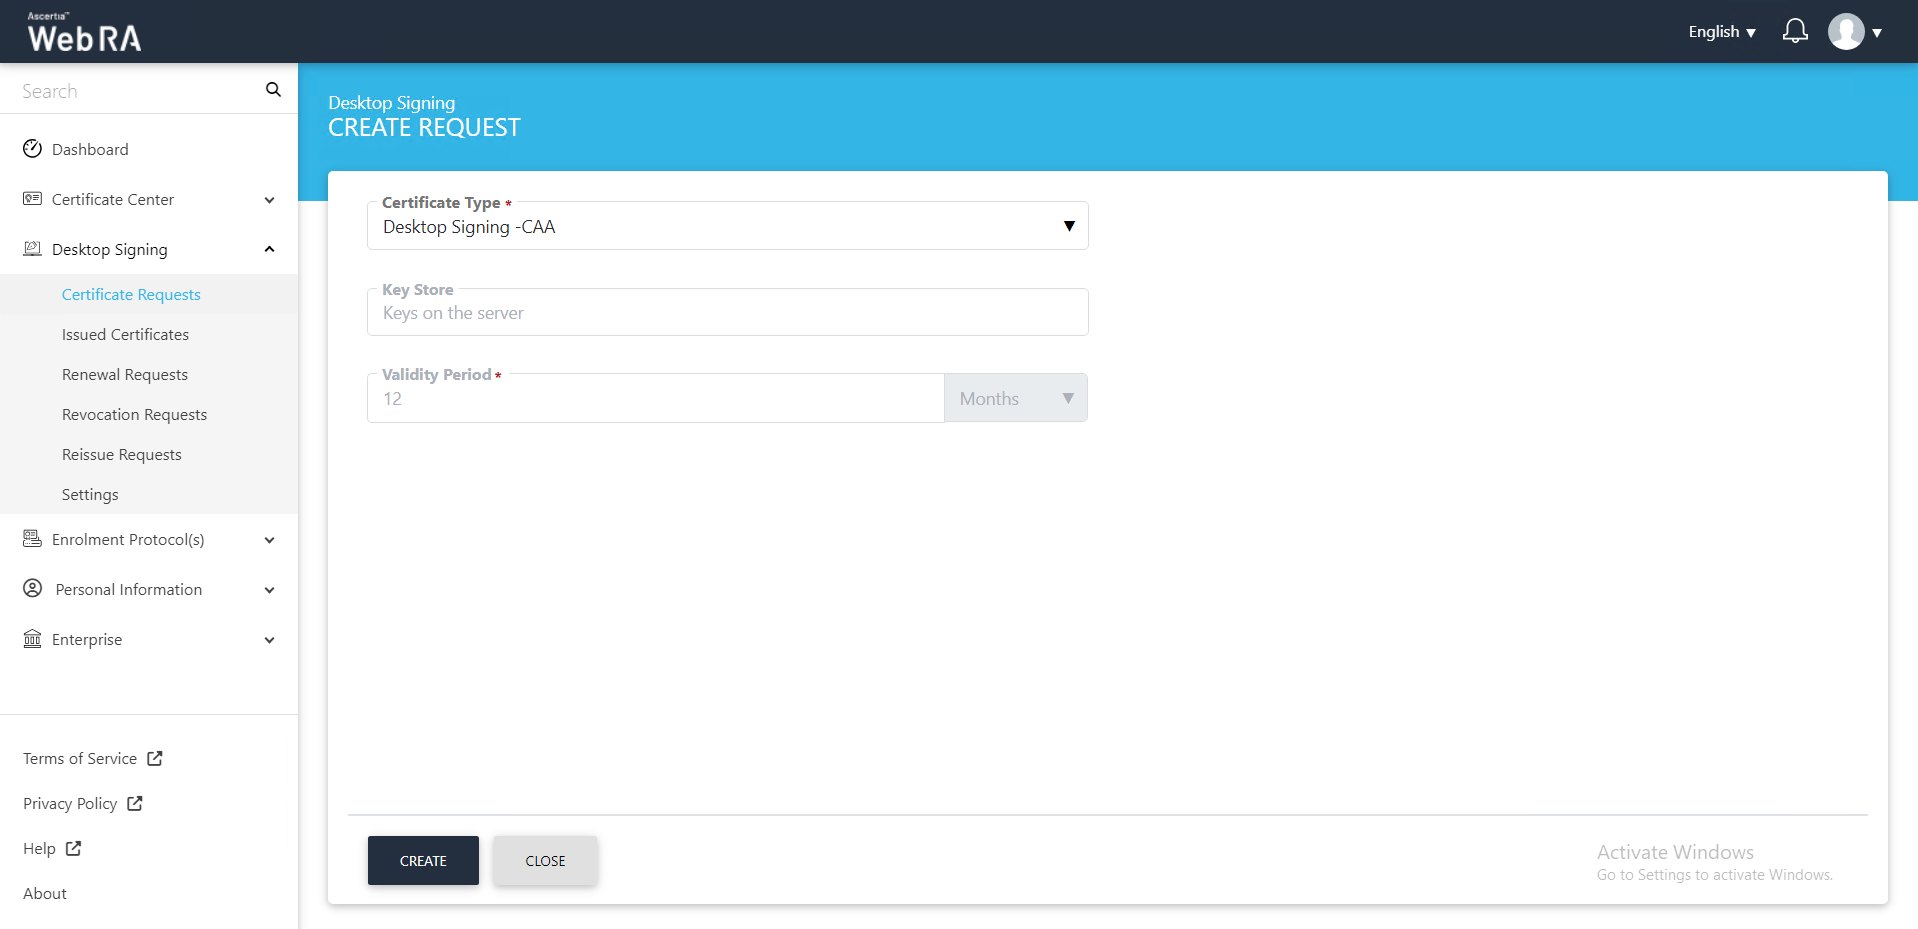
- Select the certificate type from the drop down, the key store will be auto-filled and disabled. Select validity period. as displayed below:
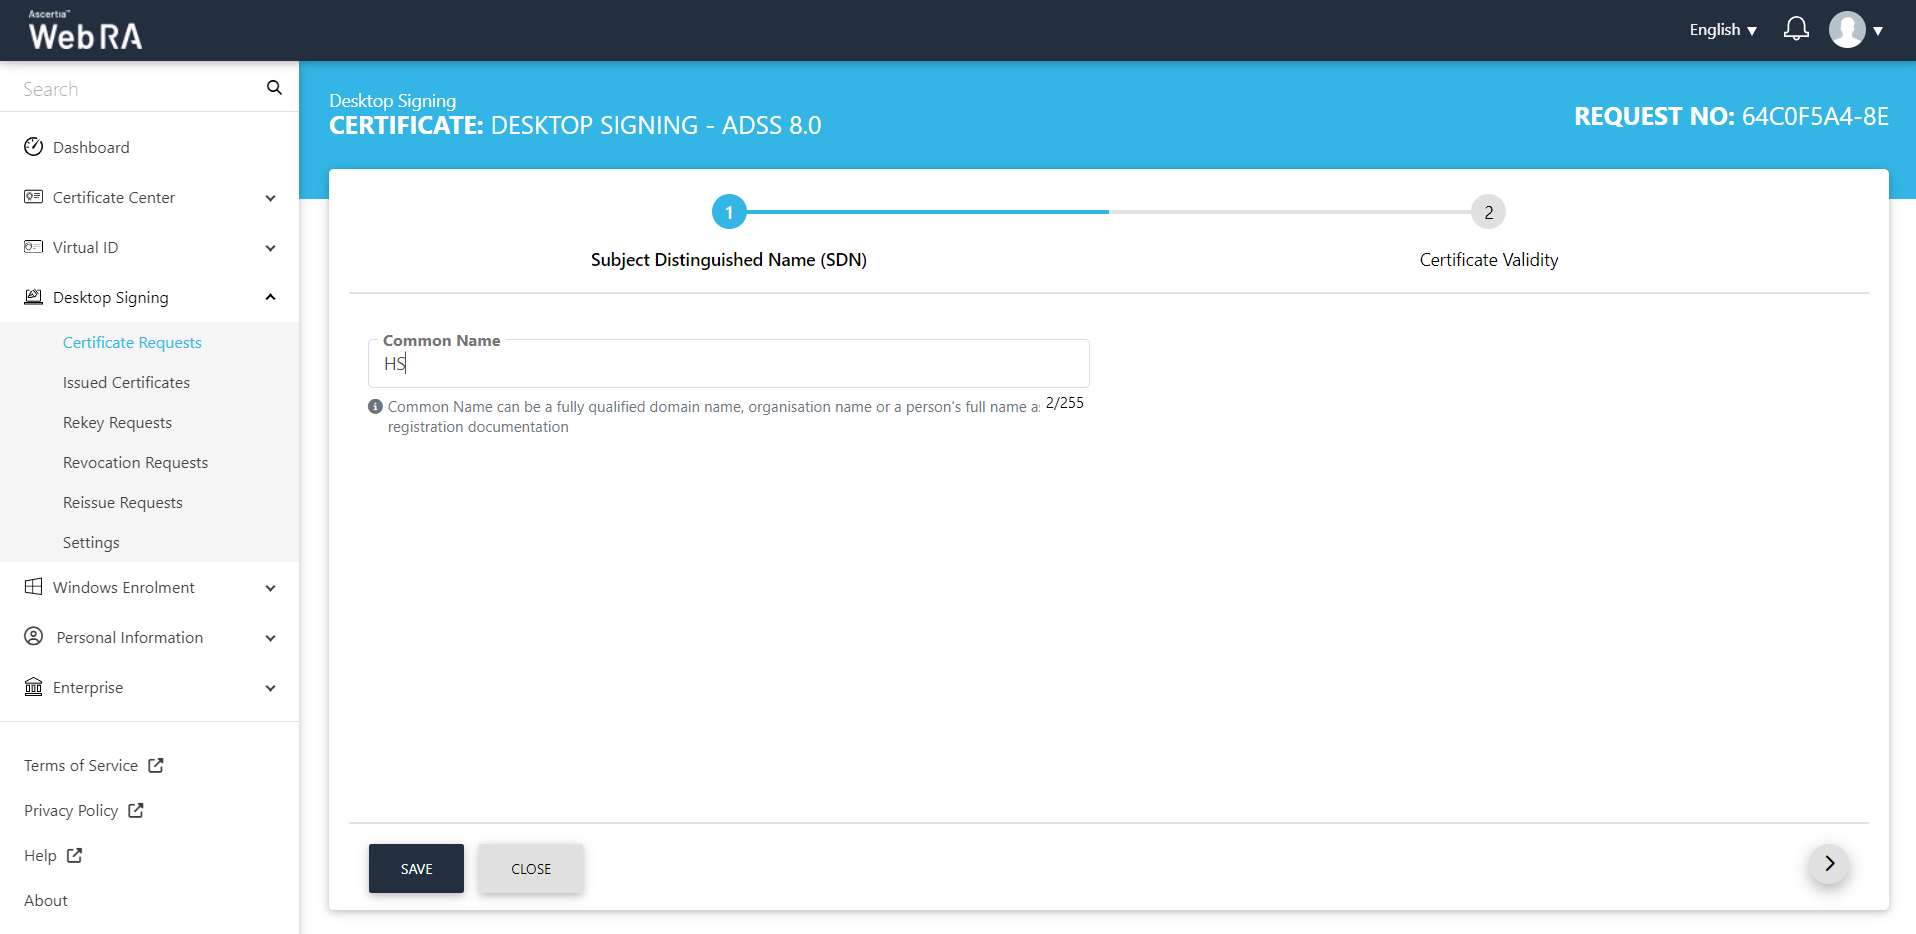
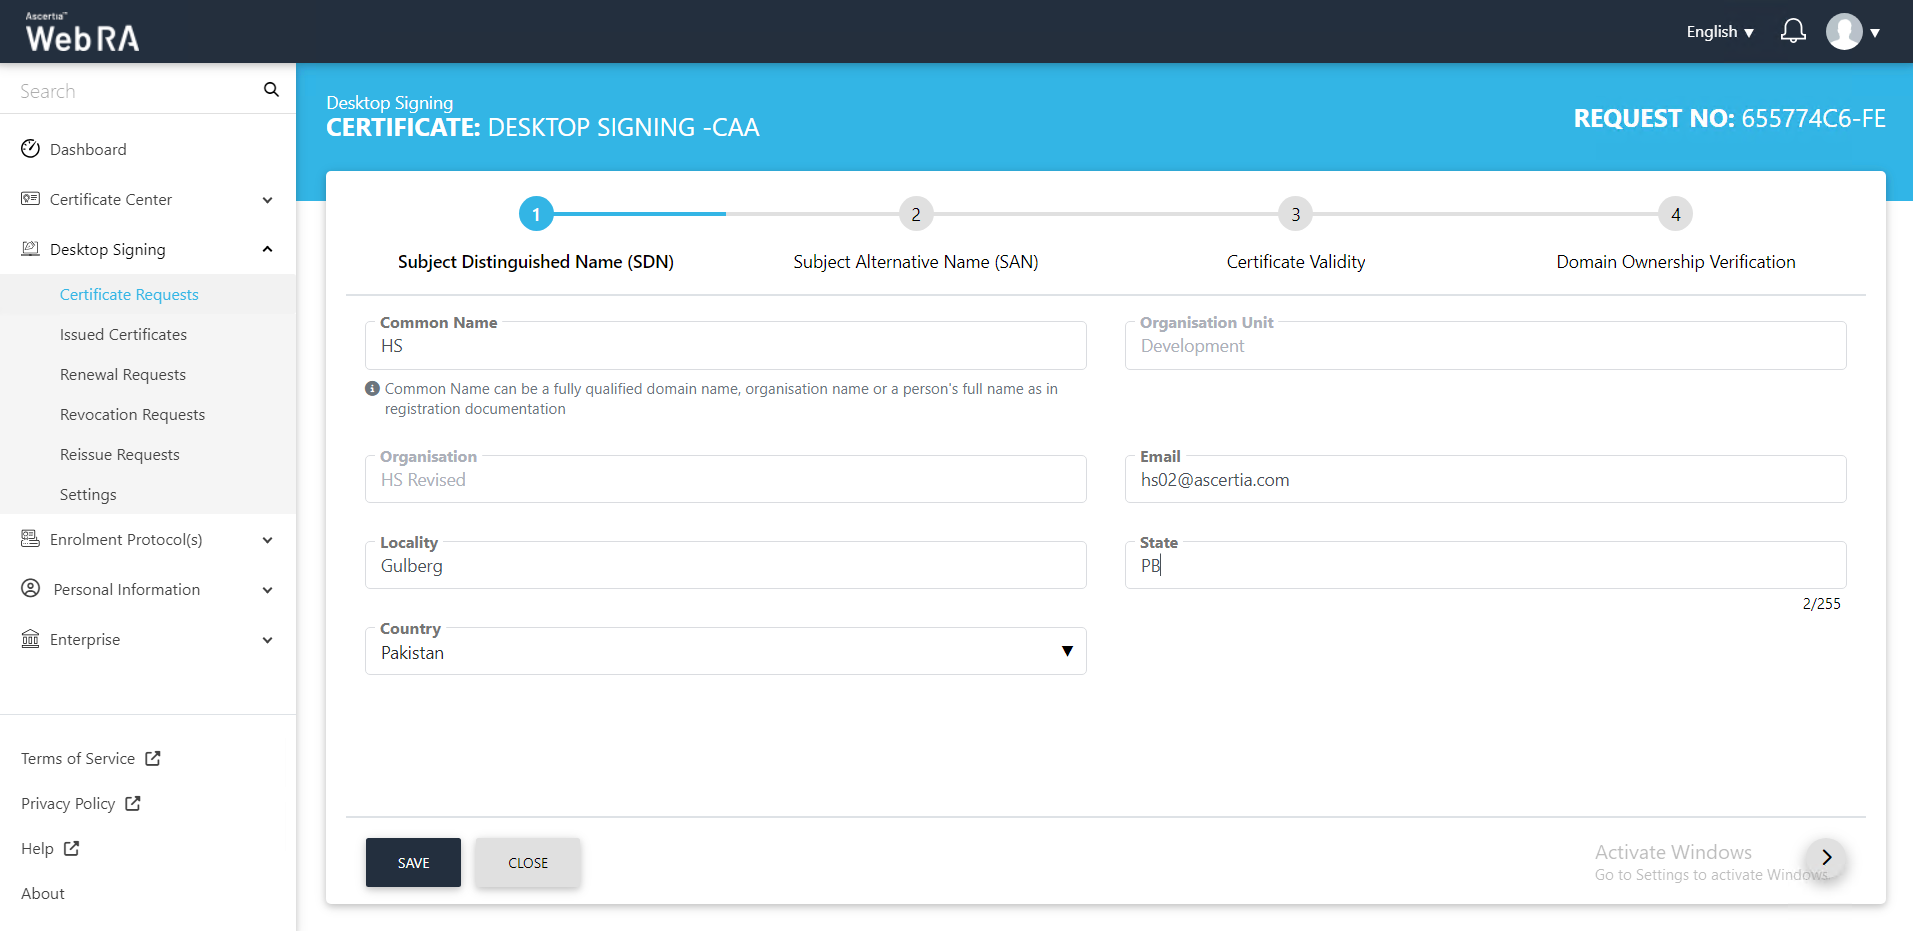
- Click the "Create" button. The Subject Distinguished Name (SDN) screen will appear. Enter the Common Name and click next.
Country, State, Locality and Postal Code in a Certificate Request
When you create a certificate request, you may need to enter the certificate holder's Country, State, Locality (city) and Postal Code. Depending on how the certificate type is set up, these fields appear on the Subject Distinguished Name (SDN) screen.
|
Field |
Description |
|
Country |
Select the country. Only the countries allowed by your administrator are displayed. The country field will be pre-selected according to the country selected under the Enterprise > Profile > Organisation Information. |
|
State |
Select the state or province from the list. Only the states or provinces associated with the selected country are displayed. |
|
Locality |
Select the city from the list. This field is available only after a state or province has been selected. You can type in the field to search for a city. |
|
Postal Code |
Enter the postal code in the format required by the selected country. If the entered postal code does not match the required format, an error message is displayed. For example: "The postal code does not match the format of the selected country. It must be 5 characters." |
Note:
- On this screen the field names always stay the same. For example, State is still called State even if the country uses provinces.
- If you change the country, the State and Locality are cleared and you need to select them again.
- Ensure that the CSR uploaded with the certificate request contains the correct country, state or province, and locality details.
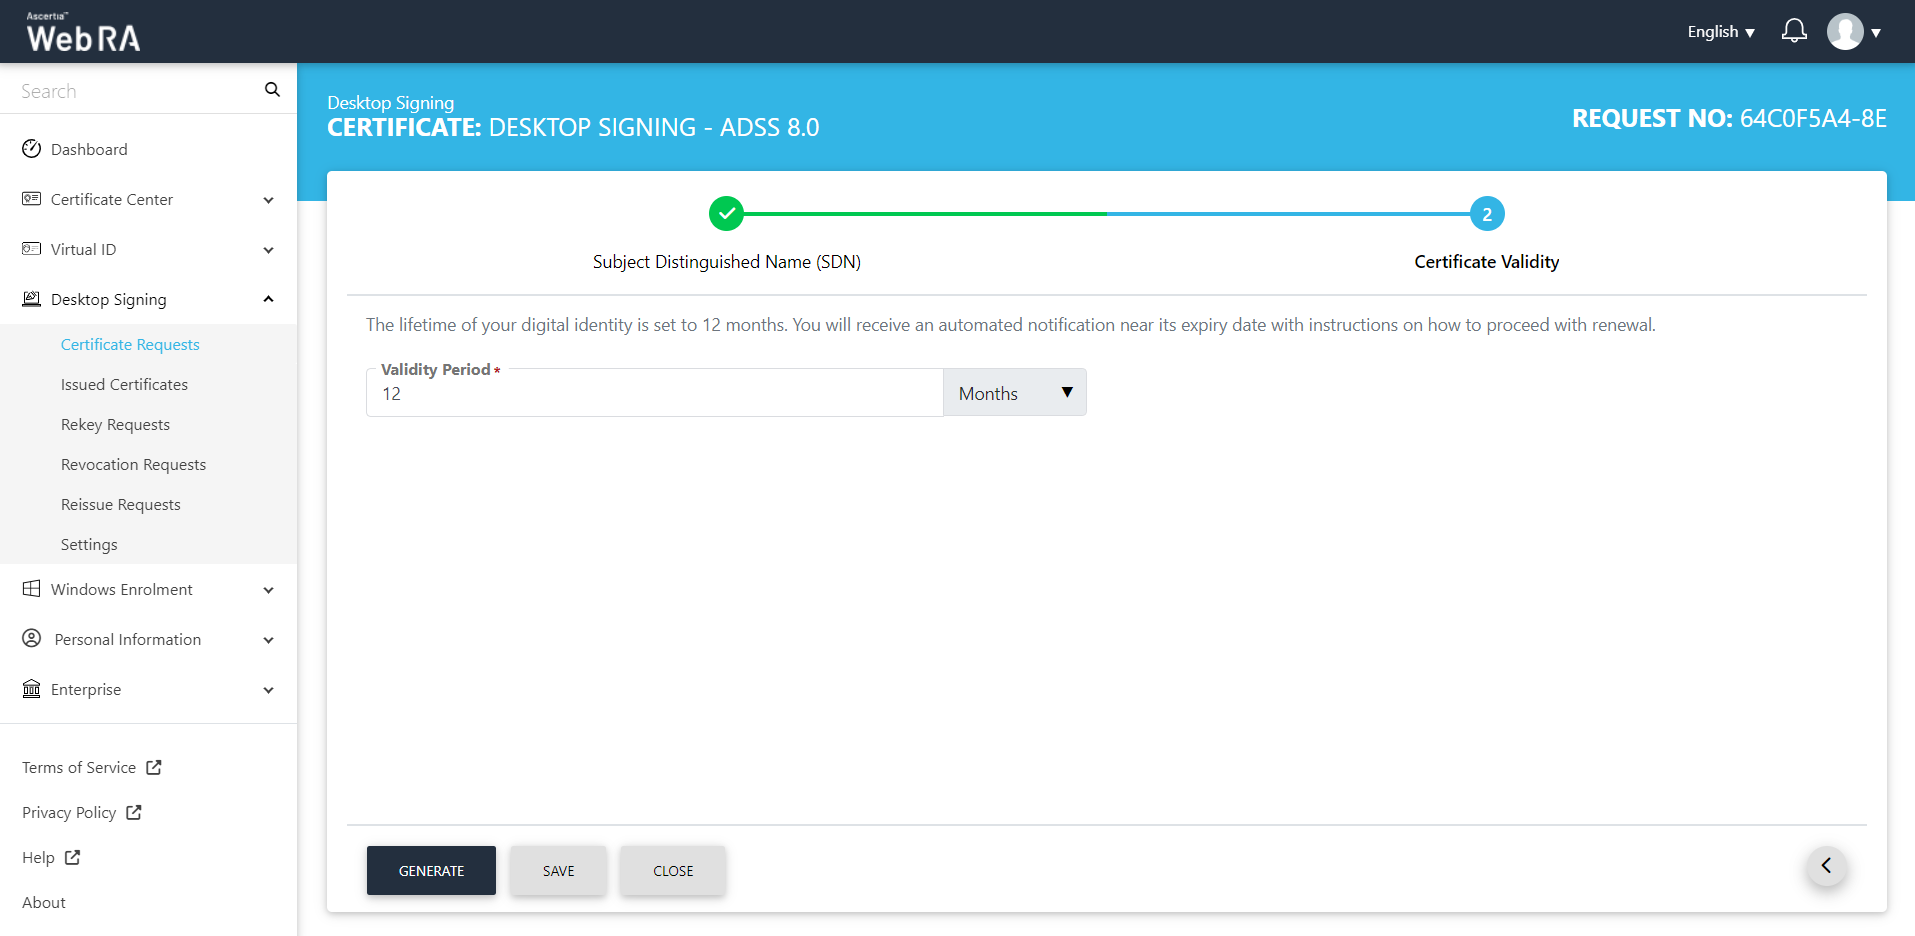
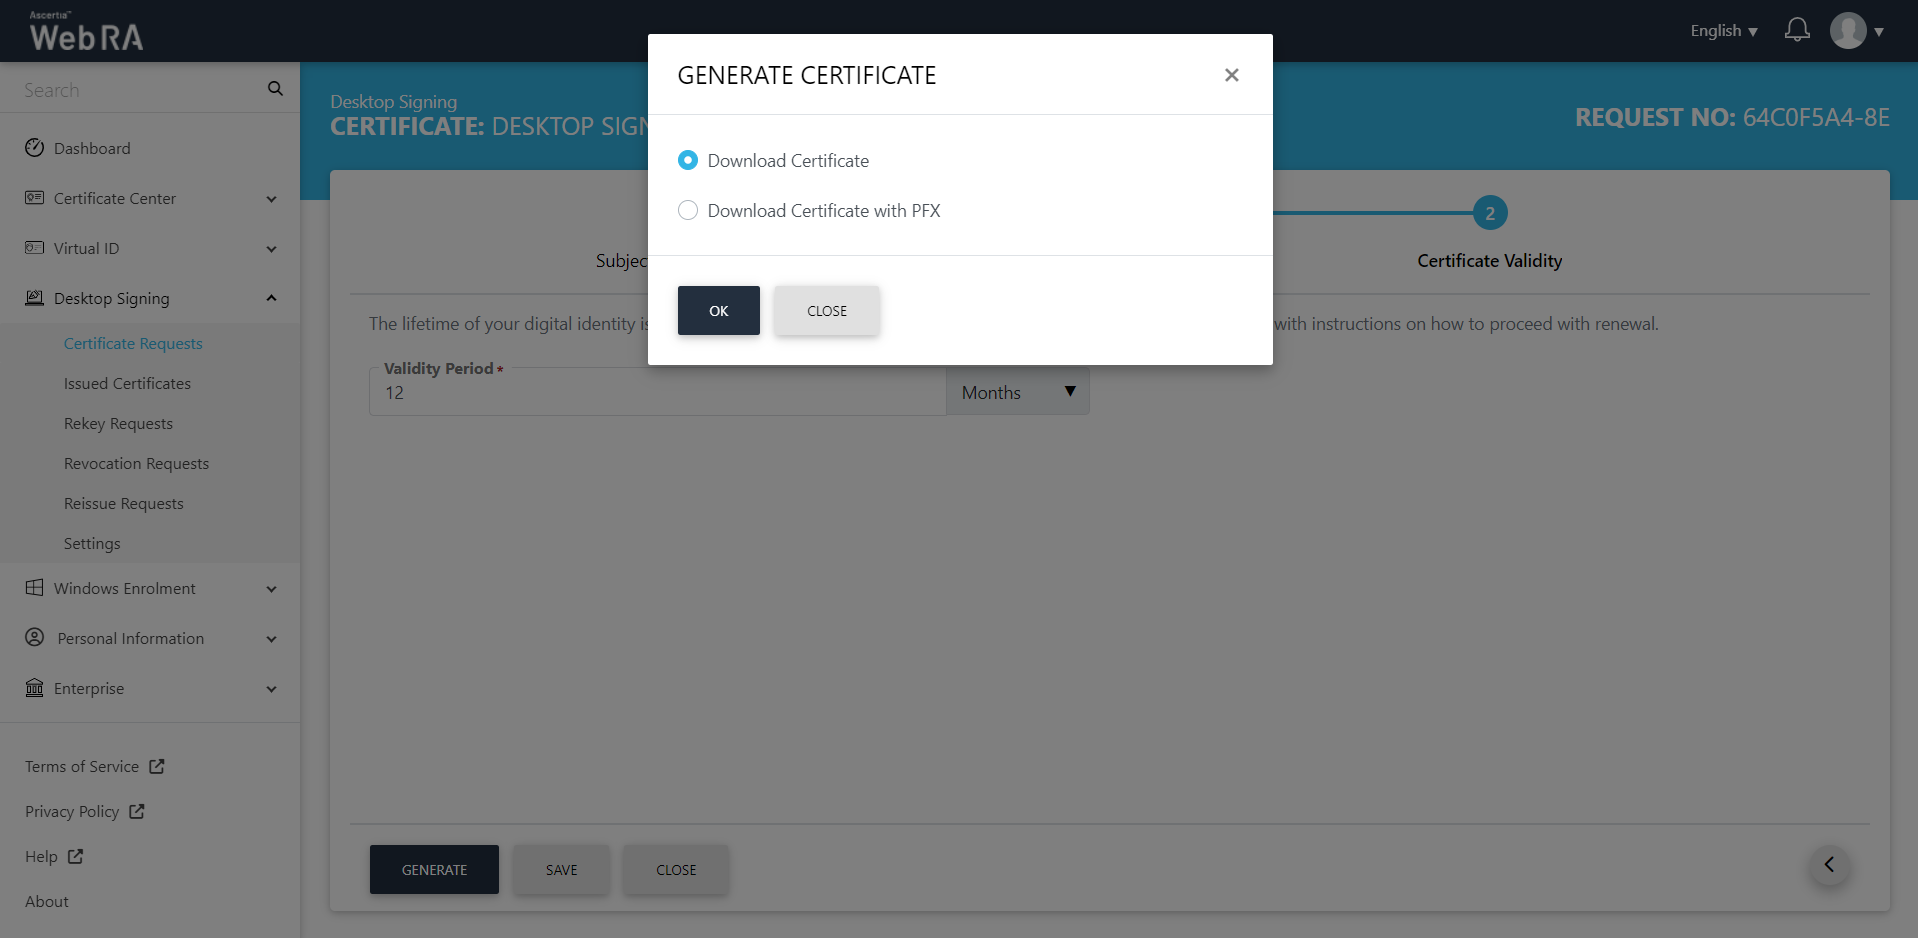
The Certificate Validity screen will appear. Click "Generate".
The download message will appear, where you can either download certificate with or without PFX.
All the certificate requests related to the Desktop Signing user will be listed here.
|
|
Note: ADSS Web RA now supports the following additional Subject Alternative Name (SAN) fields:
When these SAN fields are configured in the ADSS Certification Profile, the corresponding fields are also supported in ADSS Web RA. Furthermore, ADSS Web RA now supports additional encoding methods for the Directory Name and EDI Party Name SAN fields. The newly supported encoding methods are:
|

On the web portal, navigate to the Certificate Center from the left menu pane and then click "Certificate Requests". Then click  to create a new certificate request.
Select the Certificate Type from the drop down, the Key Store and Validity Period will be auto-filled and disabled as displayed below:
Click the "Create" button. The Subject Distinguished Name (SDN) screen will appear. Enter the Common Name, Email, Locality, State and country. Then click next.
On the Subject Alternative Name (SAN) screen. Select the Domain Names (DNS) that are configured in the enterprise from the drop down, enter IP address and Email address. Scroll down to Other Name, enter OID and Value, then click next.
|
|
Note: ADSS Web RA now supports the following additional Subject Alternative Name (SAN) fields:
When these SAN fields are configured in the ADSS Certification Profile, the corresponding fields are also supported in ADSS Web RA. Furthermore, ADSS Web RA now supports additional encoding methods for the Directory Name and EDI Party Name SAN fields. The newly supported encoding methods are:
|
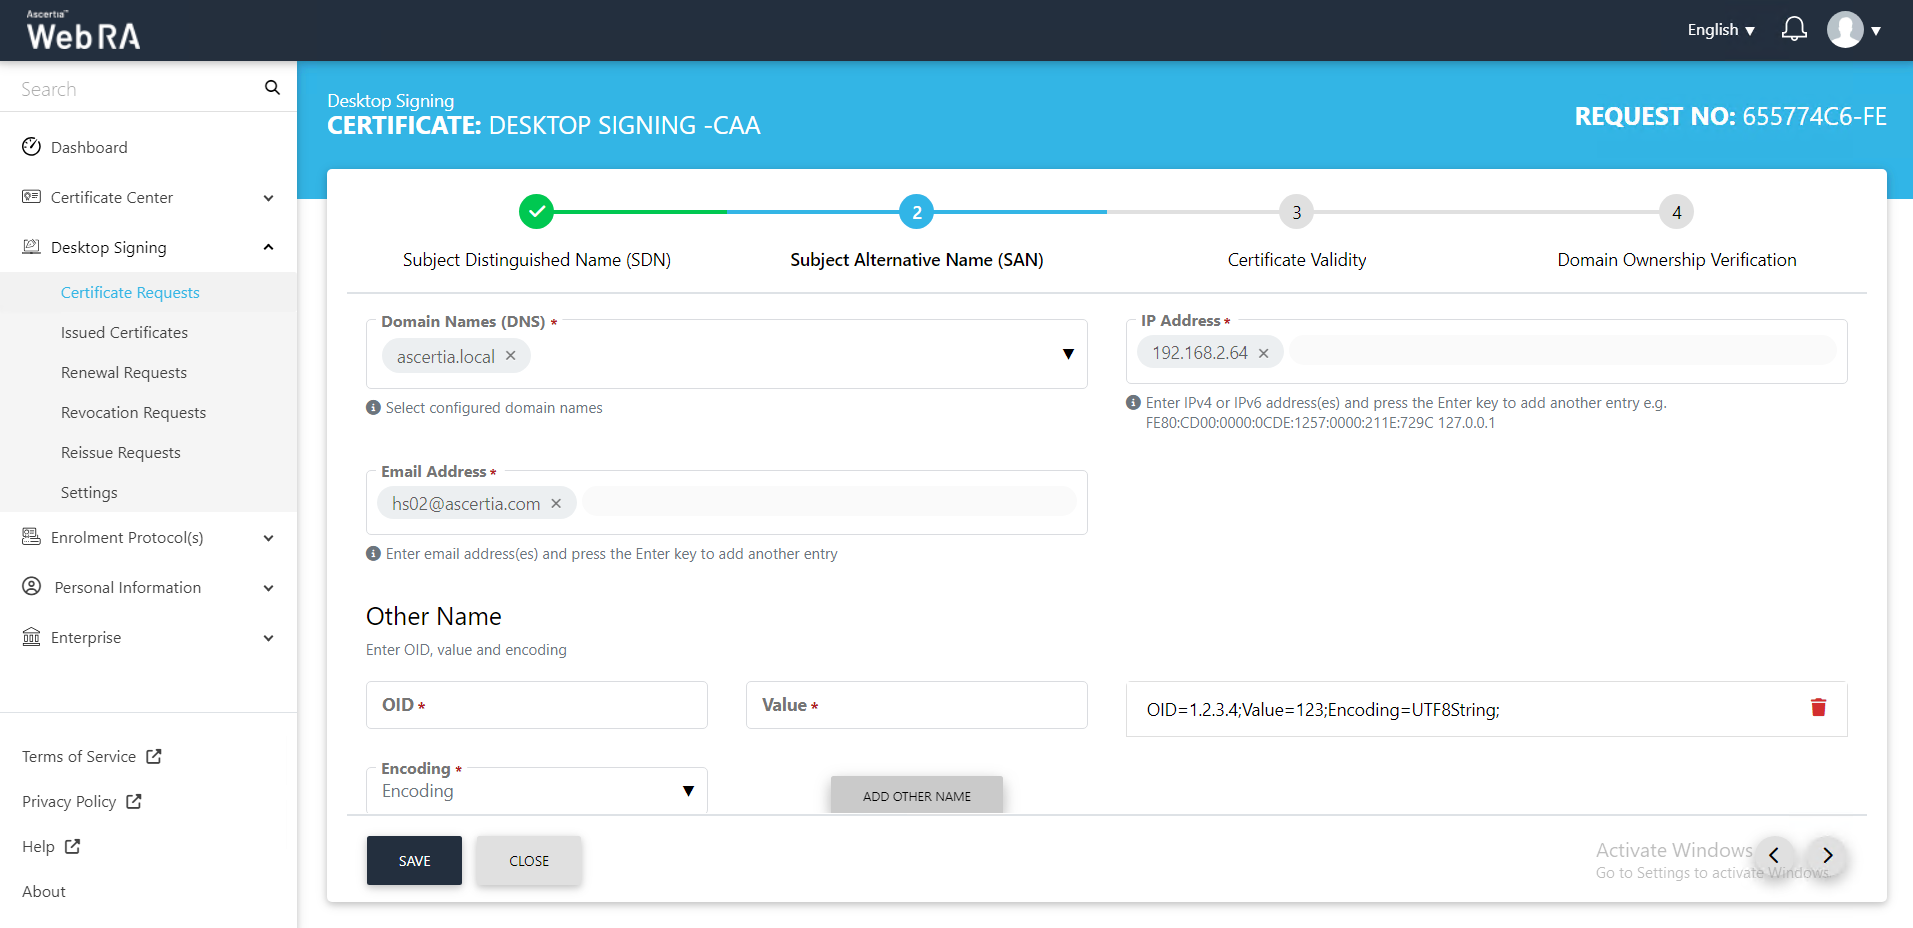
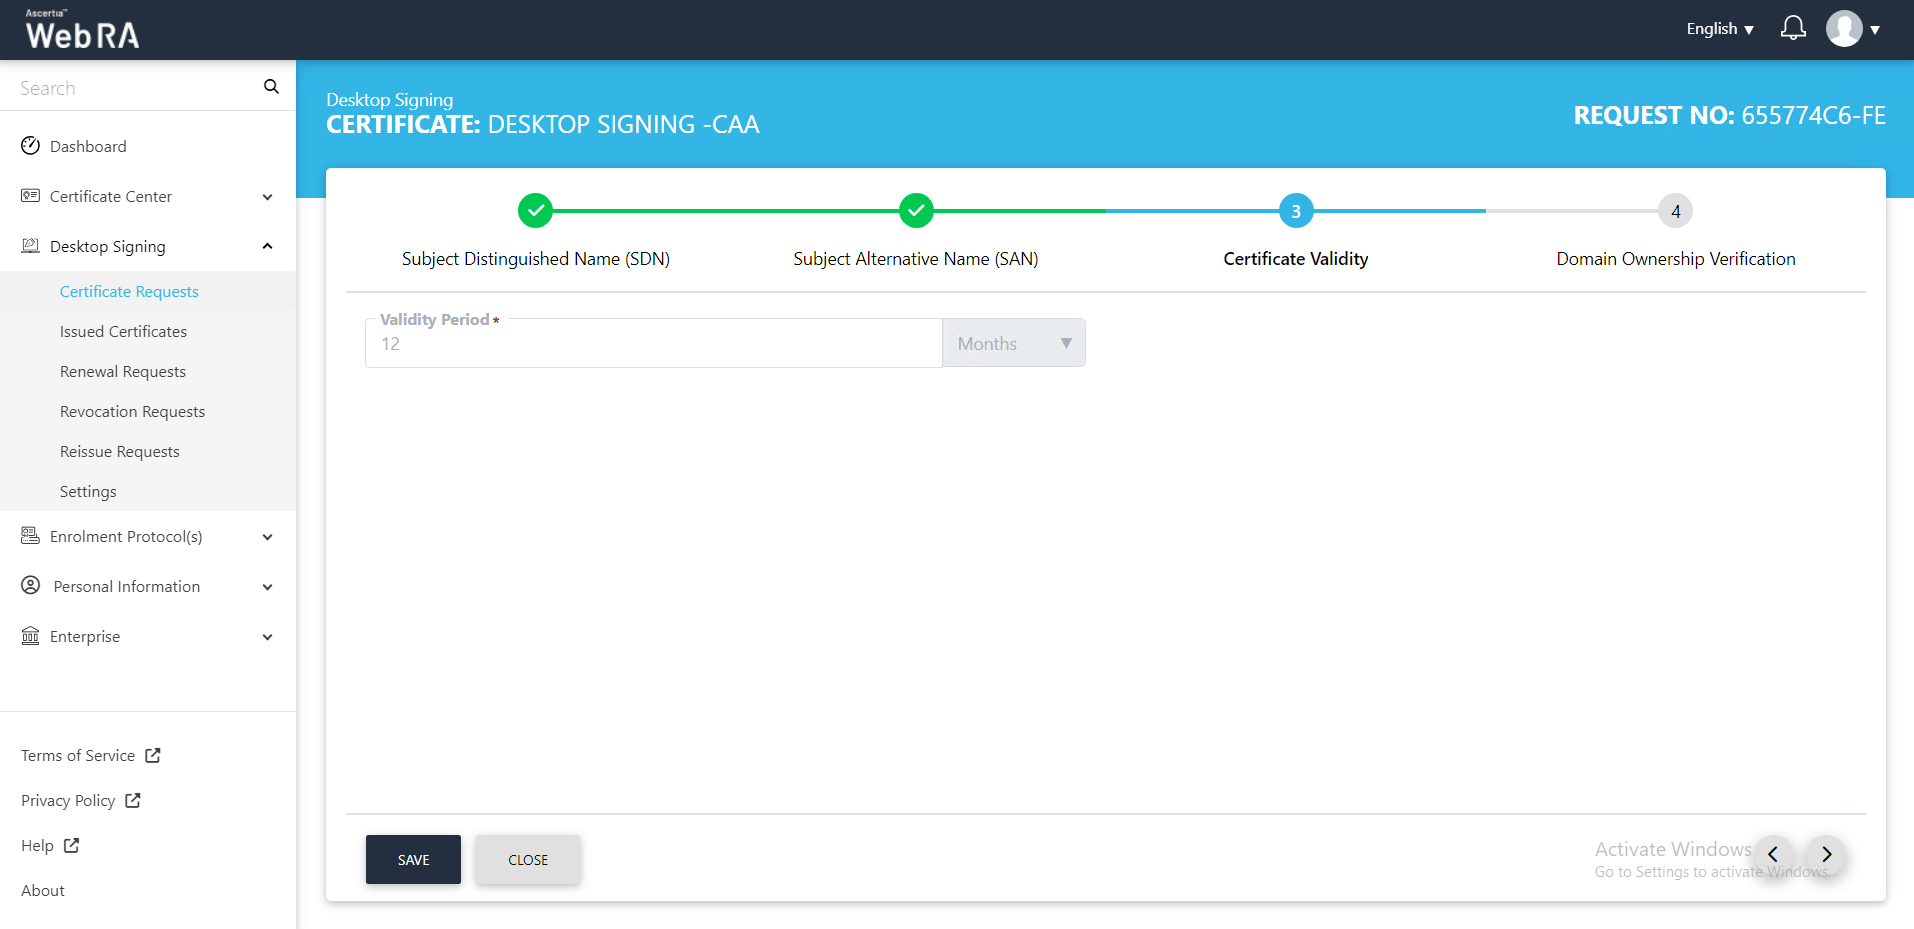
The Certificate Validity screen will appear in a disabled form. Click next.
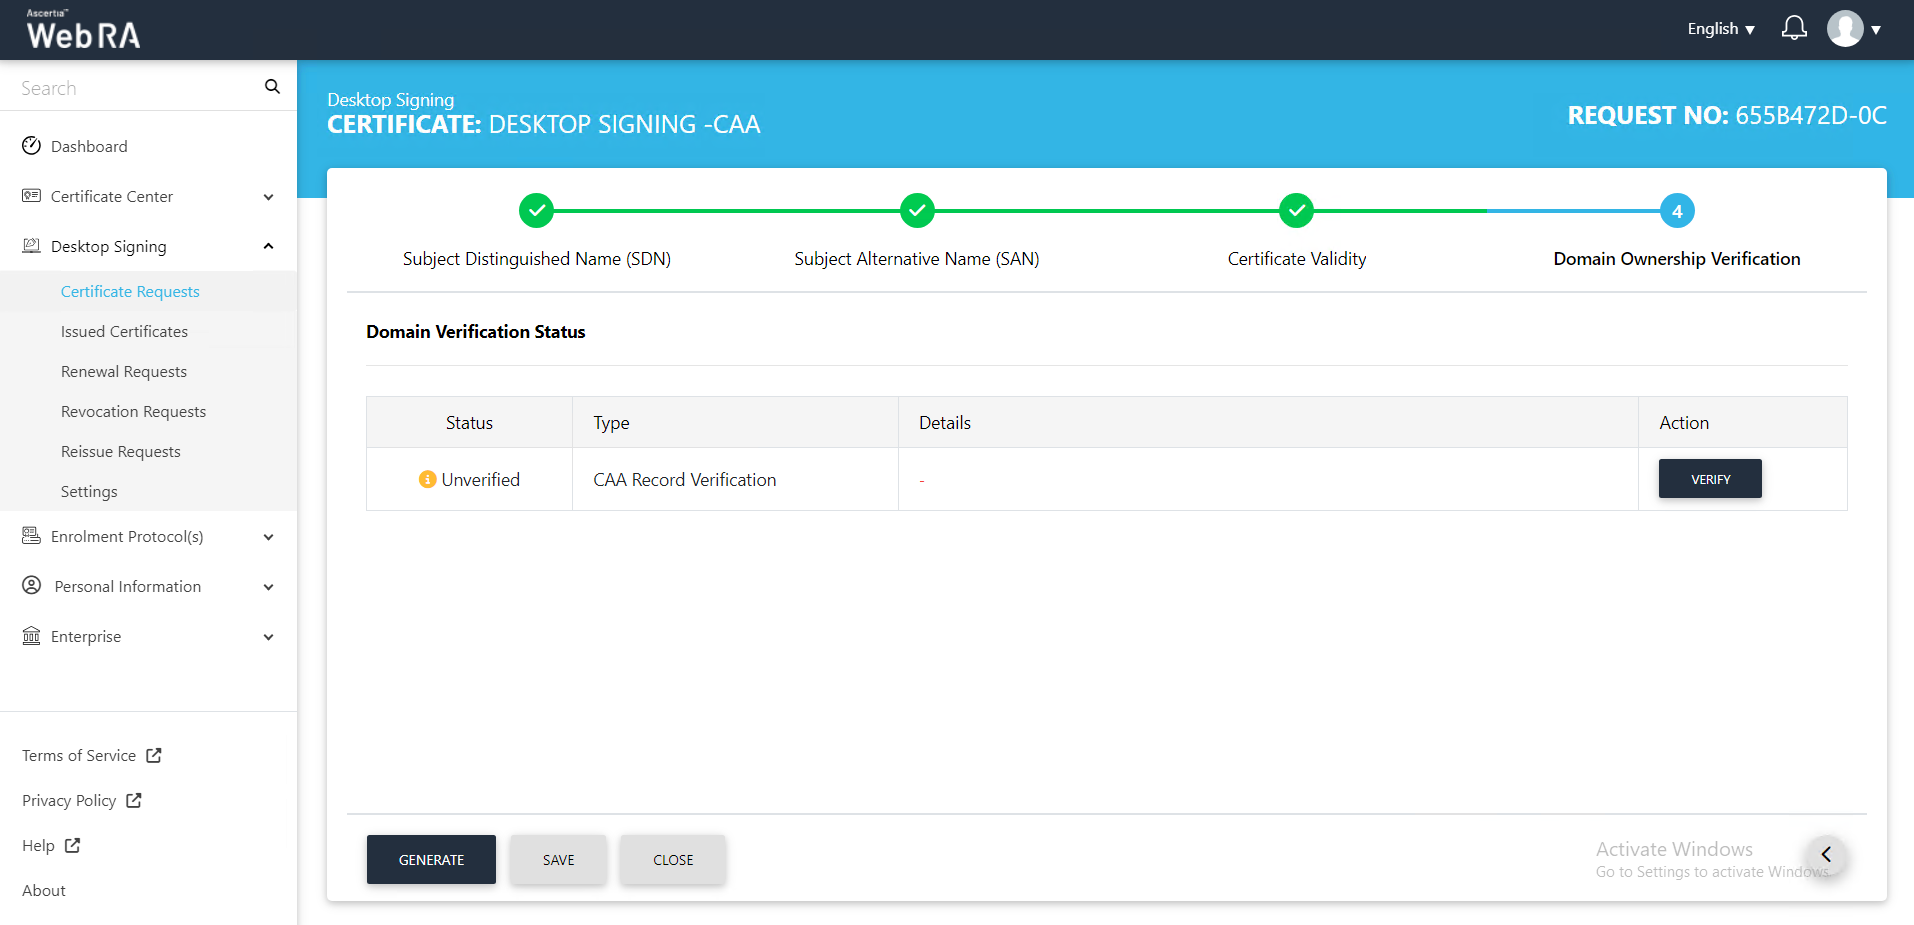
The Domain Ownership Verification screen will appear with the status as unverified. Click Verify.
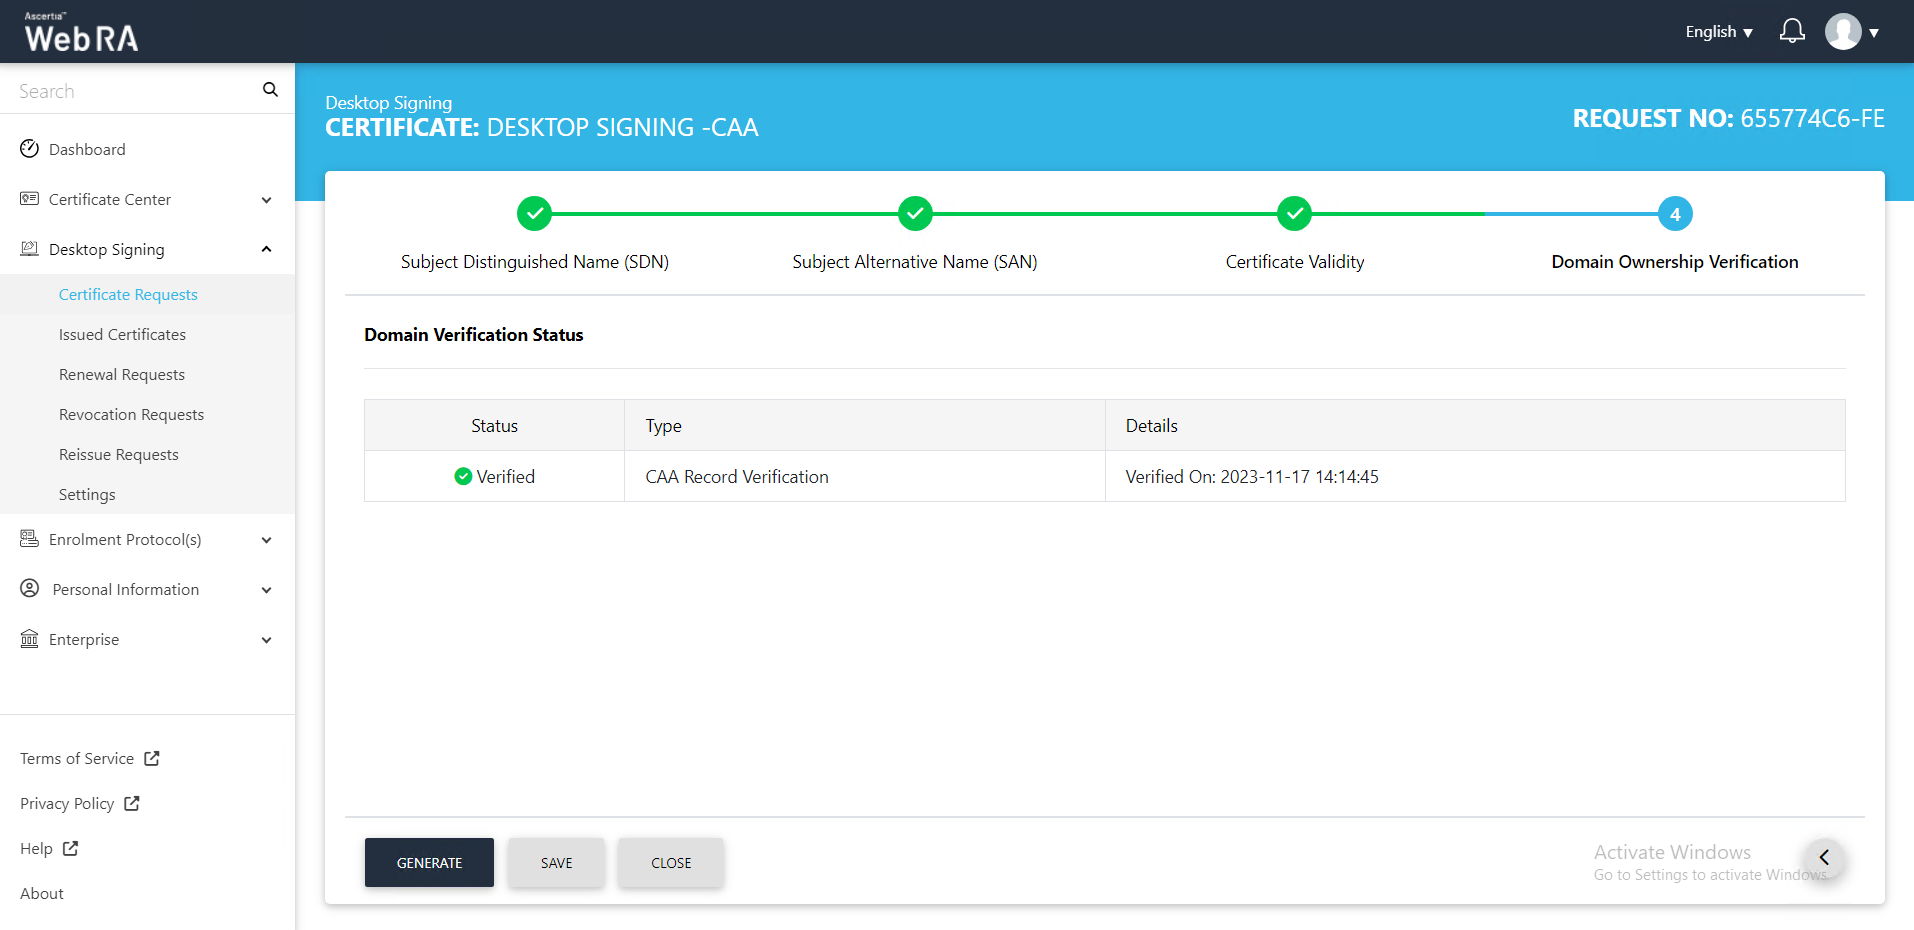
Once verified, the status will appear Verified as displayed. Click Generate.
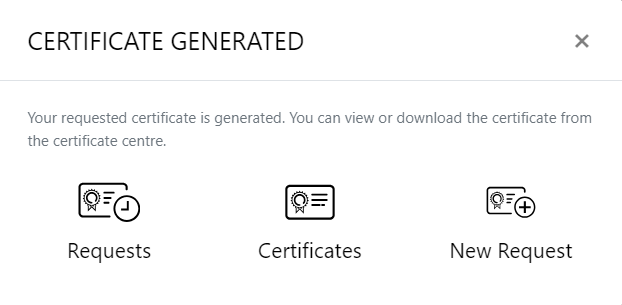
The Certificate Generated confirmation message will appear, as displayed below:
Resubmit a Declined Request
If a certificate request is declined by the administrator for a specific reason, the user can resubmit the request after modifying the required information.
Click the  button next to the certificate request that has been declined.
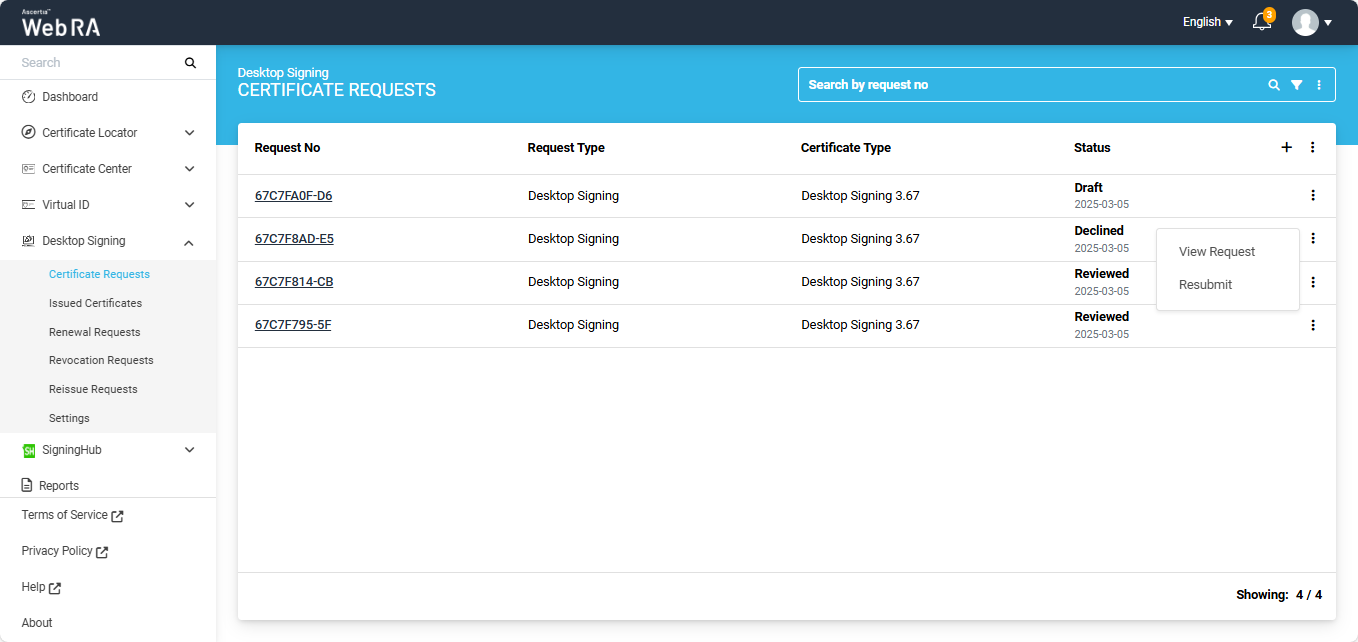
The system will display a ‘Resubmit’ option in the menu. Clicking the Resubmit option will open the request in create screen mode.
From that screen, the user can modify the required details and click ‘Submit’ to send the request for approval again.
Second Factor Authentication
If second factor authentication is enabled on certificate requests, the configured authentication mechanism will function accordingly. When a user clicks on the Generate button, the authentication window will appear, and once it accepts the selected method, it will generate a certificate.
The authentication mechanism can be one of the following:
- SMS OTP Authentication
- Email OTP Authentication
- Email & SMS Authentication
- SAML Authentication
- Active Directory Authentication
- Azure Active Directory Authentication
- OIDC Authentication
Request Notes
If an operator has added customized request notes in certificate requests pertaining to a specific enterprise, they will appear in all types of certificates requests i.e. issued, rekey, revoked, renewed and reissued certificate requests. The request notes will appear on the steppers only against which the operator has customised them.
An operator can configure it from the Enterprise Request Notes section in the admin portal.