CSC Signing
Introduction
The Cloud Signature Consortium (CSC) is a standard protocol for cloud-based digital signatures that supports web and mobile applications and complies with the most demanding electronic signature regulations in the world. The goal is to provide a common technical specification that will make solutions interoperable and suitable for uniform adoption in the global market, and to meet the highest level requirements of the European Union’s regulation on Identification and Trust Services (eIDAS). For more details on CSC and it's implementation click here.
SigningHub supports the Cloud Signature Consortium (CSC) API protocol, this enables customers to leverage Remote Signing Service Providers (RSSP) for signing documents. Support for CSC within SigningHub now means customers can not only use SigningHub with Ascertia ADSS Signing Server but also independently with a CSC compliant RSSP.
SigningHub supports Cloud Signature Consortium (CSC) signing via the following two flows:
CSC Signing - Client Credentials Flow
- How it works?
- Configure a Connector in SigningHub Admin
- Configure a Signing Profile in SigningHub Admin
- Add Signing Profile to a Service Plan in SigningHub Admin
- Add Signing Server to a User Role in SigningHub Web
- Specify the CSC User ID against your profile in SigningHub Web
- CSC Signing
- To perform CSC signing, you must configure a CSC connector, in SigningHub Admin.
- Configure a signing profile using the connector, in SigningHub Admin.
- Configure the signing profile to the service plan, in SigningHub Admin.
- Add Signing Server to your enterprise user role that you want to use for CSC signing.
- Specify your CSC User ID against your profile.
- Open a document having the signature field that you want to sign using the CSC Signing Server.
Configure a Connector in SigningHub Admin
To see in detail, how to create an CSC Connector in SigningHub, click here.
Make the following configurations to a connector in SigningHub Admin:
- In the "Basic Information" section, choose "CSC" as the "Provider".
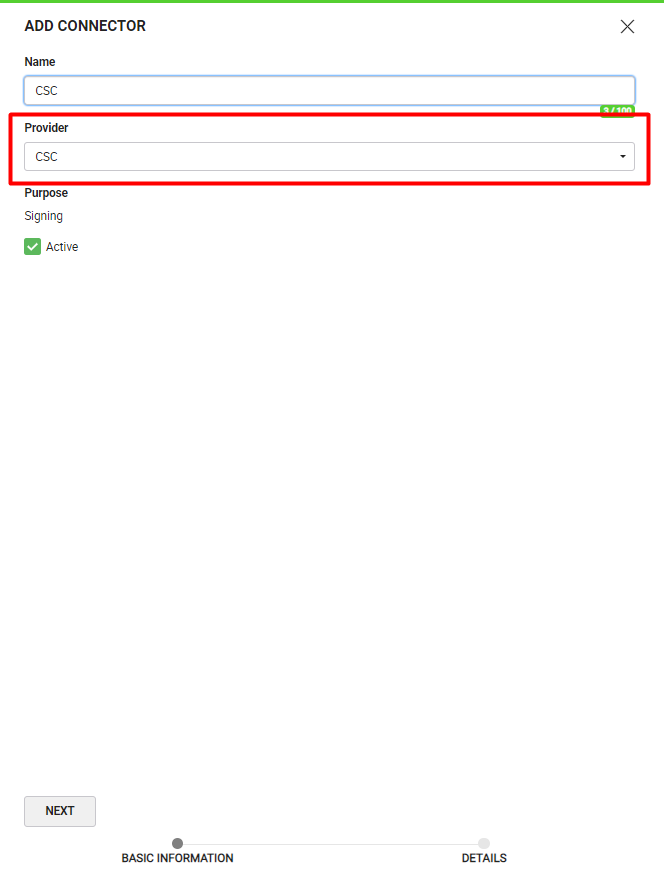
- In the "Details" section, choose "Client Credentials" as the "Auth Type".

|
|
|

Configure a Signing Profile in SigningHub Admin
To see in detail, how to create a signing profile in SigningHub, click here.
Make the following configurations to a signing profile in SigningHub Admin:
- Select the CSC Connector created earlier, in the highlighted field below:

Add Signing Profile to a Service Plan in SigningHub Admin
To see in detail, how to create a service plan in SigningHub, click here.
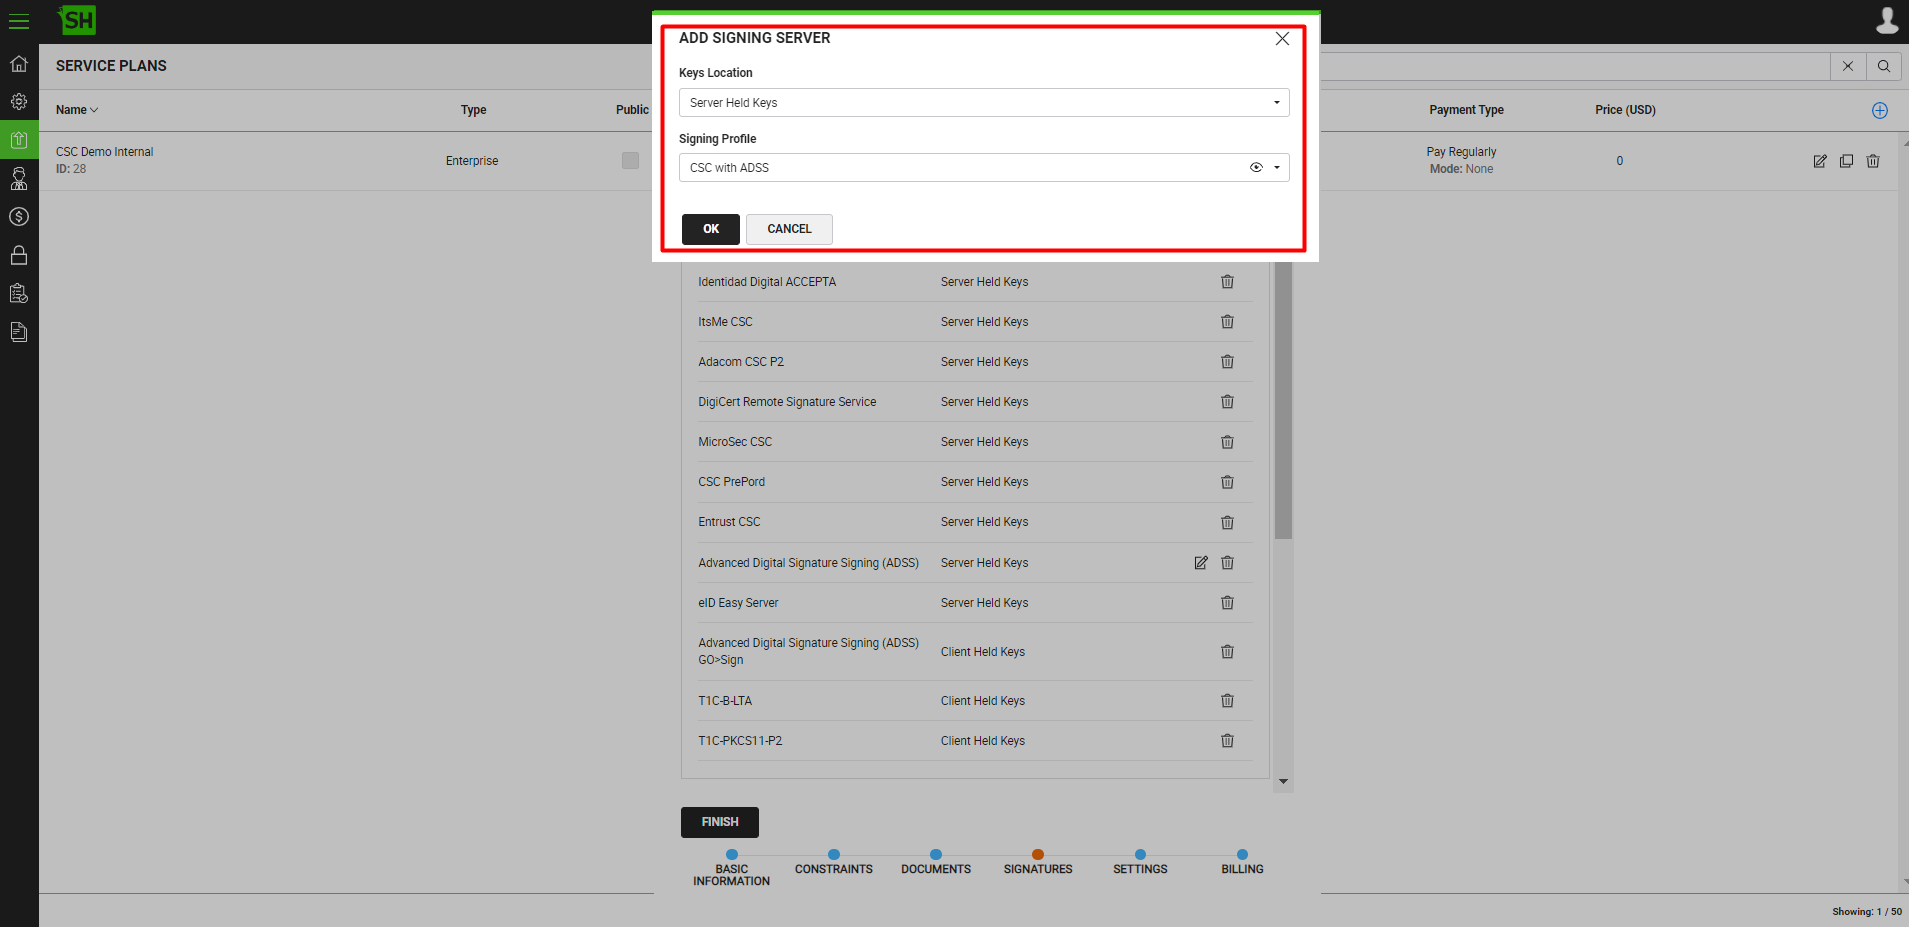
Make the following configurations to the service plan in SigningHub Admin:
- In the "Signature" section of the service plan, select and add the earlier configured signing profile, as shown below:
Add Signing Server to a User Role in SigningHub Web
To see in detail, how to manage enterprise user roles in SigningHub, click here.
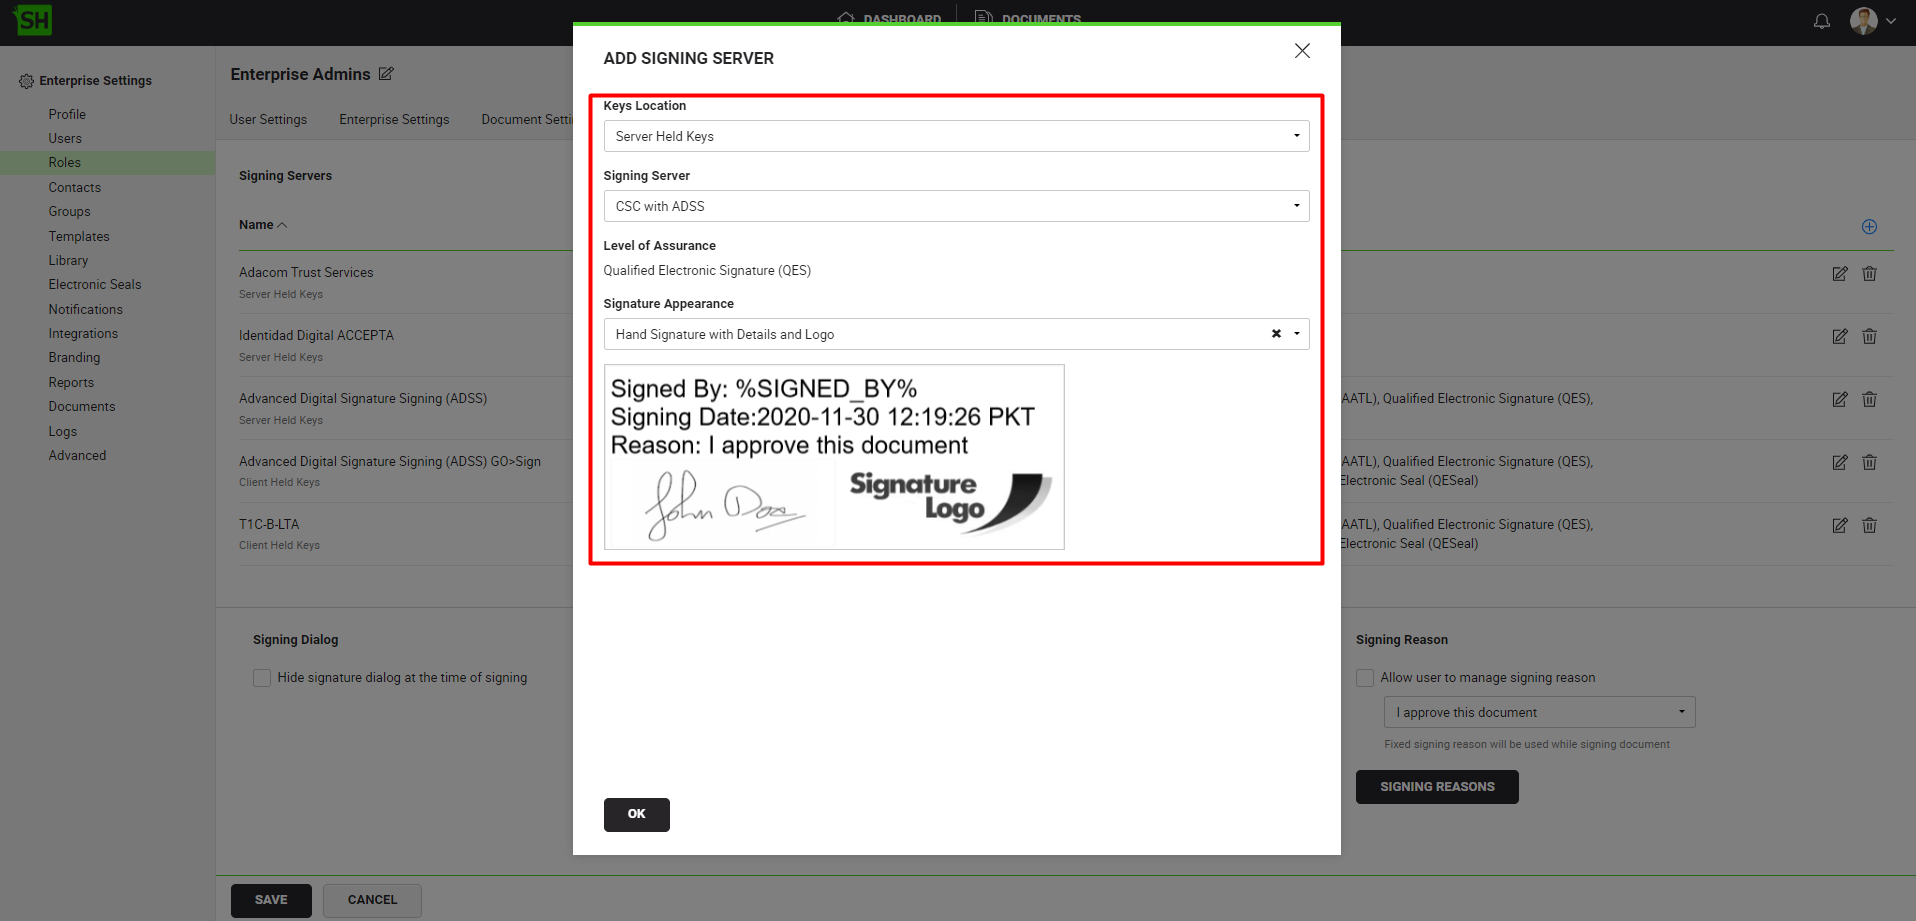
Make the following configurations to a user role in SigningHub Web:
- Against your user role, in the "Signature Settings" tab, add the signing server.
Specify the CSC User ID against your profile in SigningHub Web
To see in detail, how to set up your profile in SigningHub, click here.
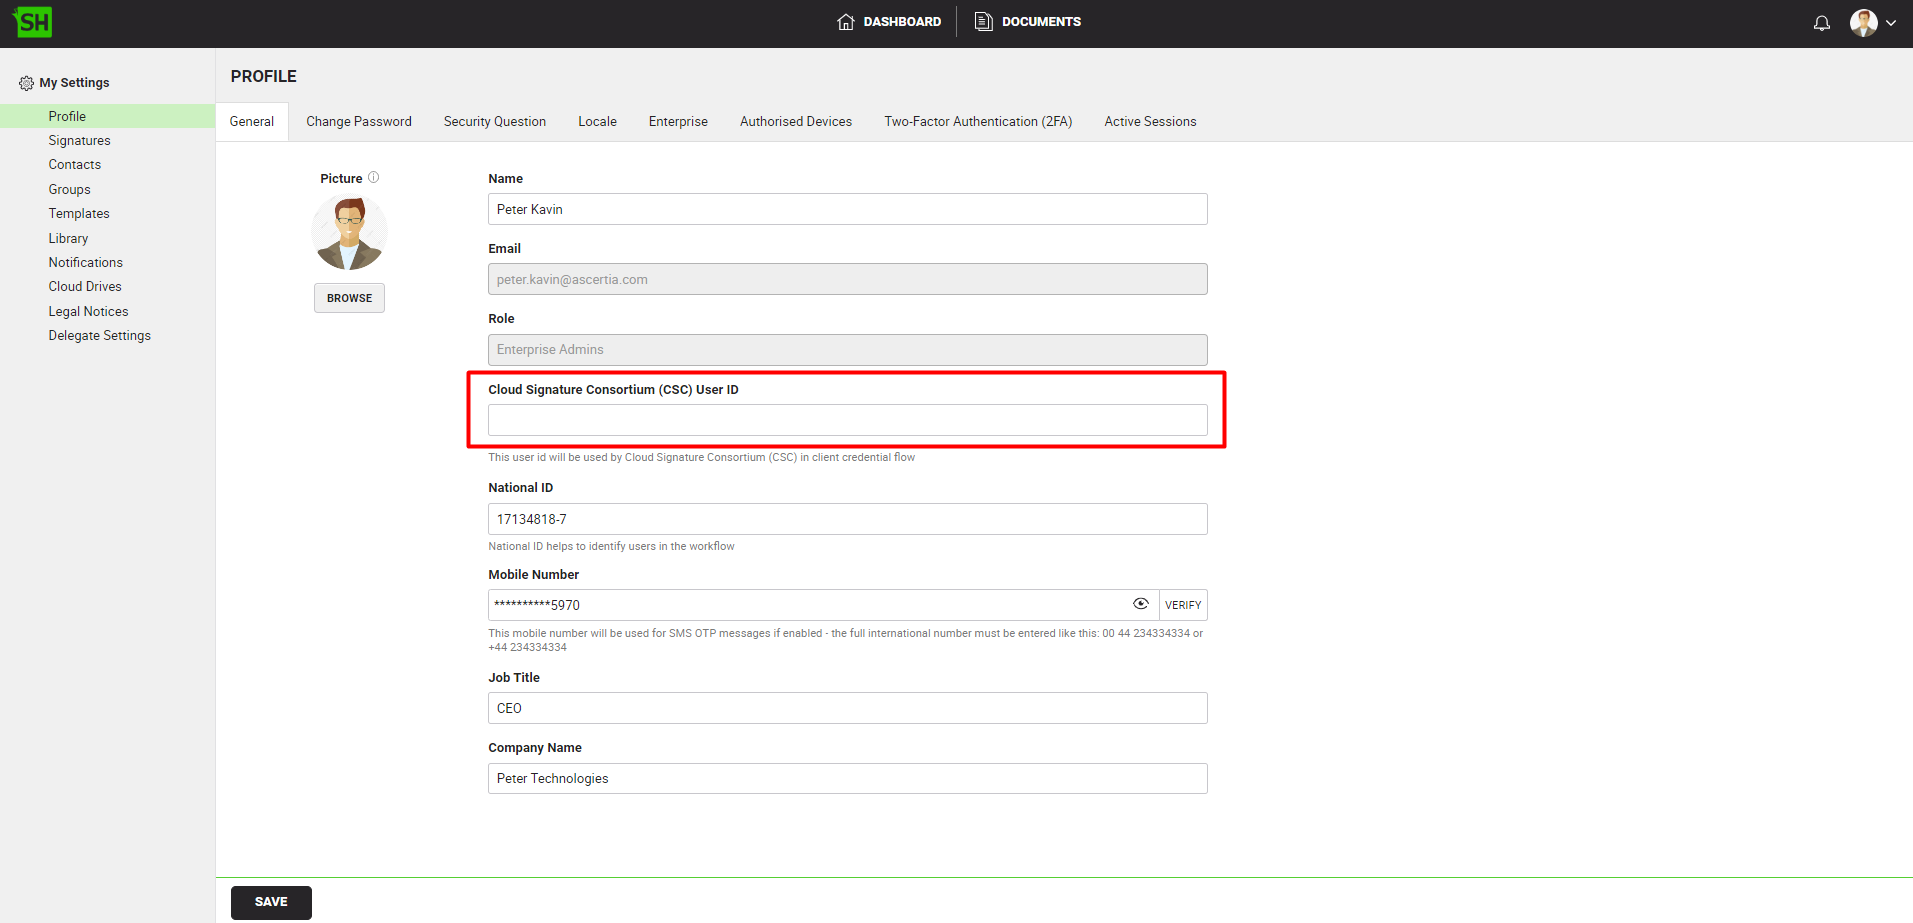
Make the following configurations to your profile in SigningHub Web:
- In the "General" tab, specify the "Cloud Signature Consortium (CSC) User ID".
To perform CSC signatures, follow the below-mentioned steps:
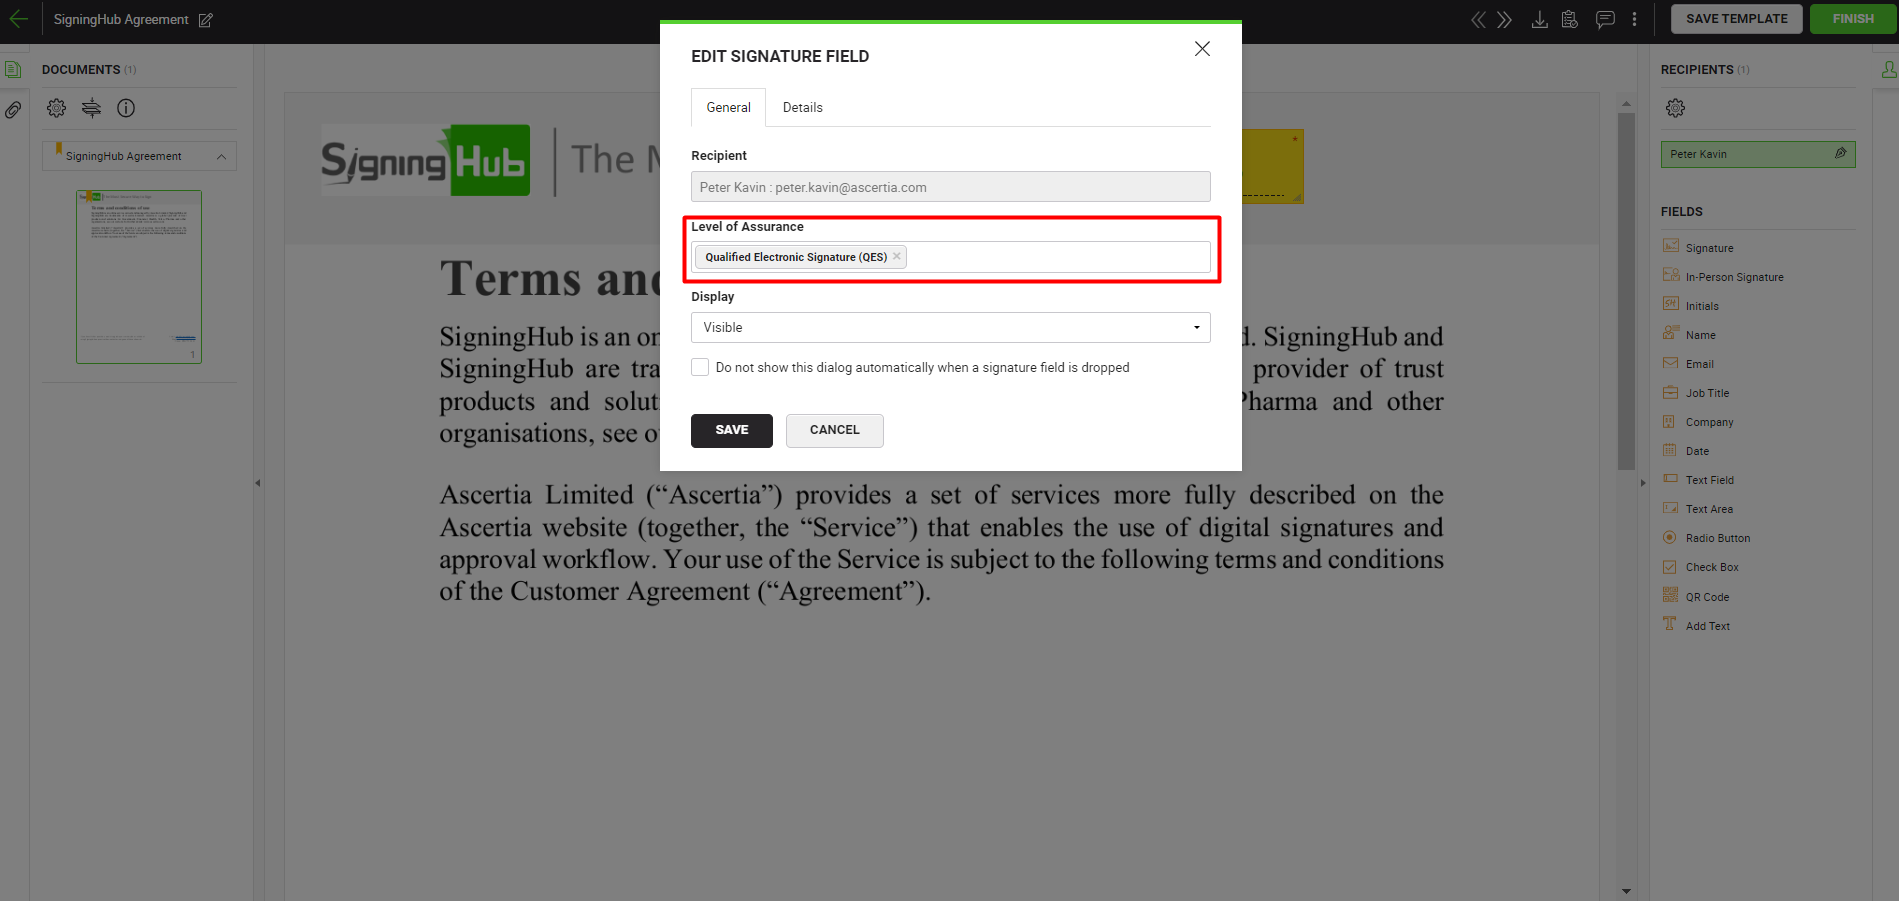
- From the document listing, open a the document having the signature field that you want to sign.
|
|
|
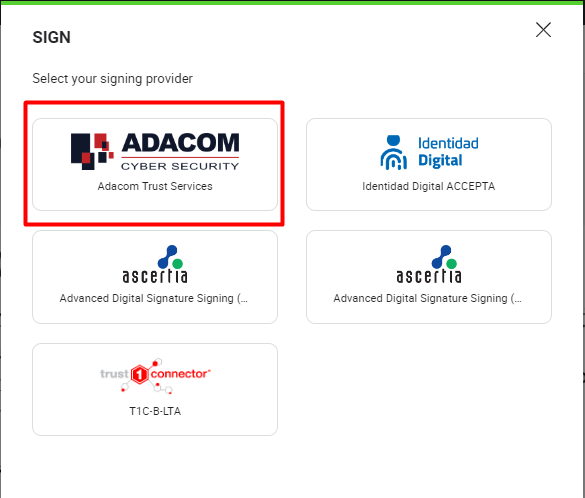
- Click on the signature field, select the CSC Signing Server.
- Click the "SIGN NOW" button and based on your CSC Signing Server configurations, provide the authentication details.
Once the authentication is complete the document will be signed.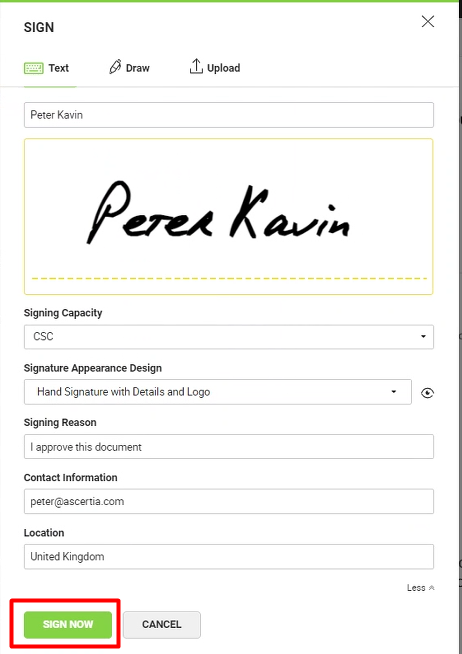
|
|
|
CSC Signing - Authorisation Code Flow
- How it works?
- Configure a Connector in SigningHub Admin
- Configure a Signing Profile in SigningHub Admin
- Add Signing Profile to a Service Plan in SigningHub Admin
- Add Signing Server to a User Role in SigningHub Web
- CSC Signing
- To perform CSC signatures, you must configure a CSC connector, in SigningHub Admin.
- Configure a signing profile using the connector, in SigningHub Admin.
- Configure the signing profile to the service plan, in SigningHub Admin.
- Add Signing Server to your enterprise user role that you want to use for CSC signing.
- Open a document having the signature field that you want to sign using the CSC Signing Server.
Configure a Connector in SigningHub Admin
To see in detail, how to create an CSC Connector in SigningHub, click here.
Make the following configurations to a connector in SigningHub Admin:
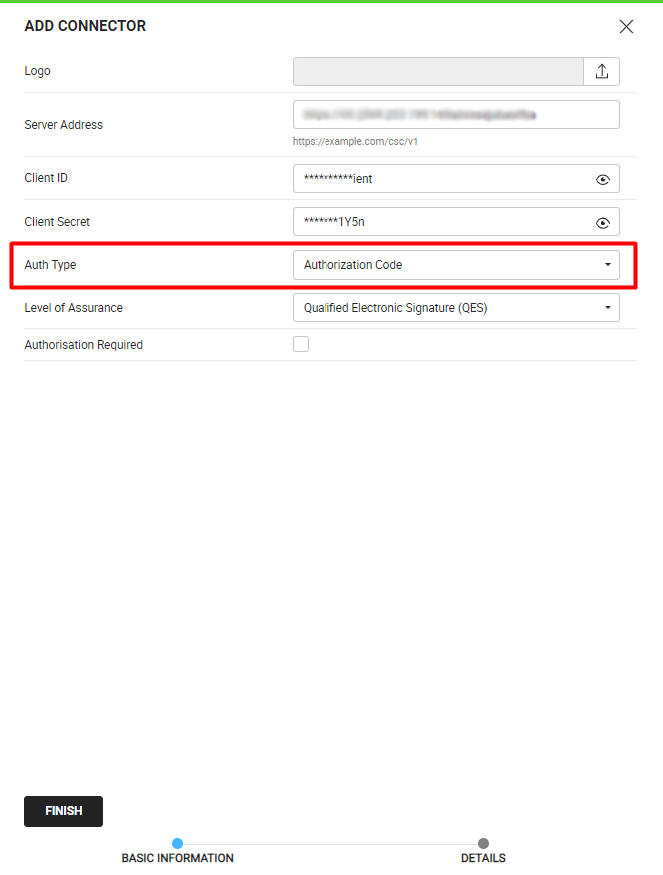
- In the "Basic Information" section, choose "CSC" as the "Provider".
- In the "Details" section, choose "Authorization Code" as the "Auth Type".
|
|
|
Configure a Signing Profile in SigningHub Admin
To see in detail, how to create a signing profile in SigningHub, click here.
Make the following configurations to a signing profile in SigningHub Admin:
- Select the CSC Connector created earlier, in the highlighted field below:
Add Signing Profile to a Service Plan in SigningHub Admin
To see in detail, how to create a service plan in SigningHub, click here.
Make the following configurations to the service plan in SigningHub Admin:
- In the "Signature" section of the service plan, select and add the earlier configured signing profile, as shown below:
Add Signing Server to a User Role in SigningHub Web
To see in detail, how to manage enterprise user roles in SigningHub, click here.
Make the following configurations to a user role in SigningHub Admin:
- Against your user role, in the "Signature Settings" tab, add the signing server.
To perform CSC signatures, follow the below-mentioned steps:
- From the document listing, open a the document having the signature field that you want to sign.
|
|
|
- Click on the signature field, select the CSC Signing Server.
- Input the CSC user credentials, provided by the CSC Signing Server.

- Click the "SIGN NOW" button and based on your CSC Signing Server configurations, provide the authentication details.
Once the authentication is complete the document will be signed.
|
|
|
See Also