Configure certified signature
SigningHub lets you certify your digital signature. The certified signature is used to restrict the recipients to perform only the specific changes in a document, as system wont allow them to perform any other changes.
In this regard, the first signature of each document in a workflow package will be a certified digital signature that will determine the allowed permissions on the document, while the rest of the signatures will be the normal digital signatures. A document having a certified digital signature is called a certified document.
System might show the pre-selected options as laid out in your default enterprise settings, see details. You may change the default settings as required before sharing. See the following table for details:
|
Certify Options |
|
|
Fields |
Description |
|
Certify with no changes |
Select this option to disallow any change in the document after signing. The recipients would not be able to add any annotation in the document or fill the PDF form. |
|
Certify with form filling and signing |
Select this option to allow the recipients to only fill in the PDF form after signing. However they would not be able to add any new annotation in the document. |
|
Certify with form filling, signing and annotations |
Select this option to allow the recipients to fill in the PDF form and add annotations in the document after signing. |
Certify a document
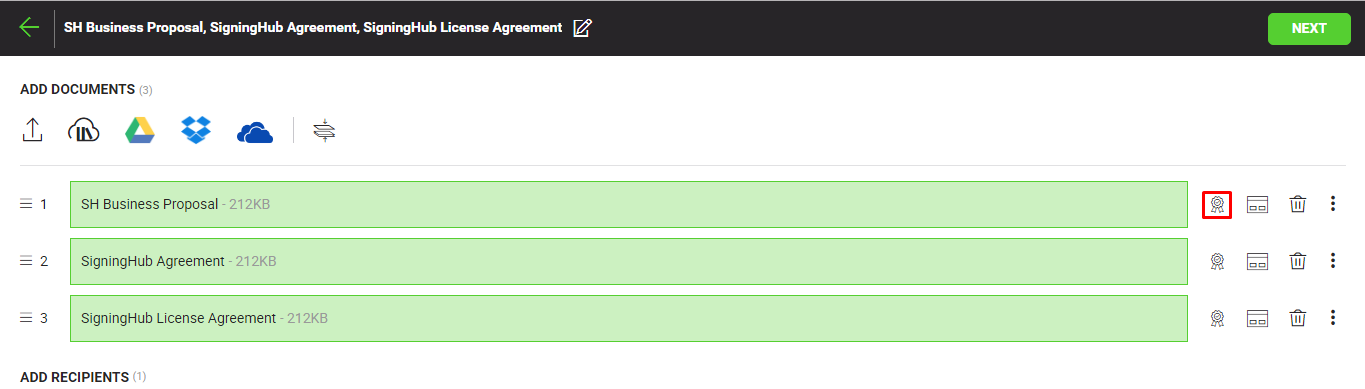
After you have added all the documents in a workflow package:
- Click
 against each document in a package which you want to certify.
- Tick the "Certify Document" checkbox, and choose the required certification preference from the next appearing drop down. For details, see the "Certify Options" table above.
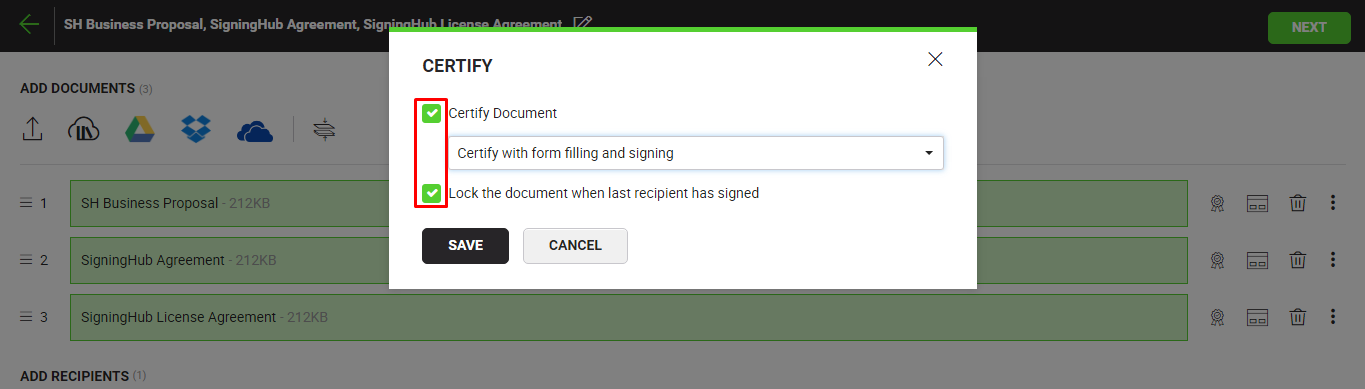
- Tick the "Lock the document when last recipient has signed" checkbox, if you want to lock all the form fields of your document after the last signature. Document locking feature is specifically related to the PDF documents with form fields. This checkbox will be disabled when "Certify with no changes" option is selected from the above drop down.
- Click the "Save" button.
See Also