Create a New Verification Profile
Verification profile identifies the ADSS Verification Server profile that has been configured for SigningHub Desktop Web, to verify the document signatures. Based on the business requirements, you can manage (Add, Edit, and Delete) multiple verification profiles to offer different types of verification services to your end users (i.e. trust anchor to build trusted chains/ path building up to Immediate or Root CA, signature type verification, etc.).
Create a new verification profile
- Create a new verification connector.
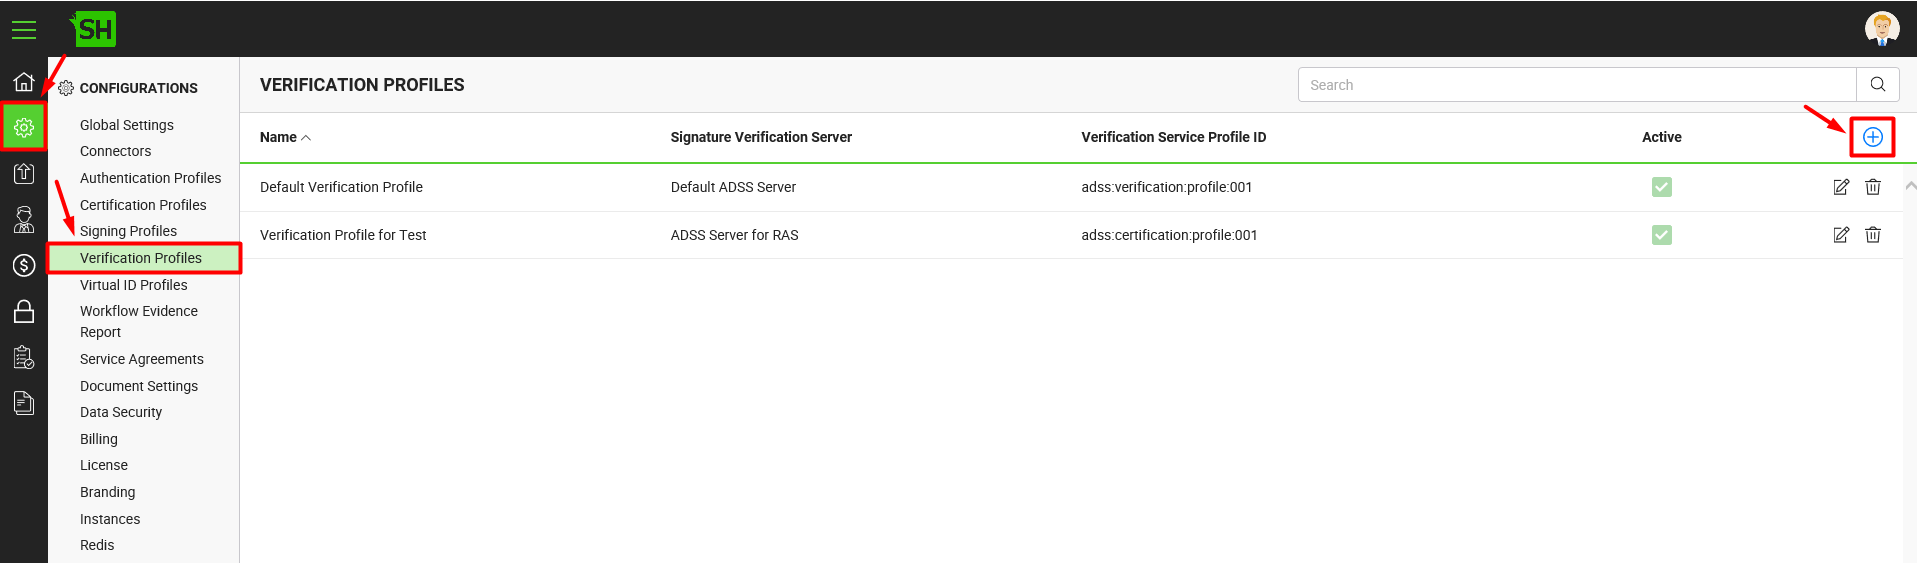
- Click the "Configurations" option from the left menu.
- Click the "Verification Profiles" option.
The "Verification Profiles" screen will appear. - Click
 from the grid header.
- A dialog will appear to configure the verification profile details. Specify the details accordingly and click the "Save" button. A new verification profile will be saved and displayed in the list. See the below table for fields description.
- Repeat the steps 1-6 to configure other verification profiles.
|
Verification Profile |
|
|
Fields |
Description |
|
Name |
Specify a unique name for this verification profile, i.e. My SigningHub Verification. This name will be used in the service plan configuration. |
|
Description |
Specify any description related to this verification profile for your record. |
|
Signature Verification Server |
This field will display the list of ADSS connectors. Select the one to use for this verification profile. Click |
|
Verification Service Profile ID |
Specify the ID or name of the profile that has been created in the ADSS Verification Server for your SigningHub Desktop Web, i.e. adss:verification:profile:001 |
|
Active |
Tick this check box to enable this verification profile for service plans configuration. Inactive profiles cannot be configured in the service plans. |
