Multilingual User Interface
SigningHub offers multilingual interface to facilitate its worldwide customers to send documents for signature in their native language. In this regard, you can change the entire GUI of your SigningHub for SharePoint as per your desired language.
When you change the display language of your SharePoint account, the same changes will automatically reflect on the SigningHub add-in interface as well, provided your selected language is supported in SigningHub. There are three areas in your SharePoint account to change the display language, i.e.:
+ The "Regional Settings" of your SharePoint site on which SigningHub is installed
+ The "Language Settings" of your SharePoint site on which SigningHub is installed
+ After configuring above two settings, change language settings in your personal profile accordingly
Steps to Configure Regional settings for your account:
1. Browse the SharePoint site link (on which SigningHub add-in is installed) and log into your Office 365 account with SharePoint administrator credentials.
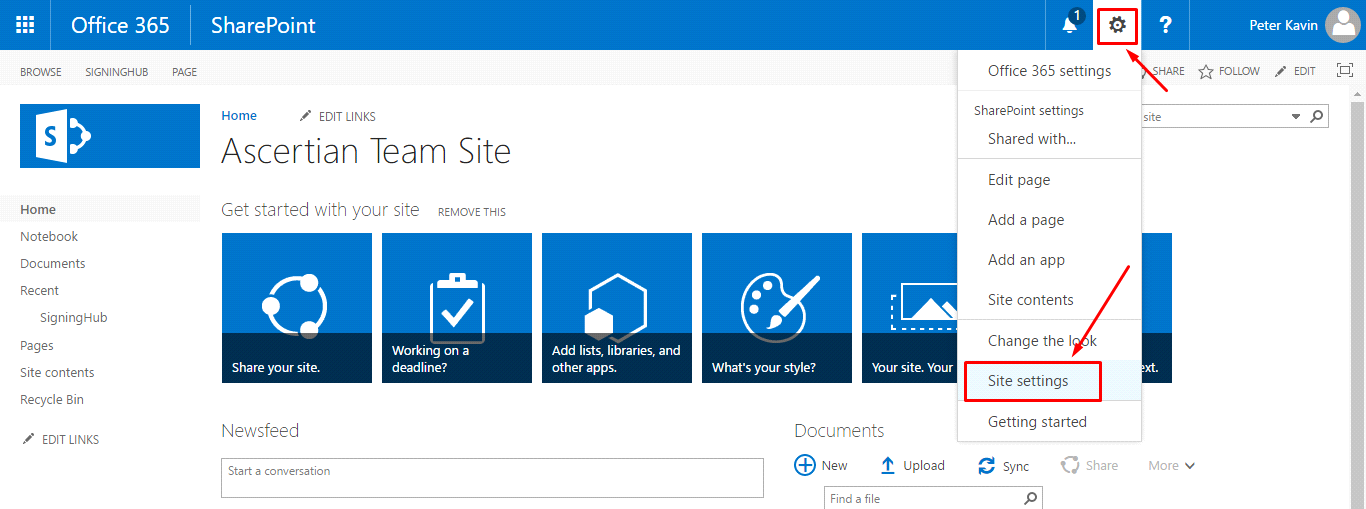
2. Click ![]() and select the "Site settings" option.
and select the "Site settings" option.

3. Click the "Regional Settings" option.
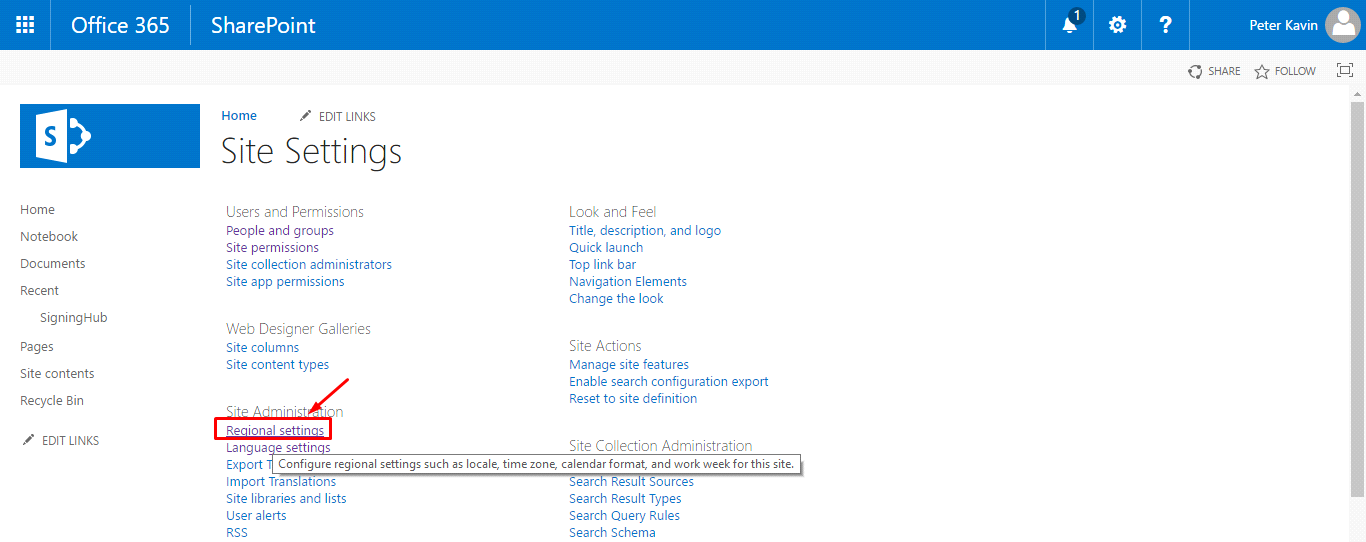
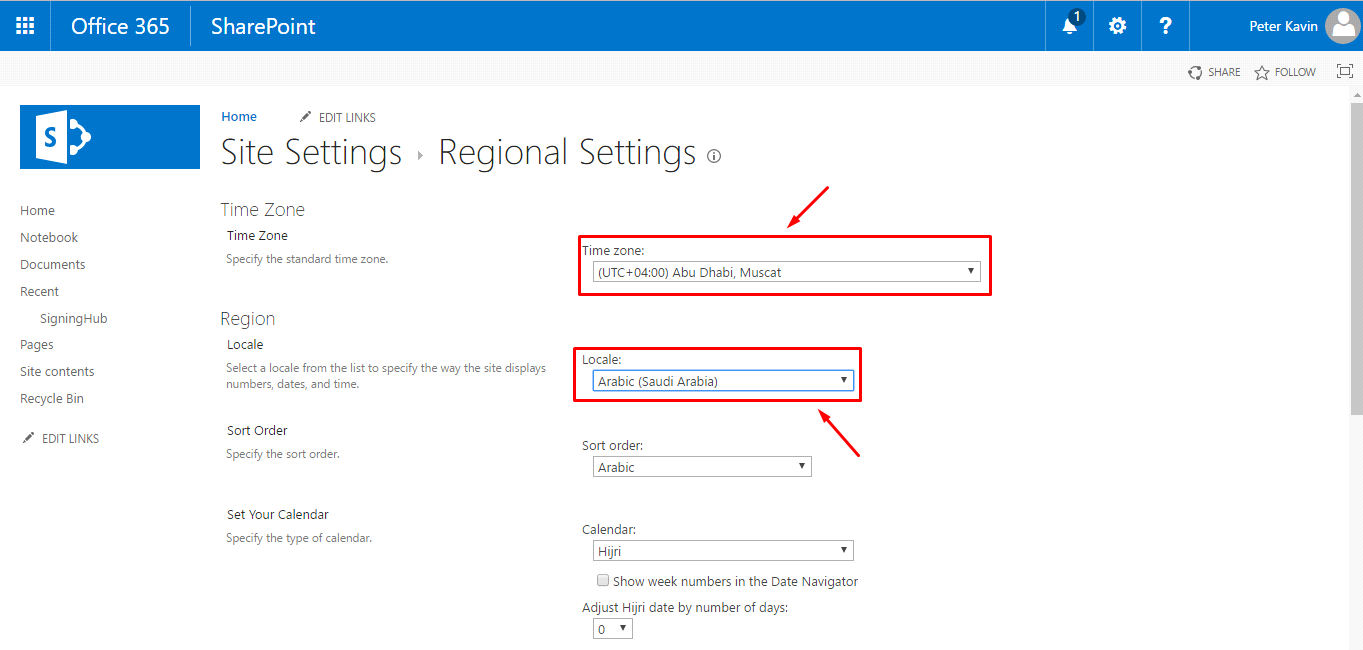
4. Change the "Time Zone" and "Locale" fields as required and click “OK”.
Configure the Language Settings of your SharePoint account
1. Browse the SharePoint site link (on which SigningHub add-in is installed) and log into your Office 365 account with SharePoint administrator credentials.
2. Click ![]() and select the "Site settings" option.
and select the "Site settings" option.
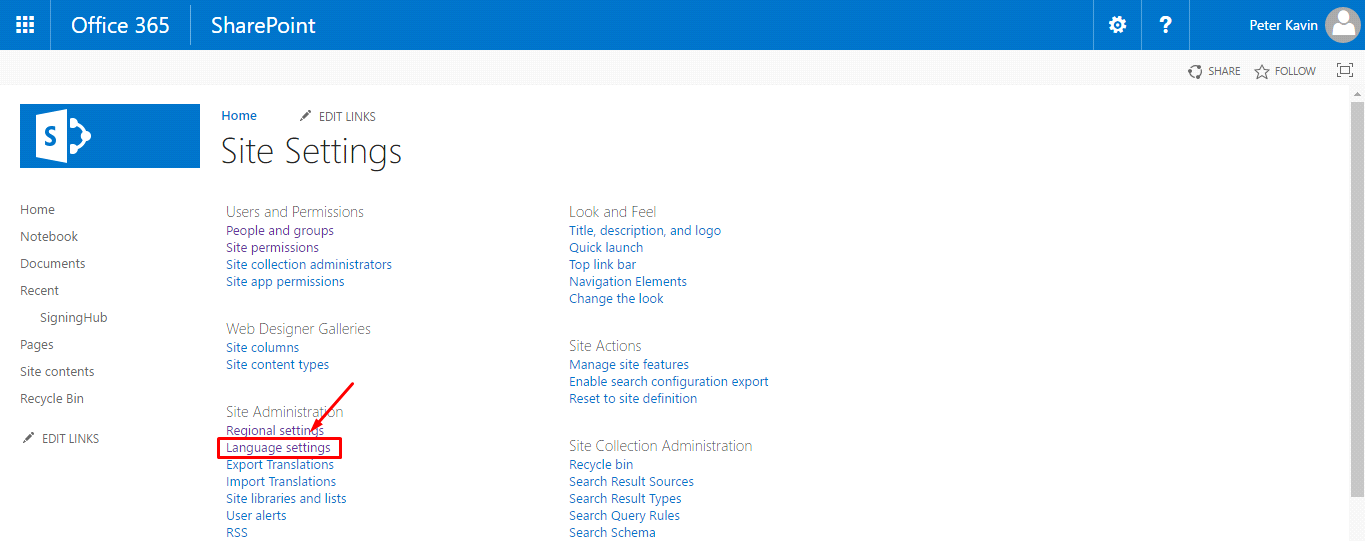
3. Click the "Language Settings" option.
4. Select the language(s) as required and click “OK”.
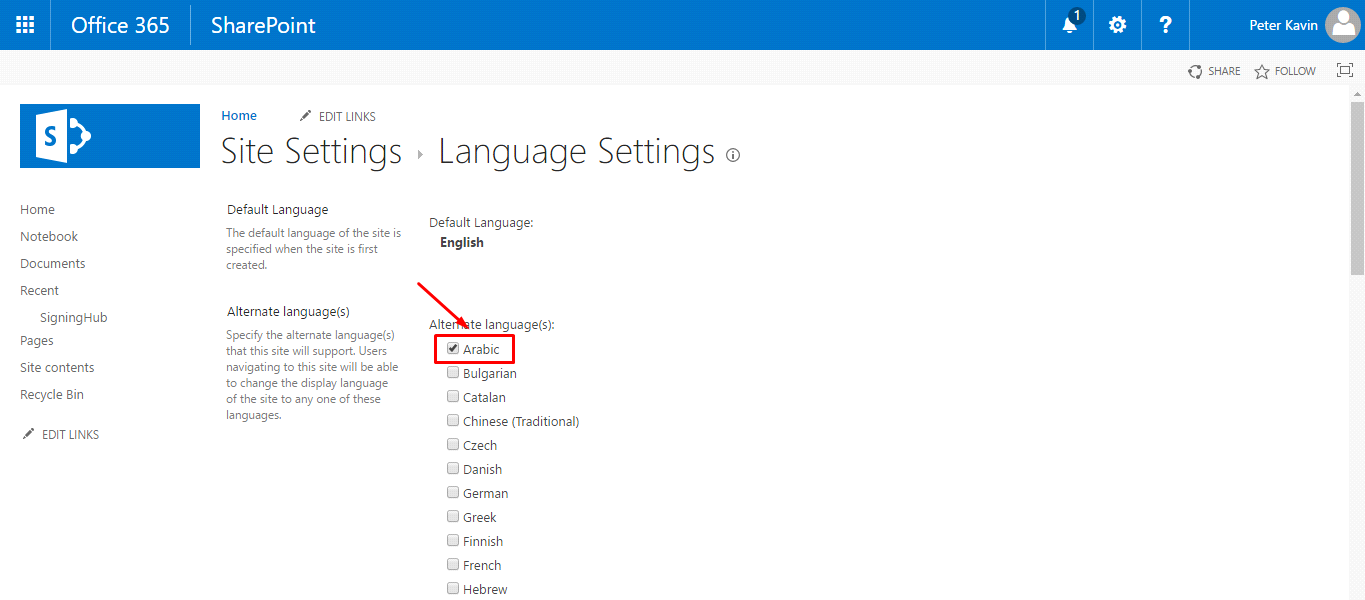
The entire GUI language of your SharePoint account including SigningHub for SharePoint will be changed accordingly.