Configure SigningHub settings
SigningHub settings are configured to integrate the SigningHub app with your Salesforce account. For this you need to have an active enterprise account in SigningHub.
These settings are defined at SigningHub enterprise account level. Which implies that once an enterprise account is integrated by their enterprise admin, the same settings will be applicable to all their enterprise users.
Configure your account settings
- Register an Enterprise account in SigningHub.
- Login into your Salesforce account with a "System Administrator" profile.
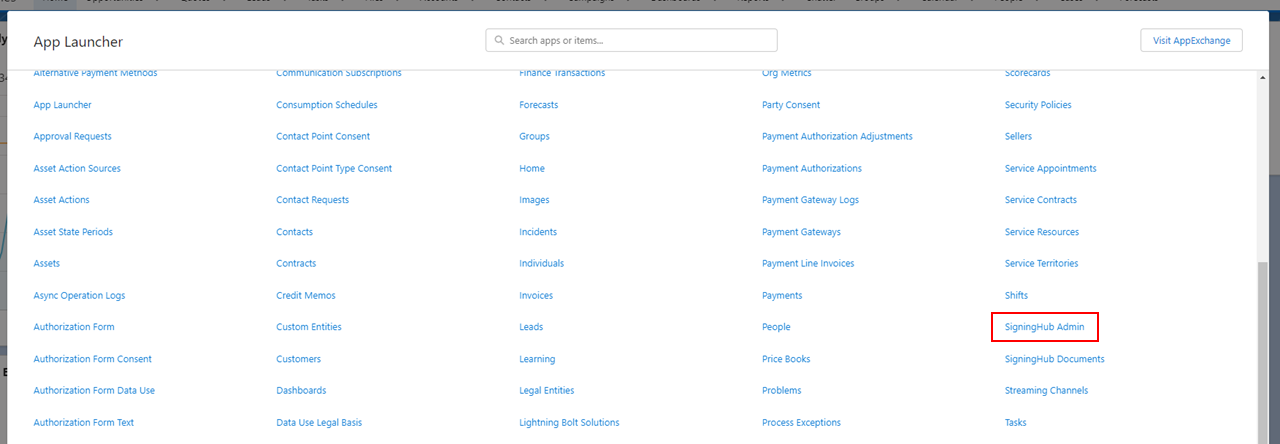
- Click the "App Launcher" icon in the top left corner and select "View All".

- Locate and select "SigningHub Admin"
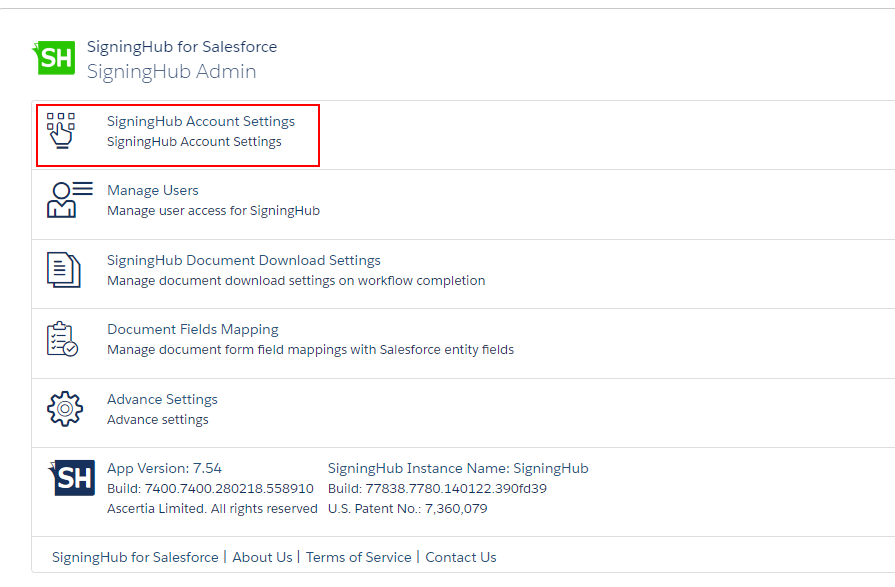
- The administration section of SigningHub for Salesforce will appear, click the "SigningHub Account Settings".
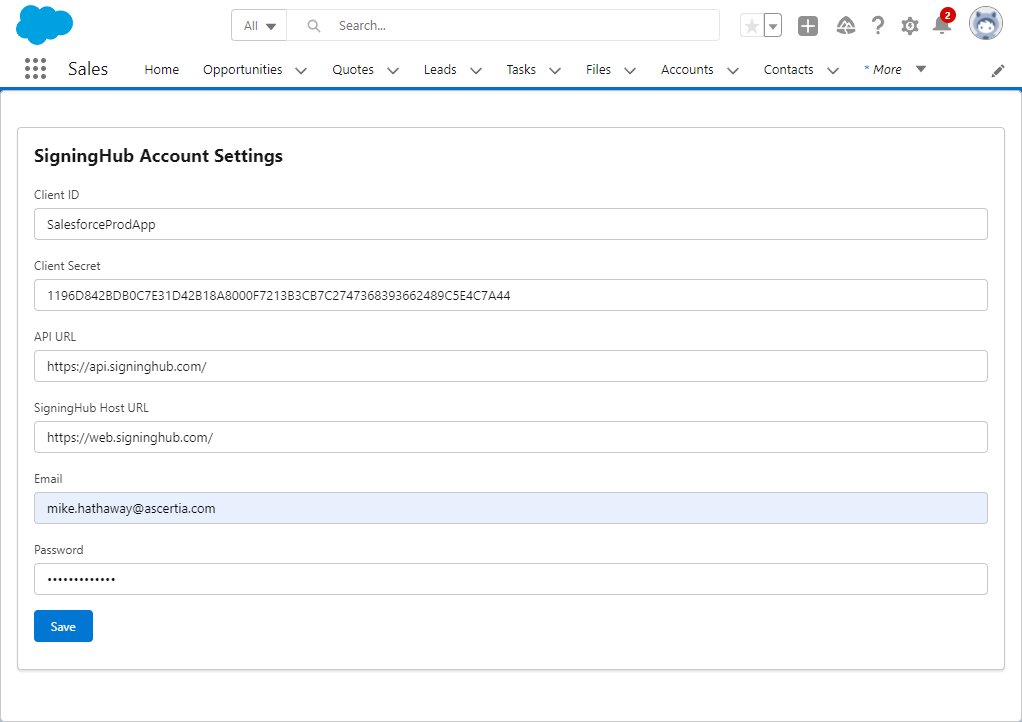
- The "SigningHub Account Settings" screen will appear. Configure these settings as required and click the "Save" button. See the below table for fields description.
- The "Settings updated" message will confirm the configuration has been saved.

|
SigningHub Account Settings |
|
|
Fields |
Description |
|
Client ID |
Specify the client ID as specified in
|
|
Client Secret |
Specify the client secret as generated in
|
|
API URL |
Specify the URL of SigningHub API, i.e. "https://api.signinghub.com"
|
|
SigningHub Host URL |
Specify the URL of SigningHub Host, i.e. "https://web.signinghub.com"
|
|
|
Specify the email of SigningHub Enterprise Admin account that needs to integrate with your Salesforce account. |
|
Password |
Specify the password of Enterprise Admin account. |
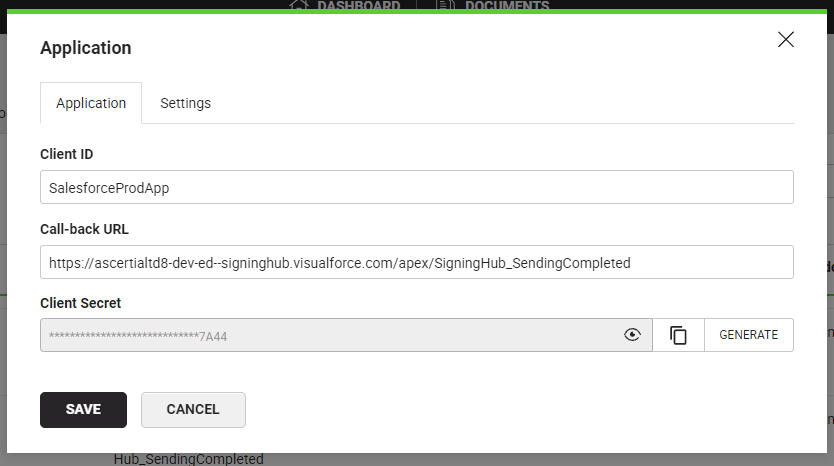
- When adding the integration within SigningHub the following settings are required. Configure these settings as required and click the "Save" button. See the below table for fields description
|
SigningHub Application Settings |
|
|
Fields |
Description |
|
Client ID |
Specify the client ID as specified in
|
|
Client Secret |
Specify the client secret as generated in
|
|
Call-back URL |
Specify the URL of SigningHub SendCompleted Visualforce page.
|
Use the following steps to obtain the Call-back URl.
- Login into your Salesforce account with a "System Administrator" profile.
- Click the "Setup" cog and select Setup from the menu.

- From the left hand menu, expand Custom Code and select Visual Force Pages, click on S to navigate to the SigningHub pages.
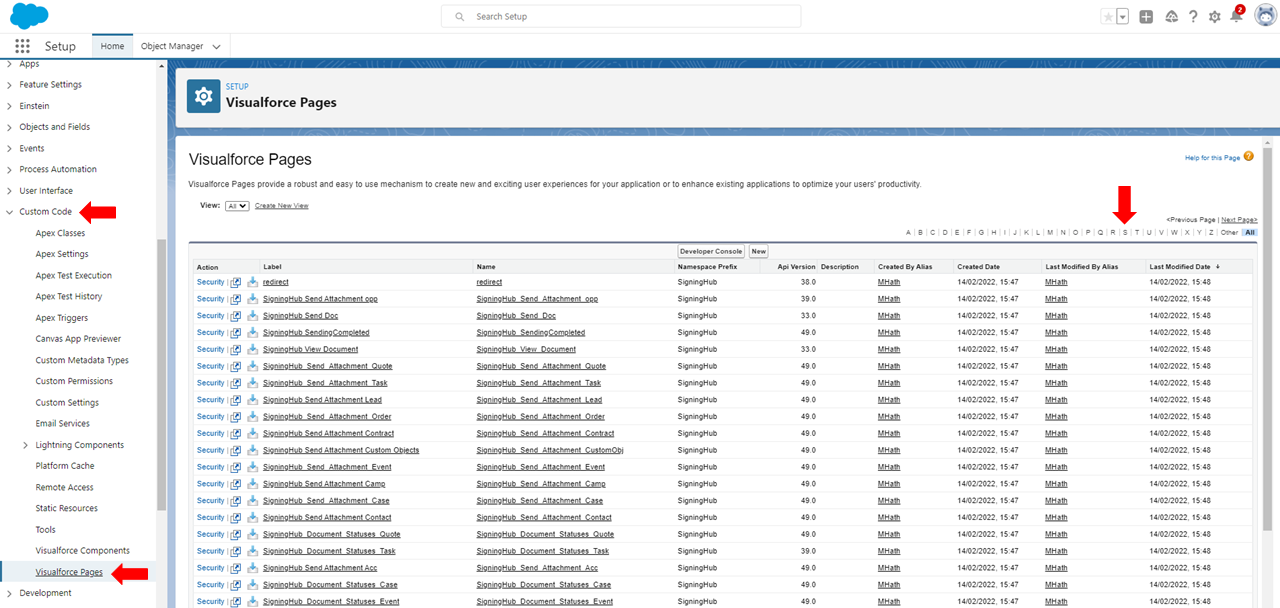
- locate “SigningHub SendingCompleted” and click on the preview button

- The following page will display, the URL in the address bar is the call-back URL, copy this for the integration within SigningHub, click the "Return to Salesforce" button.
