To create a new custom entity in Microsoft Dynamics CRM account:
- In case of an on-premises deployment, log into your locally deployed Dynamics CRM instance through CRM administrator user and password (active directory credentials).
OR
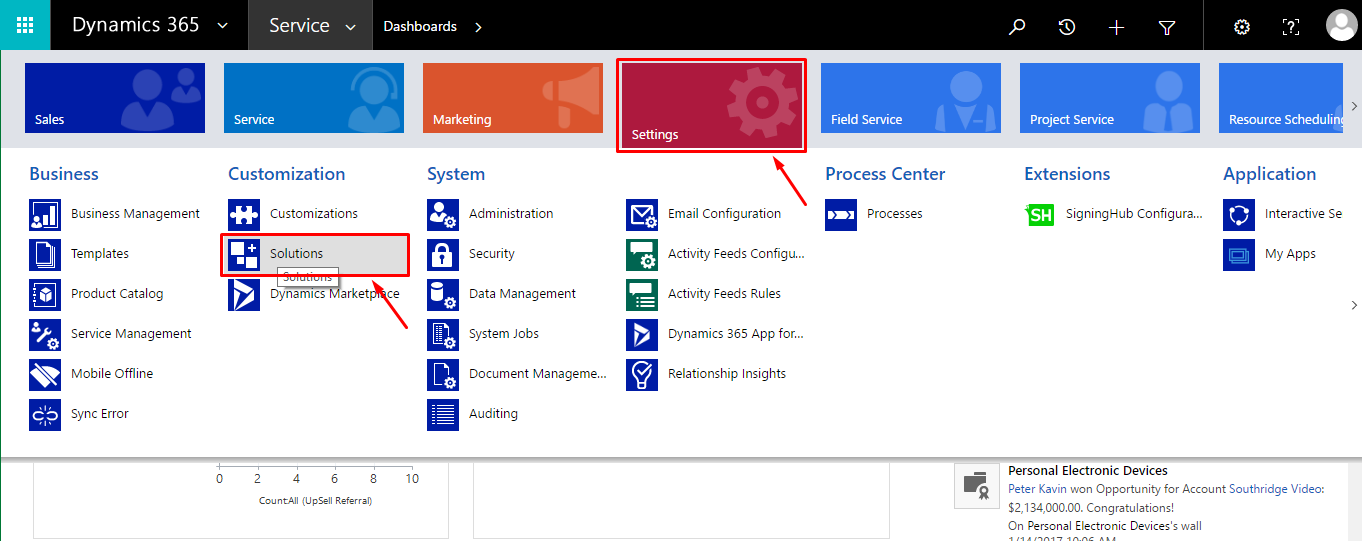
In case of an Office 365 installation, log into your Office 365 account through CRM administrator credentials. - Click the "Service" tab and then click the "Settings" module, as marked with red arrows on the below image.

- From the next appearing "Settings" menu, click the "Solutions" option.
- Click the "New" option to create a new solution.

- Specify the general information (i.e. Display Name, Name, Publisher, and Version) of your new solution, and click the "Save" option. Close the new solution dialog.

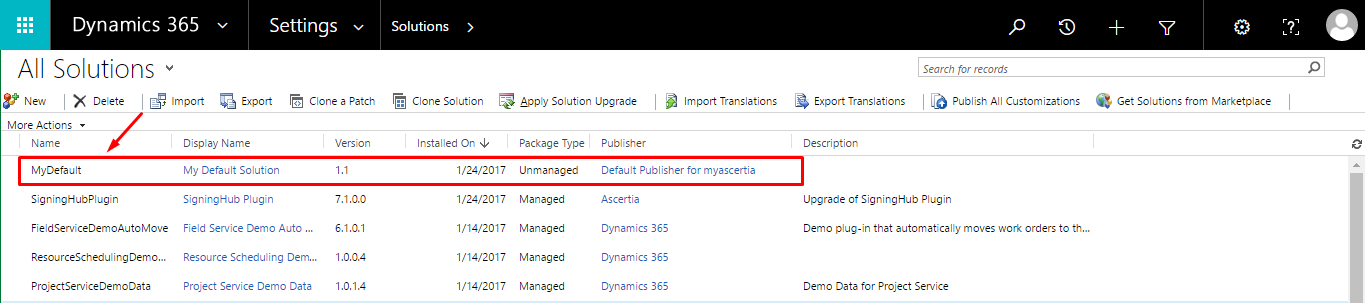
- A new solution with the specified name will be created and shown in the "All Solutions" grid. Click the "Display Name" of your solution to open it.
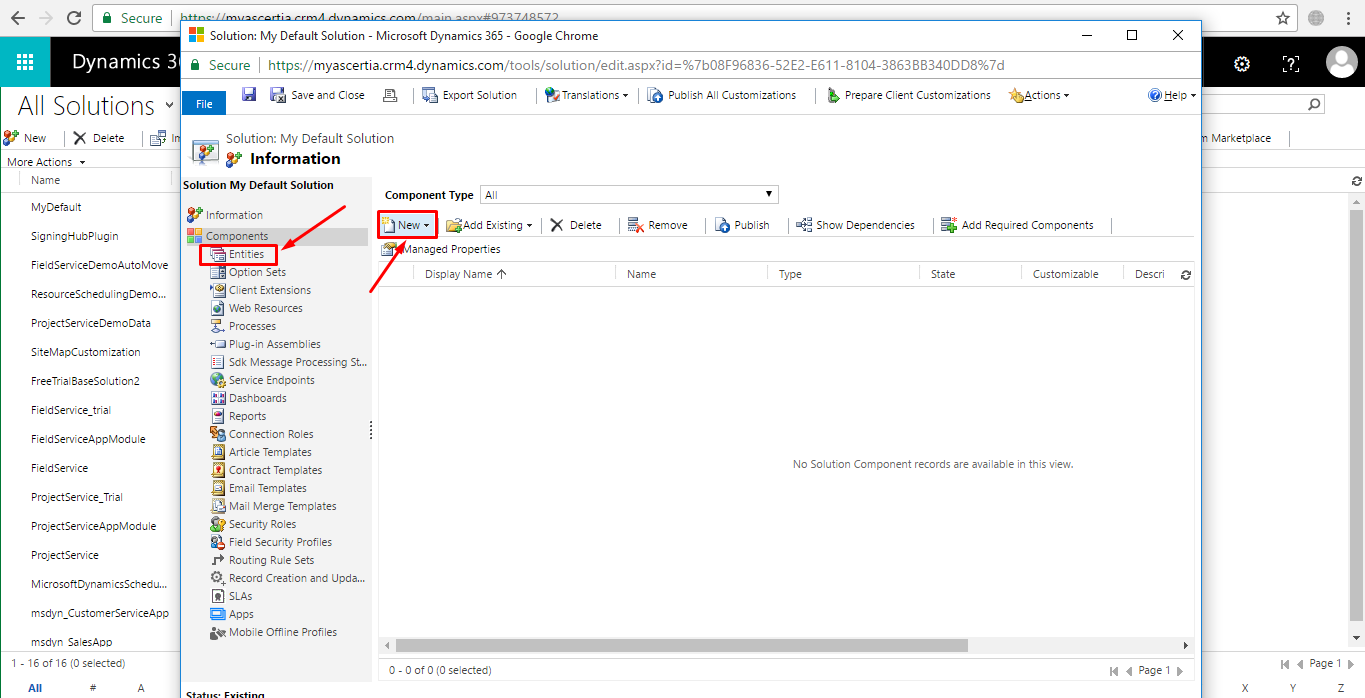
- Select the "Entities" option from the left panel, and click the "New" option to create a new custom entity.
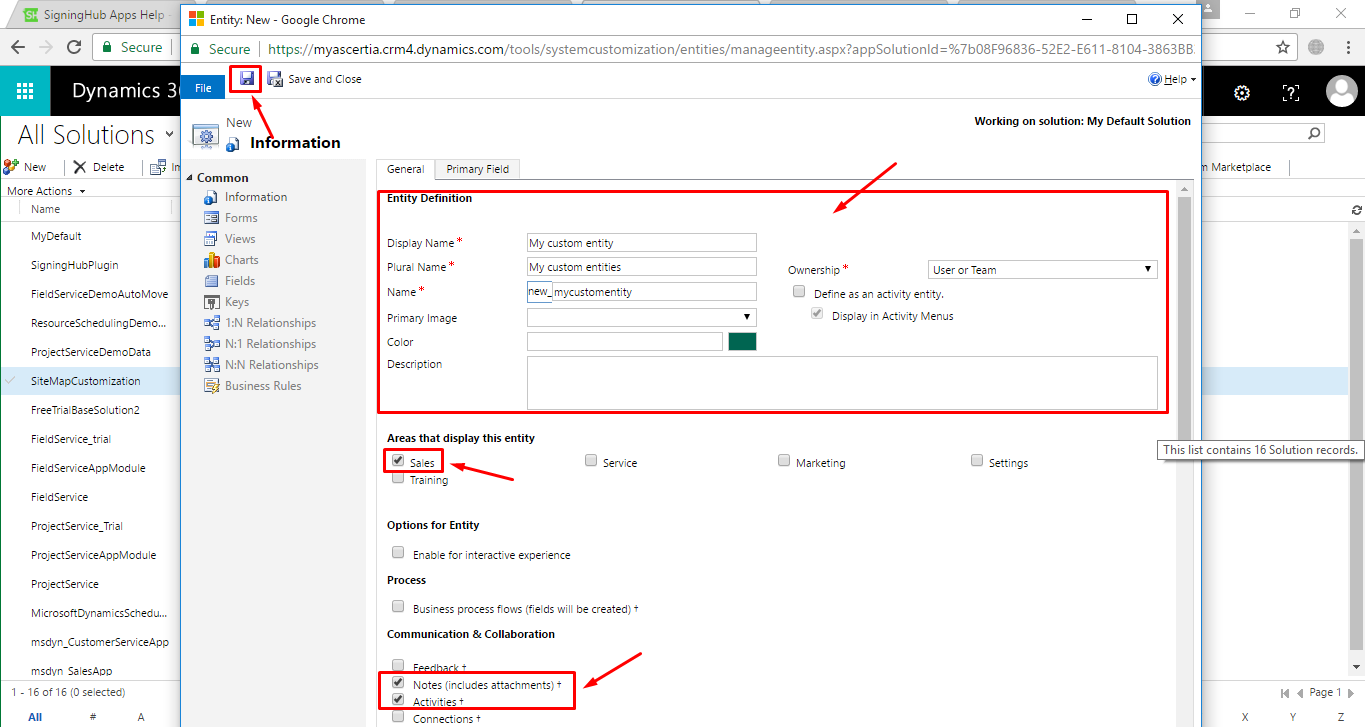
- Specify the entity definition (i.e. Display Name, Ownership, and Plural Name) of your custom entity, select the required area(s) to display this entity (i.e. Sales), then select the "Notes" and "Activities" options from the "Communication & Collaboration" area and keep the default settings for the rest of the areas. Click the "Save and Close" option.
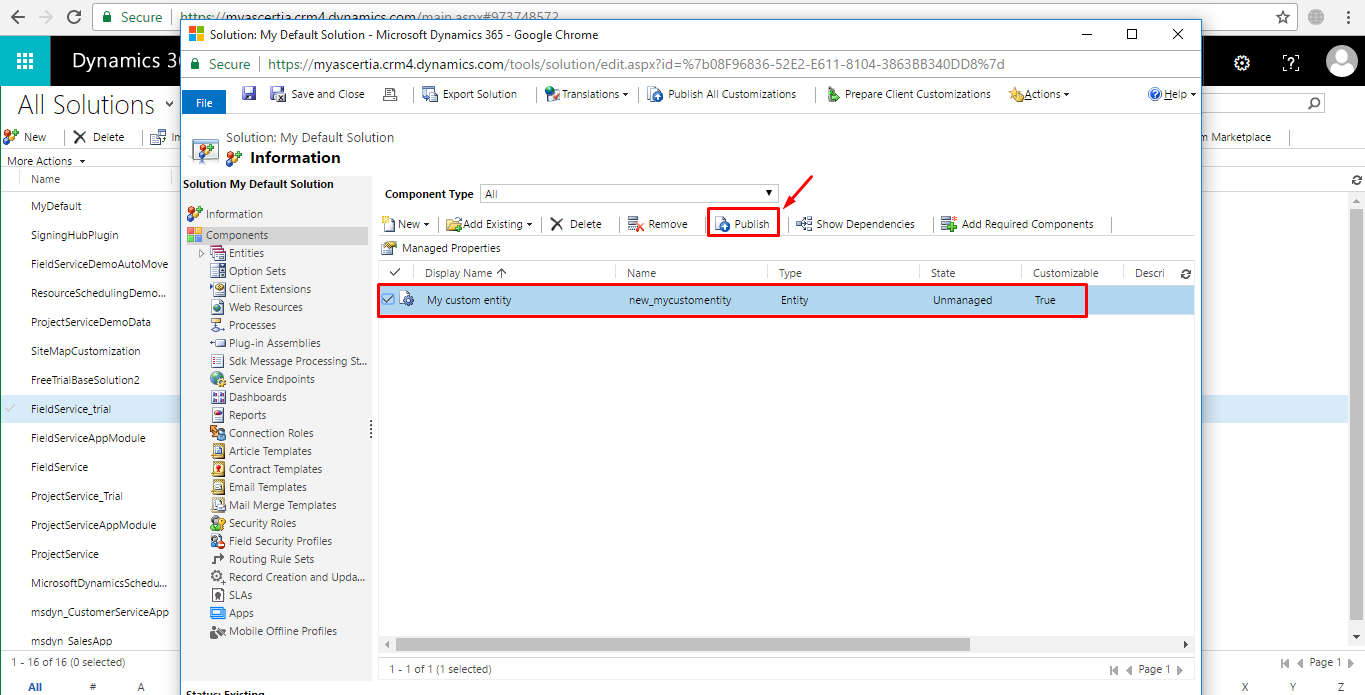
- A new custom entity with the specified information will be created and shown in your solution grid. Now select that entity and click the "Publish" option. Restart your browser.
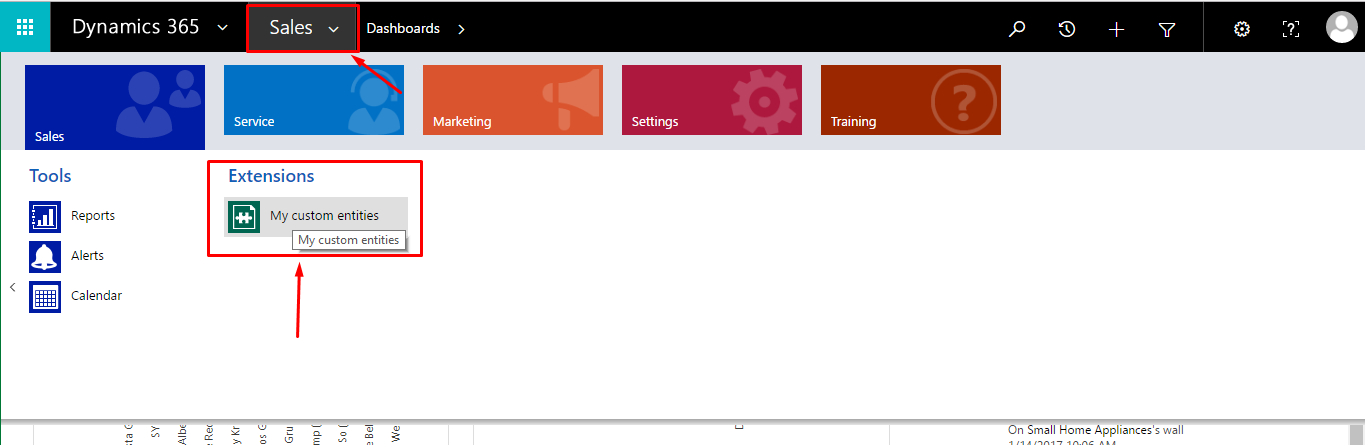
- The newly created custom entity will start appearing under the "Sales" option. Click the "Sales" option, scroll to the right side till you reach your newly created custom entity being shown under "Extensions".