Regular Release Installation
Note: If you are upgrading from v2.9 to v2.9.7, ensure that your v2.9 deployment is functioning properly by accessing it in a browser.
Note: The ‘Regular Release” installation type will only be available if ADSS Web RA was previously installed with Microsoft SQL Server database. This option is not available for PostgreSQL database, as it will be freshly supported starting from v2.9.7.
Follow the instructions below to install ADSS Web RA's regular release. Before starting the installation make sure that you have taken a backup of the Web RA database and have stopped the IIS Server.
To stop the IIS Server, launch the IIS Server and click Stop under the Manage Server action.
Launch the installer by right-clicking the file name [Web RA Regular Release Installation Directory]/setup/install.bat and select Run as administrator. Follow the installation wizard as described below:
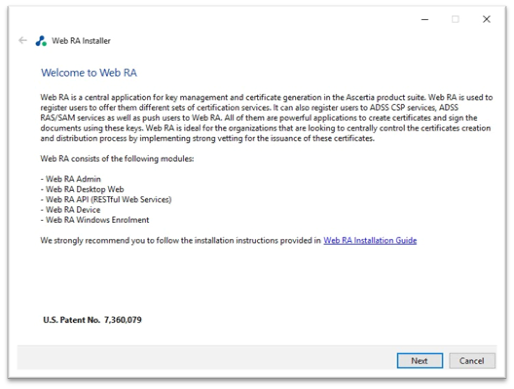
The Welcome screen will appear:
Click the "Next" button to continue. The system requirements screen will appear next to validate if all the required prerequisites are installed.

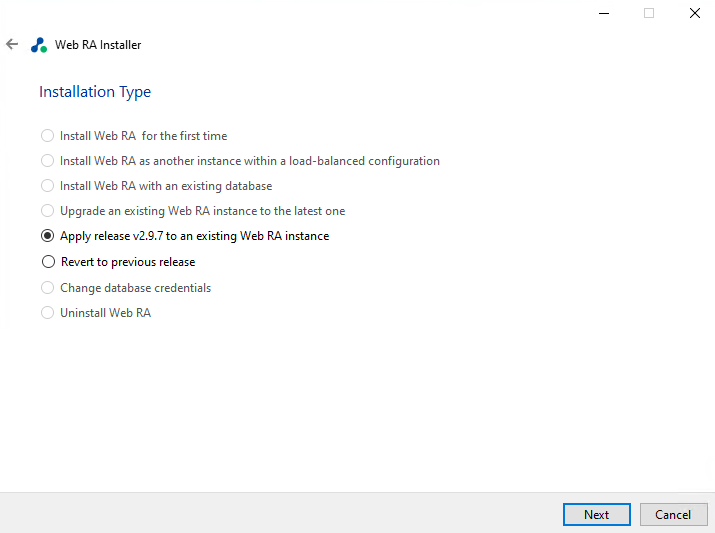
Click the "Next" button to view the Installation Type screen.
Click the "Next" button to view and accept the License Agreement.
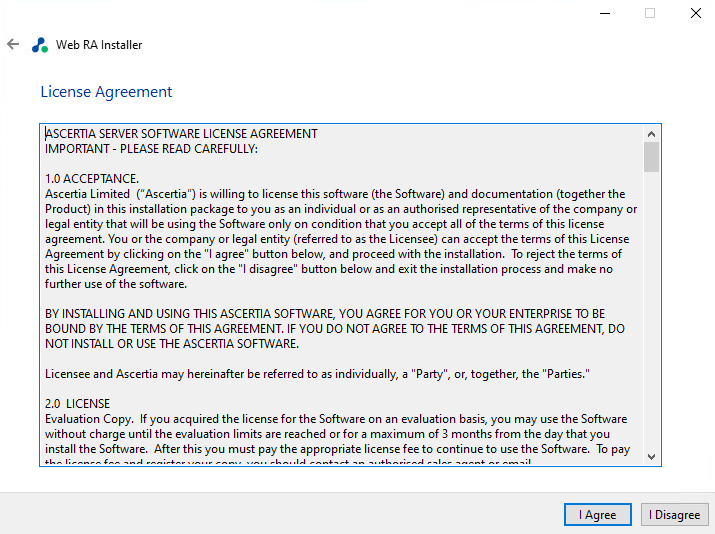
Click the "I Agree" button to proceed to the "Read Me" screen.
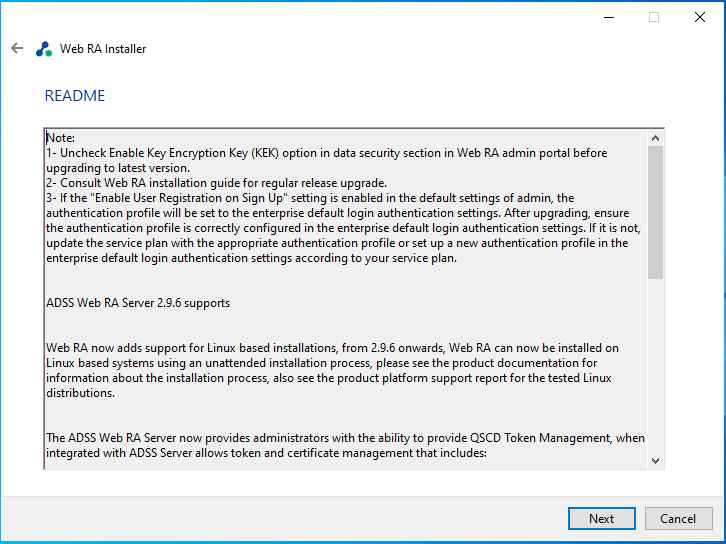
Click the "Next" button to provide the existing Web RA directory addresses:
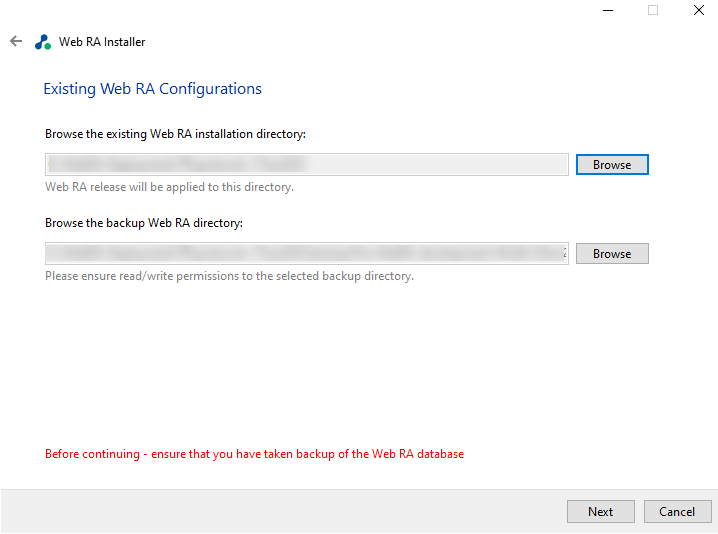
Click the Browse button against the existing Web RA installation directory.
Then click the Browse button against the backup Web RA directory, to browse to the addresses for the respective directories:
By default, when the existing Web RA installation directory address is selected, the installer will automatically create a backup Web RA folder and select it as backup directory. However, if the user wants to change the backup directory, they can click "Browse" and manually select the backup directory.
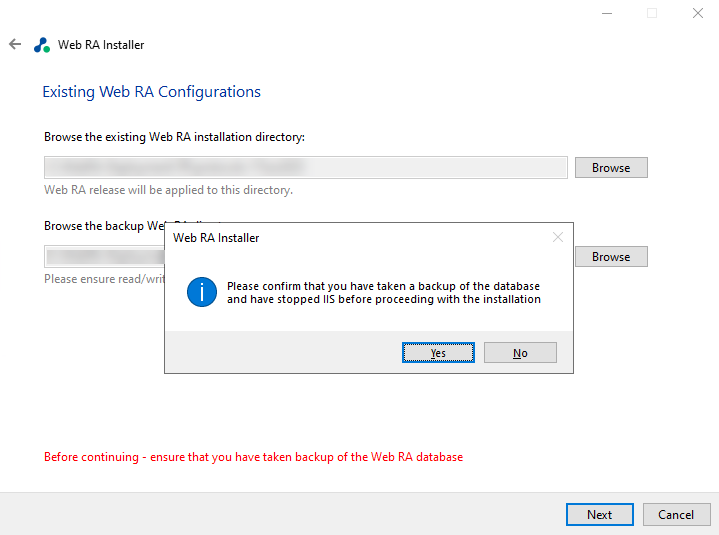
Click the Yes button to confirm that you have taken a backup of the database and have stopped the IIS before proceeding with the installation:
Click the "Finish" button to complete the installation process.
