Generate Keys on Smart Card/Token
Certification profile to generate keys on Smart Card/Token
Expand External Services > Certification Profiles from the left menu. The system will display the certification profiles listing screen.
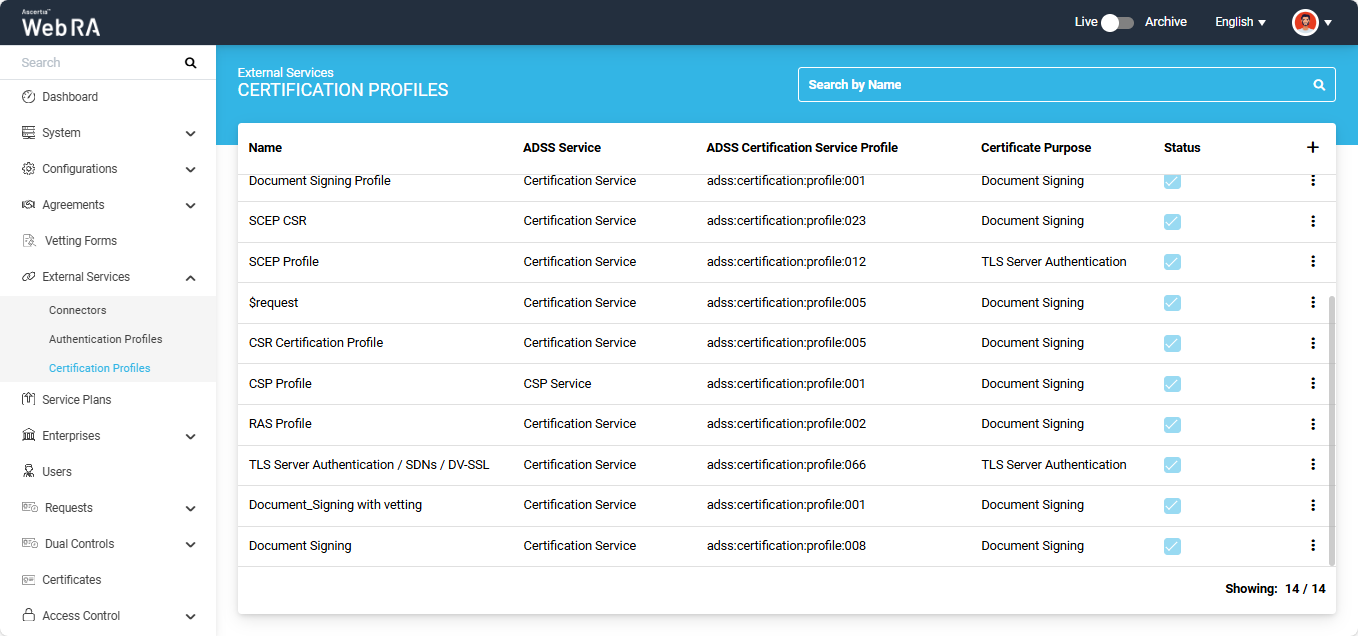
To add a new certification profile, click the ‘+’ button on the left side of the table header. The system will display the ‘Basic Information’ screen.
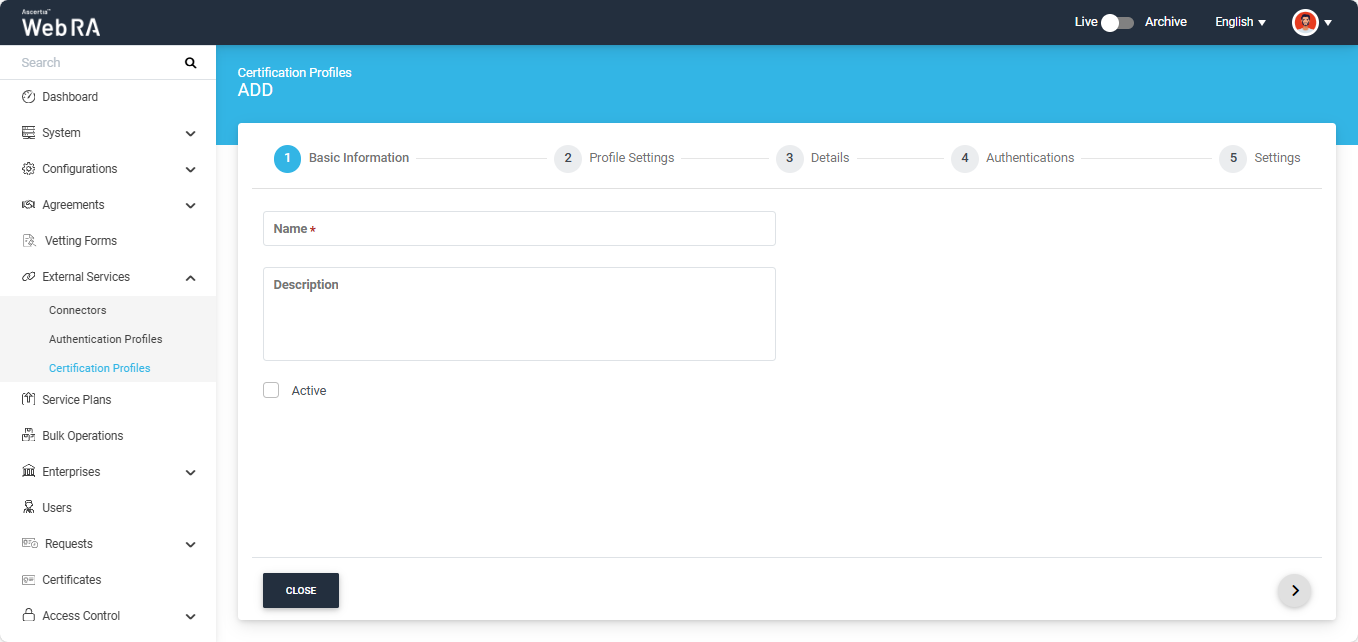
Basic Information
The basic information screen will display the following fields:
|
Field |
Description |
|
Name |
Specify a unique name for this profile. |
|
Description |
Specify any description related to this certification profile. (Optional) |
|
Active |
Select this checkbox to make the profile active. |
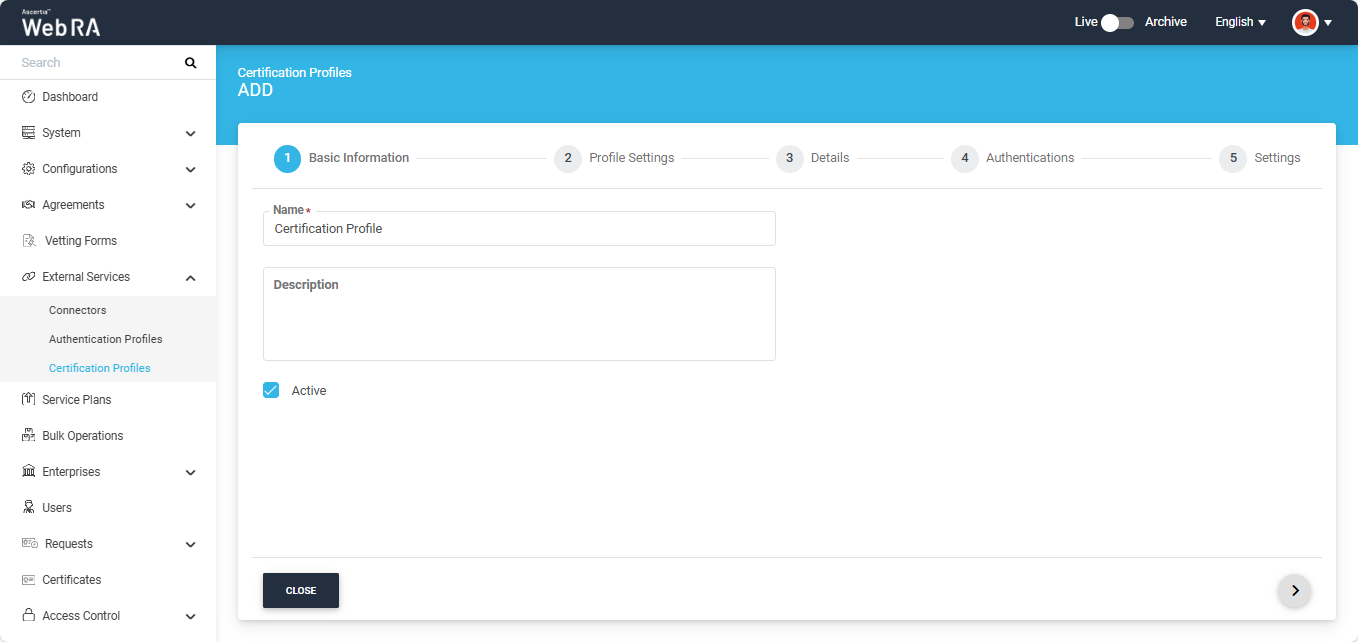
After entering the required details, click the next ‘>’ icon to proceed to the ‘Profile Settings’ screen.
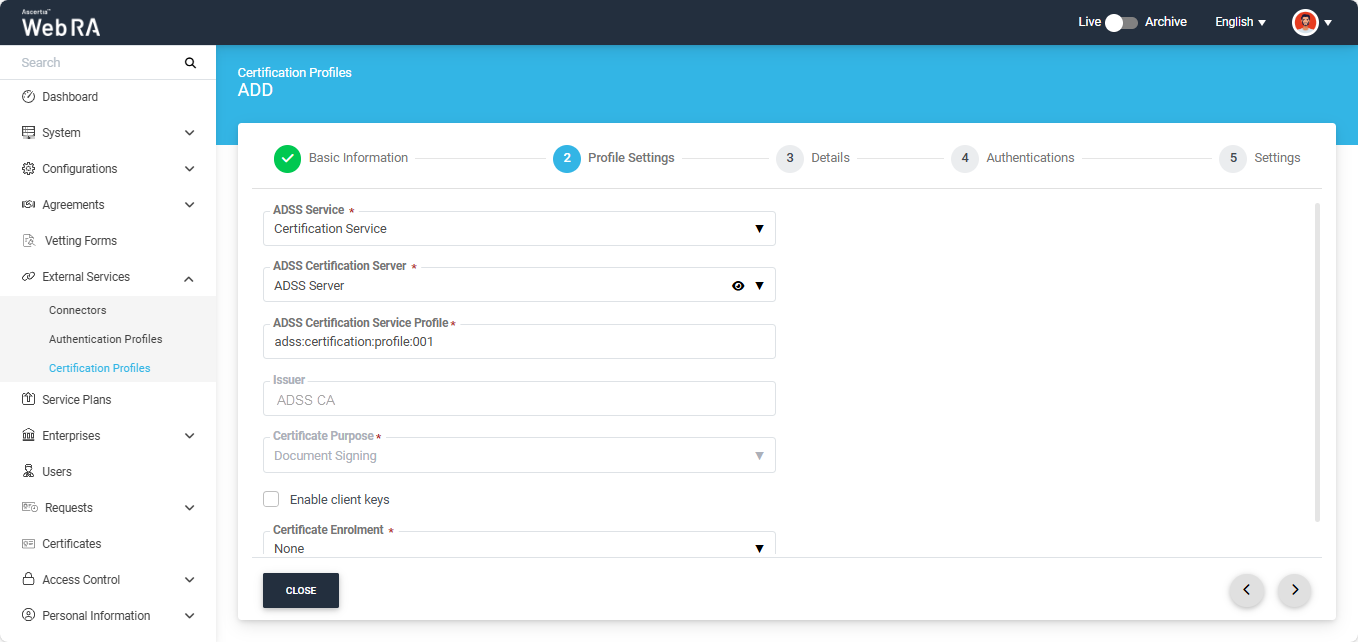
Profile Settings
On this screen, provide information as described in the table below:
|
Field |
Description |
|
ADSS Service |
This field will display the ADSS Services (i.e. Certification Service and CSP Service) that are available for ADSS Web RA. Select Certification Service. |
|
ADSS Certification Server |
This field will display the list of active ADSS connectors in ADSS Web RA. Select the one to use for this certification service profile, e.g: ADSS. |
|
ADSS Certification Service Profile |
In this field, enter the certification profile that you created on the ADSS Sever, e.g. adss:certification:profile:001. |
|
Issuer Name |
This field will display issuer CA name. This information is fetched from ADSS Server and is displayed in read-only format. |
|
Certificate Purpose |
This field will appear in a disabled form. It contains a list of standard certificate purposes which actually comes from ADSS, based on selected certification profile. A certificate will be generated based on provided certification profile ID, and it will be in a disabled form as it is configured under that ADSS Certification Service Profile. Possible certificate purposes could be Document Signing, TLS Server Authentication, Code Signing etc. ADSS Web RA supports the following types of TLS certificates:
In case of external CA this field will be enabled and operator can select certificate purpose. |
|
Certificate Enrolment |
A drop down where you can select one from the following:
Note: If certificate enrolment is selected, the certification profile cannot be used as a token profile. |
|
Enable Client Keys |
Enabling the client keys option will require public key to generate the certificate. The Subject Distinguished Names (SDNs) in the certificate request will be populated based on what is configured in the ADSS certification profile and the data provided in the CSR (Certificate Signing Request). Note: If this option is enabled, the certification profile cannot be used to generate keys for smart cards/tokens. |
After providing the required information in the ‘Profile Settings’ section, click the next ‘>’ button to navigate to the ‘Details’ tab.
Details
The fields on the details screen are explained in the table below:
|
Field |
Description |
|
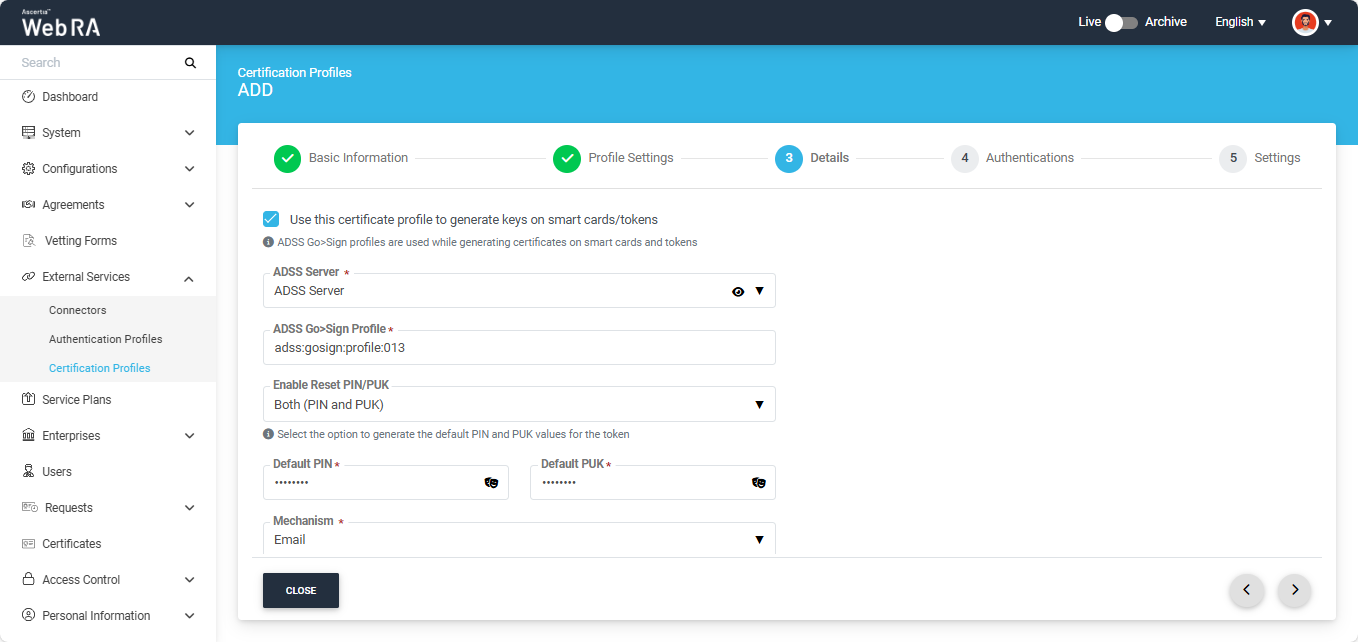
Use this certificate profile to generate keys on smart cards/tokens |
Enable this option if this profile will be used to generate the certificates in the smart card/token. After enabling this checkbox, the administrator must provide the ADSS Server details along with the ADSS Go>Sign Profile. The system will also display the ‘Enable Reset PIN/PUK dropdown’, allowing the administrator to reset default PIN and PUK values for the token. The following options are available in the dropdown:
The operator has the option to reset default value for either PIN or PUK by selecting the respective option from the dropdown. If Both (PIN and PUK) option is selected, the system will display fields for both Default PIN and Default PUK, where the administrator will have to enter the same default values of PIN/PUK that were configured during the token’s initial setup. Note: By default, ‘None’ option will be selected. From the “Mechanism” dropdown, the administrator can choose how the default PIN and PUK values will be shared. The available options are:
If Both (Email and SMS) is selected, the entered PIN and PUK values will be shared with the user via both email and SMS. |
|
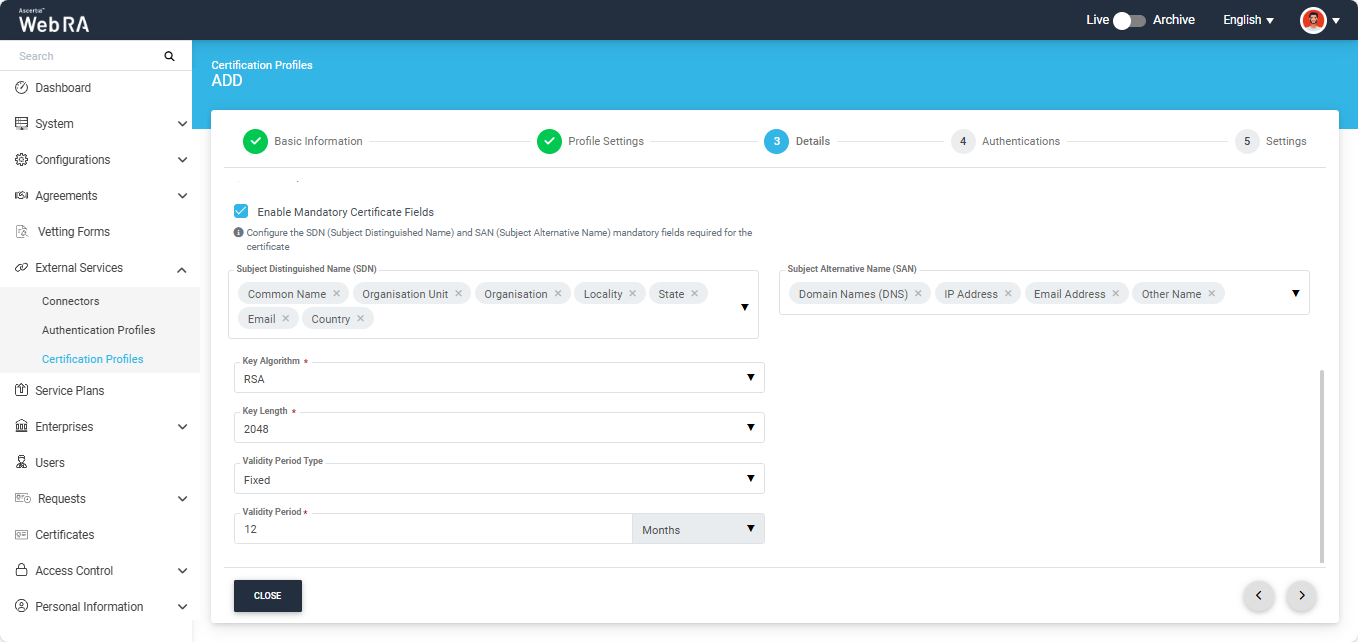
Enable Mandatory Certificate Fields |
If enabled, this option allows the administrator to define which Subject Distinguished Name (SDN) and Subject Alternative Name (SAN) fields must be mandatory when generating a certificate. Enabling this checkbox will display the SDN and SAN dropdowns, allowing the administrator to select the required mandatory fields while leaving the optional ones unchecked. |
|
Key Algorithm |
Key Algorithm that will be used to generate the key pair in the smart card/token. This is configured in the ADSS Server so it cannot be changed. |
|
Key Length |
Key Length that will be used to generate the key pair in the smart card/token. This is configured in the ADSS Server so it cannot be changed. |
|
Validity Period Type |
Validity period type can be configured as a Fixed to restrict the enterprise user to change the certificate validity or it can be set as Custom if enterprise RAO allows an enterprise user to set validity period while creating a certificate request. These Fixed and Custom values can only be used on ADSS Web RA admin, if the selected ADSS Certification profile has set overridable option in certification profile. It will be shown as Fixed validity period type otherwise. |
|
Validity Period |
The certificate validity period. If the CA profile is configured to use its time instead taking the time from the request then this value will be dropped by the CA server. |
|
Validity Duration |
The time unit of the validity period. It could be minutes, hours, days, months and years. |
Authentications
Enable the required options on the ‘Authentications’ screen, then click the next ‘>’ button to continue to the ‘Settings’ tab.
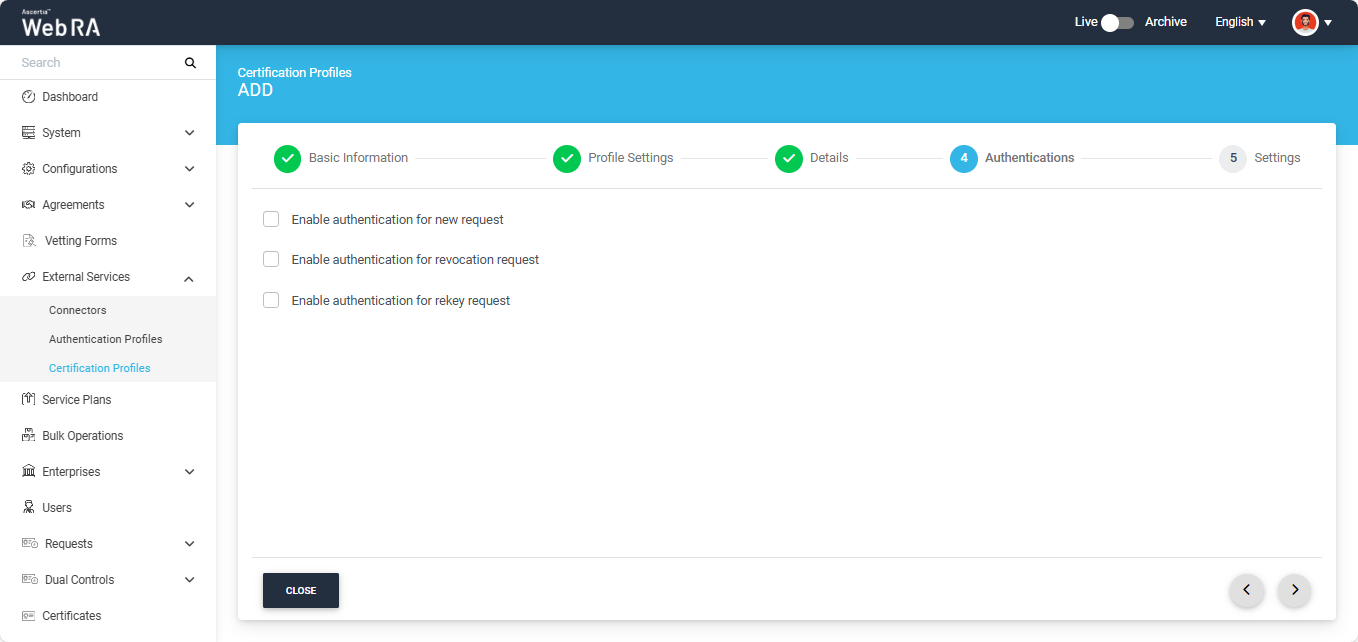
To learn more about the available options and their functions in the ‘Authentications’ section, refer to the Authentication section in the ‘Certification Service Profile’ page.
Settings
Make the required selections on the ‘Settings’ screen, then click ‘Create’ to finalise the certification profile.
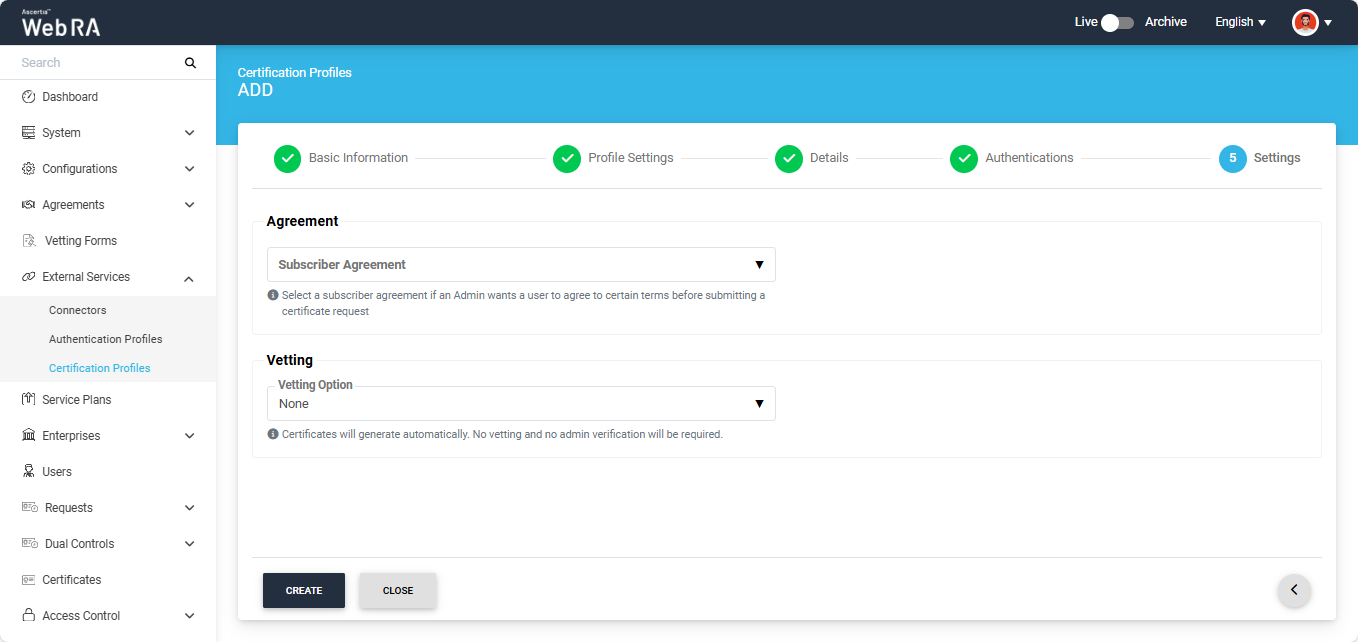
To learn more about the available options and their functions in the ‘Settings’ section, refer to the Settings section in the ‘Certification Service Profile’ page.