Requests
Register an Enterprise
- Click Enterprises from left menu, a sub-menu will appear in the drop-down. Navigate to Requests and click it to move to the next screen.
- Click
 from the grid header as displayed in the screenshot below:
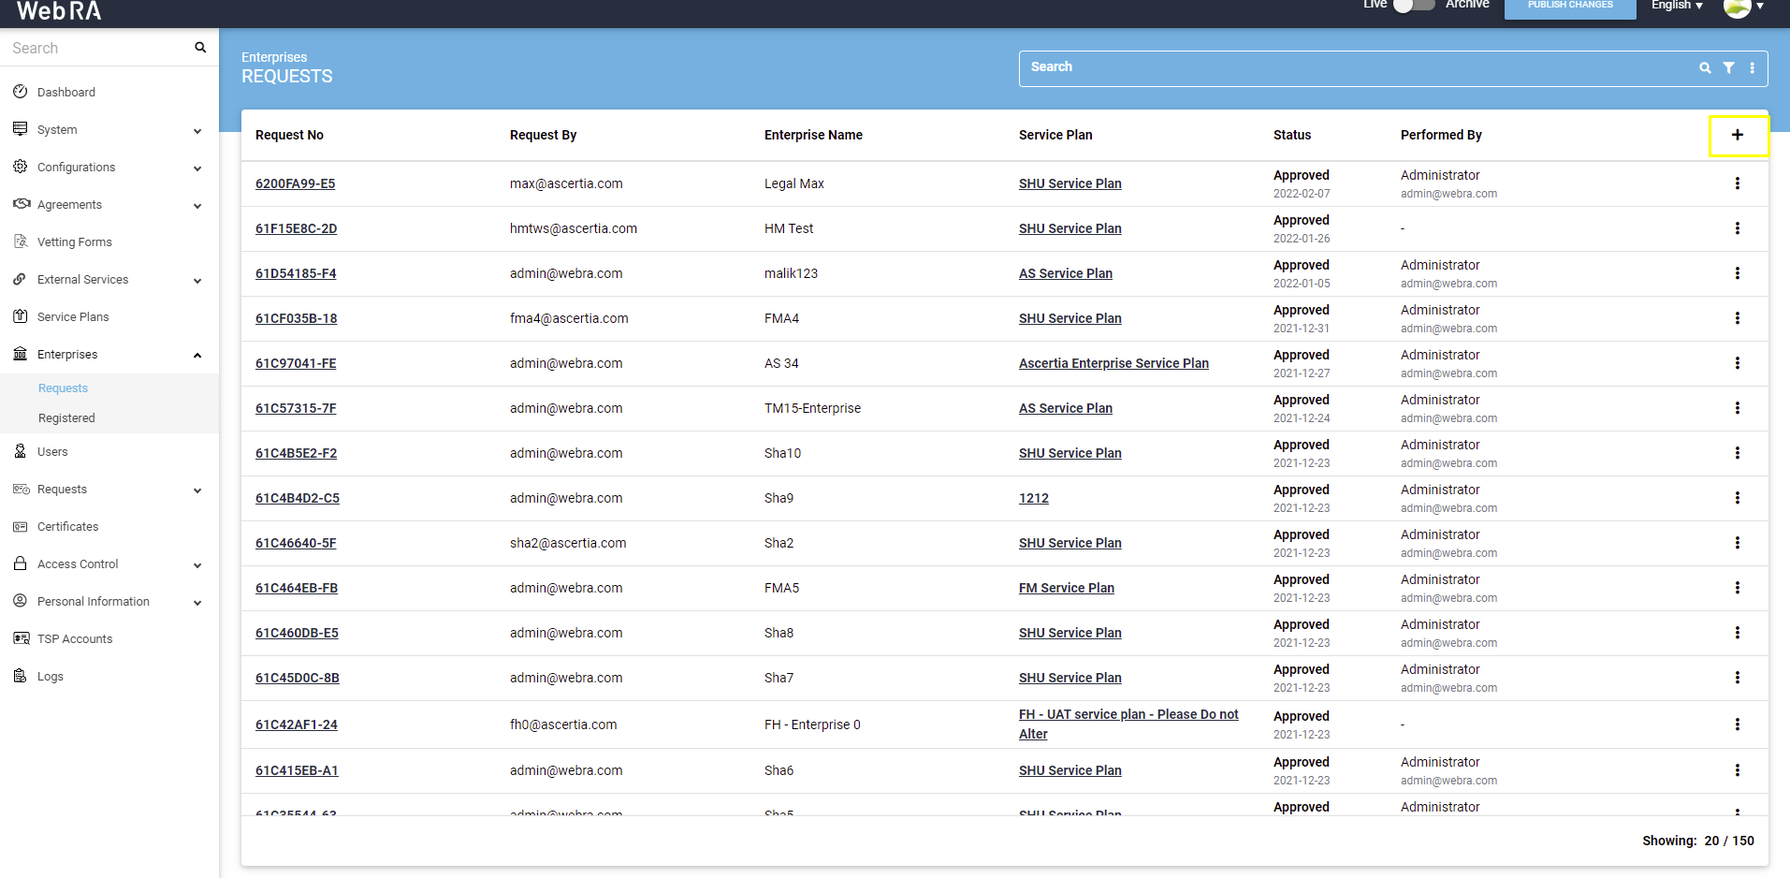
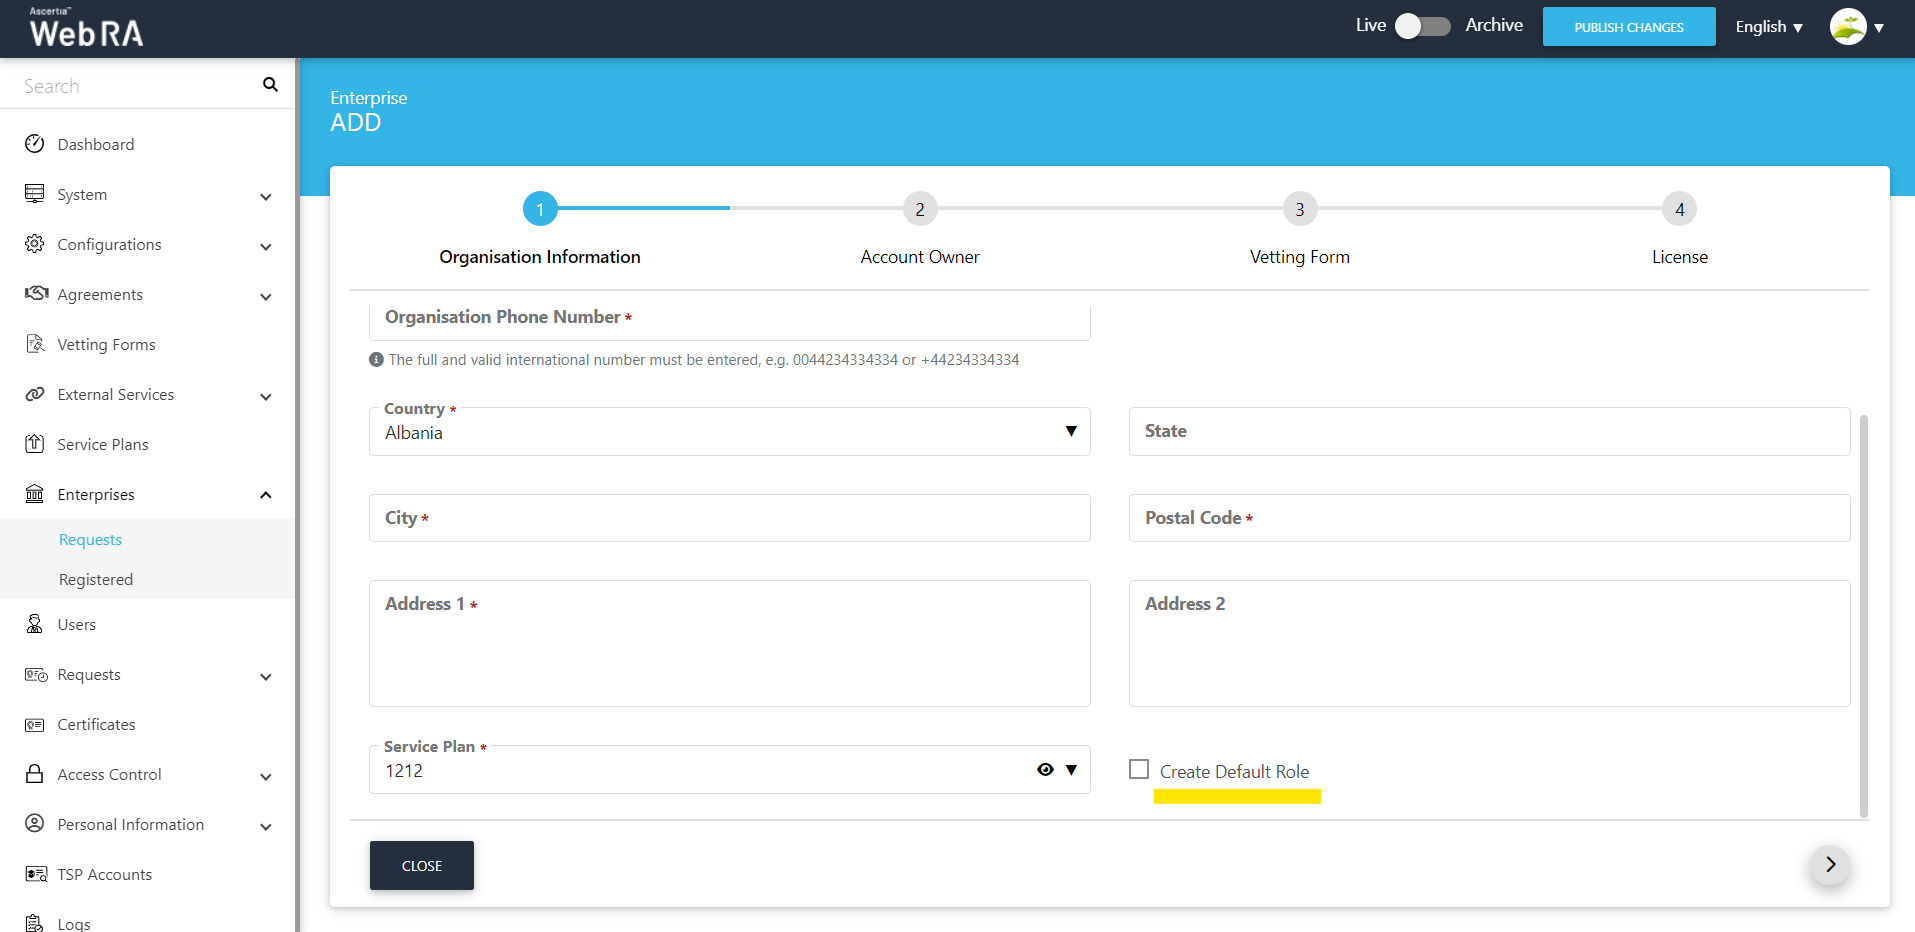
- A screen will appear with three navigation tabs, i.e. Organisation Information, Account Owner and License. See the table below for fields and their respective description.
|
Organization Information |
|
|
Field |
Description |
|
Legal Name |
Legal Name is the official name of the organization under which the organization is registered with the government and it is the name that is used when submitting the tax to the government e.g. Ascertia Limited |
|
Assumed Name |
It could be the name of the organization that is commonly used e.g. Ascertia |
|
Organization Phone Number |
Official phone number of the organization that is registered in the government documents |
|
Address |
Complete address of the organization as it was provided to government at the time of company registration. The following fields should be filled as part of Address:
|
|
Service Plan |
Select a service plan for this enterprise. You can use a shared service plan or create a separate plan for each enterprise depending on the certificate issuance of each organization |
|
Create Default Role |
Tick this checkbox to create a default role while creating a new enterprise. (screenshot attached below) |
|
Account Owner |
|
|
Field |
Description |
|
Name |
Name of the enterprise owner. It could be any representative of the organization but ideally it should be the CEO. Any change request in the enterprise should be initiated by the enterprise owner |
|
|
Email address of the enterprise owner. An email will be sent to this email address to create an account on the ADSS Web RA Web |
|
Mobile Number |
Mobile number of the enterprise owner to send the OTP code if enabled in the profile |
|
Job Title |
The role of the enterprise owner in his organization |
- Once you fill in all the fields, Click Next, the License screen will appear.
|
License |
|
|
Field |
Description |
|
Name |
Name of the certificate profile for which an enterprise wants to use ADSS Web RA to create certificates |
|
Unlimited |
It is a check-box that can be used to allow a user to create unlimited certificates. This field will appear only if a user is allowed to create unlimited certificates. |
|
Certificates Quota |
This defines the total number of certificates an enterprise is allowed to generate from ADSS Web RA against each certification profile. |
|
Expiry |
This defines the duration for which these certificates are valid. |
- Click Finish. A new enterprise will be saved and displayed in the list.
|
|
1) An enterprise registration request must be approved by an Admininstrator while registering an enterprise account from ADSS Web RA Admin, if vetting is enabled for enterprise registration under Service Plan. The enterprise account must be shown with Approved status under Enterprises > Requests and with Active status under Enterprises > Registered, once it's approved by an administrator. |
