Installation with Existing Database
To install ADSS Web RA with an existing database, follow below mentioned installation instructions:
Launch the installer by right click on the file name [Web RA Installation Directory]/setup/install.bat and select Run as administrator. Follow the installation wizard as described under new installation, until the Installation Type screen appears.
Select Install Web RA with an existing database option.
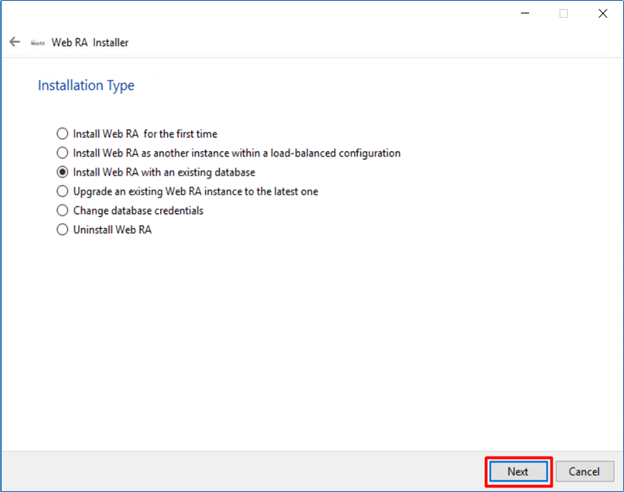
Click Next button to view and accept the license agreement.
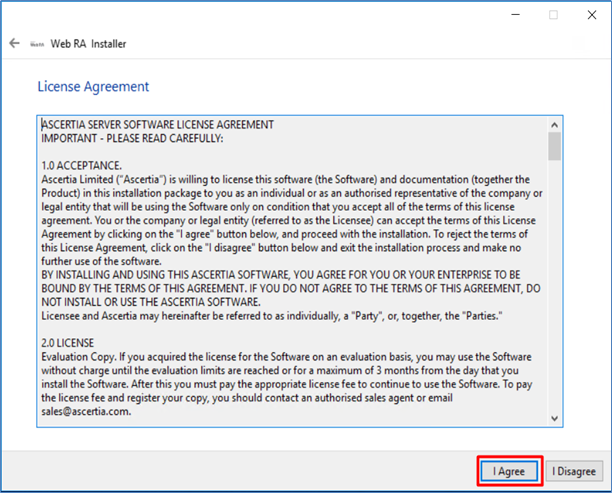
Click on I Agree button to proceed.
The next screen will display the ReadMe text.
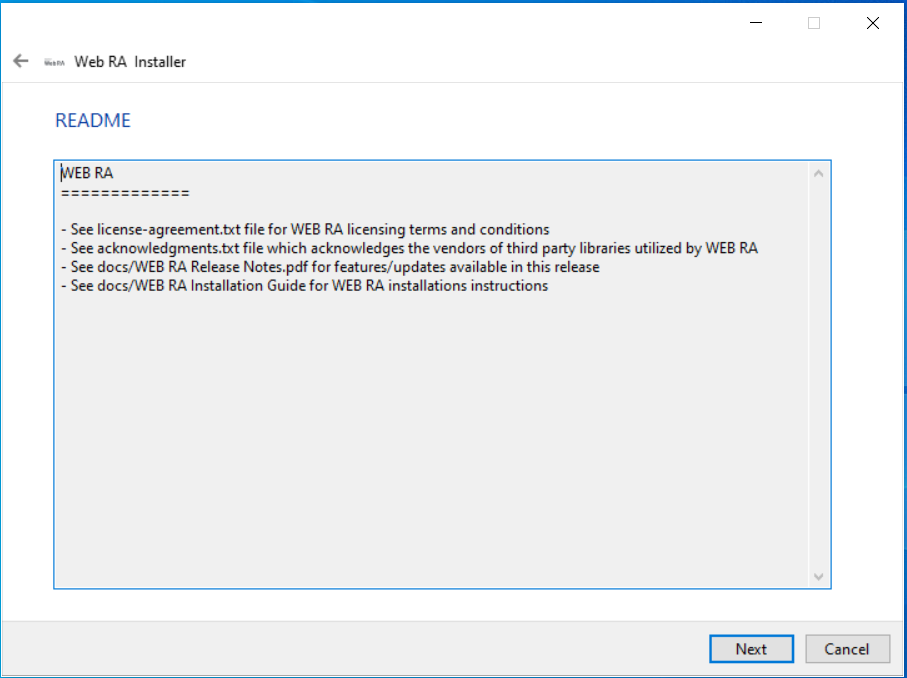
Click Next, the next screen will display the settings for database configurations.
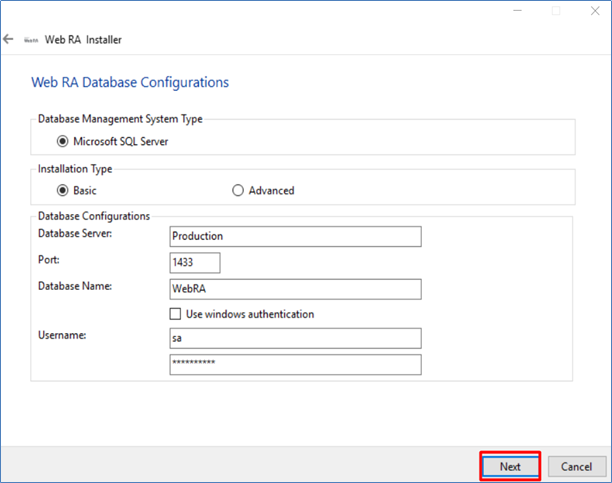
The information displayed above is an example and you should configure the relevant settings for your own environment.
|
|
ADSS Web RA database schema and the version required by the installer must be the same. |

If the current ADSS Web RA database schema is older than the version required by the installer, and you click Next, the installer will prompt you that ADSS Web RA database schema will be upgraded to the latest version. Click OK to authorize the schema update.
Click the Next button to select specific modules. Select the modules that you want to upgrade to latest.

Click Next to see installation summary screen, listing the different modules that will be installed.
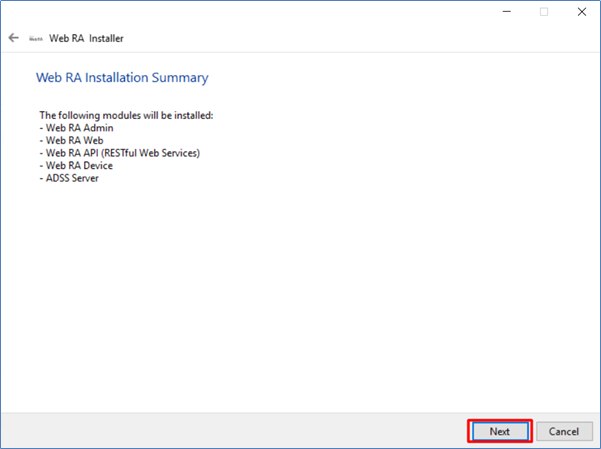
If you think any listed item is incorrect then use the back navigation (arrow at the top-left of dialog box) to correct your choices before proceeding.
Once you are sure all the modules shown are correct, click Next to continue with the installation.
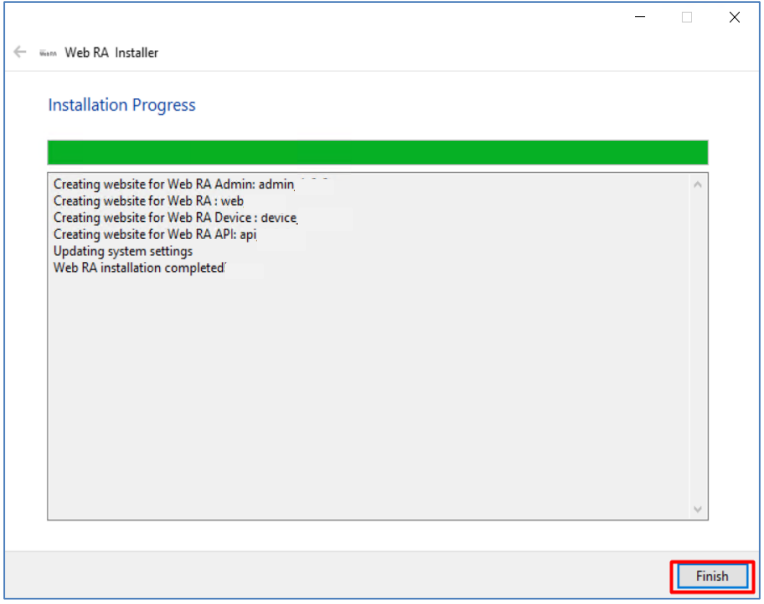
Click the Finish button to complete the installation process.