Upgrade
The upgrade process for Web RA is quick and easy. The existing data files, database schema and database entries are automatically upgraded during the process. Web RA upgrade consists of the following activities:
ADSS Server Upgrade
ADSS Server should be upgraded to the latest version before upgrading Web RA. The instructions to complete the ADSS Server upgrade are:
- Download the latest Web RA package from https://www.ascertia.com and extract it on the same server machine, where the system is currently deployed but in a different folder.
- Stop the ADSS Server services from Windows Services Panel.
- Stop the IIS Server.
- Take a backup of the ADSS Server and Web RA databases.
- Go to the location [New-WebRA-Installation-Dir]/tools/adss-server/setup folder.
- Take a backup of the install.xml file by renaming it to a different name, e.g. install.xml.bak.
- Rename the install.xml.upgrade file to install.xml.
- Run the install.bat file with administrative privileges (otherwise ADSS Server services will not be registered in Windows Services Panel) to launch the installer.
The following provides necessary information to complete the upgrade from Web RA v2.0. and on-wards to the latest version v2.1
|
|
If you are upgrading the Web RA from v2.0., then ADSS Server upgrade is required to the latest version (v6.6) which can be found from [Web RA-Installation-Dir]\tools\adss-server directory. |

Web RA Upgrade
To upgrade an older version of Web RA to the latest one, follow below mentioned installation instructions:
Launch the installer by right click on the file name [Web RA Installation Directory]/setup/install.bat and select Run as administrator. Follow the installation wizard as described under new installation, until the Installation Type screen appears.
Select Upgrade an existing Web RA instance to the latest one option.

Click Next button to view and accept the license agreement. Click on I Agree button to proceed.

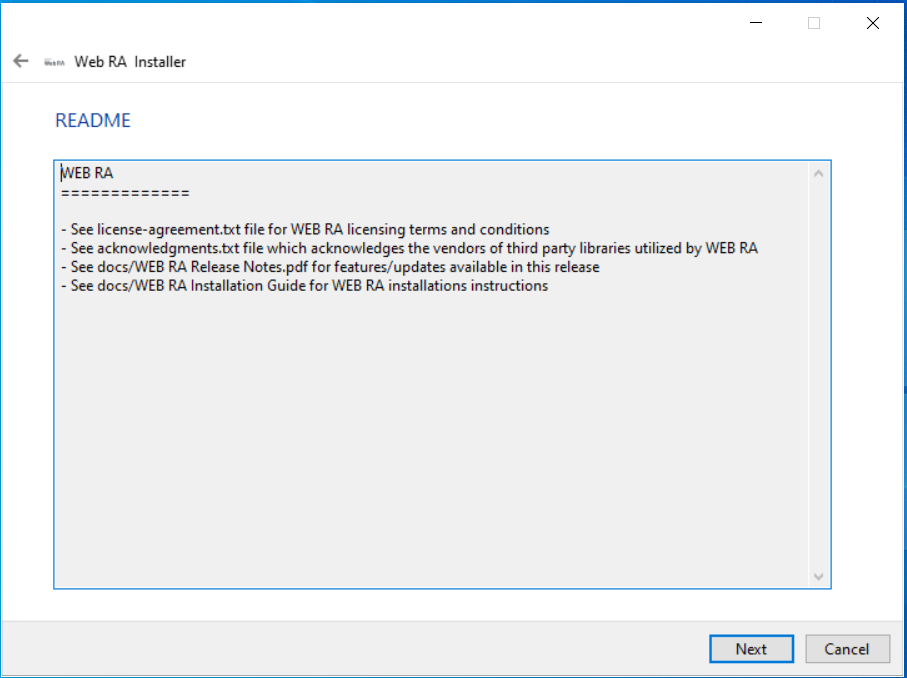
Click on I Agree button to proceed. The next appearing screen will be for ReadMe text.
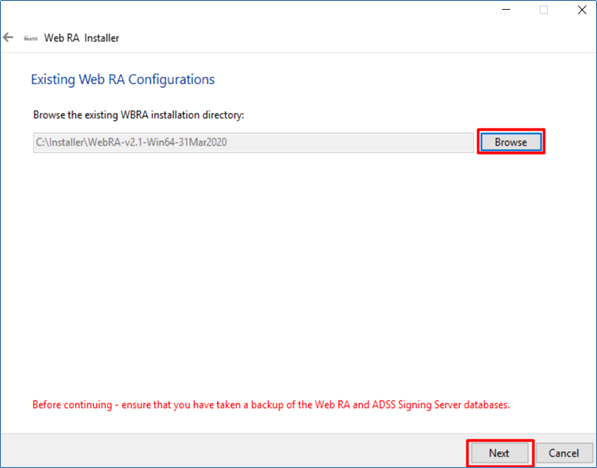
Click Next, the next appearing screen will be for selection of existing installation directory. Click Browse and define the path to the existing Web RA installation directory.
Click Next button to select specific modules. Select the modules that you want to upgrade to latest.
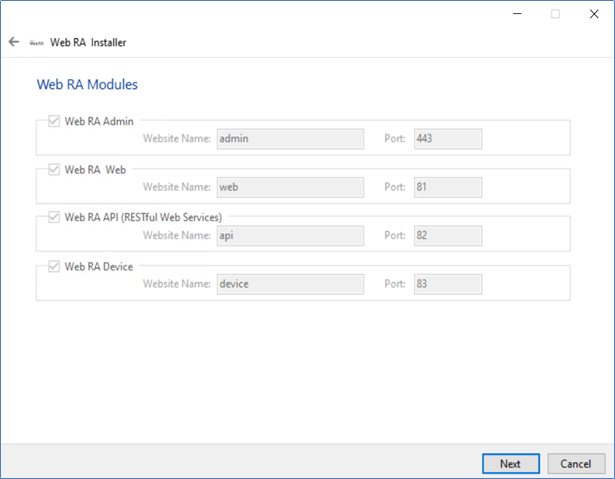
The above screen shows a list of all Web RA modules. Components that are already installed are displayed but grayed out, while any Web RA module(s) that have not been installed previously can be selected for installation during the upgrade.
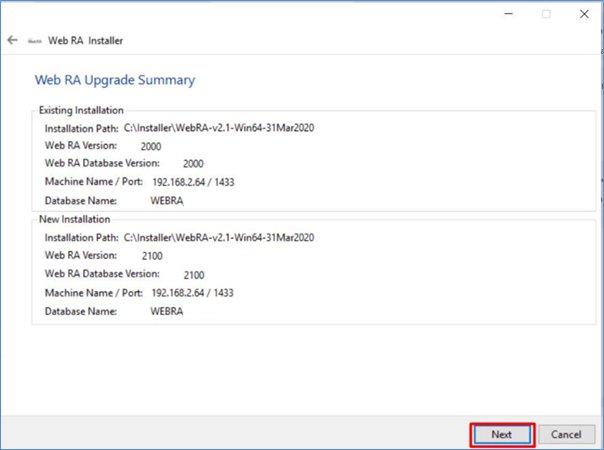
Click Next button to see the upgrade summary.
Click Next button to start the upgrade progress.
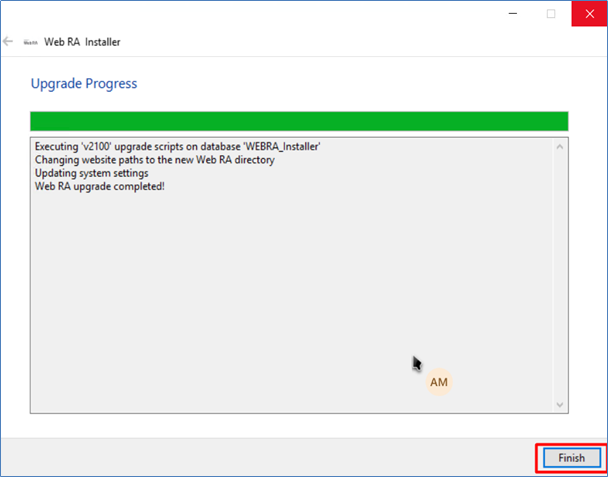
Click Finish button to complete the Web RA upgrade process.