
Digital Onboarding
Digital Onboarding Connector
To create a Digital Onboarding connector, expand External Services > Connectors from the left-tree menu.
Then, click the add ‘+’ icon in the grid header.
The system will display the Add Connector screen, which consists of three sections: Basic Information, Details, and Branding.
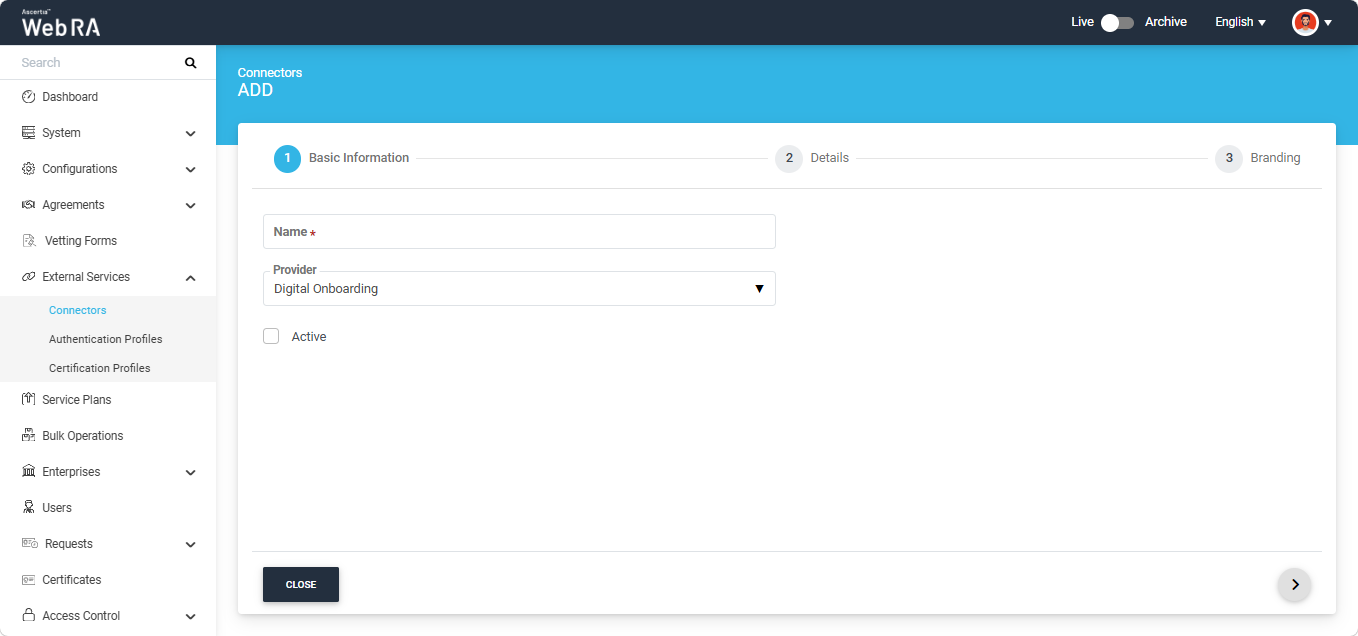
Basic Information
The fields appearing on the Basic Information screen are explained below:
|
Field |
Description |
|
Name |
Specify a unique name for this connector, for example: Digital Onboarding Connector. |
|
Provider |
Select Digital Onboarding as a provider for this connector. |
|
Active |
Select this check box to make this connector active. Inactive connectors cannot be configured in certification profiles. |
After specifying the information in the required fields, click the ‘>’ button to navigate to the ‘Details’ section.
Details
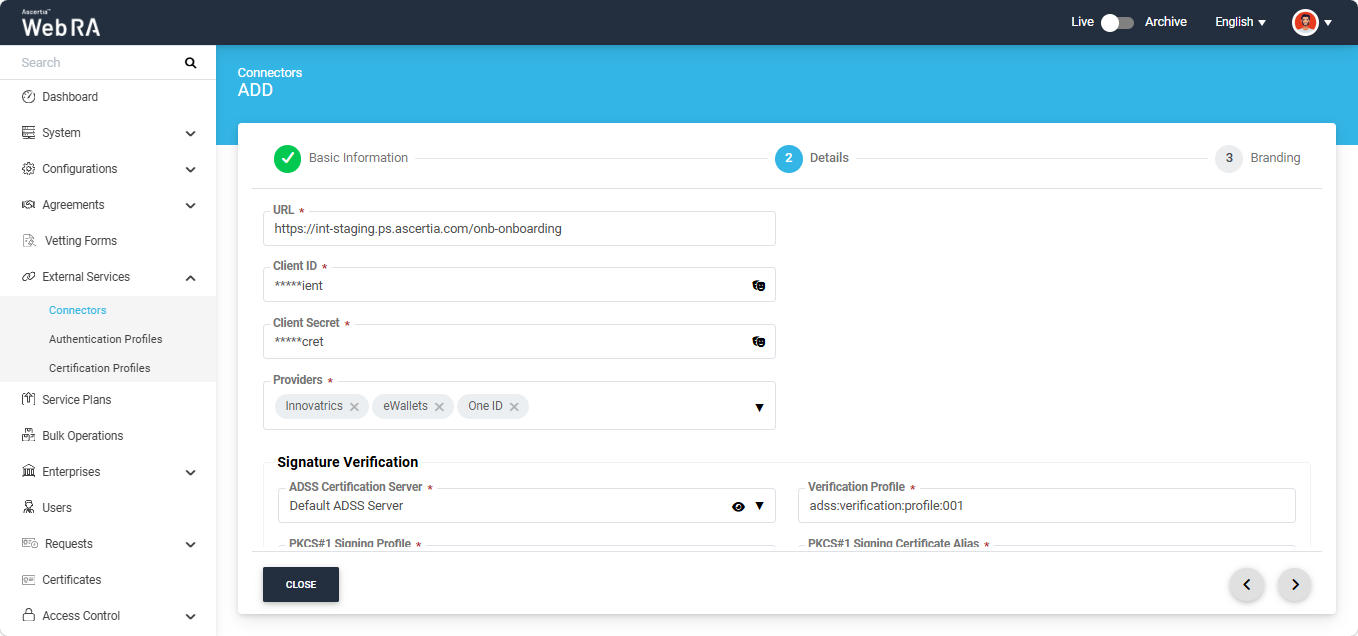
The fields appearing on the Details screen are explained below:
|
Field |
Description |
|
URL |
Specify the base endpoint of the Unity API. For example: https://unity.ascertia.net/unity/v1/. |
|
Client ID |
Specify the Client ID used to authenticate requests to the Unity API. |
|
Client Secret |
Specify the Client Secret associated with the Client ID. |
|
Providers |
Select one or more providers to configure under the connector. Multiple providers can be associated with a single connector. |
Signature Verification
|
Field |
Description |
|
ADSS Certification Server |
Select the ADSS certification server for signature verification. |
|
Verification Profile |
Enter the ADSS verification profile in this field. |
|
PKCS#1 Signing Profile |
Enter the ADSS signing profile in this field for signature verification. |
|
PKCS#1 Signing Certificate Alias |
Enter the signing certificate alias in this field. |
Failure Configuration
|
Field |
Description |
|
Workflow Timeout |
Specify the maximum time, in minutes, that the user has to complete the onboarding workflow. Leave this field empty if no time limit is required. |
|
Default Retry Count |
Specify the default number of retry attempts allowed for each step in the onboarding workflow. This value is overridden by any step-specific retry count. Leave this field empty to allow unlimited retry attempts. |
|
Document Retry Count |
Specify the maximum number of retry attempts allowed for the document verification step. This value overrides the Default Retry Count. Leave this field empty to allow unlimited retry attempts. |
|
Liveness Eye Gaze Retry Count |
Specify the maximum number of retry attempts allowed for the liveness eye gaze verification step. This value overrides the Default Retry Count. Leave this field empty to allow unlimited retry attempts. |
|
Selfie Retry Count |
Specify the maximum number of retry attempts allowed for the selfie capture step. This value overrides the Default Retry Count. Leave this field empty to allow unlimited retry attempts. |
After specifying and selecting the information in the required fields, click the ‘>’ button to navigate to the ‘Branding’ section.
Branding
The Branding section allows you to specify a title and select a logo for each provider selected in the Details section.
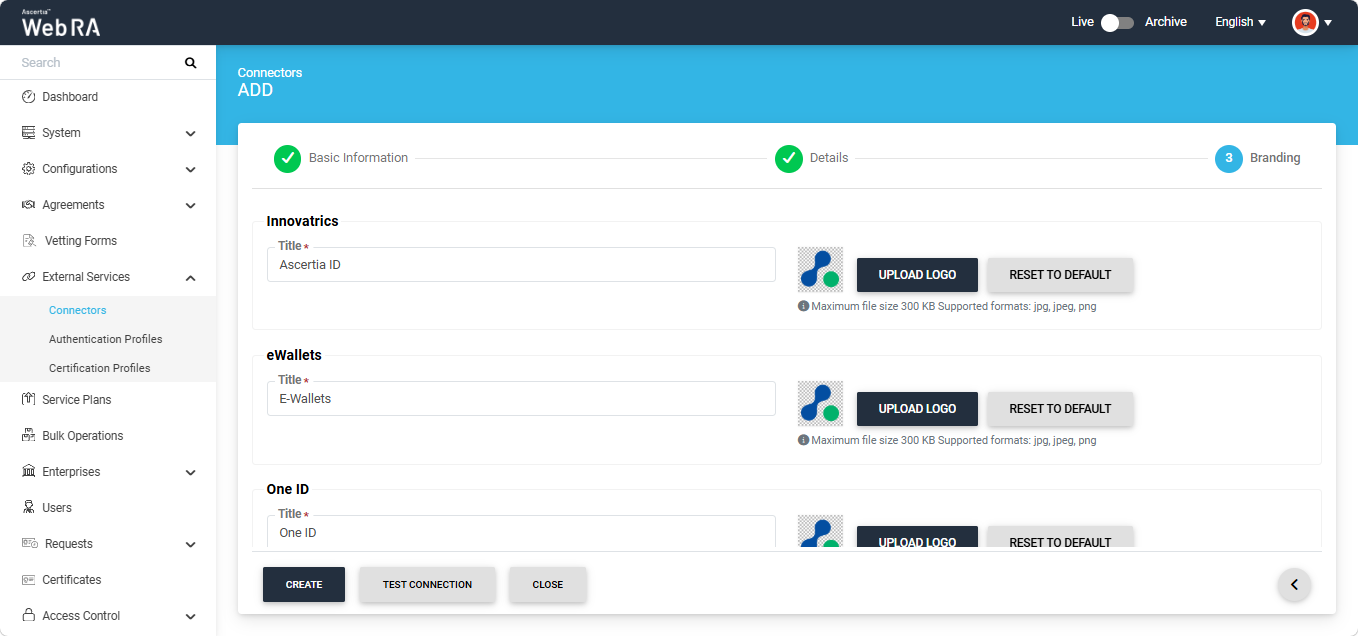
After entering the required information, click the 'Test Connection' button to verify that the connector configuration is correct and that the connection is working.
If the connection is successful, the system displays a success message confirming that the Digital Onboarding connector is connected successfully.
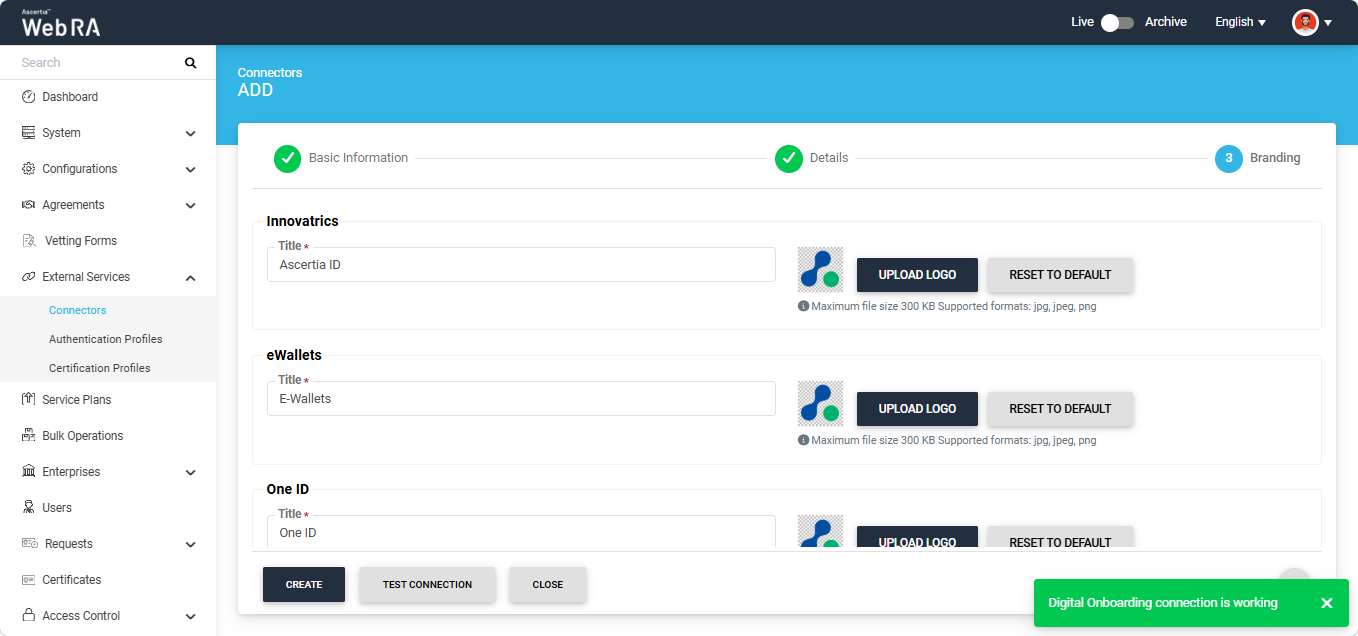
Then, click the ‘Create’ button to add the Digital Onboarding connector in the Web RA system.