
Certificate Requests
After completing the SigningHub integration in the Web RA web porta, the system allows you to generate the certificates.
Expand SigningHub > Certificate Requests from the left-tree menu in the web portal.
This section lists down all the certificate requests pertaining to SigningHub.
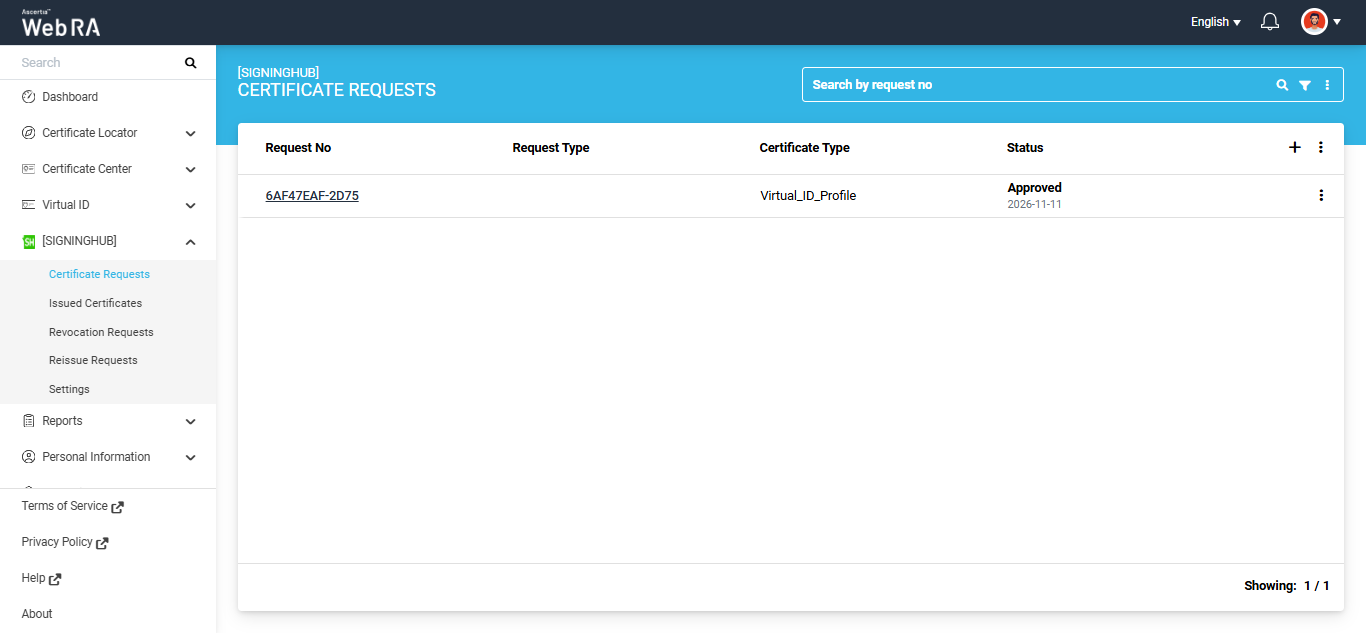
To create a new certificate request, click the  icon from the listing header. The system will display the 'Create Request' screen.
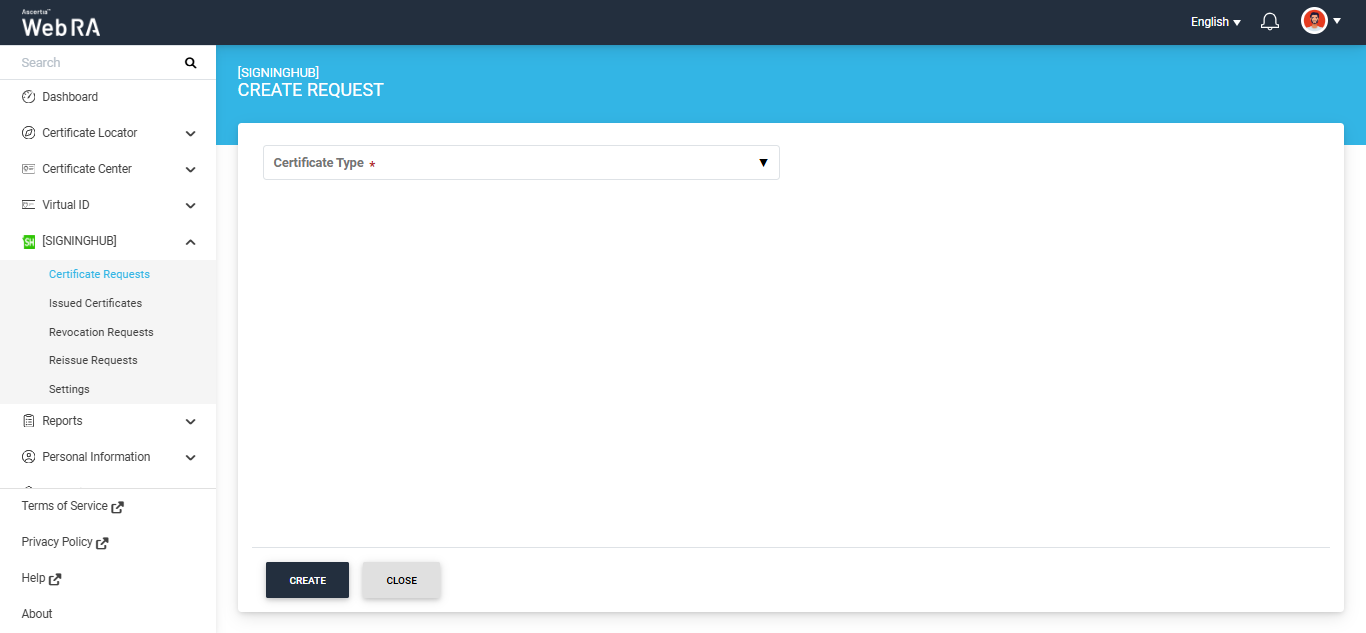
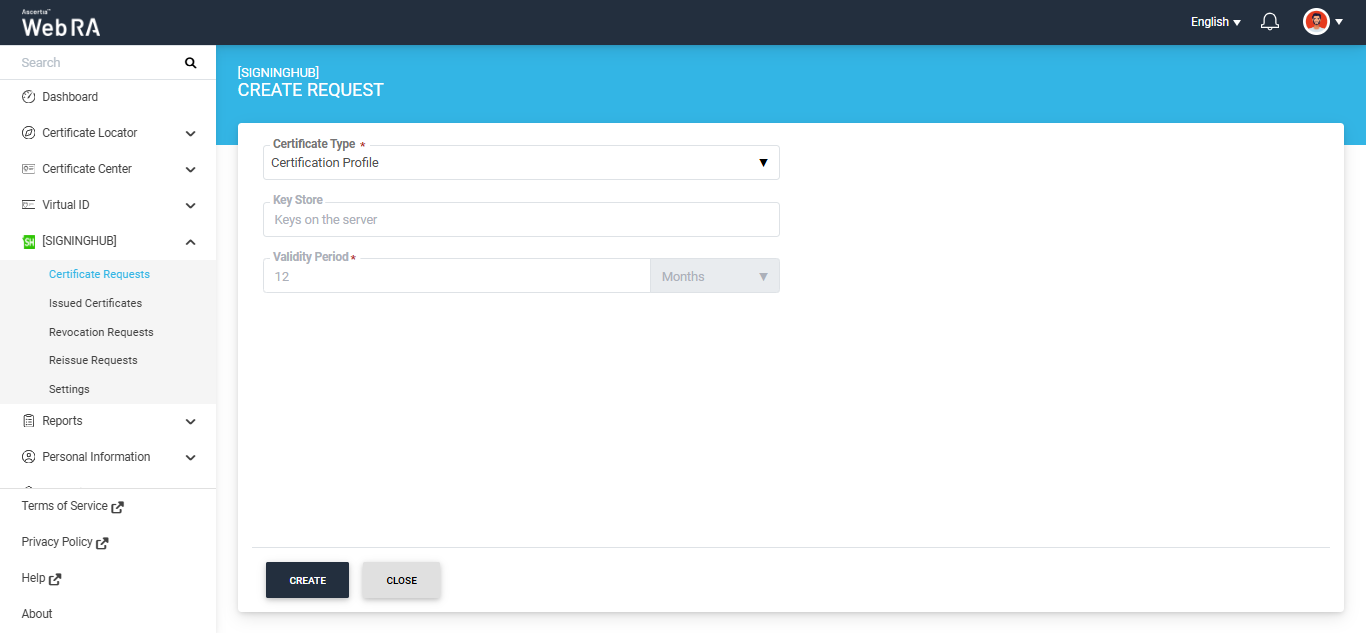
Select the certification profile from the 'Certificate Type' dropdown and click 'Create'.
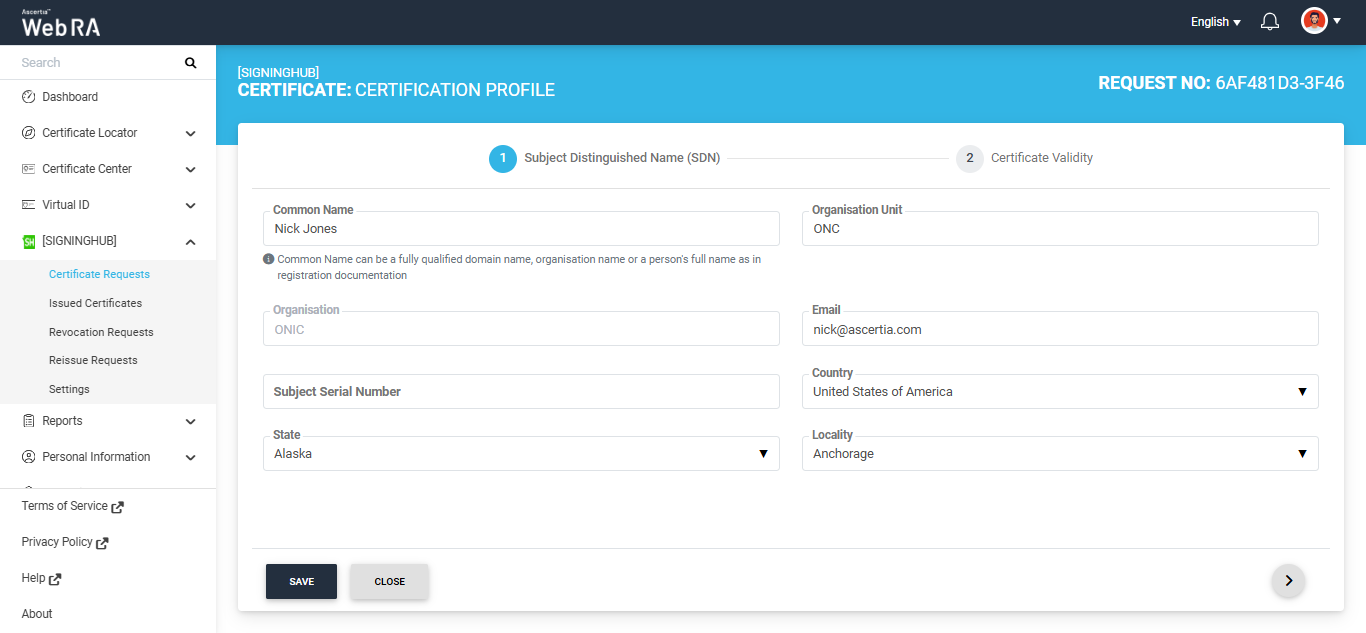
The system displays the 'Subject Distinguished Name' screen. Enter the required information in the given fields and click the next '>' button to proceed to the 'Certificate Validity' screen.
The ‘Validity Period’ field appears enabled or disabled according to the configuration made in the certification profile.
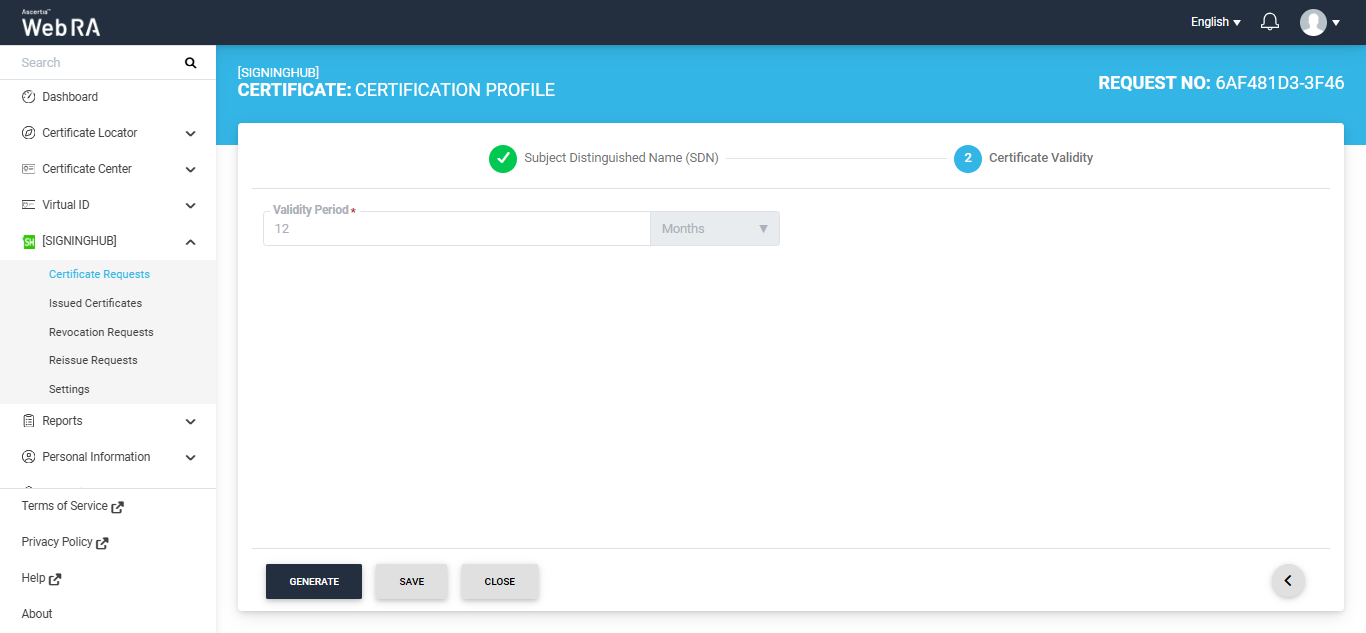
Click the 'Generate' button to create the certificate request.
The certificate will generated and 'Certificate Generated' dialog will appear on the screen.
Provision the Certificate to SigningHub
To provision the certificate to SigningHub, click the 'Provision' button. The system will display the 'Provision' dialog on the screen.
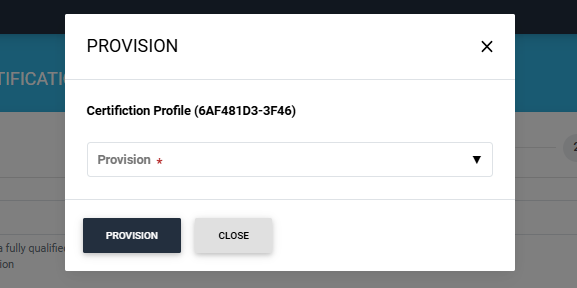
Select 'Provision to SigningHub' option from the 'Provision' dropdown and enter the 'Capacity Name'.
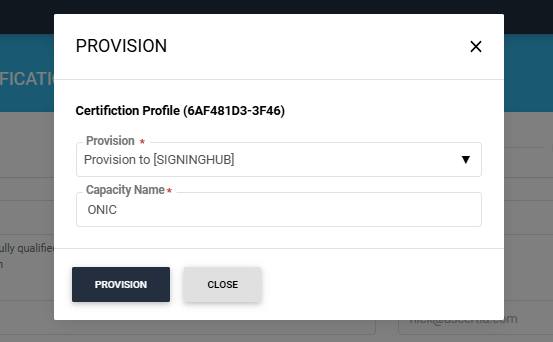
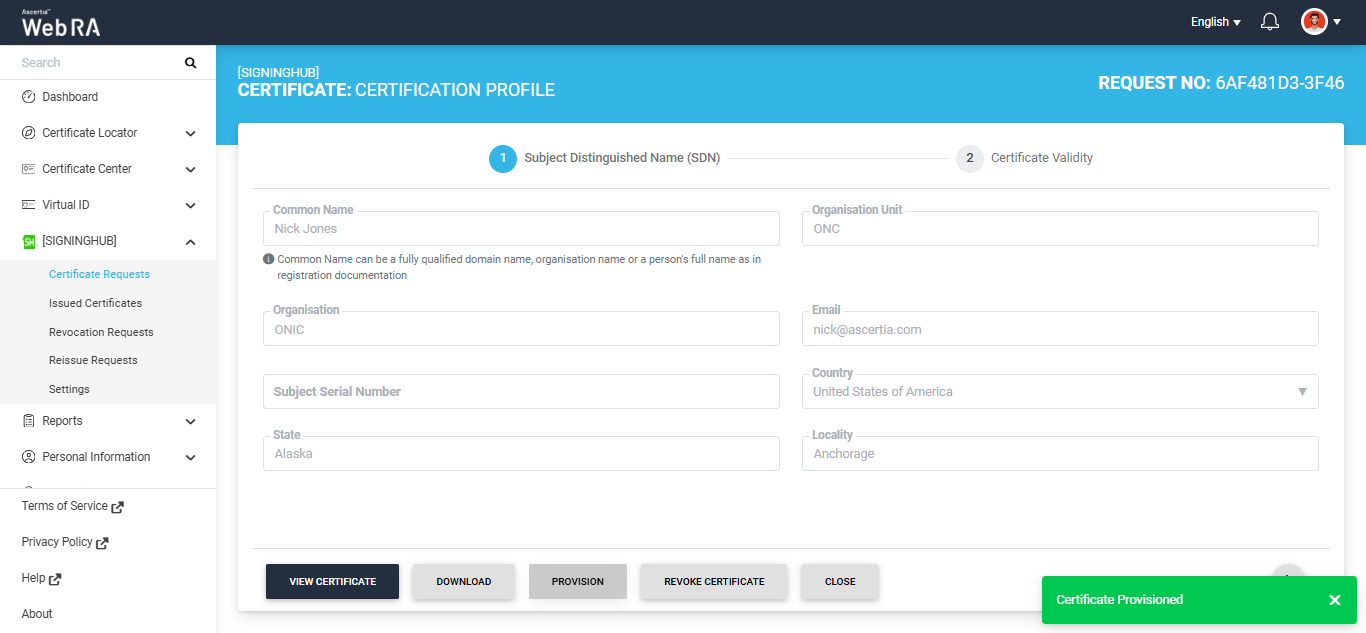
After that, click 'Provision'. The certificate will be provisioned to SigningHub and the 'Certificate Provisioned' success alert will appear on the screen.
Note: When a certificate is provisioned to SigningHub, it is assigned the Level of Assurance selected in the associated Certification Profile. This Level of Assurance is also reflected in the SigningHub application. If Set as default signing certificate is enabled in the Certification Profile, the provisioned certificate is marked as the default signing certificate and used by default for signing operations.
Second Factor Authentication
If second factor authentication is enabled on certificate requests, the configured authentication mechanism will function accordingly. When a user clicks on the Generate button, the authentication window will appear, and once it accepts the selected method, it will generate a certificate.
The authentication mechanism can be one of the following:
- SMS OTP Authentication
- Email OTP Authentication
- Email & SMS Authentication
- SAML Authentication
- Active Directory Authentication
- Azure Active Directory Authentication
- OIDC Authentication
Request Notes
If an operator has added customized request notes in certificate requests pertaining to a specific enterprise, they will appear in all types of certificates requests i.e. issued, rekey, revoked, renewed and reissued certificate requests. The request notes will appear on the steppers only against which the operator has customised them. If operator has not configured request notes, they will not appear on any stepper, as displayed in the above screenshots.
An operator can configure it from the Enterprise Request Notes section in the admin portal.
Resubmit a Declined Request
If a certificate request is declined by the administrator for a specific reason, the user can resubmit the request after modifying the required information.
Click the  button next to the certificate request that has been declined.
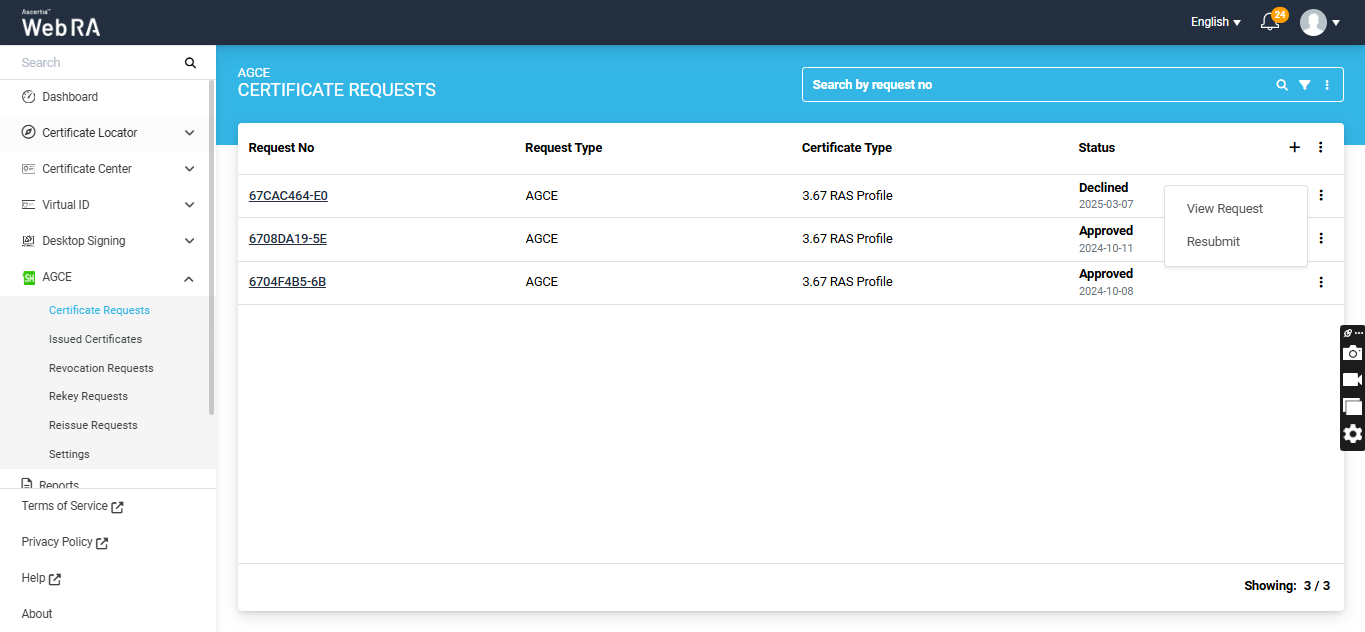
The system will display a ‘Resubmit’ option in the menu. Clicking the Resubmit option will open the request in create screen mode.
From that screen, the user can modify the required details and click ‘Submit’ to send the request for approval again.