SigningHub enables you to manage (Add, Edit, and Delete) enterprise groups for the group signing, group approving, and/ or group updating purposes. These enterprise groups are available to all the enterprise users within your enterprise, when they need to add recipients in a template and/or in a document workflow.
Create a new enterprise group
- Login with your enterprise admin credentials.
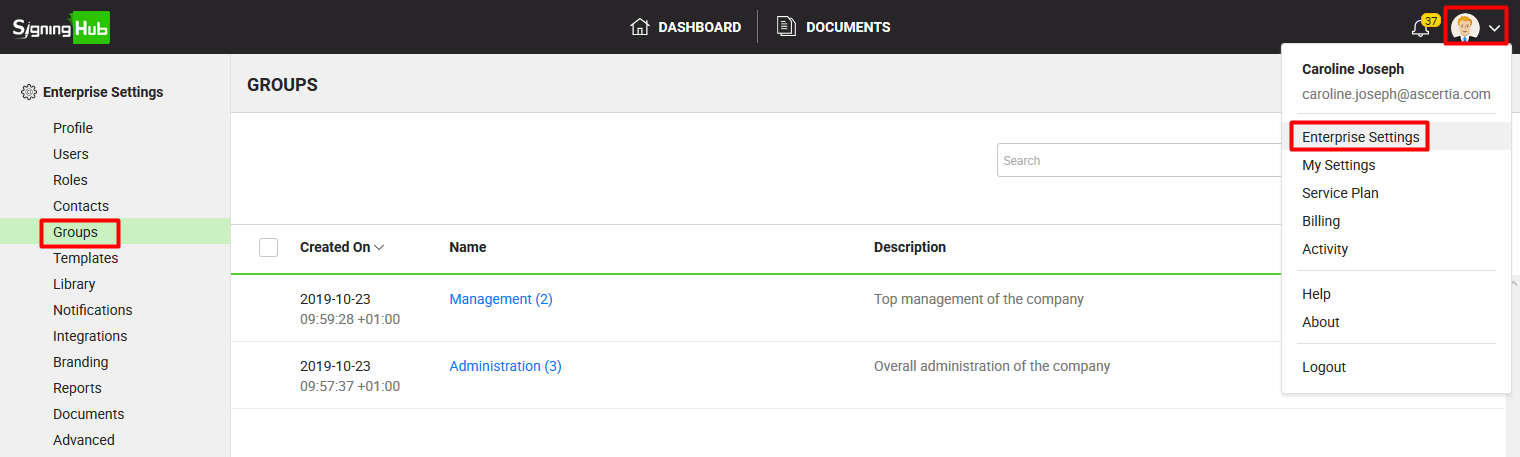
- Click your profile drop down menu (available at the top right corner).
- Click the "Enterprise Settings" option.
- Click the "Groups" option from the left menu.
- Click
 from the grid header. The "Add Group" dialog will appear.

- Specify group name, and description in the respective fields.
- Type in the contact's email id and click
 to include in the group. Your enterprise contacts will also be available for selection.
Repeat the step 7 to add multiple contacts in the group. Use  to remove an added contact.
- Click the "Save" button.
Edit your enterprise group
- Login with your enterprise admin credentials.
- Click your profile drop down menu (available at the top right corner).
- Click the "Enterprise Settings" option.
- Click the "Groups" option from the left menu. Your existing enterprise groups will be listed.
- Search/ move to the group to edit and click
 adjacent to it. The "Edit Group" dialog will appear.

- Edit the required content (i.e. Name, Description, or Add/ Delete Contacts).
- Click the "Save" button.
Delete your enterprise group(s)
- Login with your enterprise admin credentials.
- Click your profile drop down menu (available at the top right corner).
- Click the "Enterprise Settings" option.
- Click the "Groups" option from the left menu. Your existing enterprise groups will be listed.
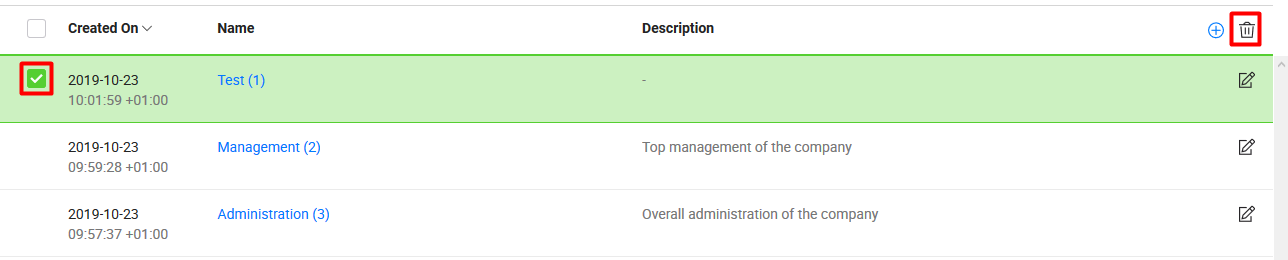
- Select the group(s) to delete and click
 from the grid header.