Manage your enterprise library documents
View your enterprise library documents
- Login with your enterprise admin credentials.
- Click your profile drop down menu (available at the top right corner).
- Click the "Enterprise Settings" option.
- Click the "Library" option from the left menu. All of your allowed enterprise library documents will be listed.
The "Folder" drop down can be used if you want to view enterprise documents added to a specific folder. The "Folder" drop down will appear, if there is at least one enterprise library document folder created. The document with a configured template will be showing the template name next to it.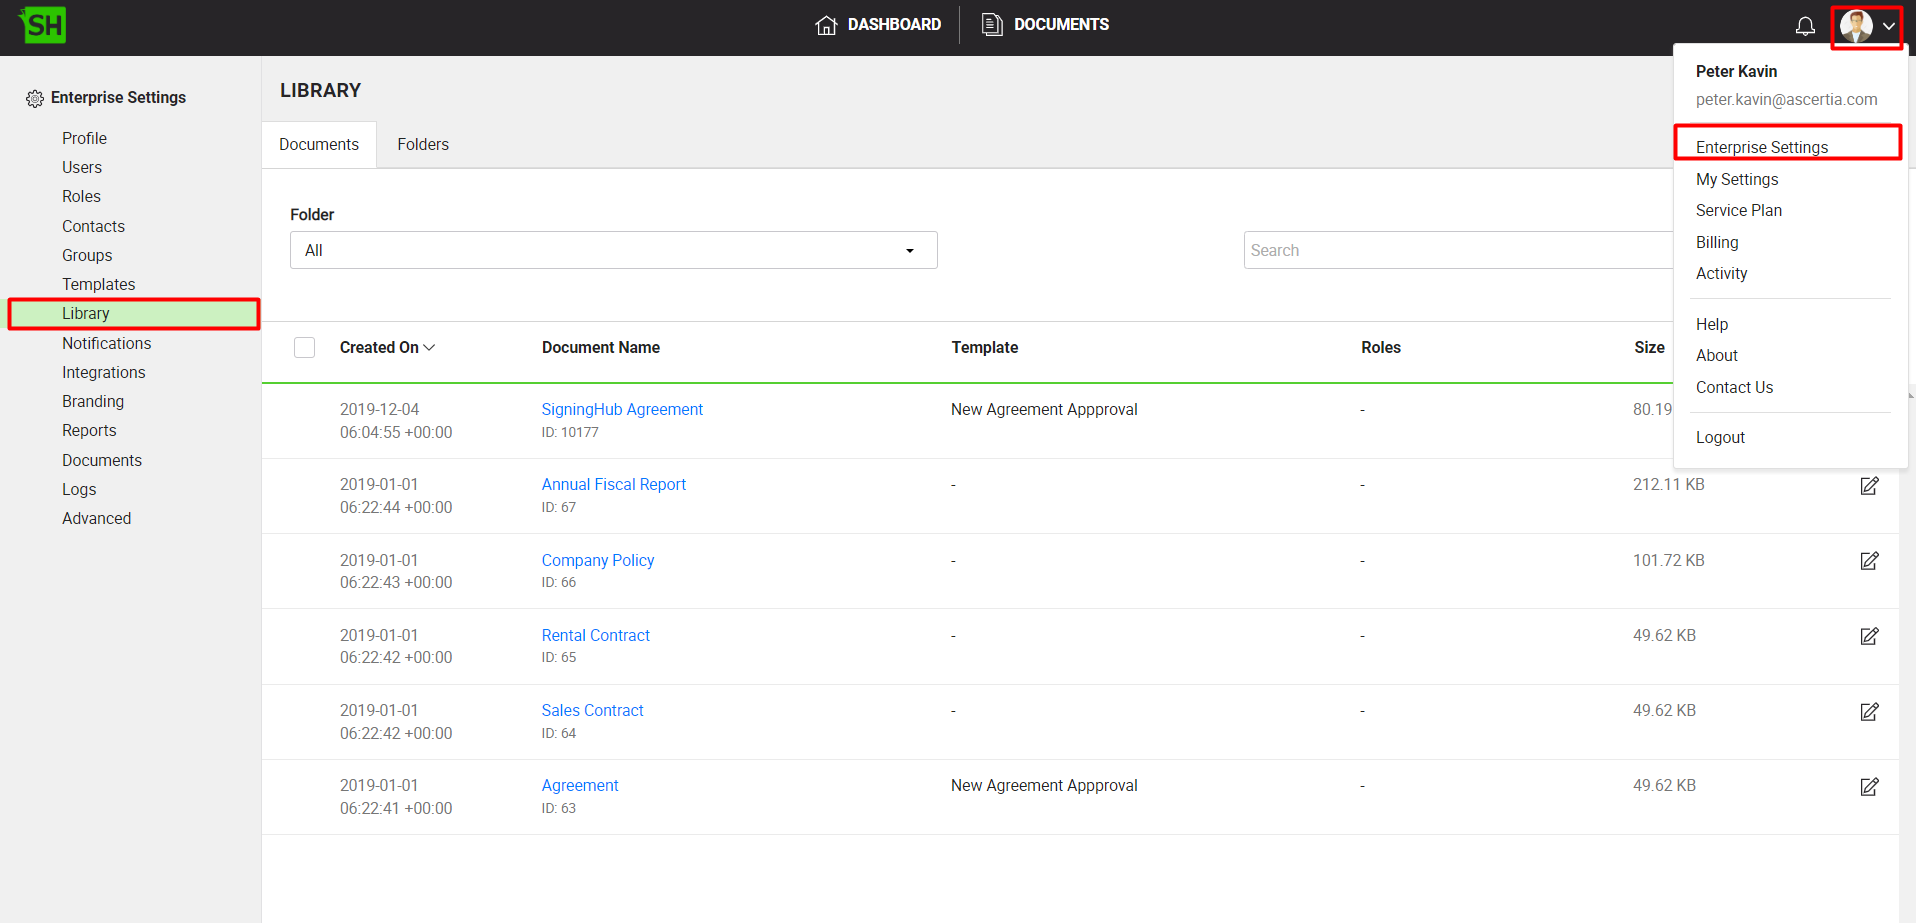
Add a new document in your enterprise library
- Login with your enterprise admin credentials.
- Click your profile drop down menu (available at the top right corner).
- Click the "Enterprise Settings" option.
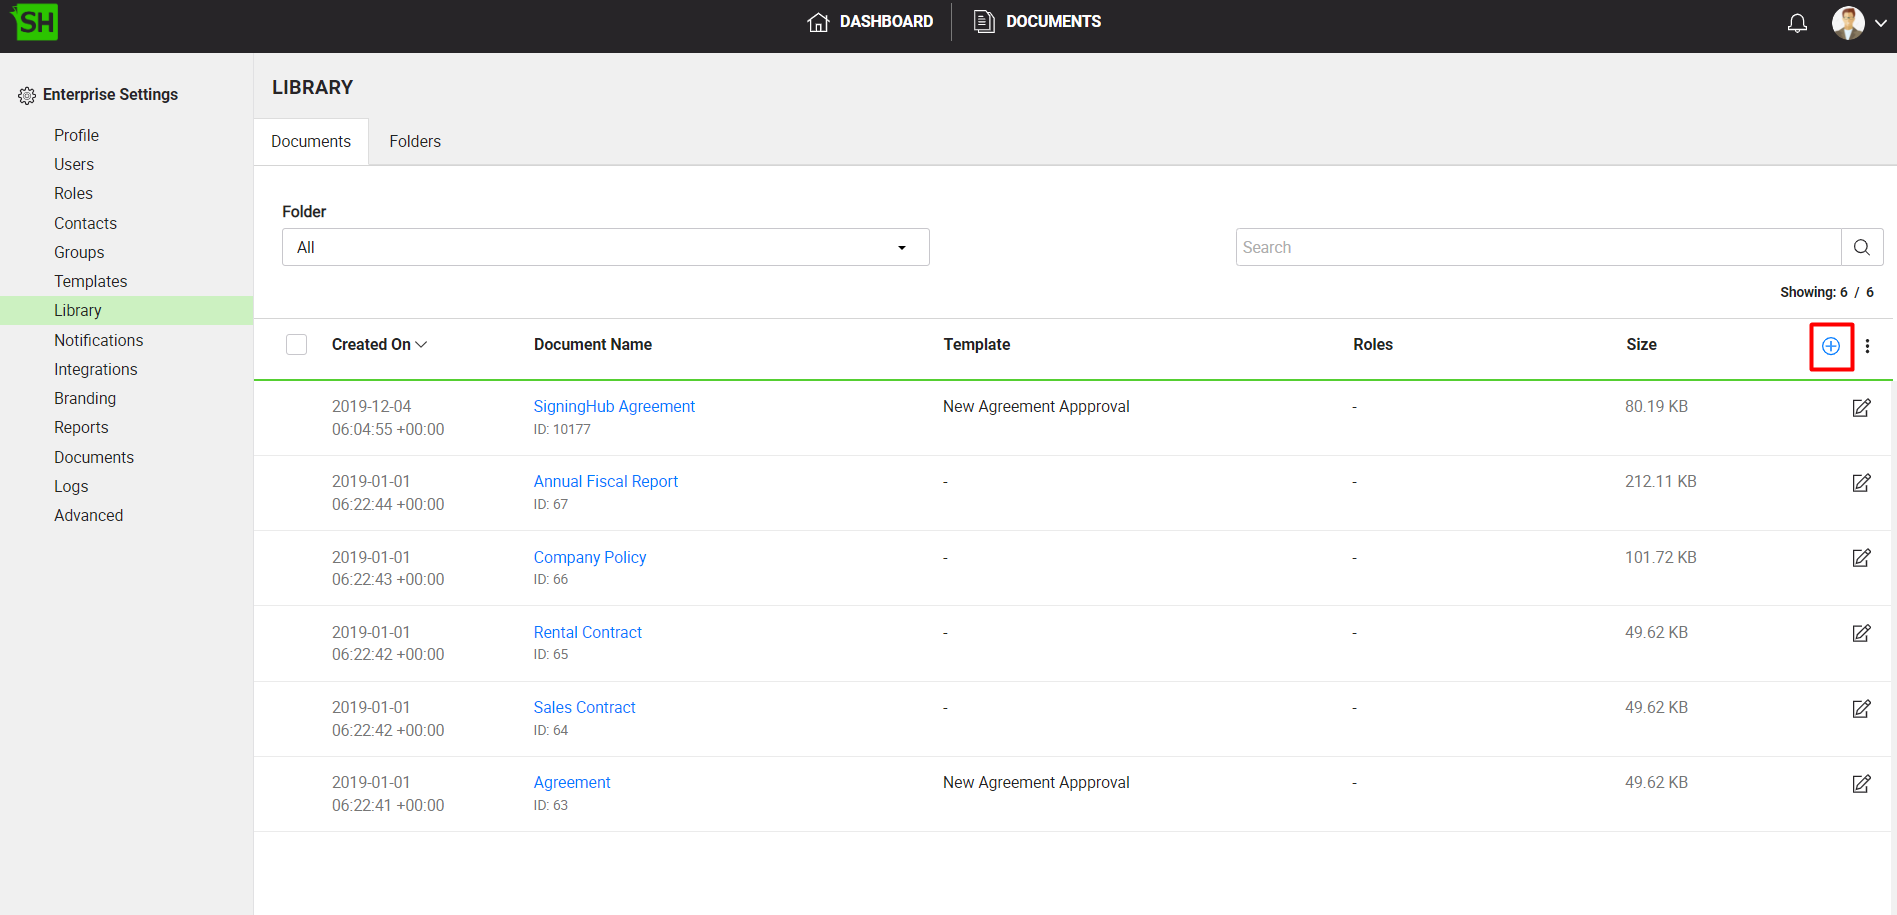
- Click the "Library" option from the left menu.
- Click
 from the grid header. The "Upload Documents" dialog will appear.
- Click
 and browse your document(s) from your system to upload. You can also drag and drop your document(s) to the dialog.
(Optionally) you can select a folder for each document to move in to. Your enterprise library document folders will only be listed in the drop down, if there is at least one enterprise library document folder created. (Optionally) you can select a template for each document to apply pre-configured workflow settings on it. Your enterprise templates will be listed in the drop down.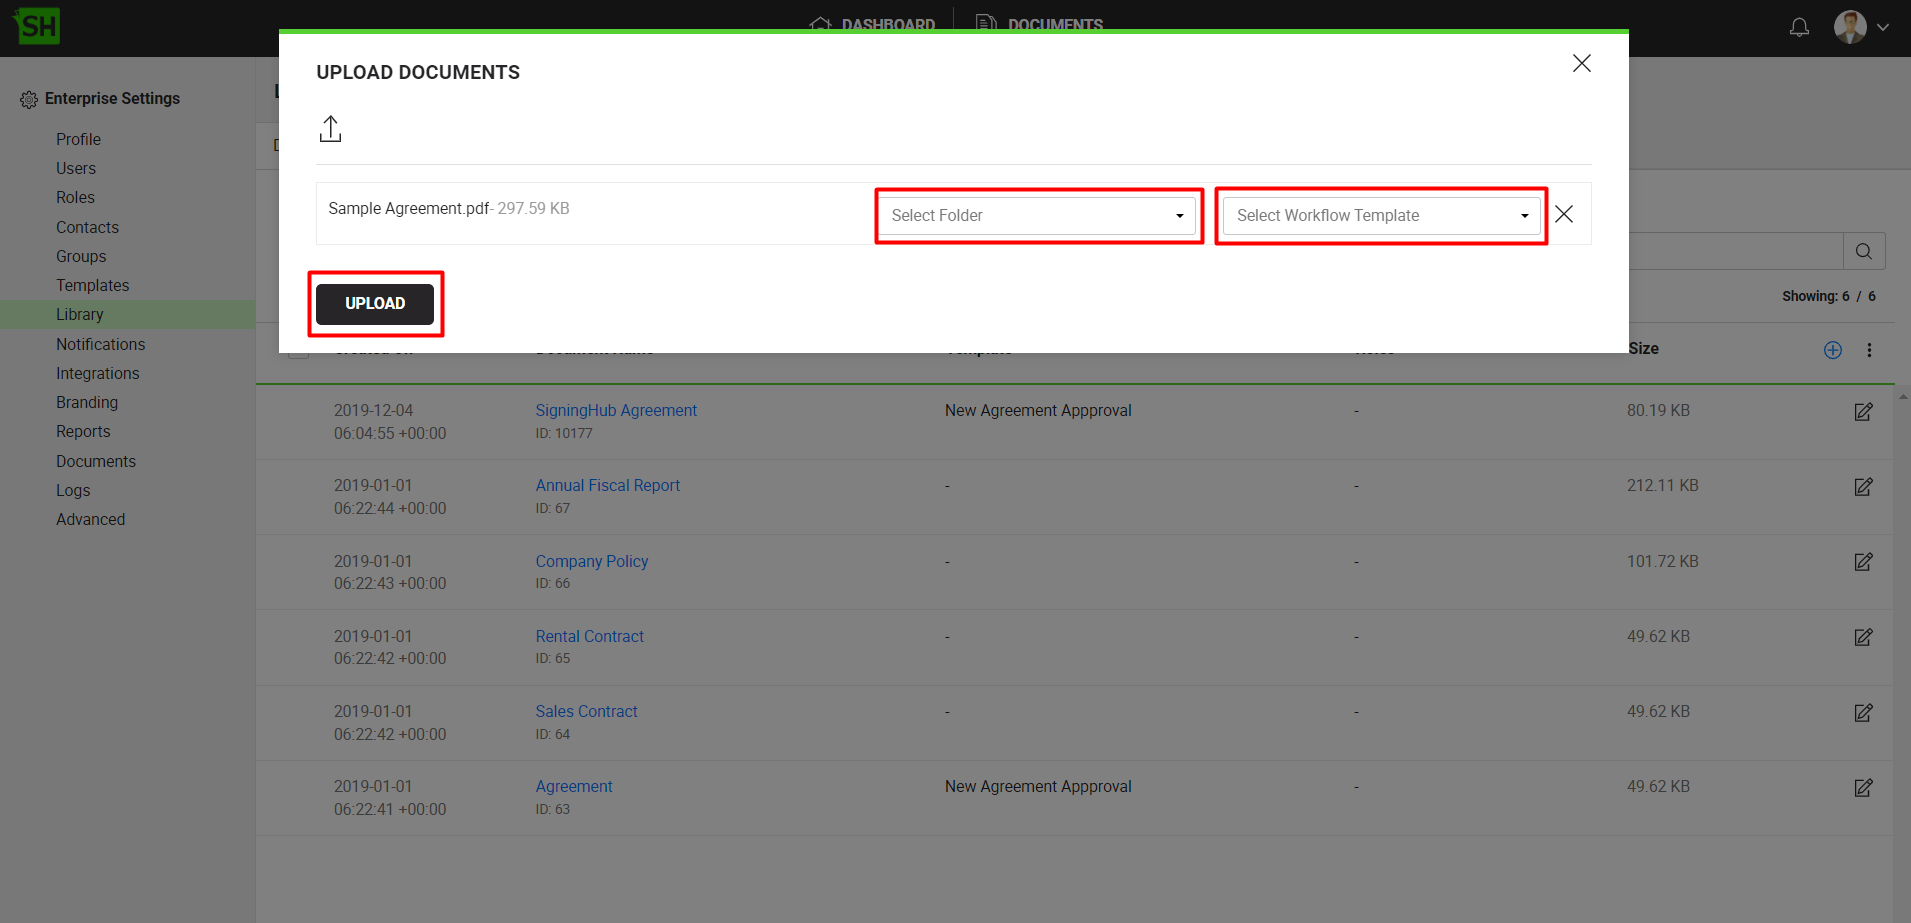
- Click the "Upload" button.
Export an existing enterprise document
At times you need to export the existing enterprise library items (documents) along with their configured template from your account to your local machine, either to save your account space or share them with others. The library documents are exported in json format and can be easily imported later in any SigningHub account. This is the smartest way to reuse or share the same documents without going through any configuration efforts.
- Click your profile drop down menu (available at the top right corner).
- Click the "Enterprise Settings" option.
- Click the "Library" option from the left menu. Your existing Enterprise library documents will be listed.
- Search/ move to the document to export. Click
 from the grid header and select the "Export" option.
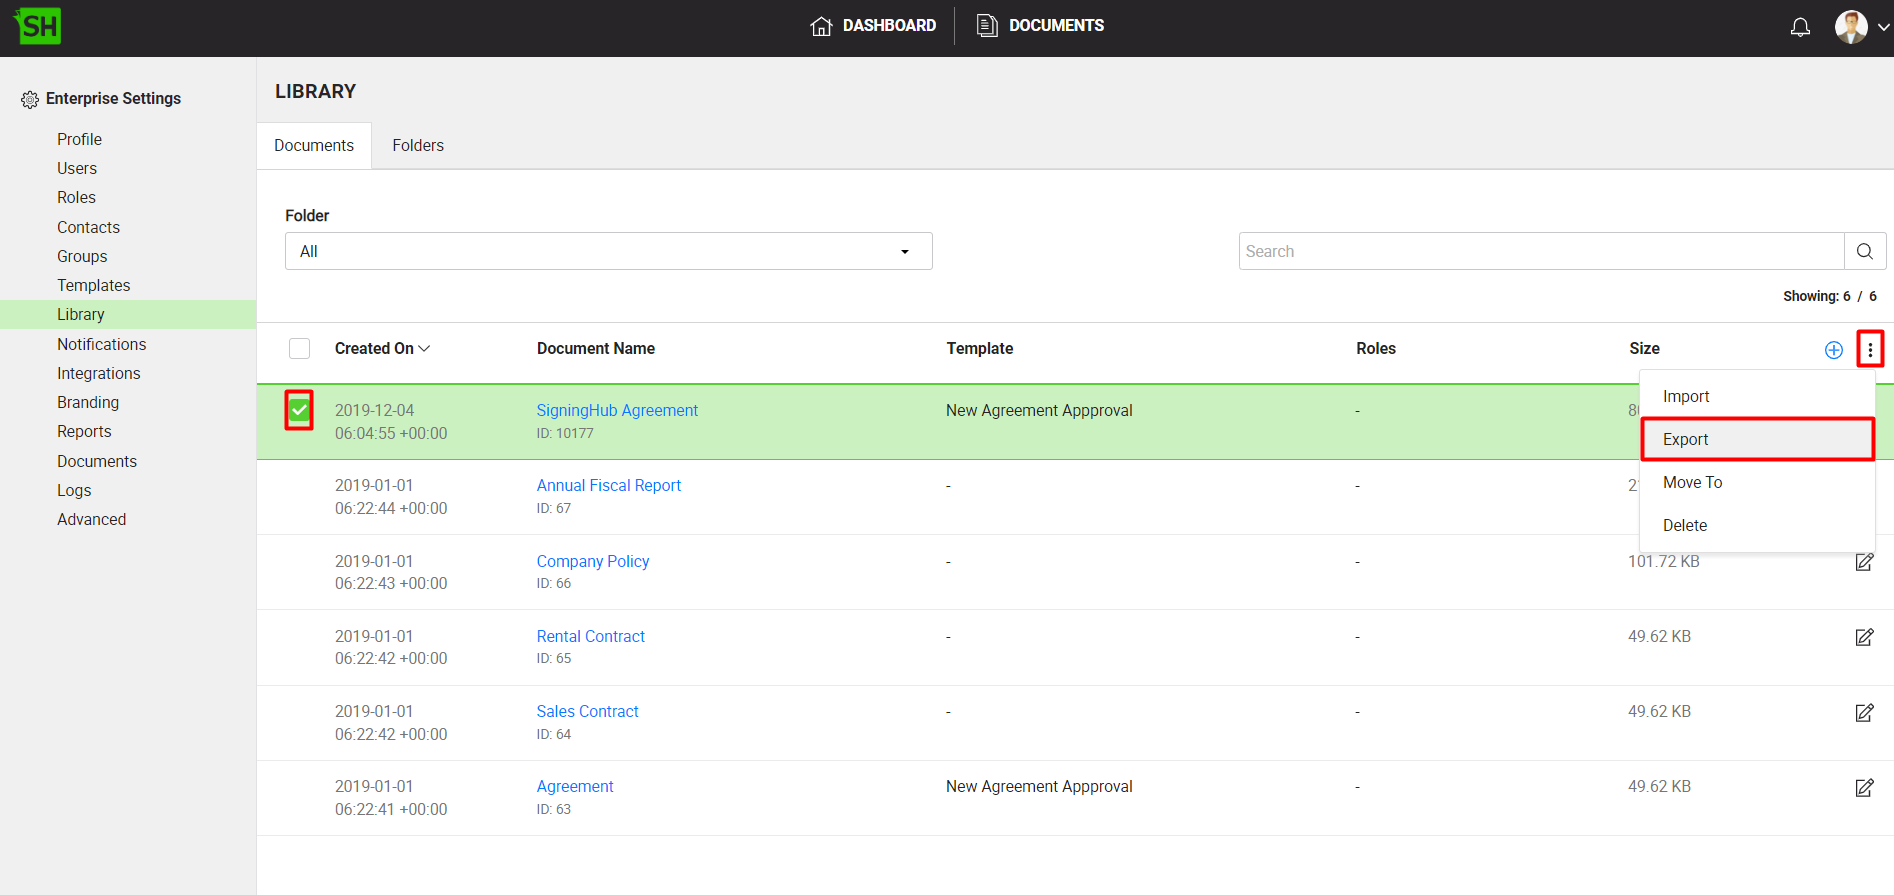
- A dialog will appear. Click the "Export" button.
The document along with its configured template (if any) will be exported in the json format to your local machine.
Import an existing enterprise document
You can import the exported library documents from one account (source) to another (destination) when required. This is the smartest way to reuse or share the same documents along with their configured templates without going through any configuration efforts.
- Click your profile drop down menu (available at the top right corner).
- Click the "Enterprise Settings" option.
- Click the "Library" option from the left menu. Your existing Enterprise library documents will be listed.
- Click
 from the grid header and select the "Import" option.
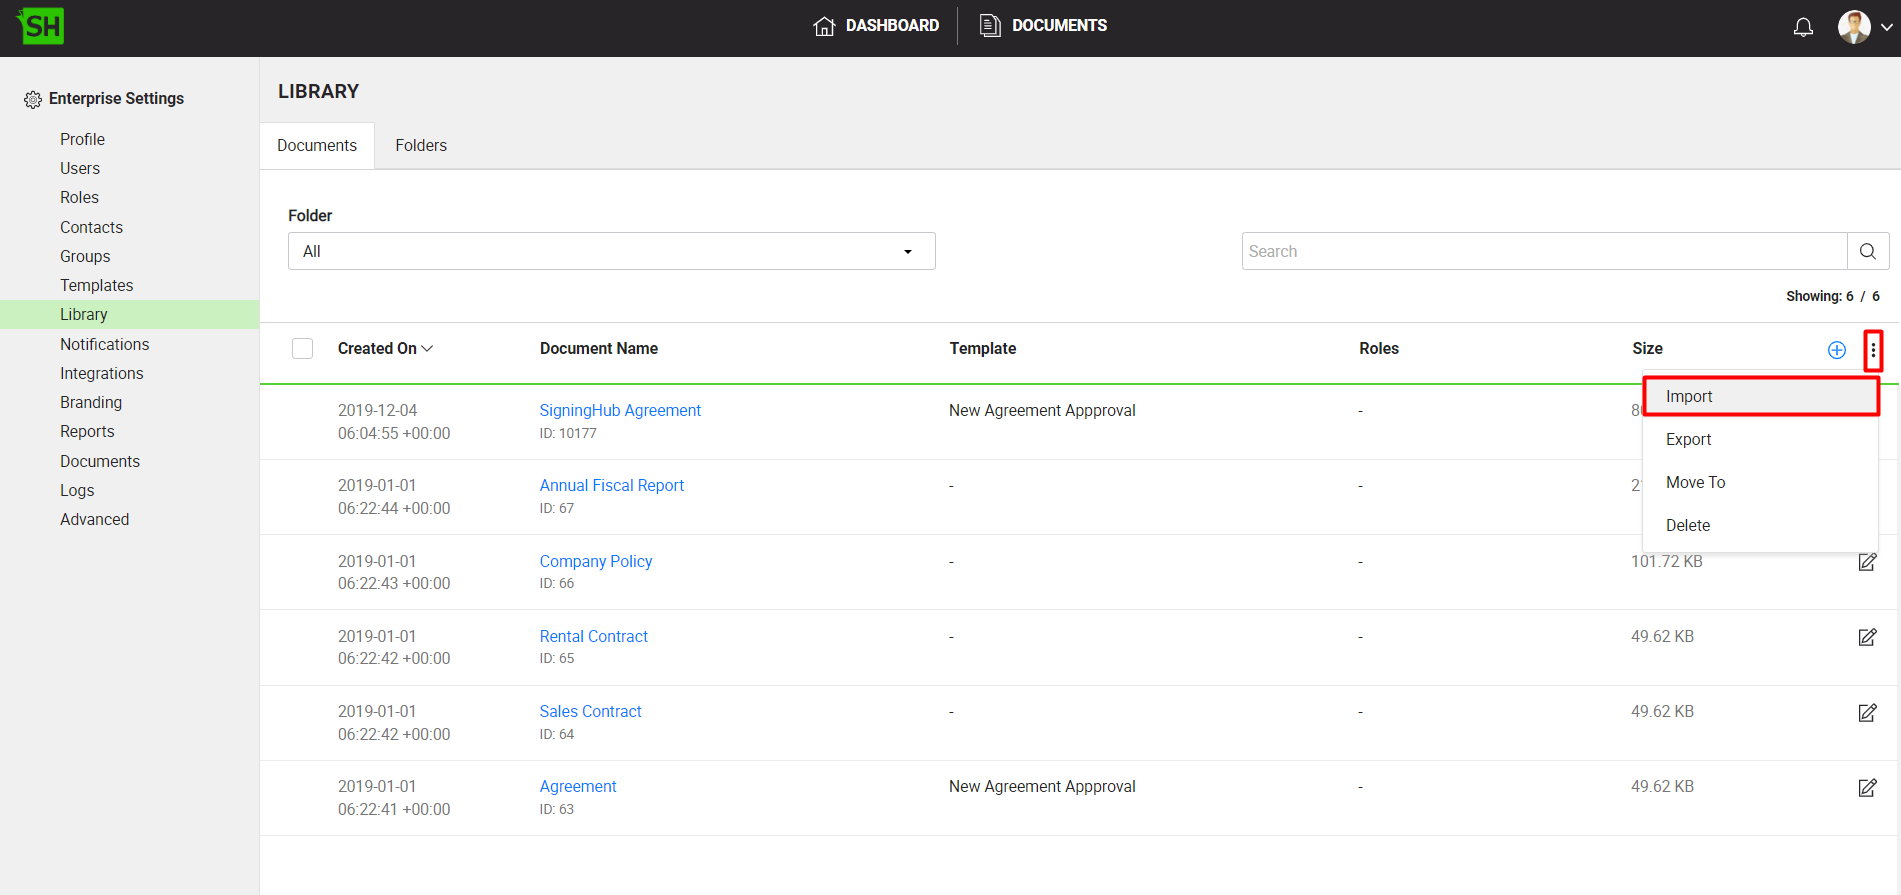
- A dialog will appear. Browse the exported document (i.e. .json file) from your machine and click the "Import" button.
The document along with its configured template (if any) will be imported in your enterprise account.
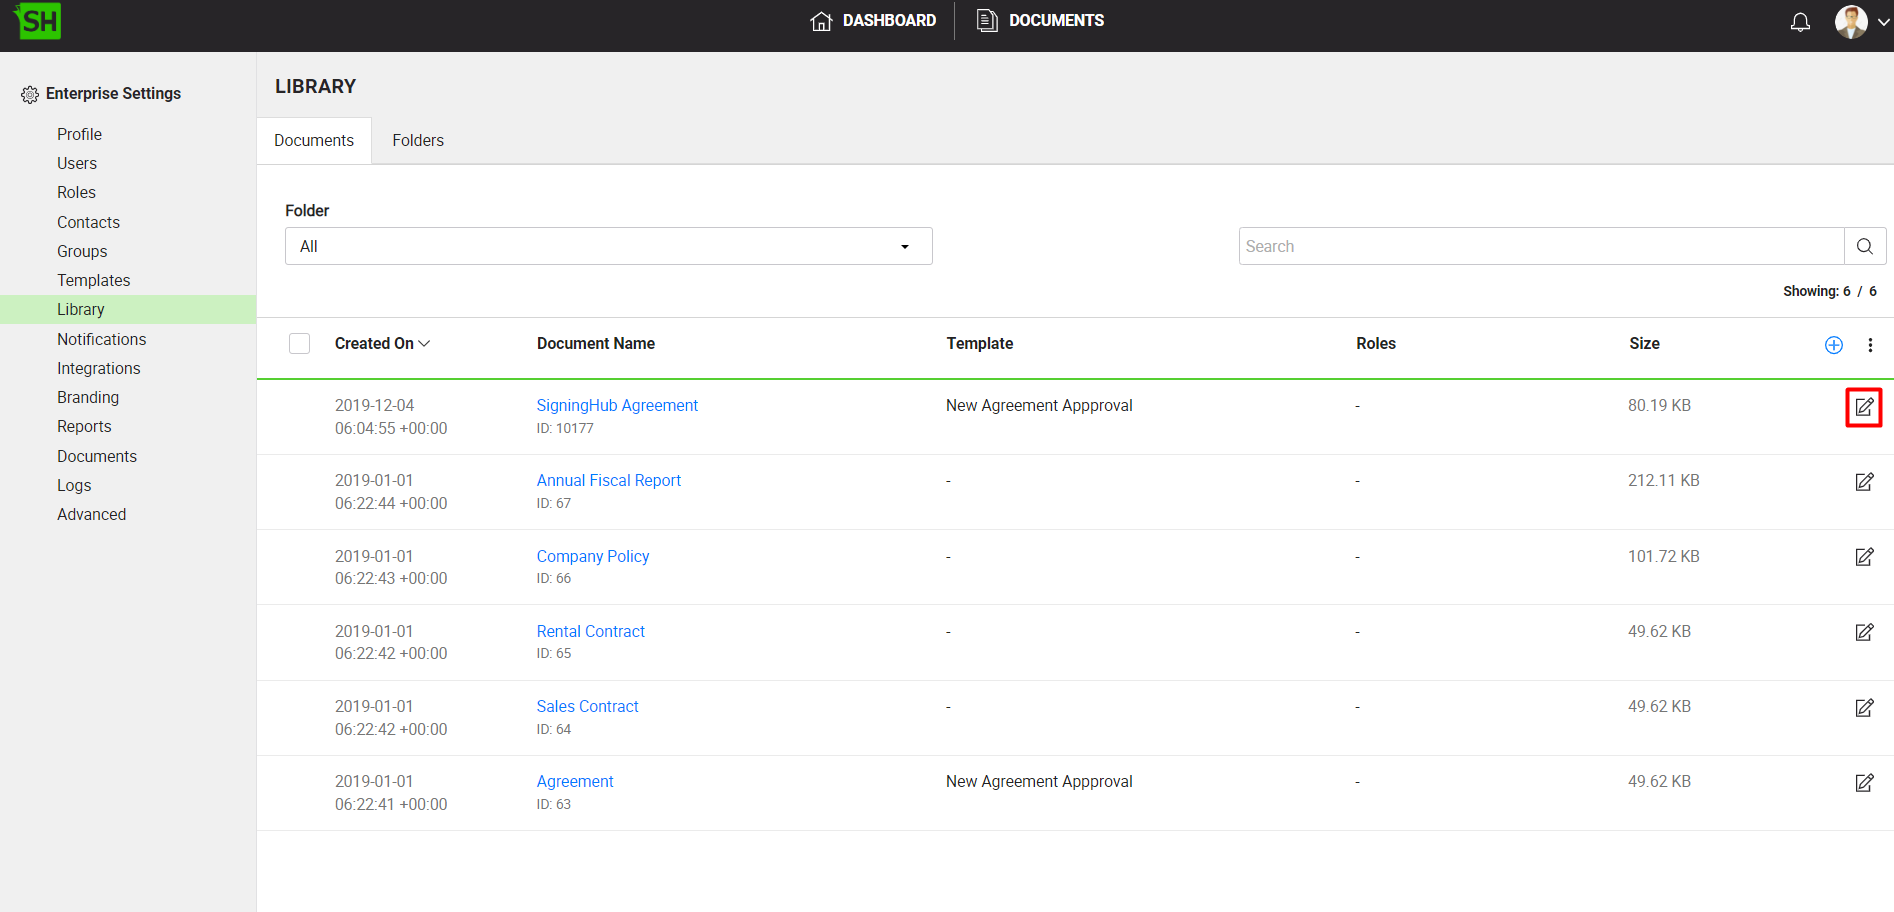
Edit a document from your enterprise library
- Login with your enterprise admin credentials.
- Click your profile drop down menu (available at the top right corner).
- Click the "Enterprise Settings" option.
- Click the "Library" option from the left menu. Your existing enterprise documents will be listed.
- Search/ move to the document to edit and click
 adjacent to it.
 - The "Edit Document" dialog will appear.
- Edit the required content i.e. Document name, Template or Folder.
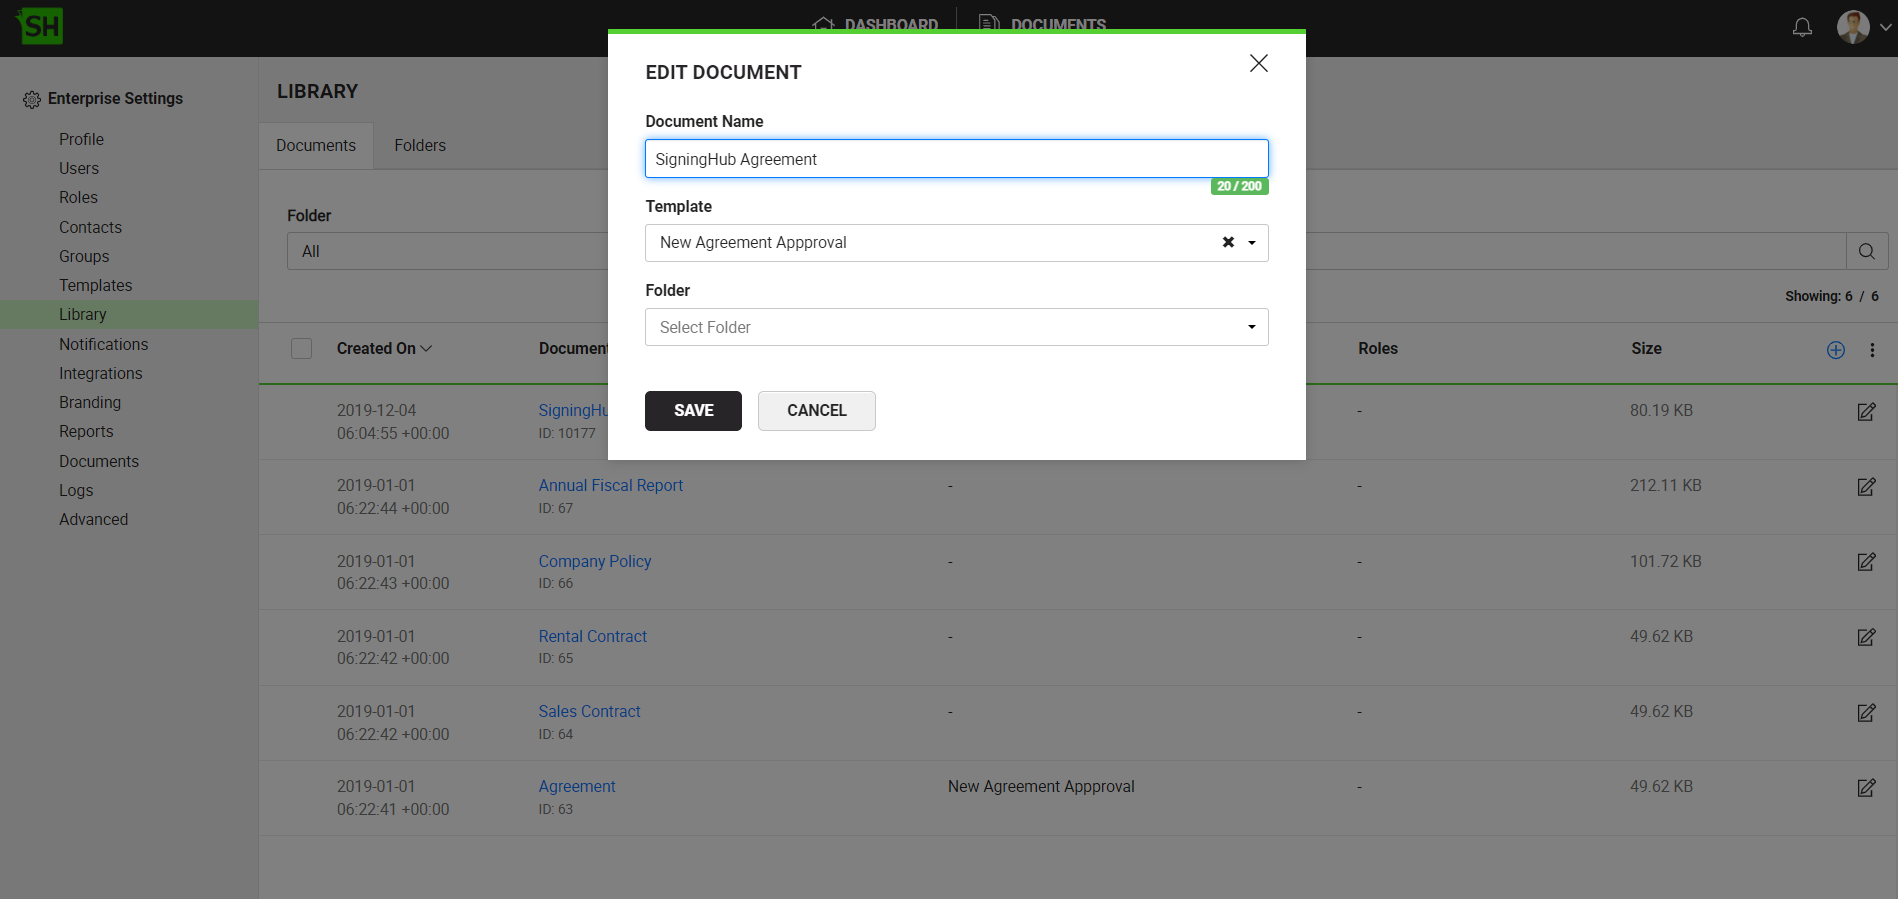
- Click the "Save" button.
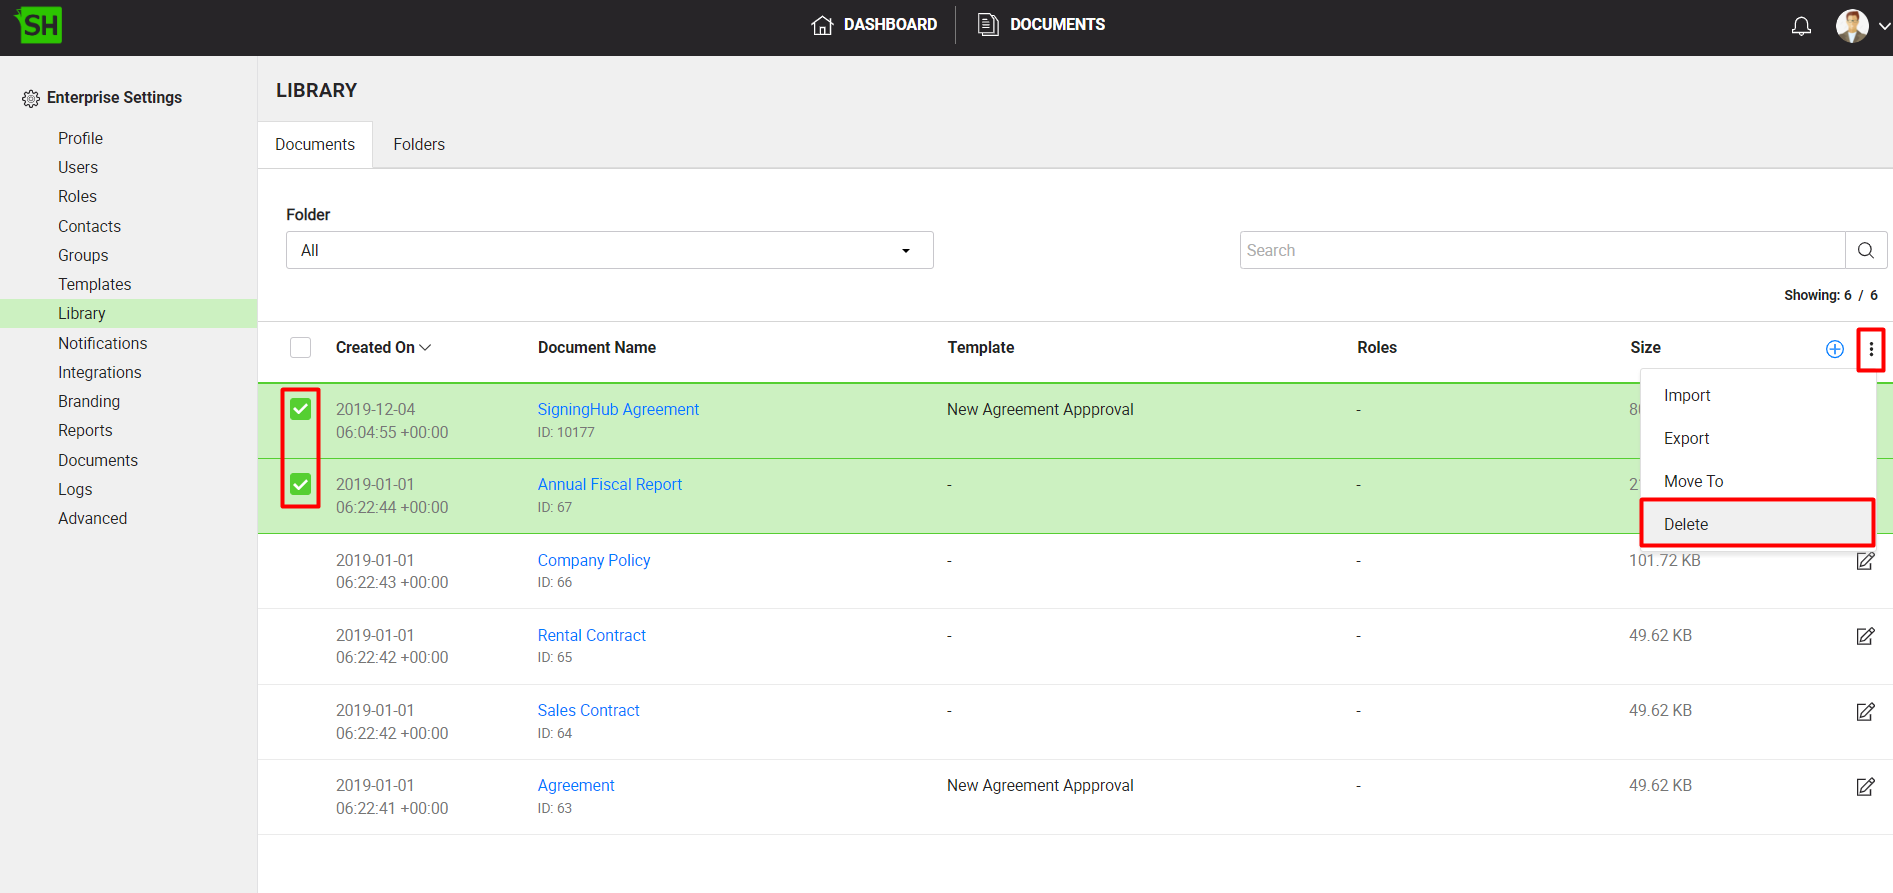
Delete a document from your enterprise library
- Login with your enterprise admin credentials.
- Click your profile drop down menu (available at the top right corner).
- Click the "Enterprise Settings" option.
- Click the "Library" option from the left menu. Your existing enterprise documents will be listed.
- Select the document(s) to delete. Click
 from the grid header and select the "Delete" option.
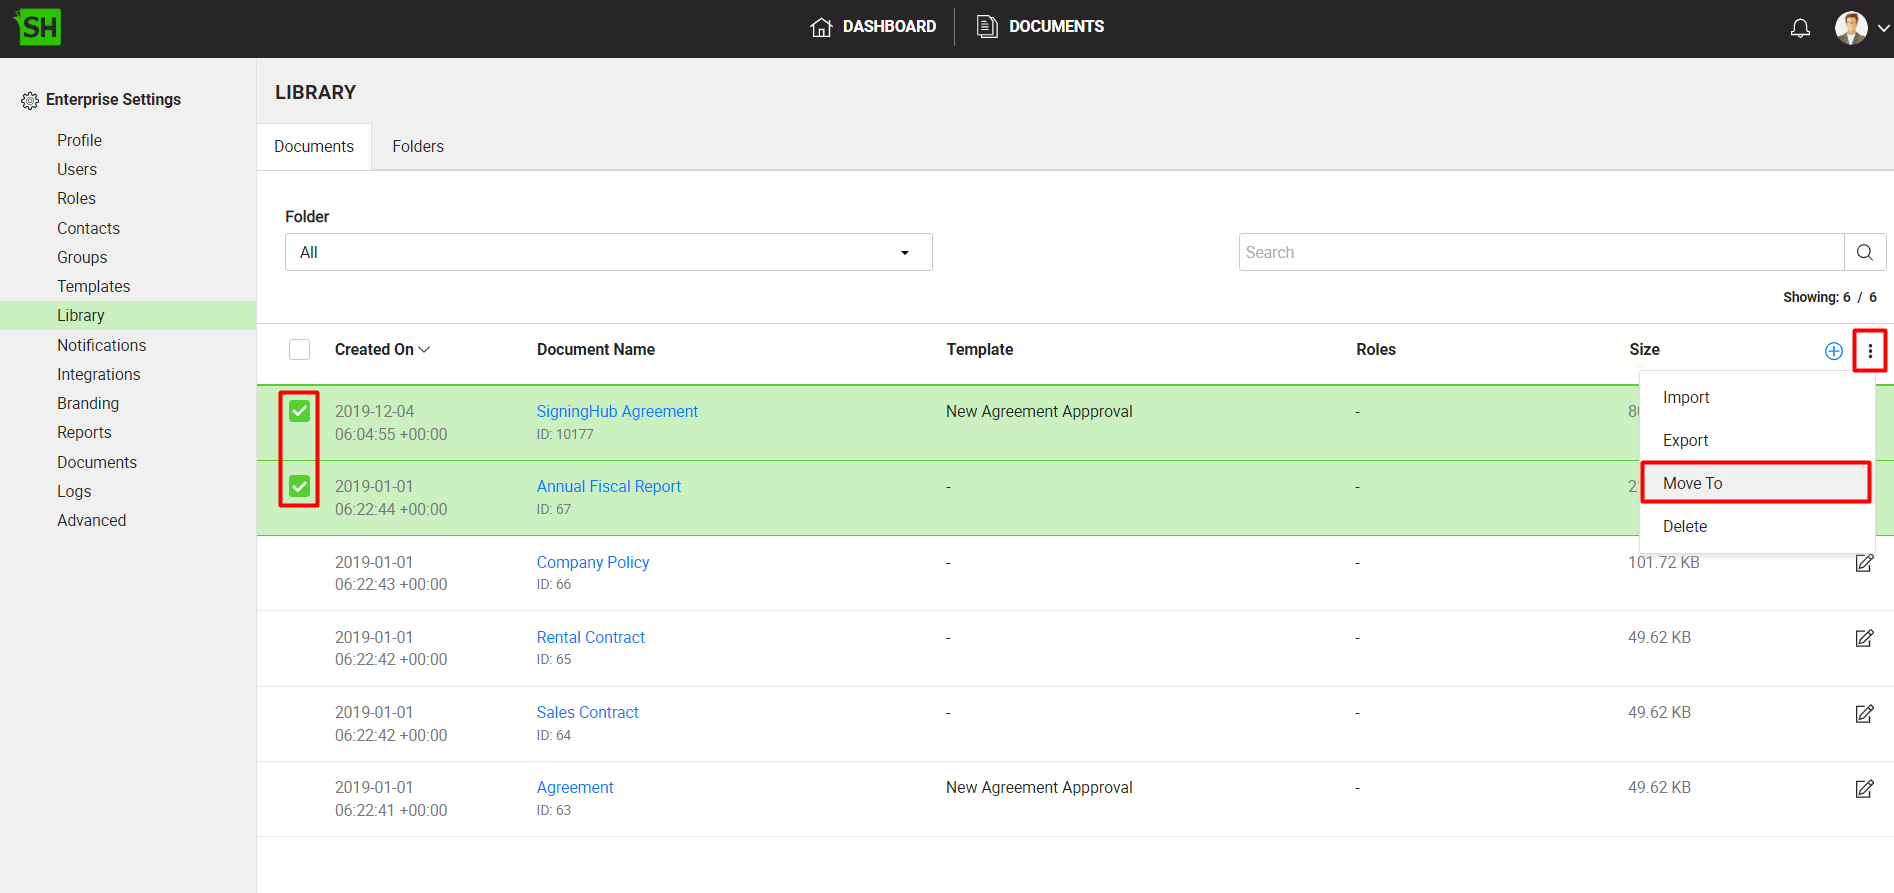
Move your enterprise document
- Click your profile drop down menu (available at the top right corner).
- Click the "Enterprise Settings" option.
- Click the "Library" option from the left menu. Your existing enterprise documents will be listed.
- Select the document(s) to move. Click from the grid header and select the "Move To" option.
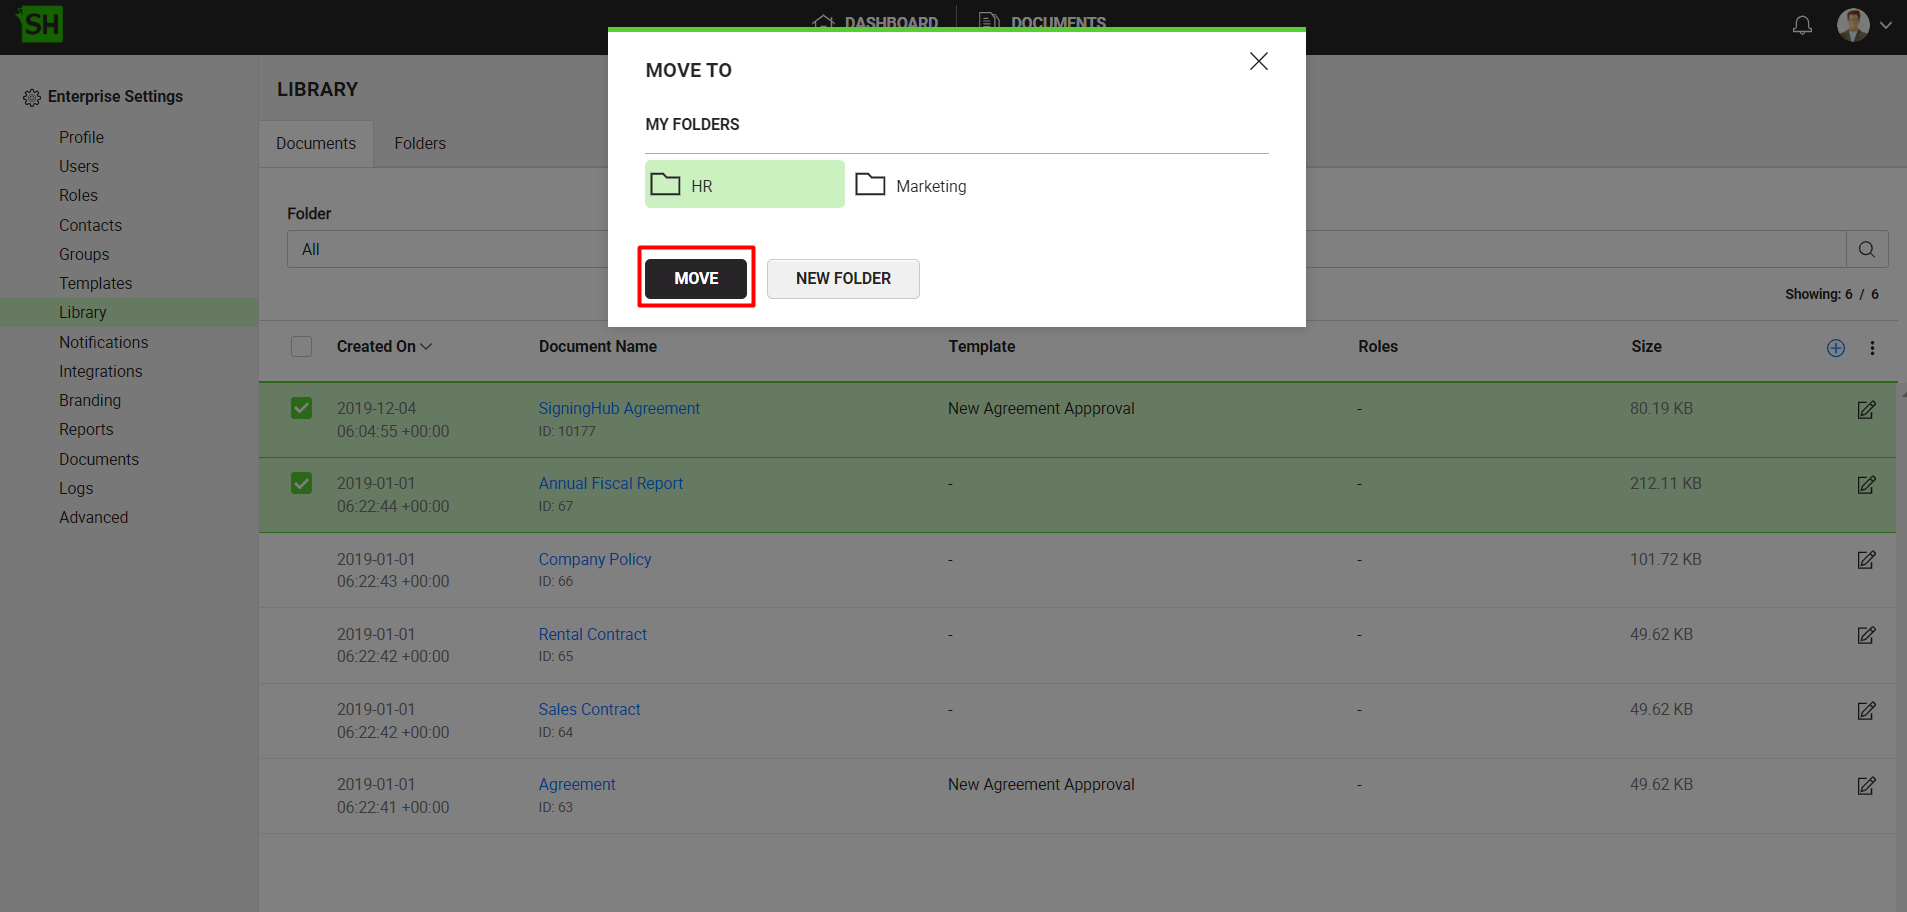
- Select the folder into which you want to move the document and click the "Move" button. If you want to create a new folder, click on the "New Folder" button.
Once the folder in successfully moved into a folder, a tag with the folder name will start appearing next to the listed document.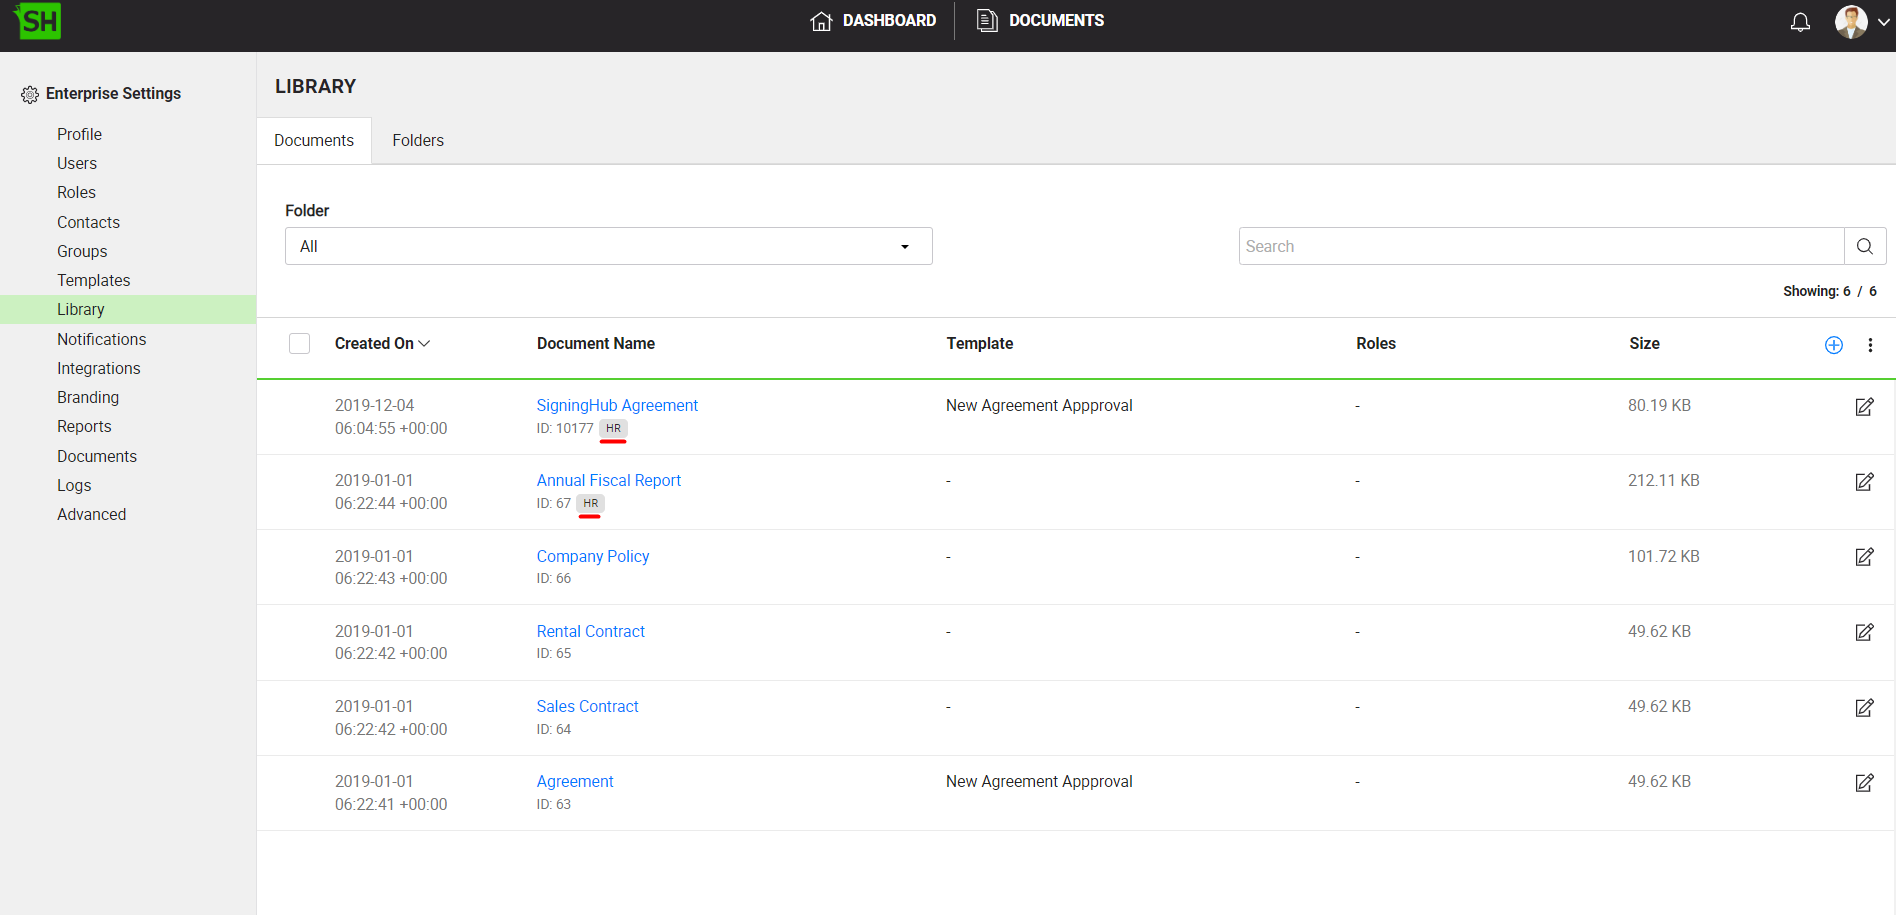
|
|
|

See Also