Create a New Electronic Seal Profile
Create a new Electronic Seal profile
- Create a new Electronic Seal Connector.
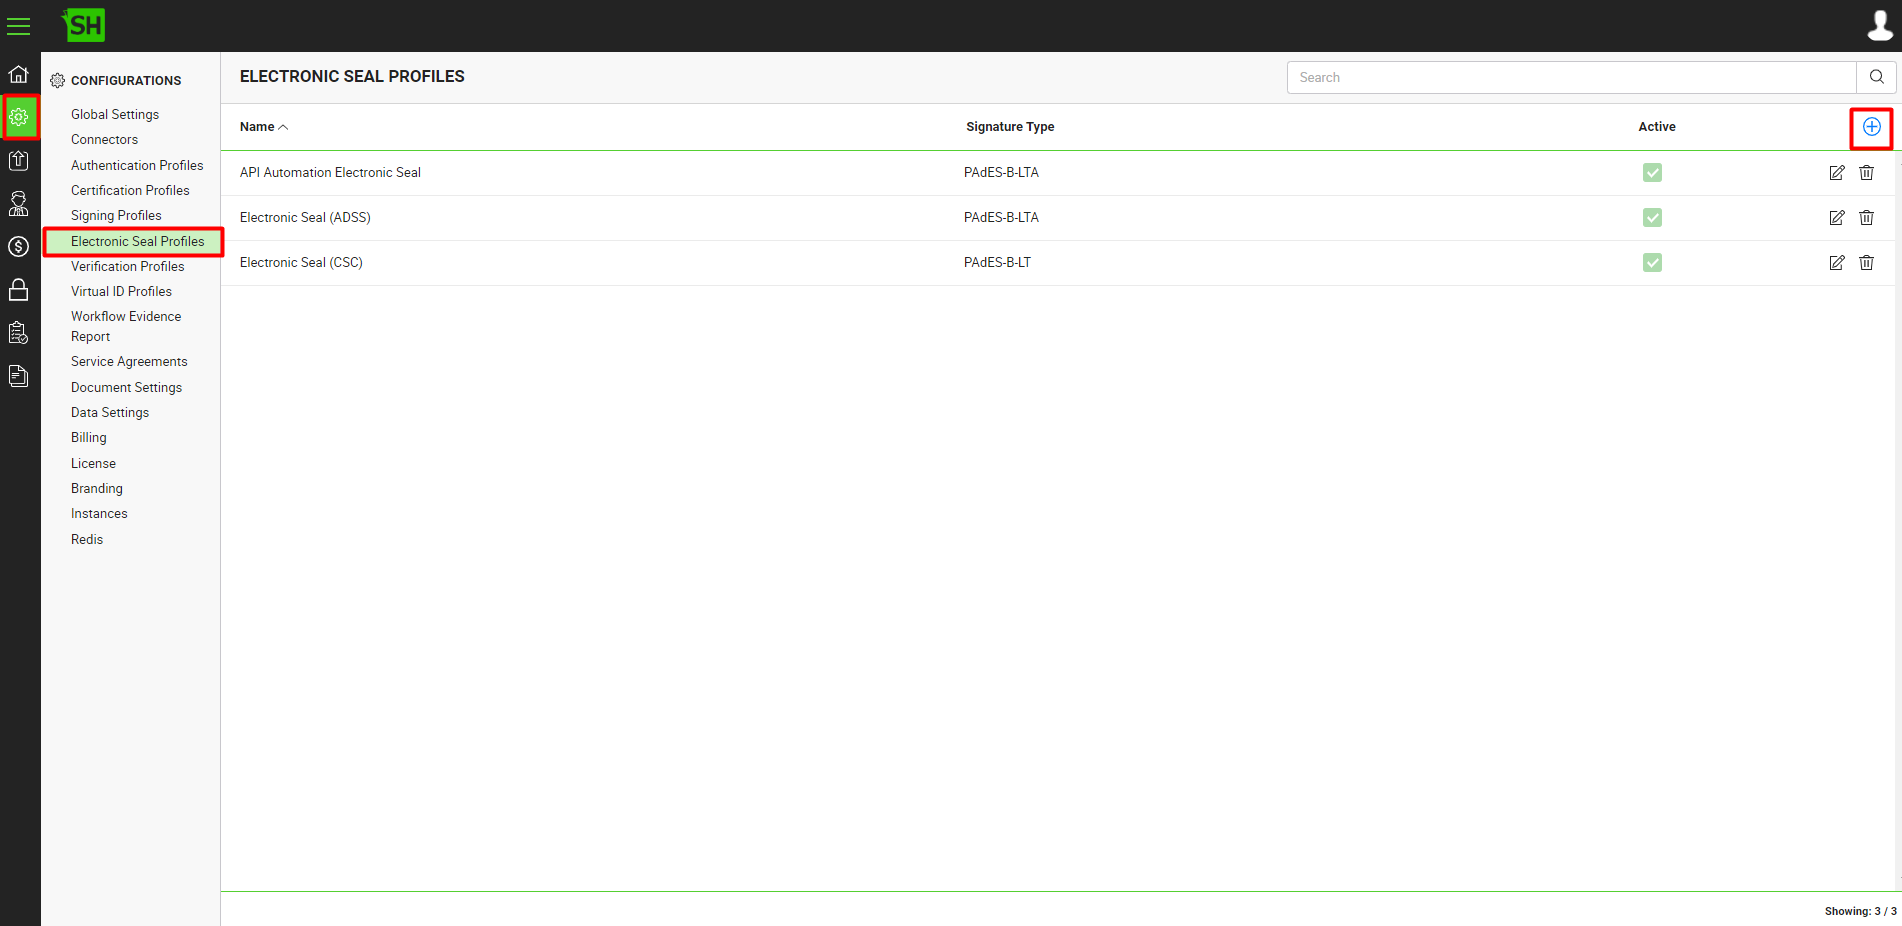
- Choose the "Configurations" option from the left menu.
- Choose the "Electronic Seal Profiles" option. The "Electronic Seal Profiles" screen will appear.
- Click on the add icon
 in the grid header.

- A dialog appears where you can configure the electronic seal profile details. The "Add Electronic Seal Profile" dialog is comprised of three screens including Basic Information, Signing Method and Settings. Specify the basic information and click the "Next" button to provide the details accordingly, to the respective screens. Click the "Finish" button to save your changes. A new electronic seal profile will be created and displayed in the list. See the following table for the description of the fields:
|
Electronic Seal Profile |
|||
|
Fields |
Description |
||
|
Basic Information |
|||
|
Name |
Specify a unique name for this electronic seal profile, e.g. My Electronic Seal Profile. This name will be used in the Service plan configuration. |
||
|
Description |
Add any description related to this electronic seal profile for your record. |
||
|
Active |
Select this check box to enable this electronic seal profile for service plans configuration. Inactive profiles cannot be configured in the service plans. |
||
|
Signing Method |
|||
|
Signing Server |
The "Signing Server" drop-down list displays all the ADSS Sever connectors and CSC Electronic Seal connectors. Select the one to use for electronic seal signing. Click the eye icon |
||
|
Signing Server Profile ID |
This field will only appear in case an ADSS Signing Server has been selected. In the "Signing Server Profile ID" field, specify the ID or name of the profile, created in the ADSS Signing Server for electronic seal signing, e.g. "adss:signing:profile:001" |
||
|
Signing Timeout (secs) |
In the "Signing Timeout (secs)" field, specify the time in seconds after which the electronic seal signing requests should expire. |
||
|
Settings |
|||
|
Hashing Algorithm |
Specify the hashing algorithm (i.e., SHA1, SHA256, SHA384 or SHA512) to create the signatures. |
||
|
Signature Type |
Select whether PAdES-B-LT or PAdES-B-LTA signatures are required for your end users. Signature type must be the same as configured under ADSS signing profile. |
||
|
Dictionary Size (KB) |
Specify the signature dictionary size. When signing PDF documents, space is reserved within the document to embed the signature, called the signature dictionary. The size of the signature dictionary is directly proportional to the certificate chain to be used in the signature. The default value is set to 100 KB, however, there is a possibility that the computed signature can exceed the default dictionary size. In such a case, users may view the system message “signature dictionary size “100” KB is smaller than expected size e.g. “200” KB. Therefore, it is recommended to reserve an appropriate space for the signature dictionary to accommodate your certificate chain.
|
||
|
Signature Enhancement Connector |
Signature enhancement connector facilitates a System Admin to configure a separate timestamp server (i.e. Ascertia ADSS Server), which can be independent of signing server being used for signing. |
||
|
Signature TimeStamp Policy ID |
Specify the Signature TimeStamp Policy ID that must be same as configured under Ascertia ADSS Server for TimeStamp Authority Profile. The Signature TimeStamp will be performed using configured TimeStamp Authority Profile matching the TSA Policy ID at signing time. TSA profile information will be embedded within document to identify TimeStamp Profile used by the signatory.
|
||


