Create a New Authentication Profile
Authentication profiles provide the ways through which the end users may authenticate themselves to SigningHub Desktop Web. In addition to the conventional email/ password based authentication, SigningHub also allows the authentication facility through different external Identity Providers (IdP) i.e. BankID, Azure Active Directory, Active Directory, Google, Linked-in, Salesforce, SSL Client, Office 365, Active Directory Federation Services (ADFS), IDfy, Freja eID, Azure Active Directory, itsme, etc.
Based on the business requirements, you can manage (Add, Edit, and Delete) different authentication profiles to offer multiple modes of authentication to your end users.
Create a new authentication profile
- Create a new authentication connector (i.e. Office 365 authentication, Active Directory authentication, Salesforce authentication, IDfy authentication, itsme, etc.), whose authentication profile is required to create.
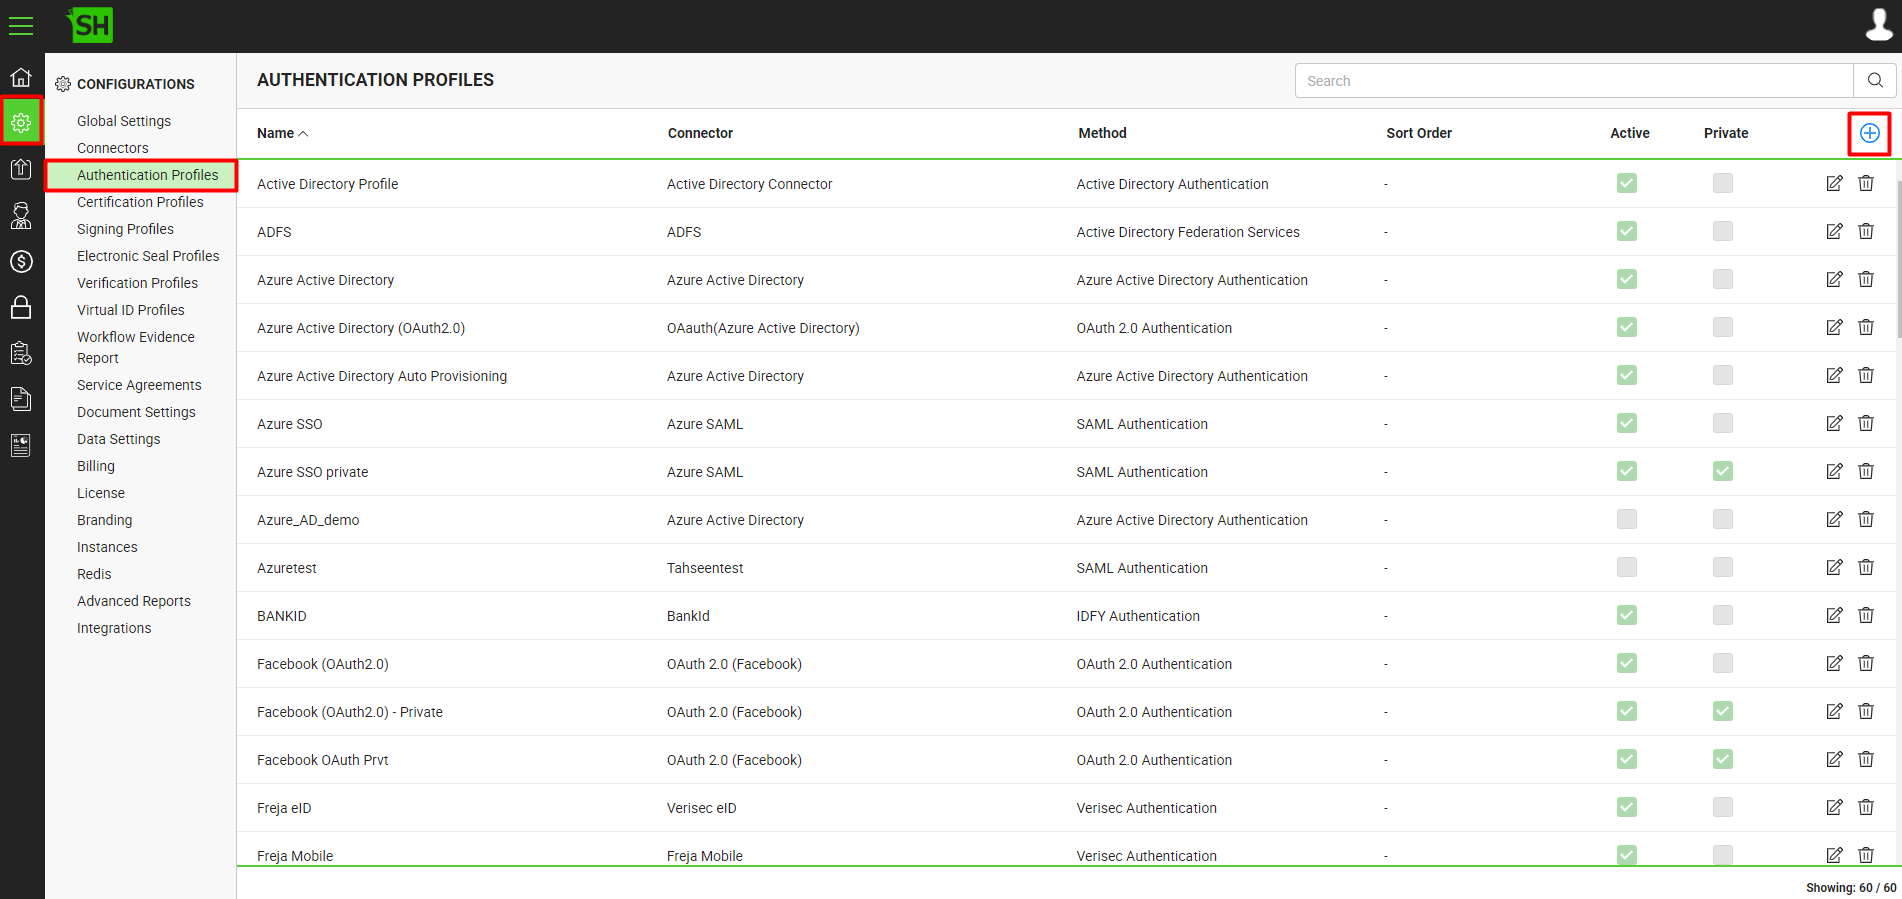
- Click the "Configurations" option from the left menu.
- Click the "Authentication Profiles" option.
The "Authentication Profiles" screen will appear. - Click
 from the grid header.
- A dialog will appear to configure the authentication profile details. Specify the details accordingly and click the "Save" button. A new authentication profile will be saved and displayed in the list. See the below table for fields description.
- Repeat the steps 1-6 to create other authentication profiles against each authentication method as required.
|
Authentication Profile |
|||
|
Fields |
Description |
||
|
Name |
Specify a unique name for this authentication profile, i.e. My SigningHub Authentication. This name will be displayed at the login screen. |
||
|
Description |
Specify any description related to this authentication profile for your record. |
||
|
Sort Order |
Specify the sort order for displaying the authentication profiles on the login screen for the users to sign in. This is an optional field and by default, this field will be empty. The authentication profiles with sort order 1 to 3 will be displayed on the login screen and the authentication profiles with the succeeding sort order will be displayed in the "More Login Options" dialog on the login screen. The authentication profiles for which a sort order has been provided will follow the defined sort order and the remaining authentication profiles will follow the default system sort order.
|
||
|
Method |
Select the authentication method (i.e. Email/ Password Authentication, Mobile Authentication, Azure Active Directory Authentication, Active Directory Authentication, Google, Salesforce Authentication, IDfy Authentication, itsme, etc.) for this profile. |
||
|
Connector |
This field will appear to select the related connector, when you select any third-party authentication method above. Click |
||
|
Details |
|
||
|
Active |
Tick this check box to make this authentication profile active. Only the active profiles are available to the end users on their Login screen, Signing screen and Integration screen.. |
||
|
Tick this check box to mark this authentication profile as private. A private profile will not be available to the (public) end users on their Login screen, Signing screen and Integration screen of SigningHub Desktop Web. |
|||
|
Validate client certificate |
This check box will only appear when you select the "SSL Client Authentication" method. Tick it if you want SigningHub to validate the users' certificates every time they use them for authentication. In this way, the users with expired or revoked certificates will not be able to log into SigningHub Desktop Web. |
||
|
Required password authentication |
This check box will only appear when you select the "SSL Client Authentication" method. Tick it if you want SigningHub to ask for SigningHub ID password as well from a user, when they choose their SSL certificate (from the list) for system login. This will work as two-factor authentication, where users will have to first select their certificate and then provide their SigningHub ID password to log into SigningHub Desktop Web. |
||


|
|
|
See Also