Upgrading SigningHub Enterprise
Follow these instructions to upgrade an older version of SigningHub Enterprise to the latest version.
Launch the installer by right-clicking the file name [SigningHub Installation Directory]/setup/install.bat and select Run as administrator.
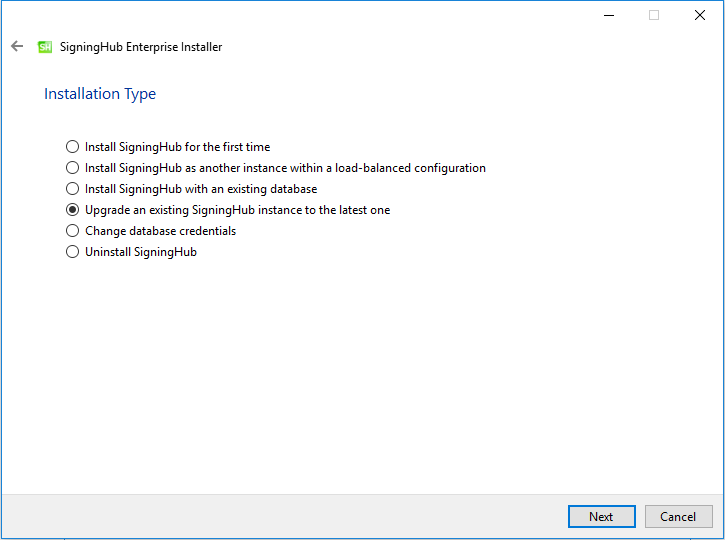
Follow the installation wizard as described previously until the Installation Type screen is shown:
Click the Next button to view and accept the license agreement:
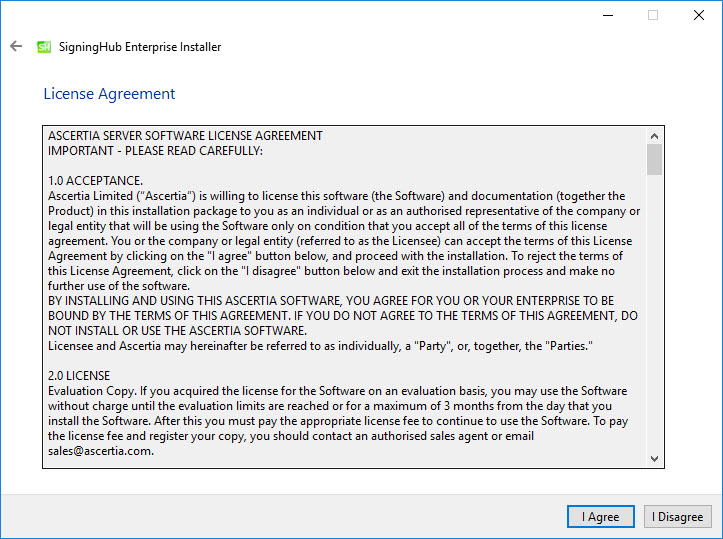
Click the I Agree button to proceed.
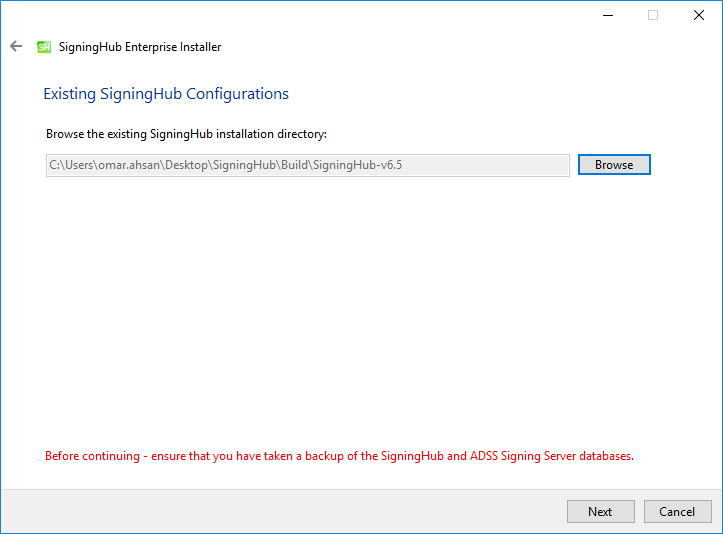
Click Browse and define the path to the existing SigningHub Enterprise installation directory.
Click the Next button to select the SigningHub data storage directory:
On the SigningHub Document Storage Configurations screen you can either choose a File System Storage or Azure Blob Storage or Database Storage.
If the Document Storage is either on local file system or on the local network path, then select the option File System Storage.
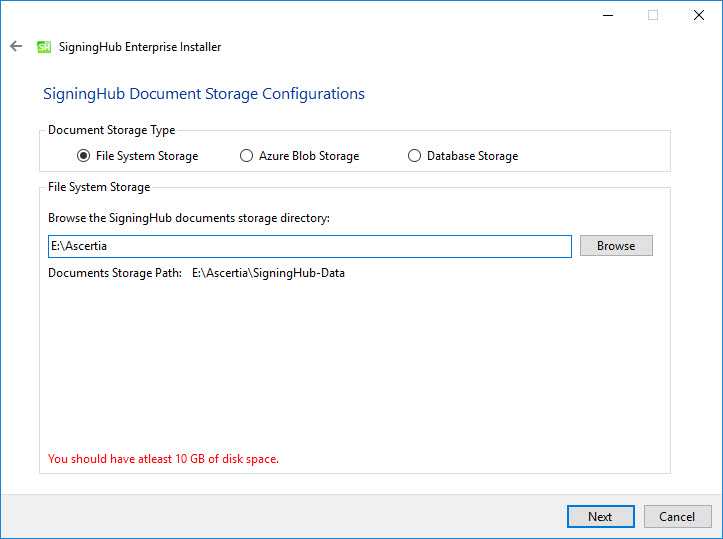
The information displayed above is an example and you should configure the relevant settings for your own environment.\
Click Browse and specify a storage path to store the SigningHub data.
|
|
Document Storage path can be a local drive, a network drive or an Azure blob. If the path is on a local drive, then the installer will automatically assign the read/write permissions to the "IIS_IUSRS" user group.
|

If this is not a File System Storage and you choose the second option to Azure Blob Storage then the following screen is shown:
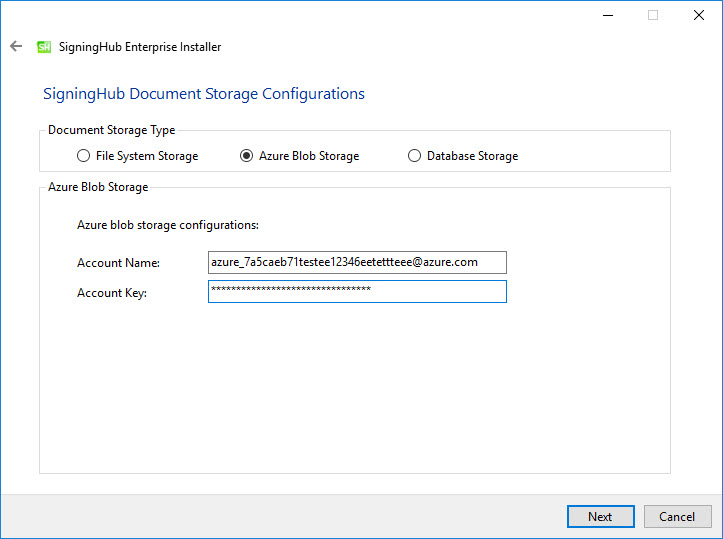
The information displayed above is an example and you should configure the relevant settings for your own environment.
The following table details the configuration options:
|
Configurations |
|
|
Item |
Description |
|
Account Name |
Account Name of the Azure. Note this must exist prior to the installation. |
|
Account Key |
Account Key of the Azure. Note this must exist prior to the installation. |
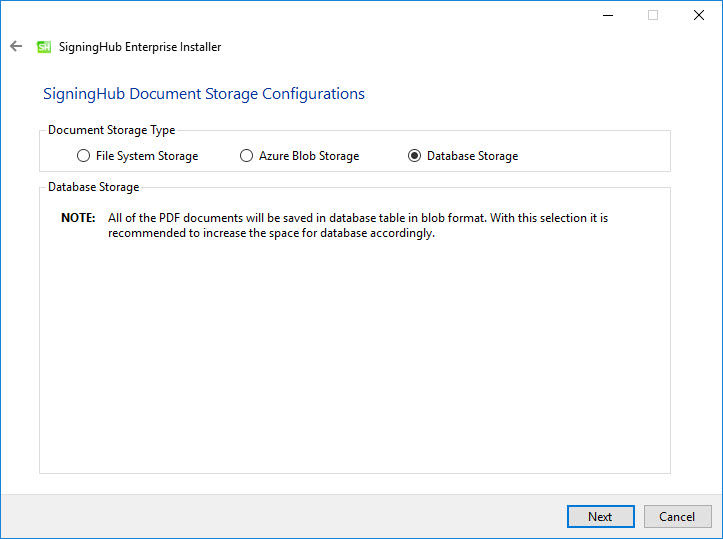
If this is not a File System Storage and you choose the third option to Database Storage then the following screen is shown:
Click the Next button to select specific modules:
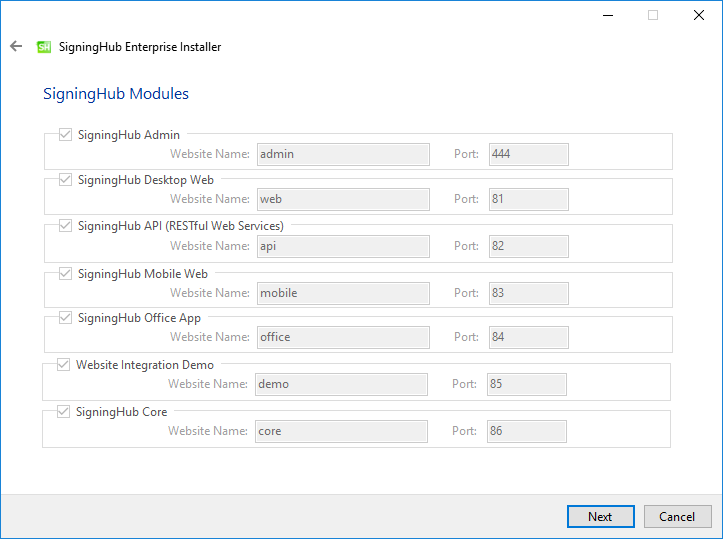
This screen shows a list of all SigningHub Enterprise modules. Components that are already installed are displayed but ‘greyed out’, while any SigningHub Enterprise module(s) that have not been installed previously can be selected for installation during the upgrade.
Click the Next button to see the upgrade summary:
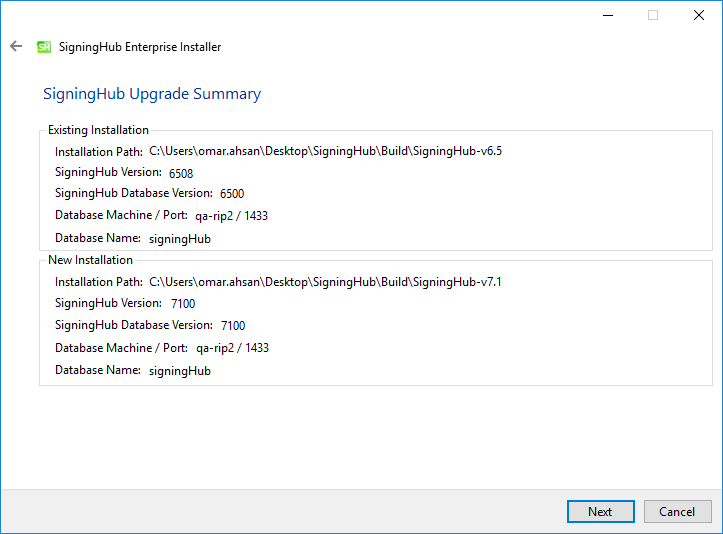
Click the Next button to start the upgrade progress.
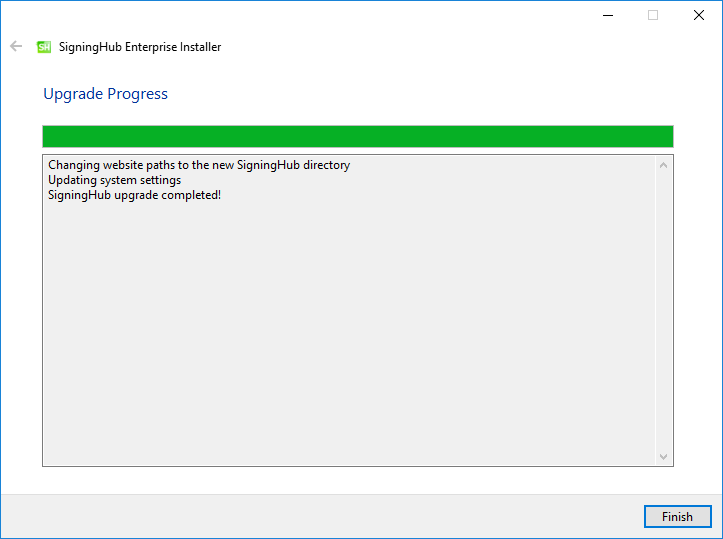
Click the Finish button to complete the SigningHub Enterprise upgrade process.
Following provides necessary information to complete the upgrade from SigningHub v7.0.x and onward to the latest version v7.7.6.x
Upgrading from SigningHub v7.0.x.x, v7.1.x.x, v7.2.x.x, v7.3.x.x, v7.4.x.x, v7.5.x.x, v7.5.1.x, v7.6.x.x, v7.7.x.x
|
|
|

|
|
|