Add a User in SharePoint Site Group
In order to allow your Microsoft SharePoint users to access SigningHub, you need to add them in the SharePoint site group(s) on which SigningHub add-in has been installed. In this way the respective group permissions will be given to your SharePoint users.
After this, sync the users' profiles with the SigningHub for SharePoint add-in by clicking the Health option.
To add a user, follow these steps:
1. Browse the SharePoint site link (on which SigningHub add-in is installed) and log into your Office 365 account with SharePoint administrator credentials.
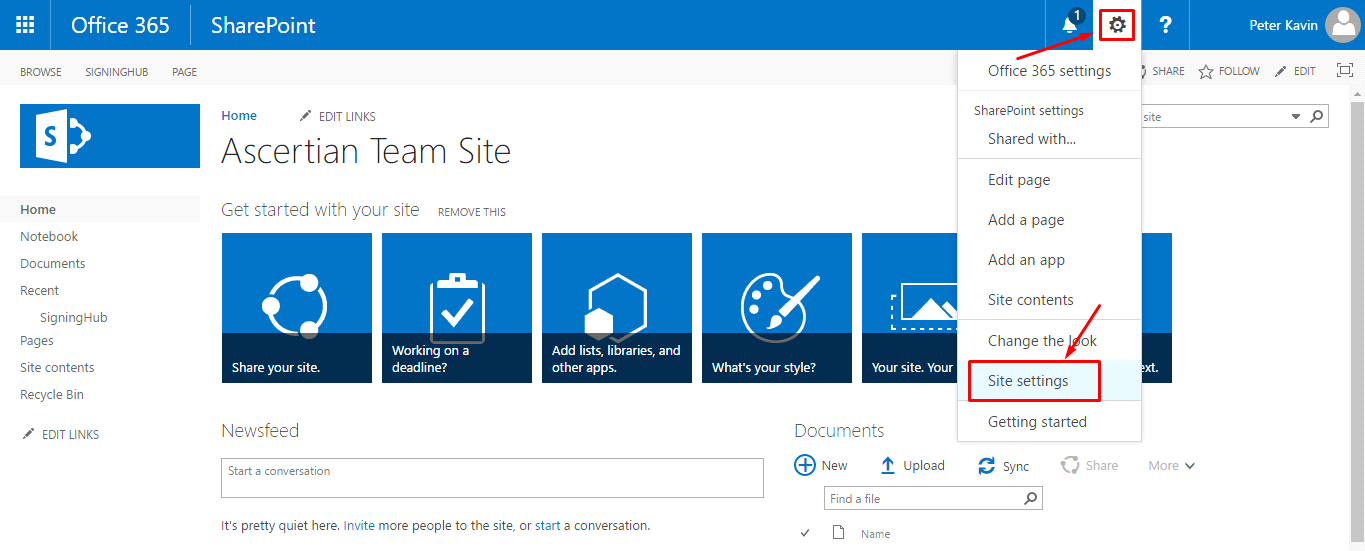
2. Click ![]() and select the "Site settings" option.
and select the "Site settings" option.
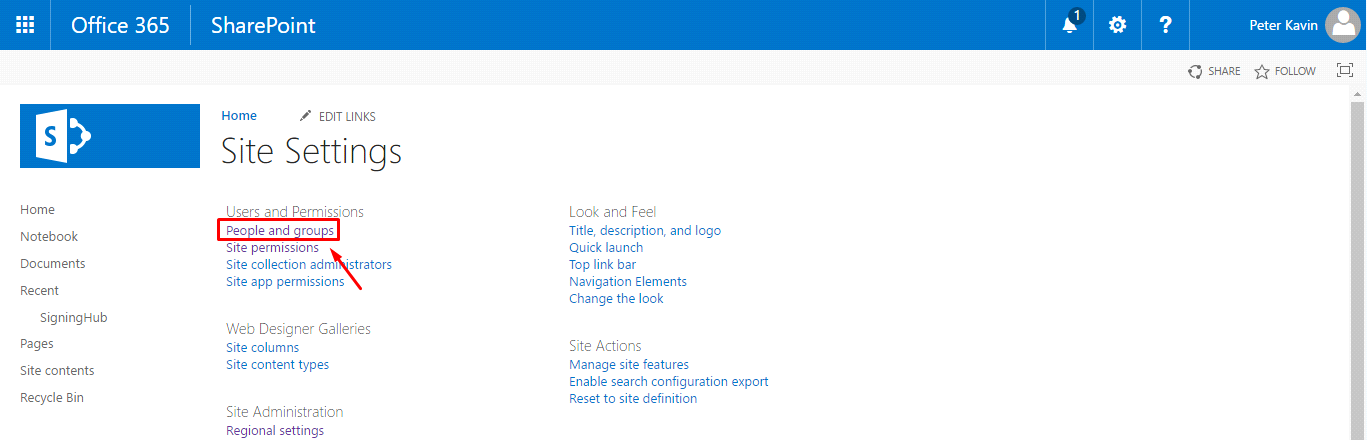
3. Click the "People and groups" option.
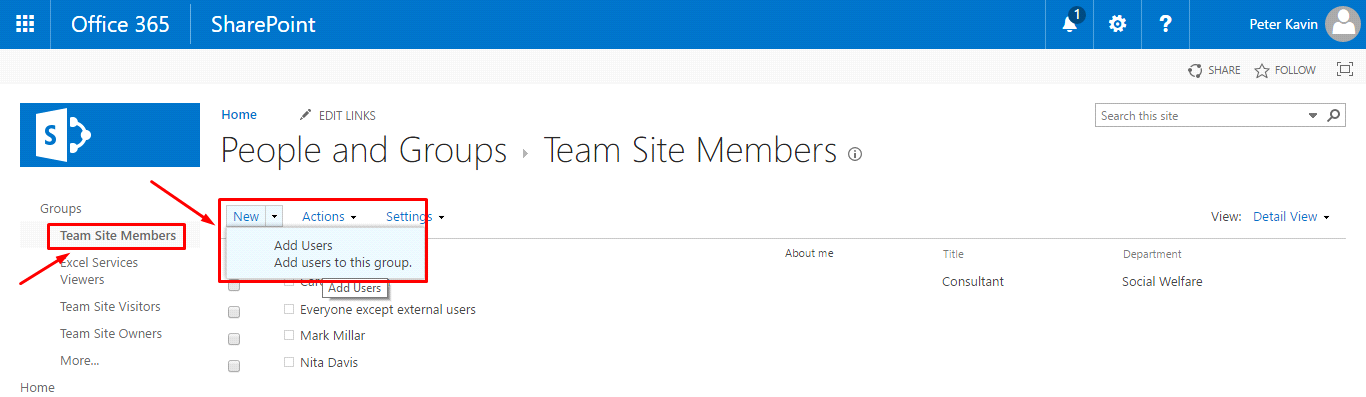
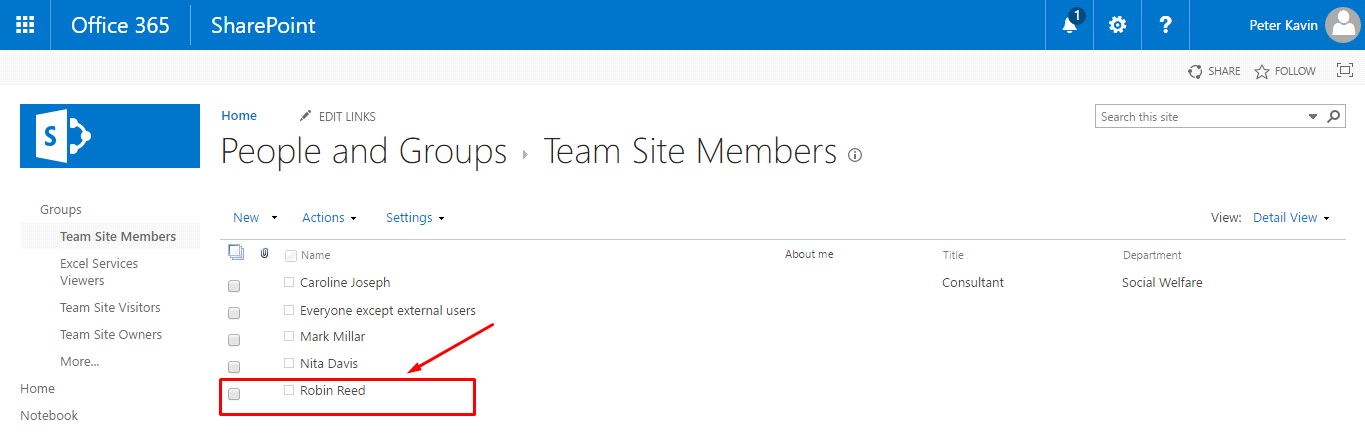
4. Select the group name (i.e. Team Site Members) from the left panel in which the user is required to add.
5. Click the "New" tab and select the "Add users to this group " option.
6. Specify the Username (exp: Robin Reed) and click the "Share" button.
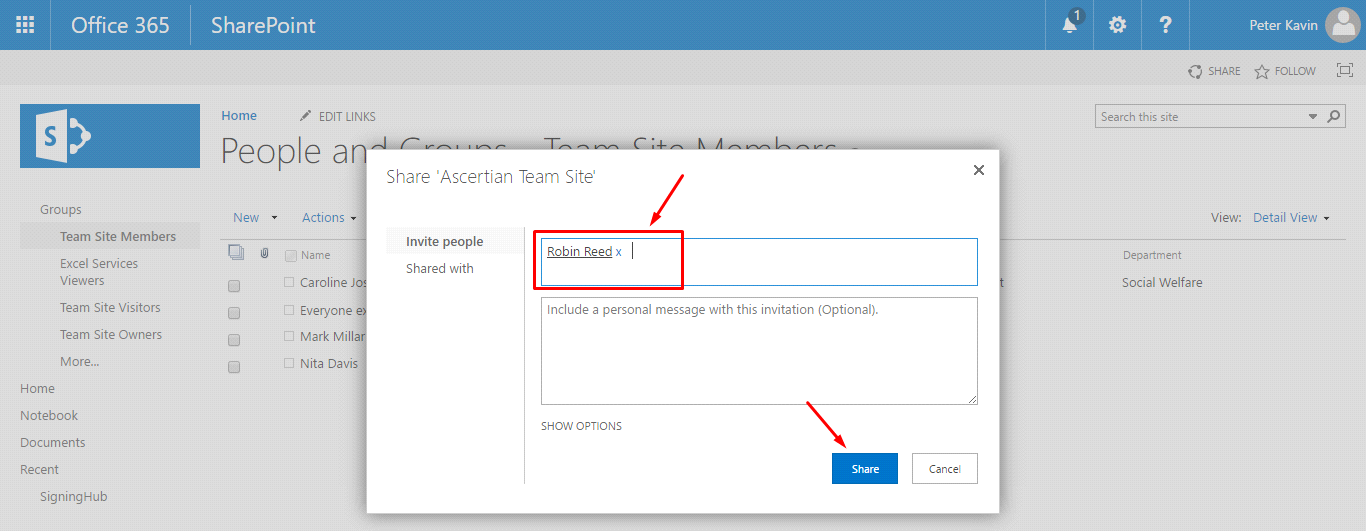
The user will be added in the group and shown in its users list. Now assign the SH permission levels to this group as required.
When you add a new user inside a SharePoint site group or update any existing user's information, then you need to sync the user profile with the SigningHub for SharePoint add-in. For this, click the Health option.
For the SharePoint users to access the SigningHub for SharePoint add-in, their "Work Email" should exist in the user profiles of Active Directory and SharePoint both, and it must be the same. The users which do not have their "Work Email", will not be listed under the "SigningHub Users Access" screen.