Step 2 - Configuring LTANS Profile
An LTANS Service profile defines how an archive object is created when this profile is referred to in request messages from business applications.
List of exiting LTANS profiles can be viewed by clicking the LTANS Profiles button as shown below:
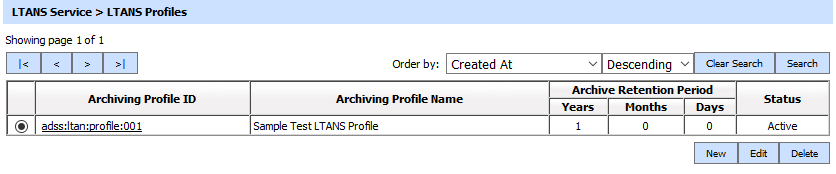
LTNS profiles can be sorted in either Ascending or Descending order according to the criteria: Archiving Profile ID, Archiving Profile Name, Created At and Status.
A new profile is created by clicking the New button from the first screen above. The following configuration screen is then shown:
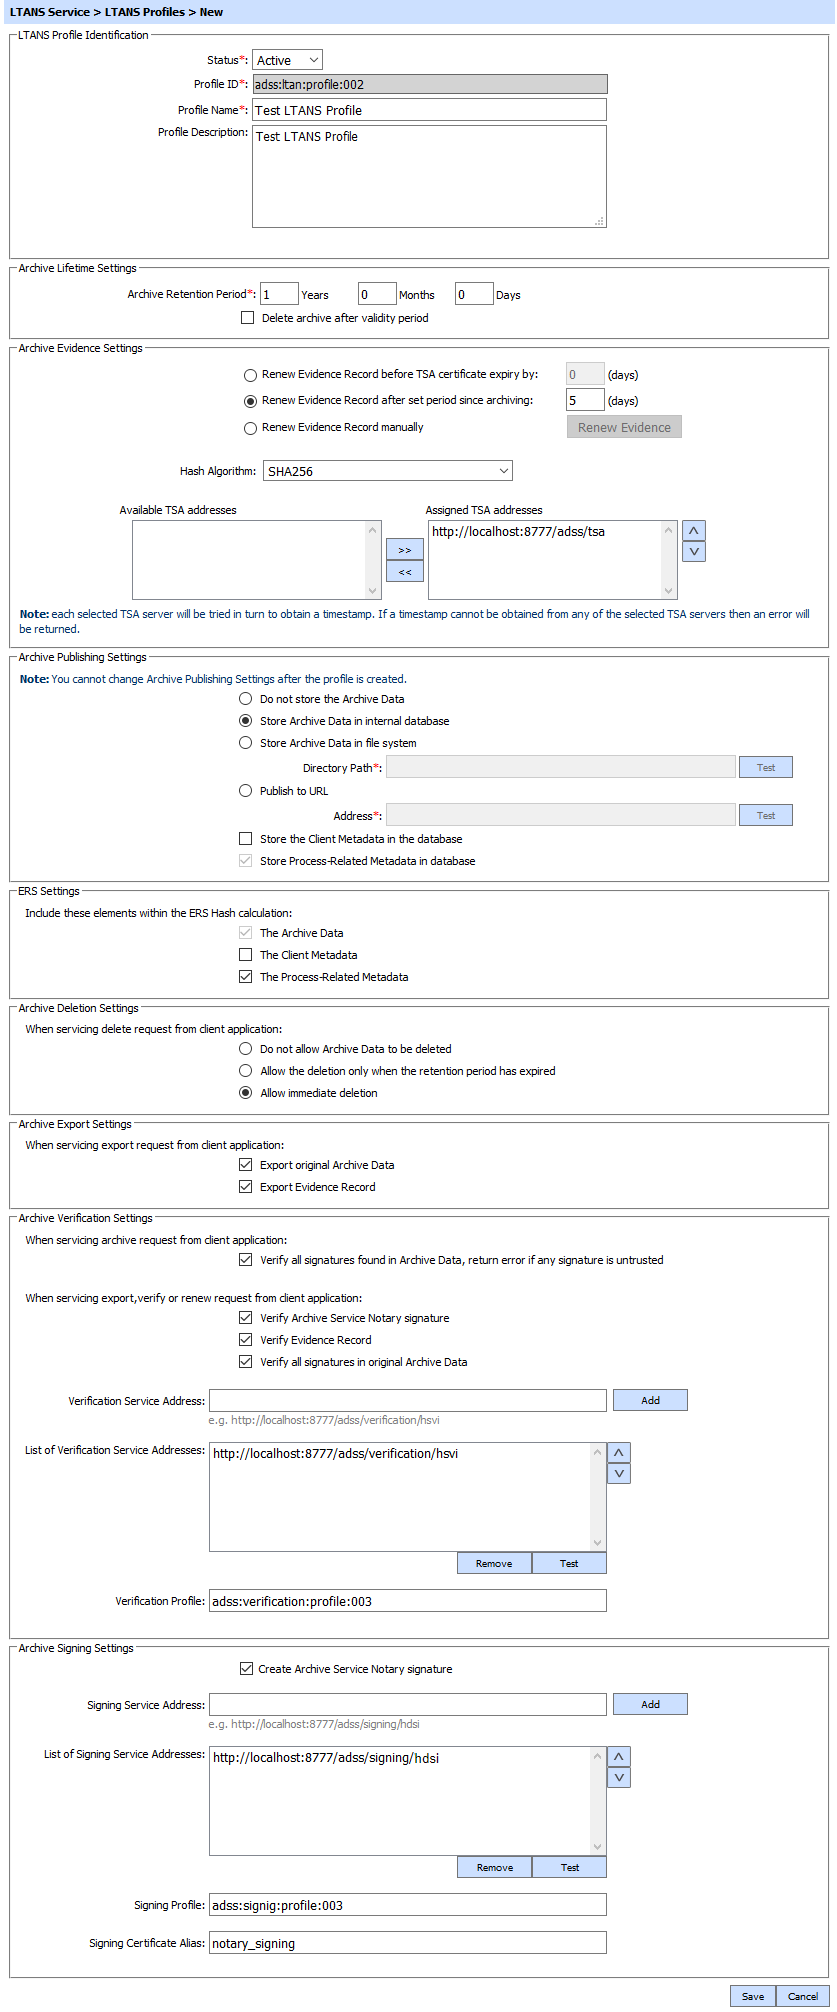
The configuration items are as follows:
|
Items |
Description |
|
Status |
A profile may be marked Active or Inactive. Note that an inactive profile will not be used to process requests generated by client applications. |
|
Profile ID |
A field which provides a system-defined unique identifier for this profile. It must be referenced in the LTANS request. Alternatively you can also specify the Profile Name. |
|
Profile Name |
A mandatory unique name defined by the ADSS Server Administrator for easier recognition of the profile within the ADSS Operator Console. |
|
Profile Description |
This can be used to describe the profile in more detail (e.g. in which circumstances the profile will be used). This field is for information purposes only. |
|
Archive Retention Period |
This defines how long the archive object is to be retained within the LTANS Service e.g. number of years, months or days can be configured for the archive retention. Note: Once the retention period elapsed for an archive it is marked as inactive by the ADSS LTANS service. An inactive archive does not support the EXPORT, VERIFY operations but LISTIDS, STATUS and DELETE. |
|
Delete archive after validity period |
Check this option to delete the archives upon their expiry. Note: Archives published at the HTTP URL can not be deleted. |
|
Renew Evidence Record before TSA certificate expiry |
When selected, the archive evidence will be renewed automatically at the configured number of days before the timestamp certificate expiry. |
|
Renew Evidence Record after set period since archiving |
When selected, the archive evidence will be renewed automatically after the configured number of days. |
|
Renew Evidence Record manually |
Select this to renew the evidence manually. |
|
Hash Algorithm |
The selected hashing algorithm is used to produce a unique fingerprint of the archive object before timestamping. The following hashing algorithms are currently available: Note: If Archive Publishing Settings option "Do not store the Archive Data" or "Publish to URL" is configured then Hash Algorithm also become disabled for Edit/update. |
|
Timestamp Settings |
Select the required timestamp authorities from the list of authorities pre-registered in Global Settings > Timestamping module to produces a timestamp over the ERS. |
|
Archive Publishing Settings |
This group box is used to configure the archive publishing settings. Note that once the LTANS profile is configured then this group box is no more available for edit/update and becomes disabled (file system path and Publishing URL address will remain configurable for edit/update).
Note: You can not change these settings once the profile is save. Be careful before saving the profile. |
|
Store the Client Metadata in the database |
Select this option if you want to store Client Metadata in the ADSS Server database. If Client Metadata is used as part of ERS hash calculation but it is not stored in the database then client metadata must be provided in the VERIFY request message by the client application in order to verify the ERS otherwise error message will be returned. |
|
Store Process-Related Metadata in database |
This checkbox is always checked to tell the user that process related metadata will always be stored in the database. Following is the process-related metadata:
|
|
ERS Settings |
This group box is used to configure the ERS (Evidence Record Settings) Settings.
|
|
Archive Deletion Settings |
This group box is used to configure the archive deletion settings.
|
|
Archive Export Settings |
This group box is used to configure the archive export settings
Note: If both options are unchecked then appropriate error message will be returned to the client application indicating the export is not allowed by the profile. |
|
Archive Verification Settings |
This group box is used to configure the verification service settings, ERS and archive data settings.
Note: Archive data contains the signature types (PDF, XML, CMS, PKCS7, XAdES and CAdES) will be forwarded to the Verification service for signature verification otherwise the request will be archived without forwarding e.g. if the request type is txt, doc, xls etc, it will not be forwarded.
Note: Only HTTP interface is supported for verification service address e.g. http://localhost:8777/adss/verification/hsvi.
|
|
Archive Signing Settings |
This group box is used to configure the verification service settings, ERS and archive data settings.
|
Clicking on the Search button displays the Search page for LTANS Profiles as shown below:
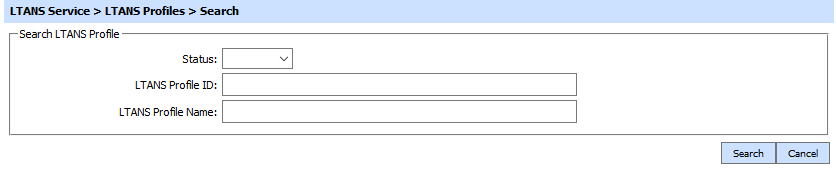
Enter search criteria based on the profile Status, LTANS Profile ID and LTANS Profile Name. If more than one search parameters is provided, these are combined using the AND operator and the results are presented accordingly.
|
|
If "_" character is used in the search then it will act as wildcard. |

See also
Step 1 - Registering Timestamping Authorities
Step 3 - Registering Business Applications